This build represents an incredible rarity for me - a kit that I completed in the same year that I bought it. That rarity will become a little less rare as I also bought the USS Enterprise this year, and will be tackling that one next.

This has long been a favorite. This variant represents an advancement upon the D-7 that we first saw during the original television series, and was first seen in Star Trek: The Motion Picture. Coming on the heels of Star Wars, the opening sequence of that movie grabbed me in much the same way that the Star Destroyer over Tatooine did. The rest of the movie was not as good as Star Wars, but I'd dare say that I am one of maybe 3 people on planet Earth who finds that first Star Trek movie to be a classic science fiction story.
I'm pretty sure I built an AMT release of the K't'inga back in 1979/1980, but I think had I known exactly what I was getting myself into, I might have put the brakes on even buying this kit.
The kit itself is very nice. It is nicely detailed, it goes together (mostly) well, and unlike most science fiction subjects that I've built, it was manufacturered with an ability to accept internal lighting without any surgery for wiring and light placement. The reason I say I might have put the brakes on buying this one (and the Enterprise) is its size. 1/350 for this thing is HUGE. It is on par in size with the Monogram B-17 Flying Fortress I have hanging in my workshop. The kit does come with a great stand, but even with that, I just don't have space to display it. (My wife and daughter also love cats, and we have 3, and I'm sure this thing wouldn't last long on the only shelf that I could potentially display it). So not sure what I'm going to do with it, but likely I'll remove the batteries and hang it in my workshop.
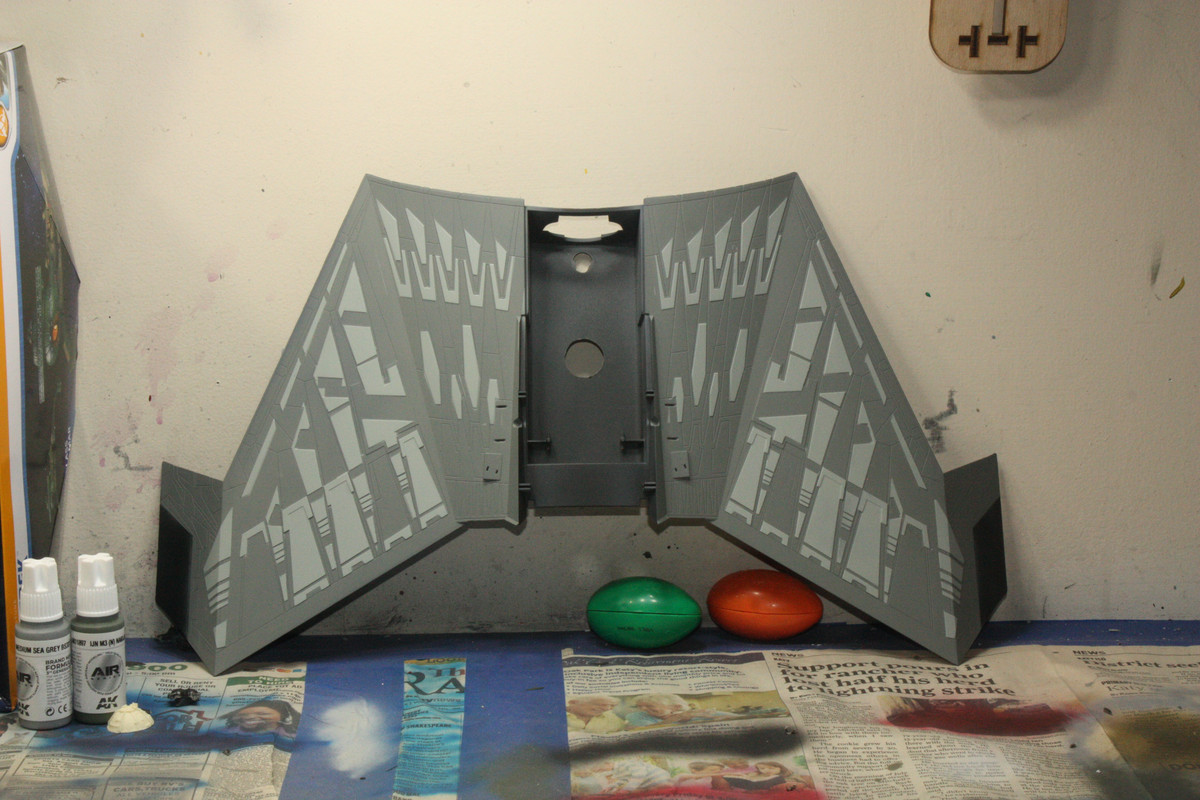
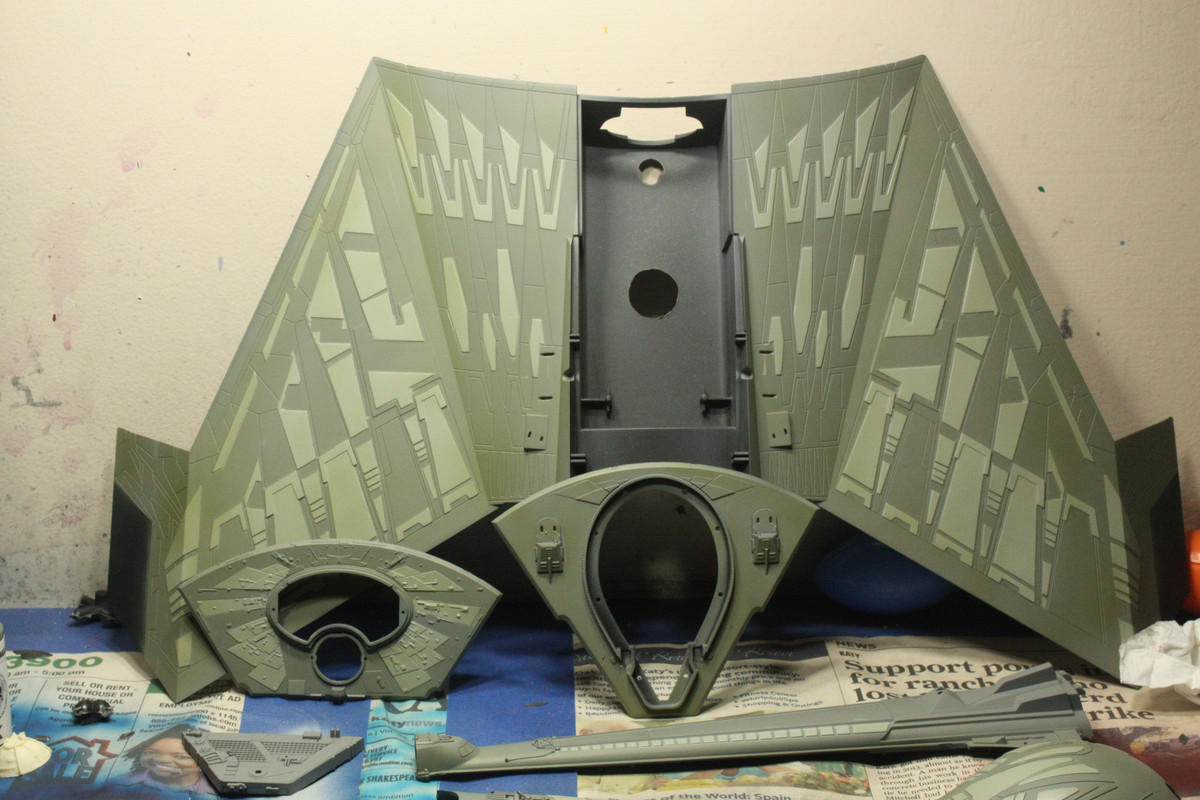
I made a decision early on that I would airbrush this entire model. The molding would allow for brush painting through clearly deleniated panels, but I figured the paint job would just look better done with air. The result of that - I should invest in whoever made the tape that I used, as I used a metric ton of it. I also used a lot of Silly Putty to mask off larger areas.
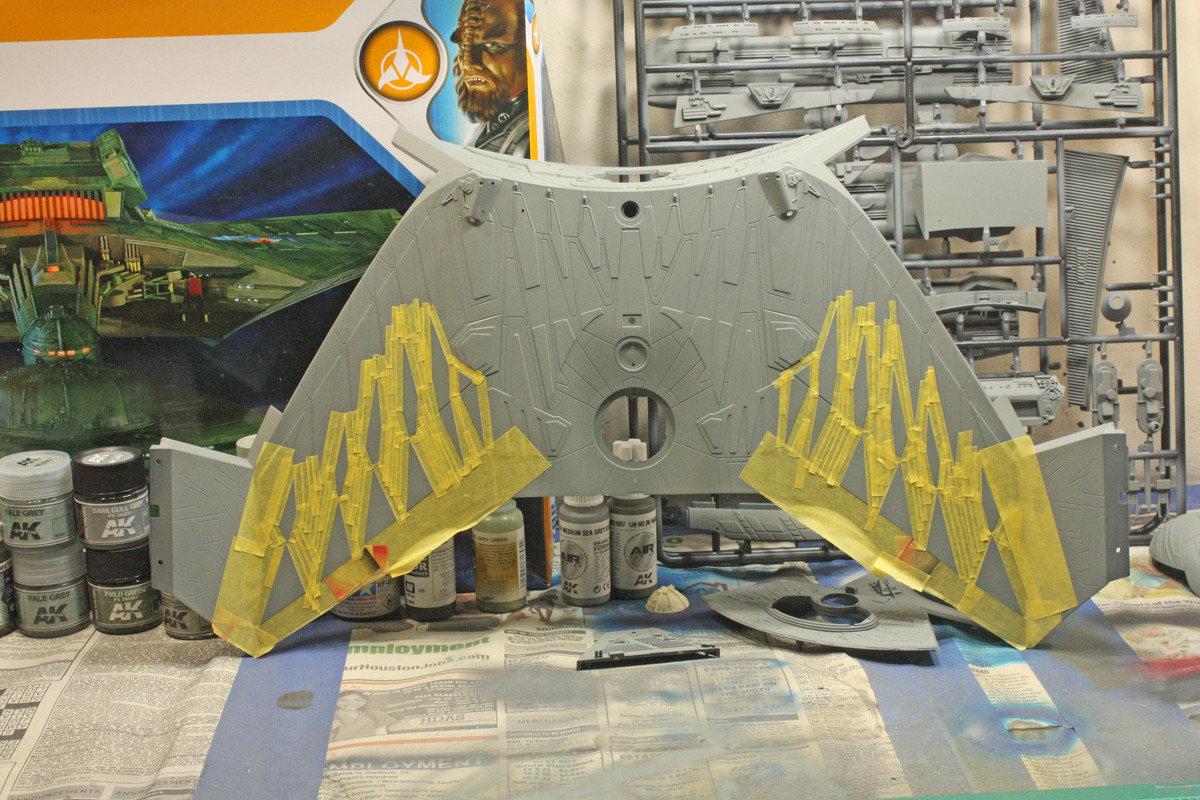
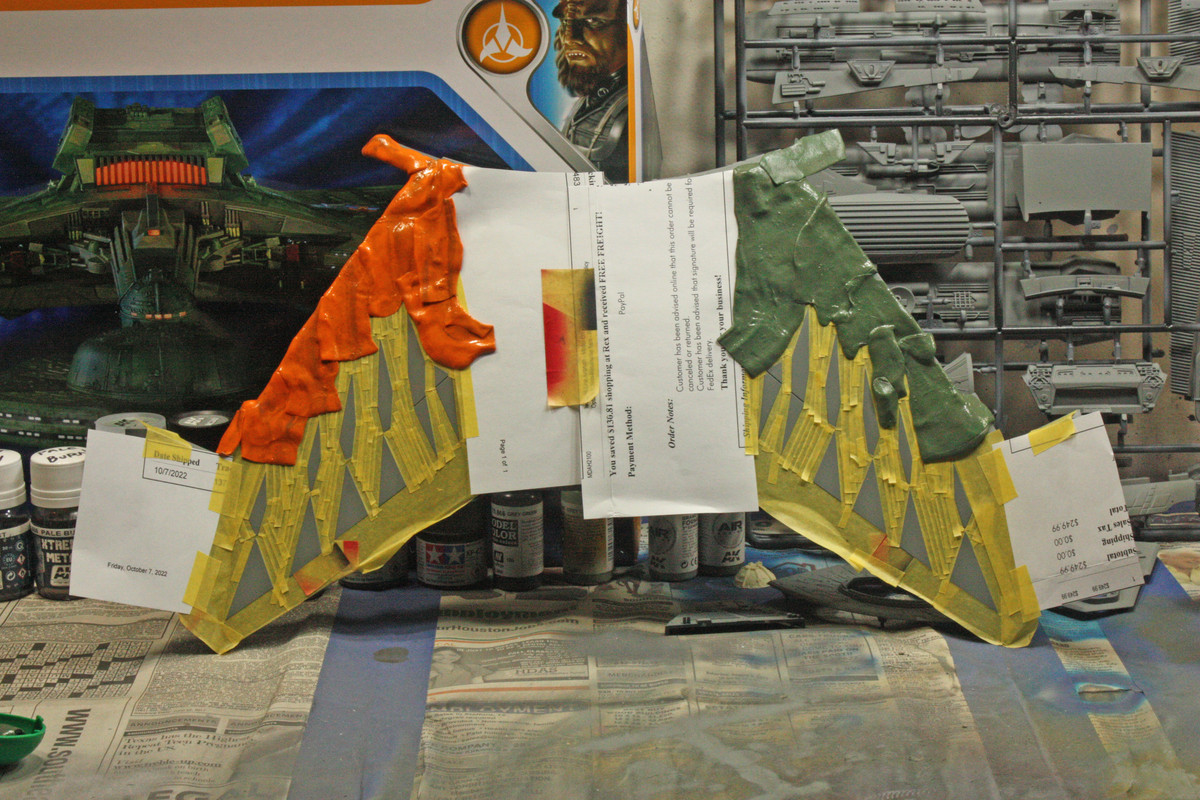
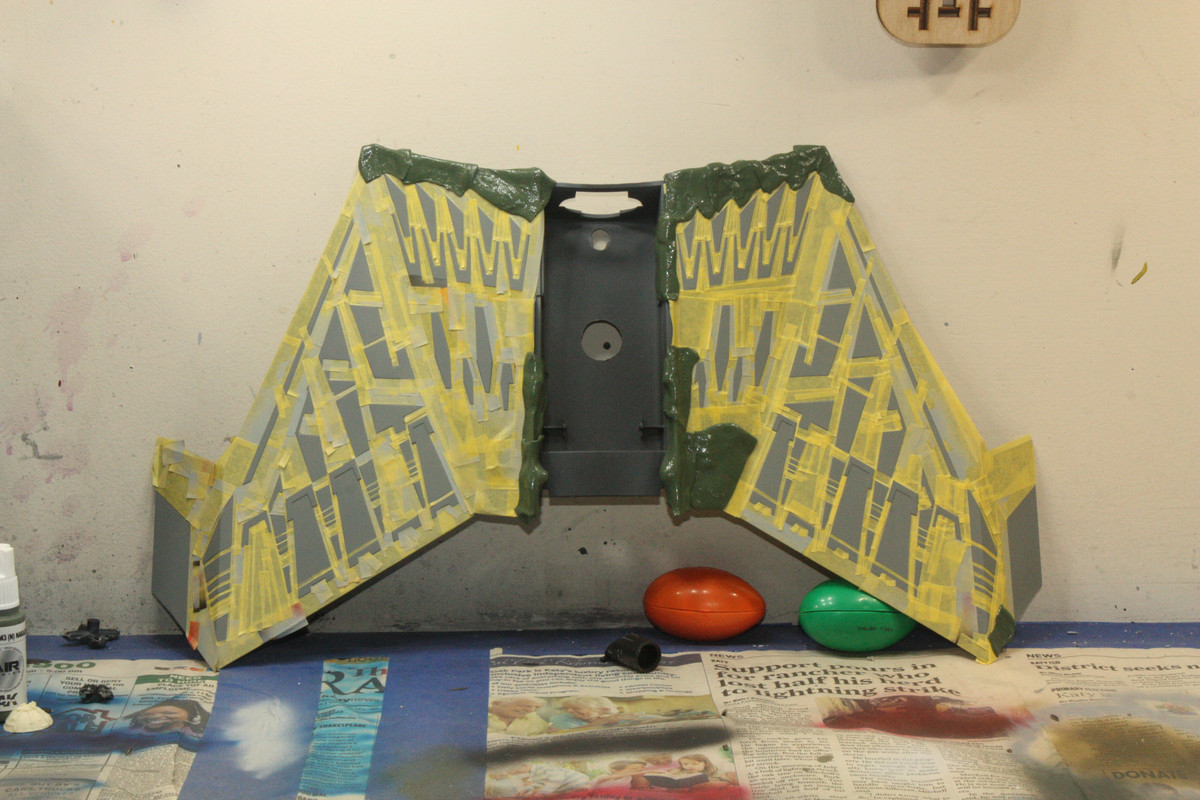

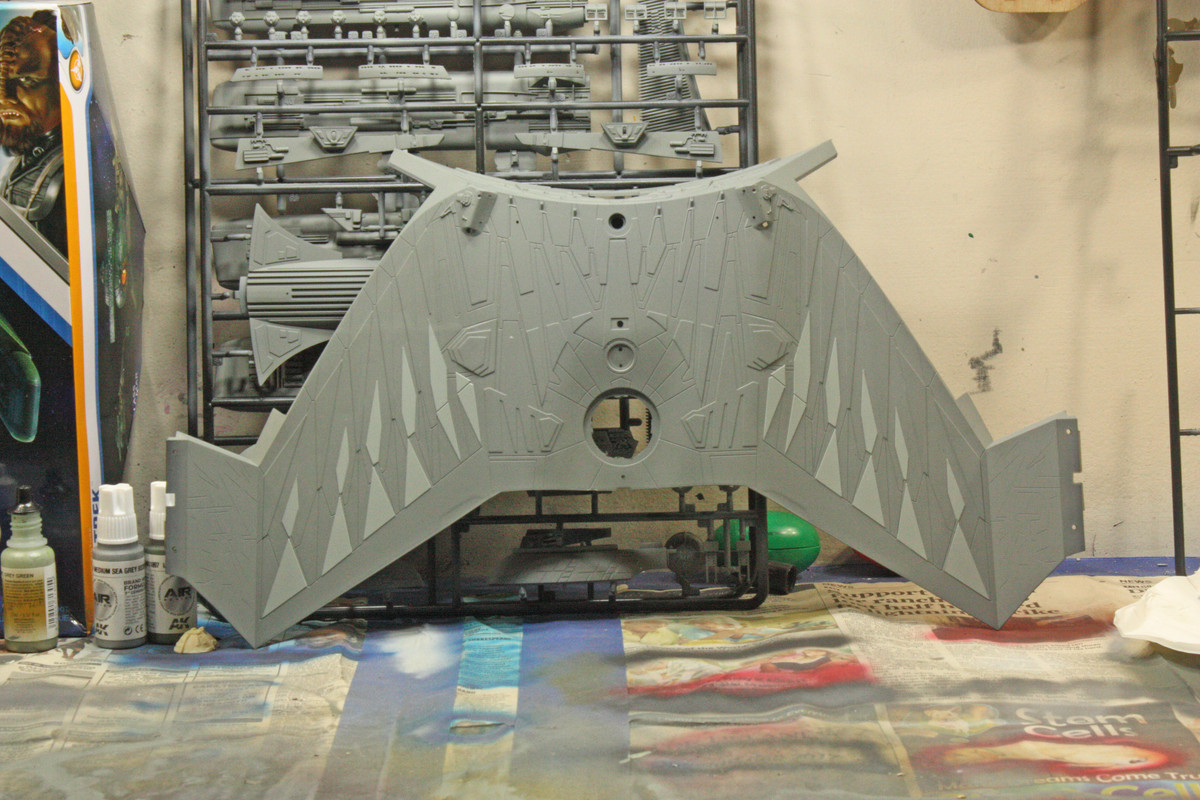
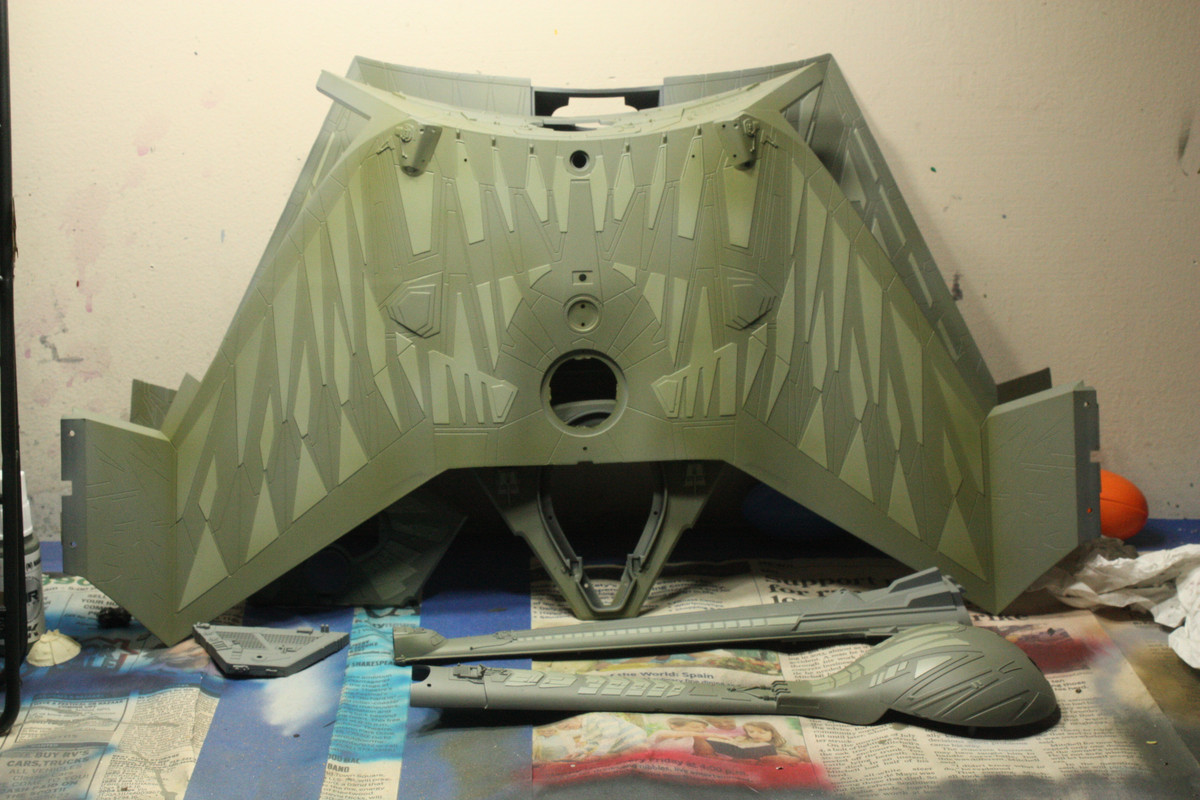
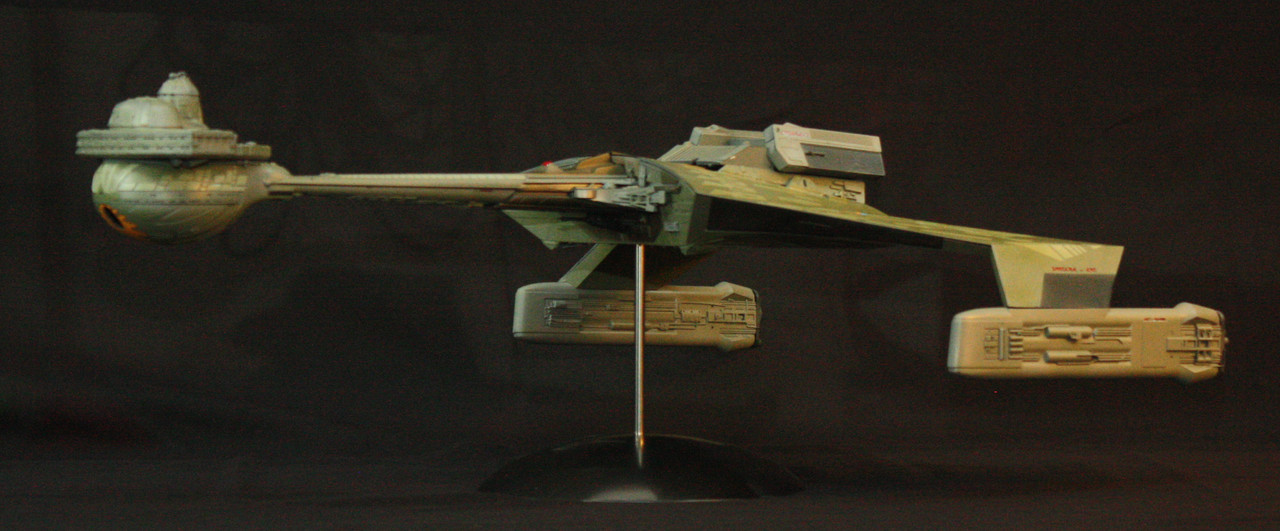
Paints were from AK Interactive and Vallejo. I started with a custom mix of Vallejo Japanese grey-green and a German grey-green (it surprised me when I got the bottle from ScaleHobbyist to be labeled RLM66, as I have always referred to that as either dark grey or black-grey.) That served as the overall base coat. I then mixed AK Interactive Real Color Japanese grey-green with a couple of drops of white and sprayed the raised panels that I opted to mask around. I left some panels the base color. The reason I went that direction was a best interpretation of what I could see while watching the opening of the movie. In the movie, to my eyes the K't'inga actually appears more grey than green, but every online reference I could find on the filming miniatures stated that it was in fact more green than grey. So that led to my final painting coat, a list misting of AK Interactive Real Colors Field Green (thinned with the Real Colors thinner to the ratio of 10:1). This misting worked pretty well IMO, as the model clearly has a more green hue that it would have otherwise displayed.

Once construction ensued, I found it to be relatively hassle-free. The neck attachment to the bulbous bridge (not sure if that's what it's called) was a bit of a chore, but once it snapped into place, it was solid. Running the lights was easy-peasy. I secured the bulbs into their positions with a couple of drops of white glue, which necessitated lengthy curing time so as to not dislodge them through handling the parts and built components.
But I did run into a big problem that soured me on the kit. The instructions were not real clear on how to actually construct what I've been calling the shuttle bay - the box fixture atop the upper hull. I followed the directions to the letter, but nope, that thing doesn't fit exactly right. The side panels right below that structure also did not fit well at all. I test fit the heck out of those, and determined that they had to be entirely flush with the underlying supports to allow the shuttle bay to even think about sliding into the position that I have it in. But that left ugly gaps that were also light leaks along the underside of those parts. I ended up filling those gaps first with sheet styrene then with putty. Even with that, the shuttle bay and the metallic panel in front of it just do not fit right.
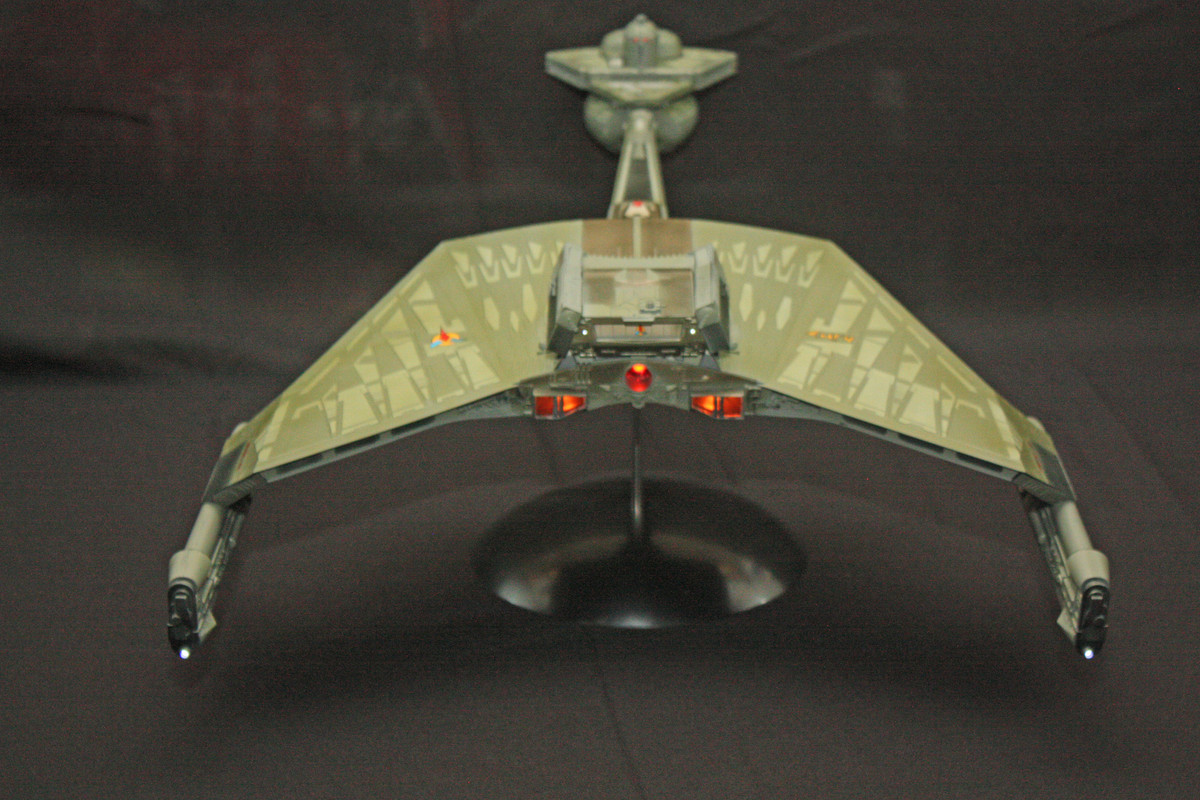
On the other hand, the kit's decals worked perfectly. Even the big Klingon symbol on the underside that I could not get a good photo of since I would have to turn the model over (and the shuttle way would consequently fall off and dangle from the wiring attachment, which I want to avoid as much as I can for fear of damaging those connections).
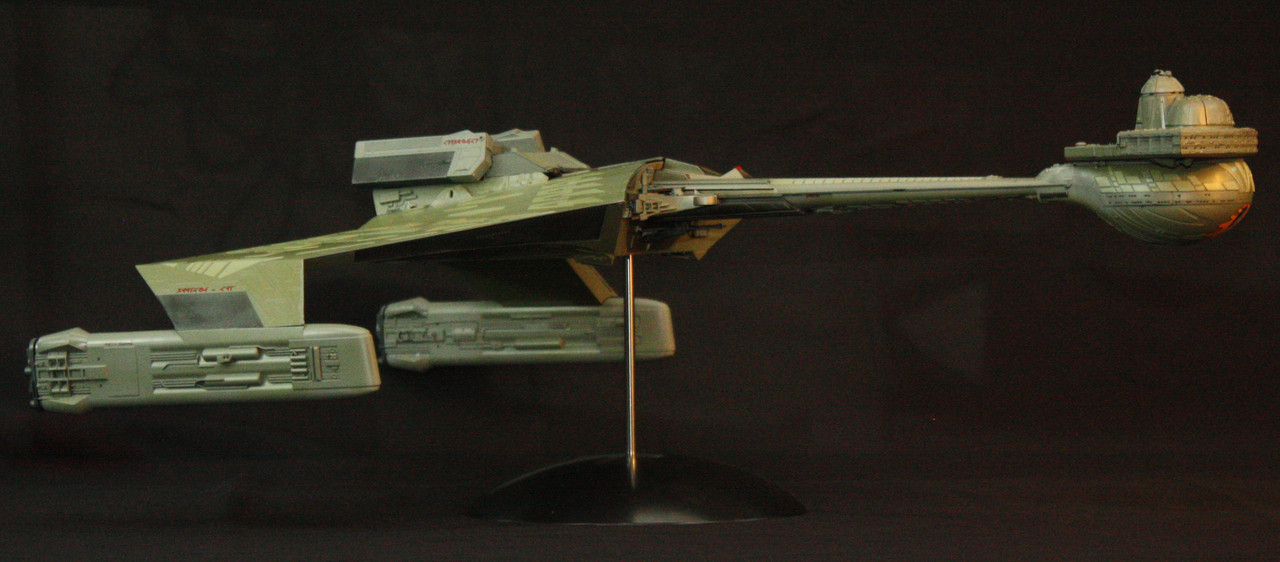
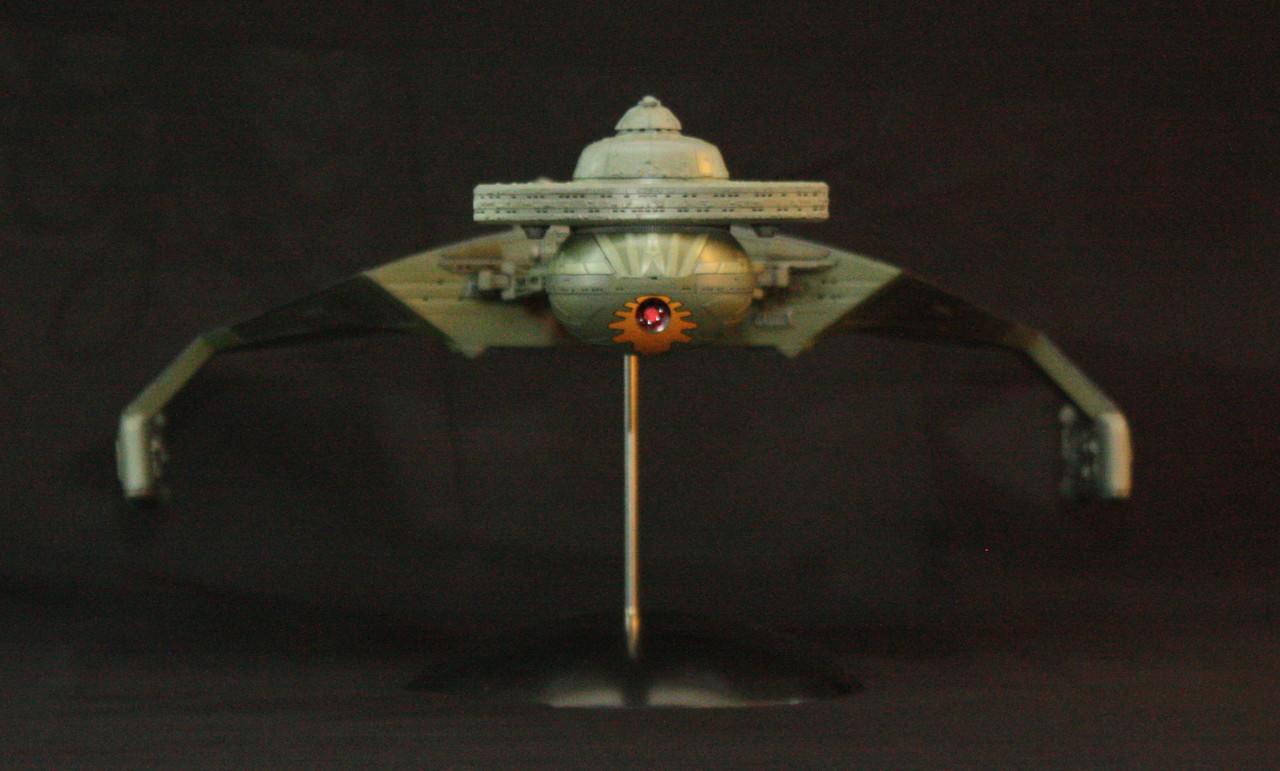

Here are some shots with the lights turned on. I have found it notoriously difficult to get focused shots of the kits I've built with lights on, so I don't have every view here.
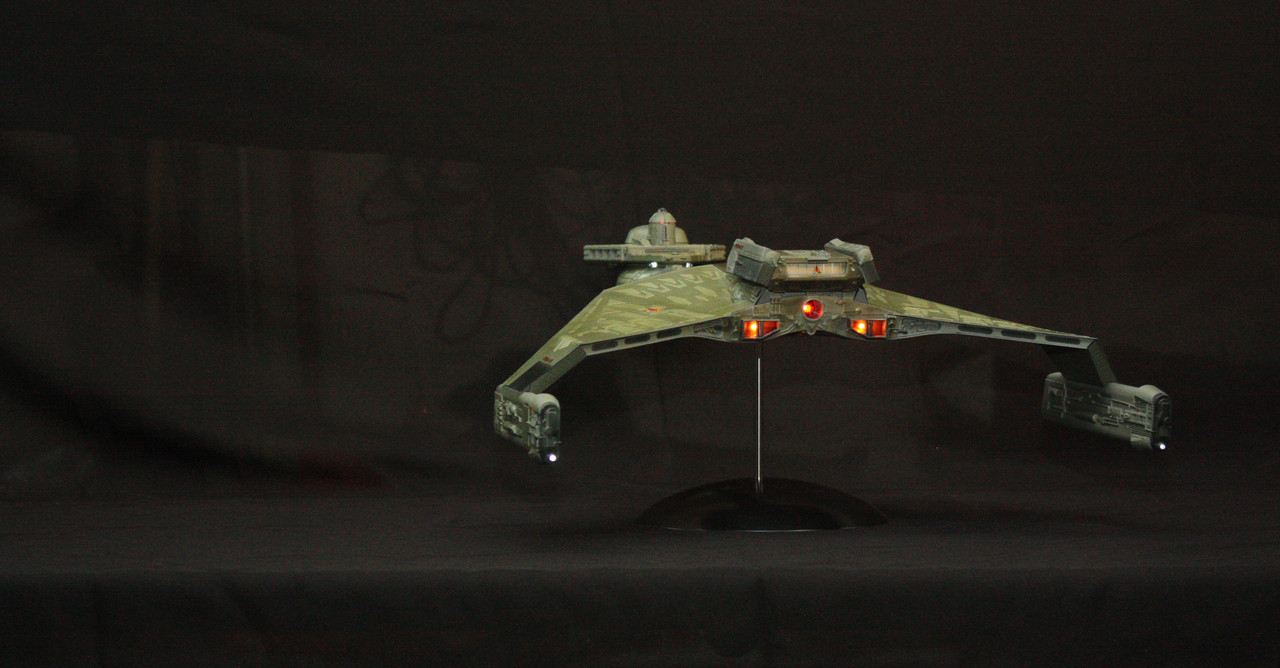
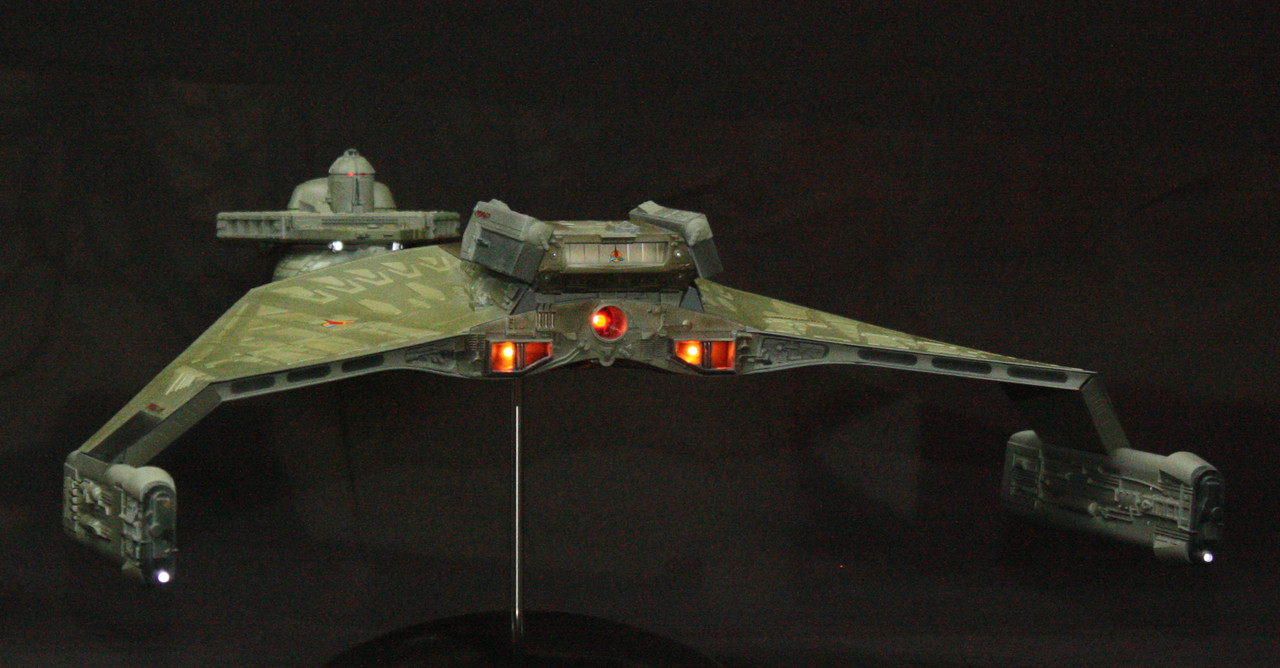
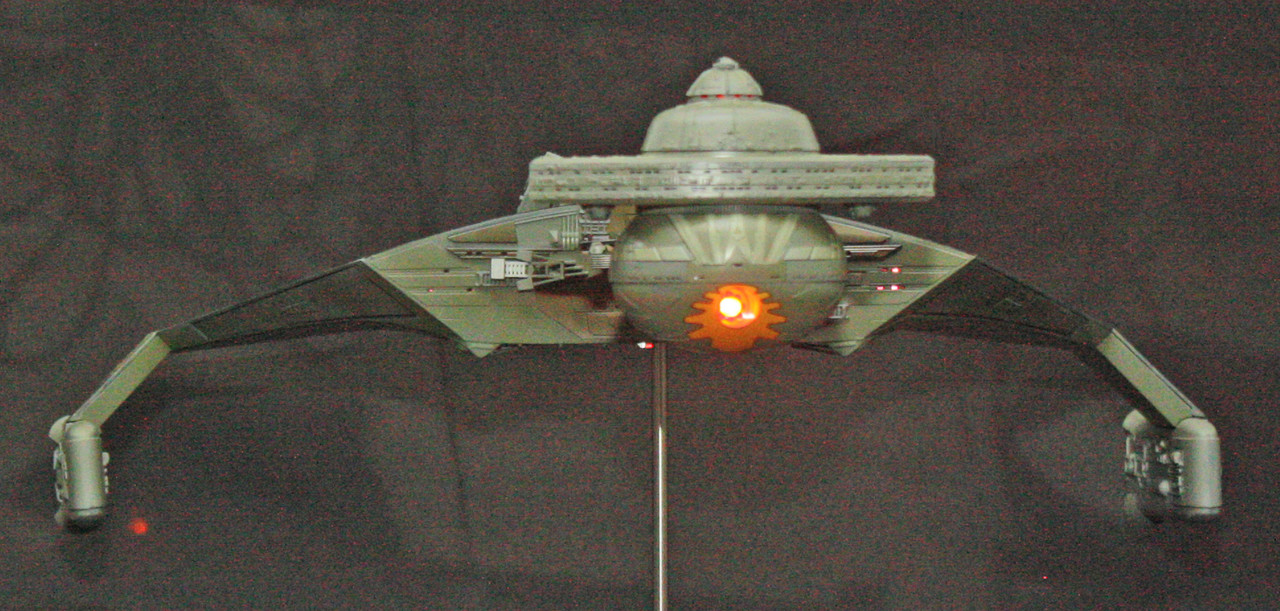
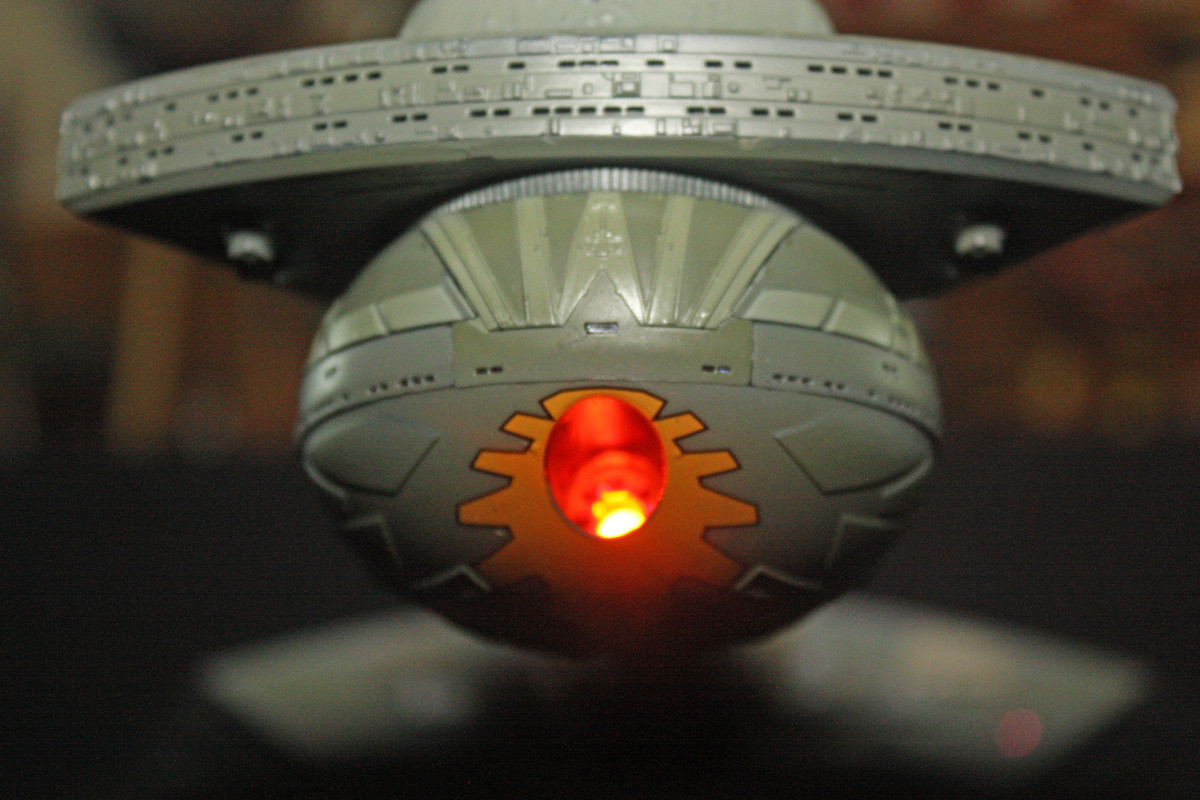
I think if I had this one to do over, I would not have bought the light kit and instead would have bought LED light strips. The bridge would have done better with such lights, and I think actual red bulbs would have looked better in the engines.
Next up is Polar Lights' 1/350 USS Enterprise NCC-1701 of the original series and including the light kit for it.