1/350th Klingon K'Tinga Buildup.
I have decided today to begin my buildup of Sovereign Replicas 1/350th K'Tinga. I was talking with my wife about an upcoming local model show and was trying to think of which of my current projects I would put my energies into to bring to the show. She said, Why don't you build that big Klingon ship you just bought? Well I didn't have a good reason other than the fact that I don't want to mess it up! 
This will document the assembly of the kit from start to finish so I hope you folks enjoy it.
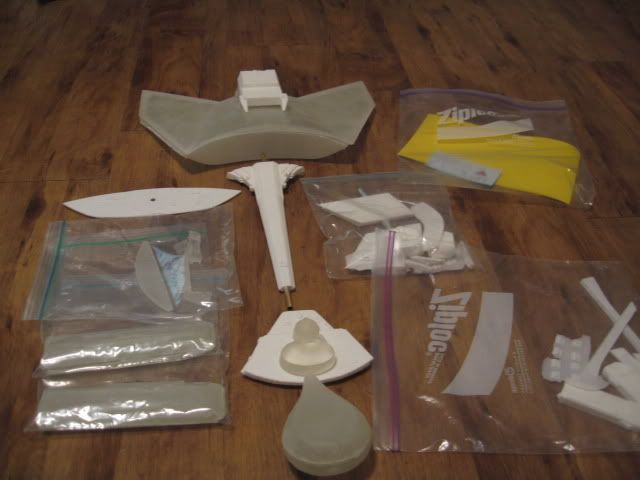
This is the first GK that I've purchased. Its made of clear fiberglass and resin parts. Packaging is well done with about 6 or so ziplock bags with parts. The clear resin parts are in an individual bag. The nacelle halves are also individually bagged. The main hull is shrink wrapped to protect it from damage. The box was full of styrofoam peanuts and nothing was damaged during shipping. Vinyl paint masks are provided for all hull plating, a large Klingon symbol and around the forward torpedo tube. A decal sheet is also provided.
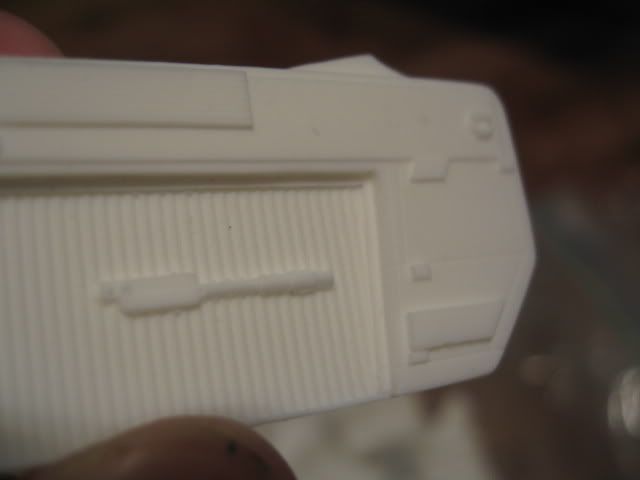
Fiberglass parts are laid up in clear epoxy resin and are fully cured and the edges have been cleaned up. Further sanding with a dremel will be necessary during construction to insure a good tight seam but nothing out of the ordinary. The detail has been transferred perfectly into the surface of the part.
White resin and clear resin parts are incredibly clean. Flash is non-existent. And I mean, non-existent. The detail in these parts has to be seen to be believed. The photos during the construction of the master as good as they were do not do this kit justice. You have to see it for yourself!
Parts Layout:
Casting example:
I started the process by washing the parts. I took some superclean and an old toothbrush and scrubbed each part, then rinsed and used dishwashing soap (dawn) and washed off the superclean and rinsed them in cool water. After they dried, I determined that I would start with the command pod to begin construction. The pod is layed up in the clear fiberglass in upper and lower sections. REL did a good job on cleaning them up before shipping but they still needed to be sanded a little to insure a perfect fit. I took a piece of 100 grit sandpaper and put it on a granite countertop. I then took the part and layed it down flat and went to work on it:
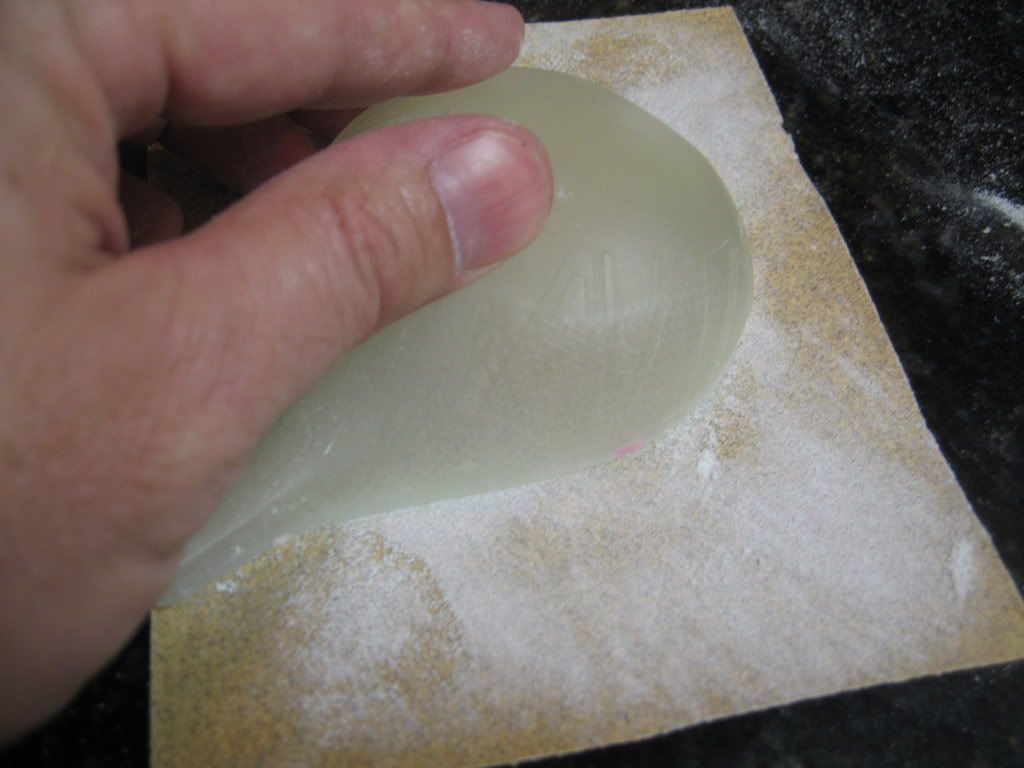
Very shortly the lower portion was ready, now the top:

A test fit of upper and lower parts revealed what I wanted to see, a good fit!

This buildup will be lit so I have to think of the sequence of construction. I assembled what I could of the top or bridge section and appled some reflective film as 4 to 5 led's will go in here and they will generate a lot of light:

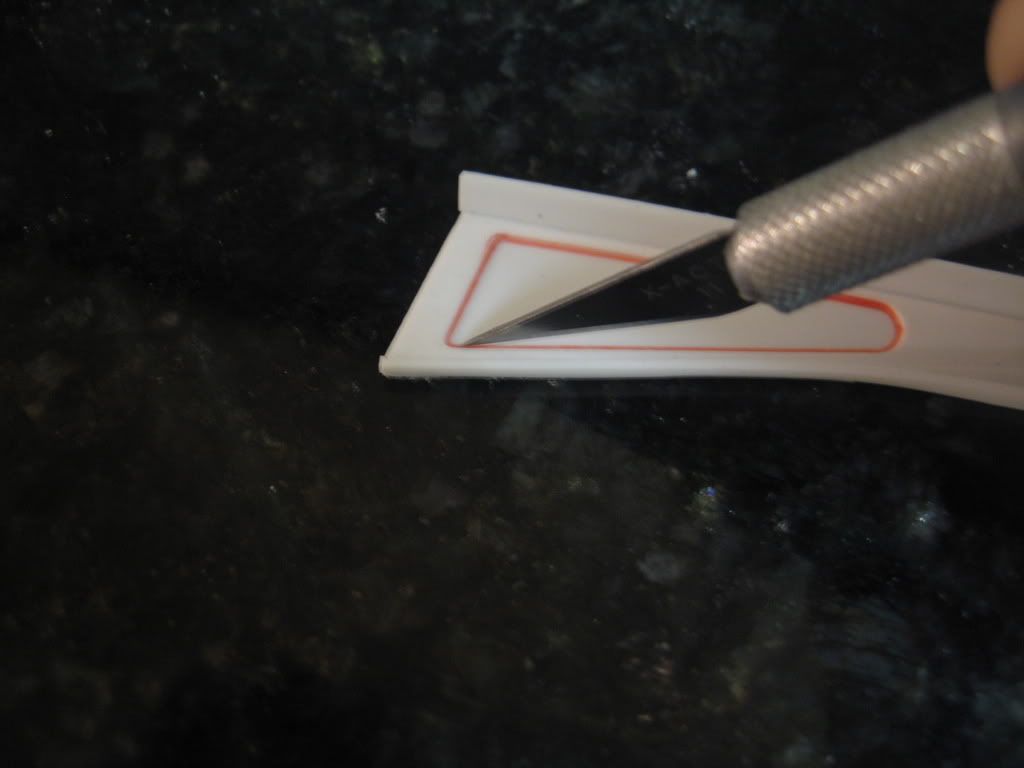
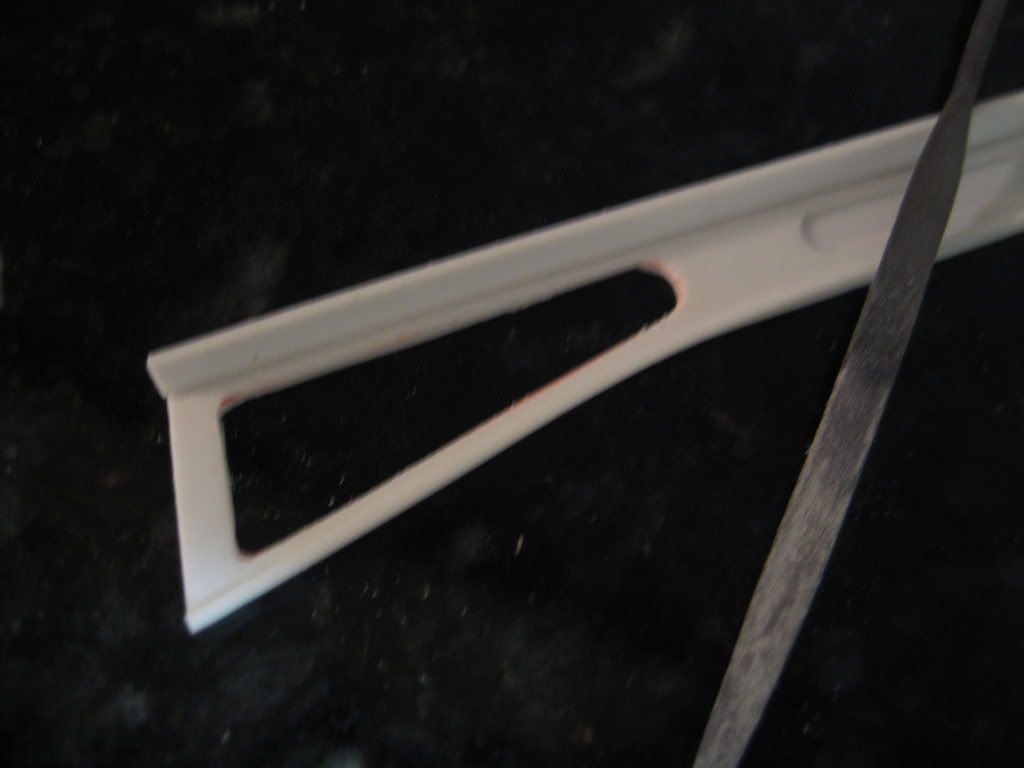
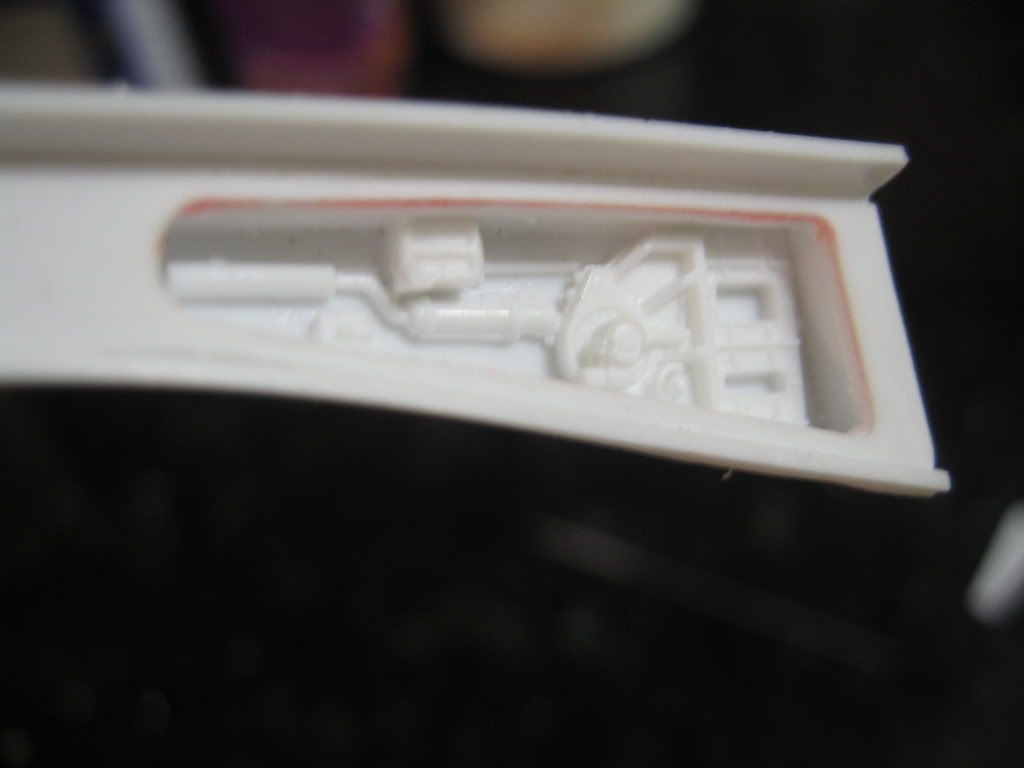
There are two parts on either side of the impulse engines that need to be cut out and another part goes behind the opening so out with the sharpie, No. 11 blade and small files. You must make repeated passes with the knife to get through the resin. After that's done, I used CA to glue the part behind the opening (REL recommends CA for these kits and I can tell you it works great, just make sure you have the part placed where you want it before applying the CA )
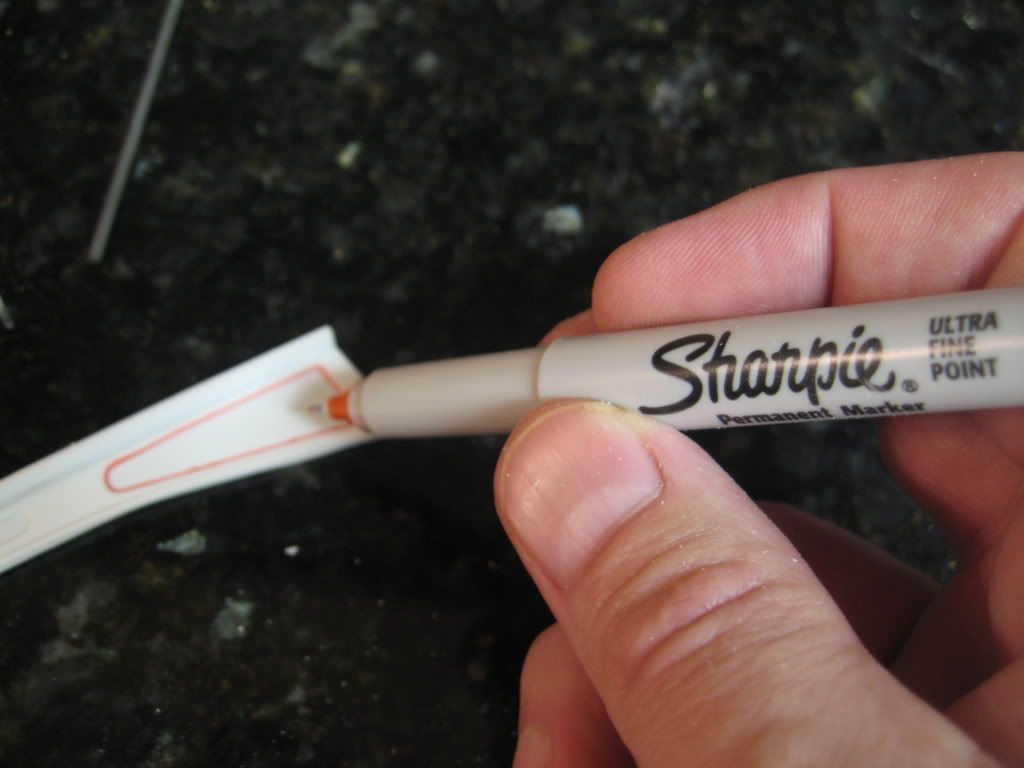
The main hull was laid up in an open face mold, but the parting line is there all you have to do is get a sharpie and mark it all along the perimeter of the hull for removal/ minor cleanup:
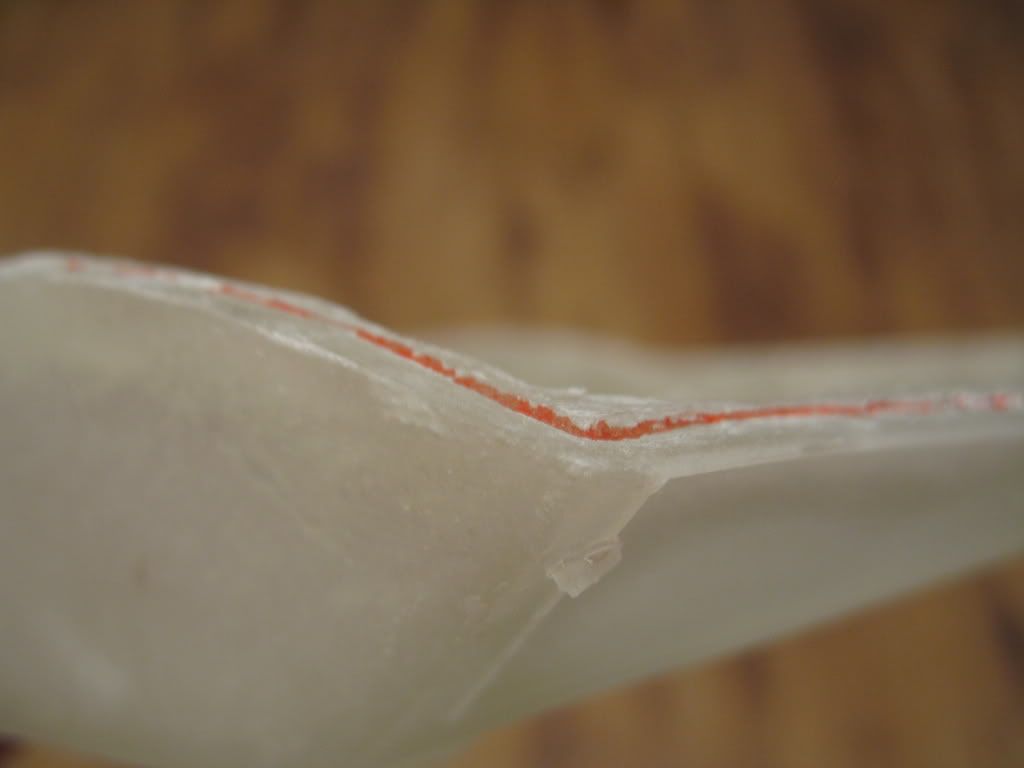
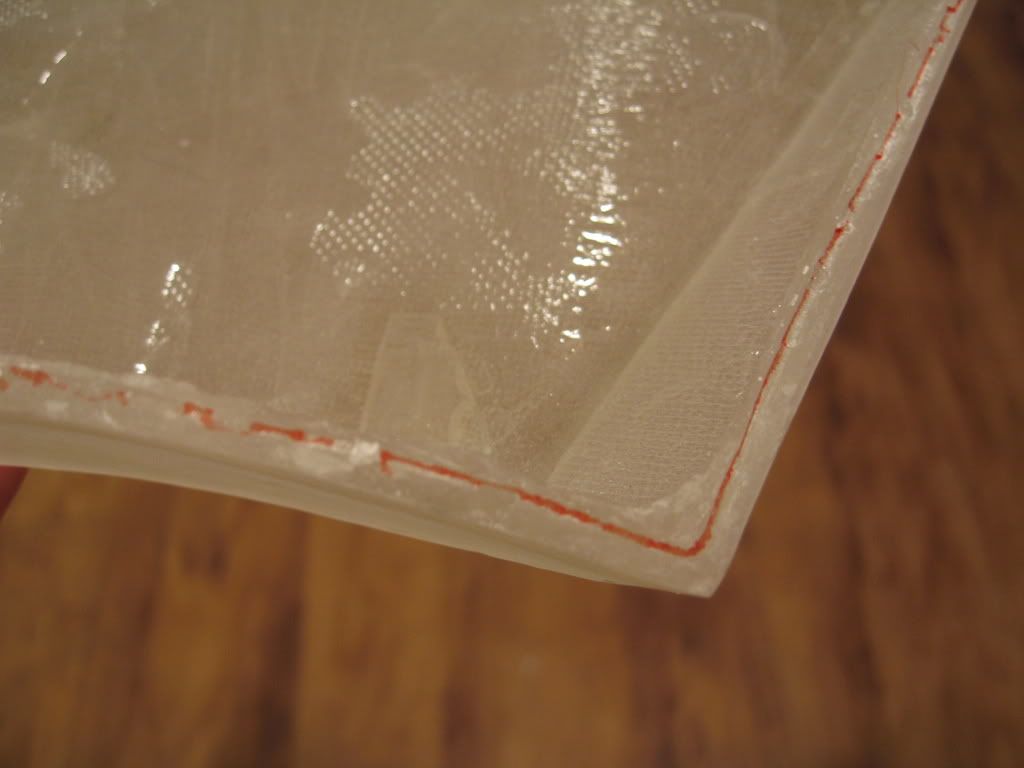
After you mark it, you can use a dremel or a file to get the surface down to where it needs to be for a proper fit. I used a file and it was no problem at all. Make sure you test fit as you go!

I completed what you see here in about 3 hours time if that. The Kit goes together very well and REL has done a great job on it! I have about a month to finish the K"Tinga and all of my other projects will be on hold until then. I hope you will enjoy this build as I document exactly what I am doing in completing it! More to come.