Ok, a little update after a week. The problem with showing progress on prep work is that it is very boring. Not much is seen in the ways of changes. The sanding process is fairly arduous, and the cleaning sessions are just boring, but these steps are the most important ones in the build as they are the foundations upon which you build your kit.
So after the test fit, the parts were taken apart and some of smaller sections were glued together:

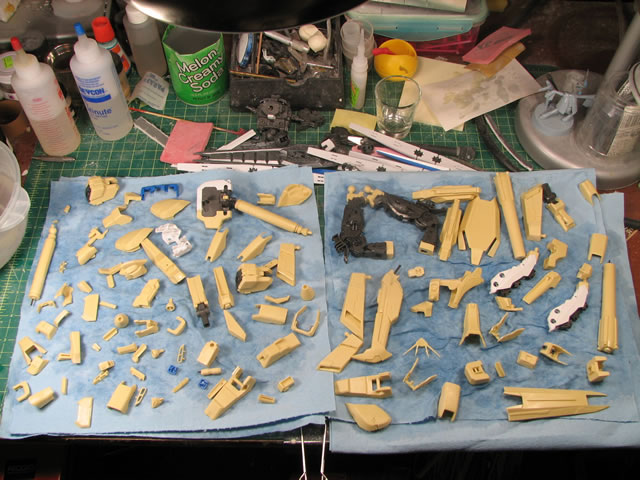
Then it was on the ever fun sanding session. Once the initial sanding was done (I say initial because this isn't the end all to the sanding sessions...) The parts are then thrown into the purple soup that is industrial strength cleaning solution to remove any residue that may affect paint adhesion. The day after, the parts are removed and scrubbed, then allowed to dry complete:


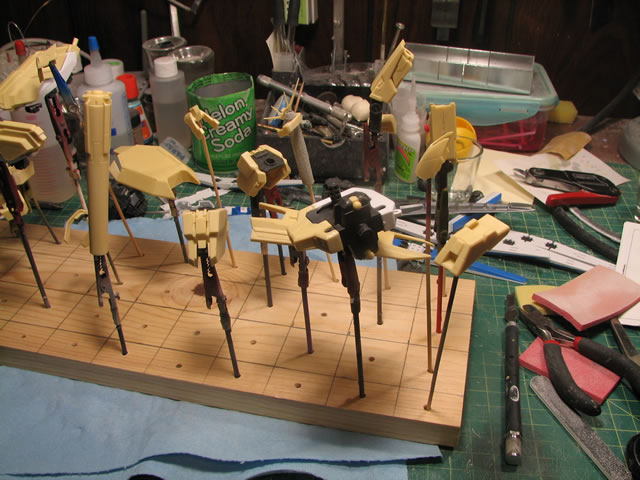
A couple of days later, after all the parts are completely dry, they are mounted on various holding implements such as bamboo skewers, bamboo skewers with metal clips appatched, and bamboo skeweres with tape wound around with the sticky side up.

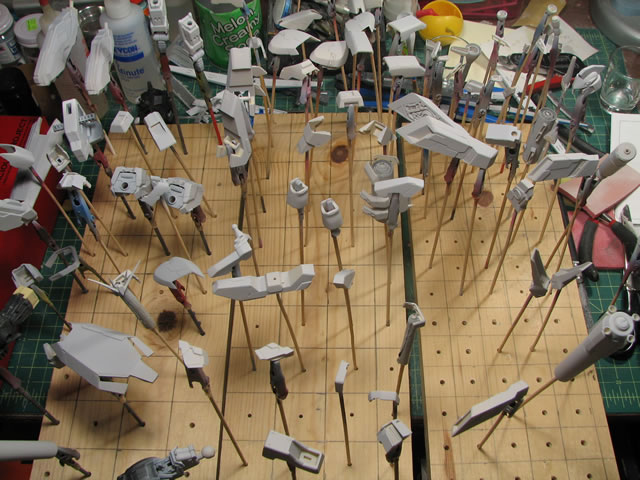
With the parts mounted, on to the initial priming session. Again, the key word here is initial, since this will bring out all the little sanding mistakes that I have made, and all the surface defects such as pinholes or marred details will be crystal clear with a nice gray primer:

And tonight, I hope to get the second stange of surface prep done...