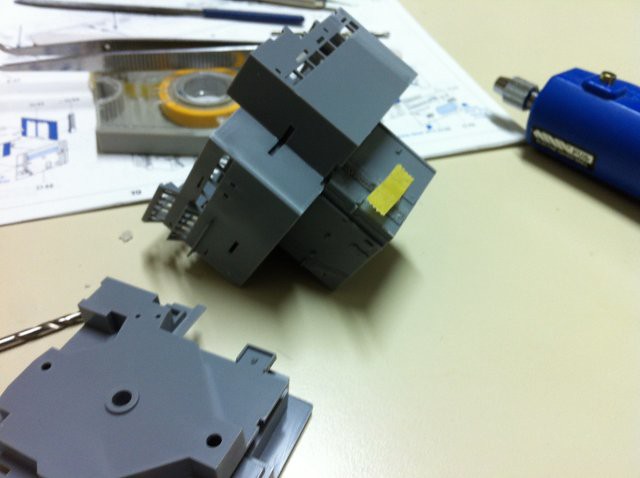
Dear friends, I decided to start the bridge. I intend to do the basic structure first, and only at the end paste the PEs. Actually it is very difficult to do any assembly without damaging an PE.
Starting the bridge:
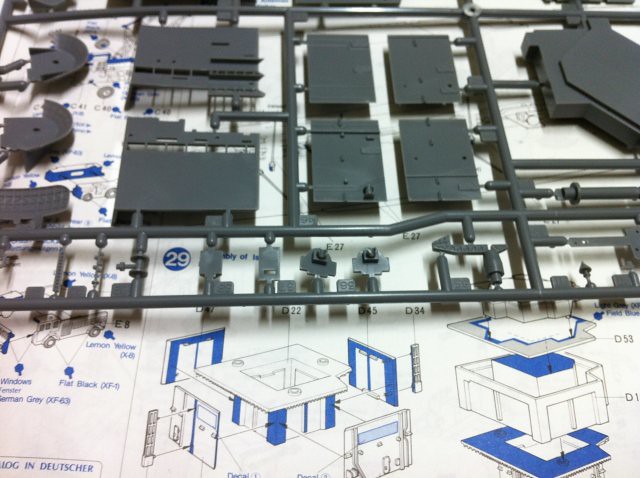
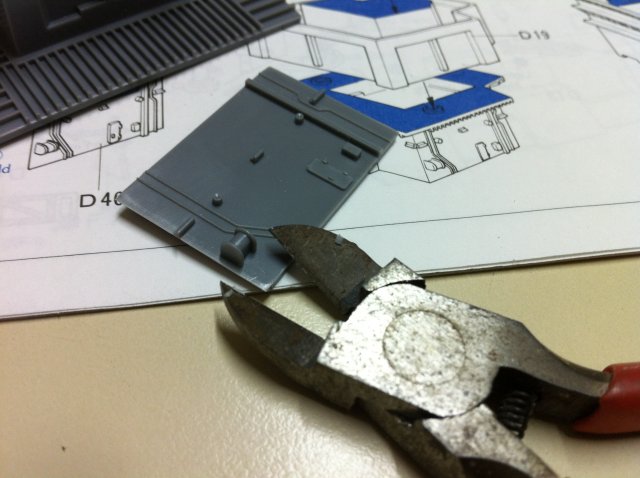
You have to look at the manual of the kit and the PEs. In this piece, let's remove a fire hose reel of the bridge.
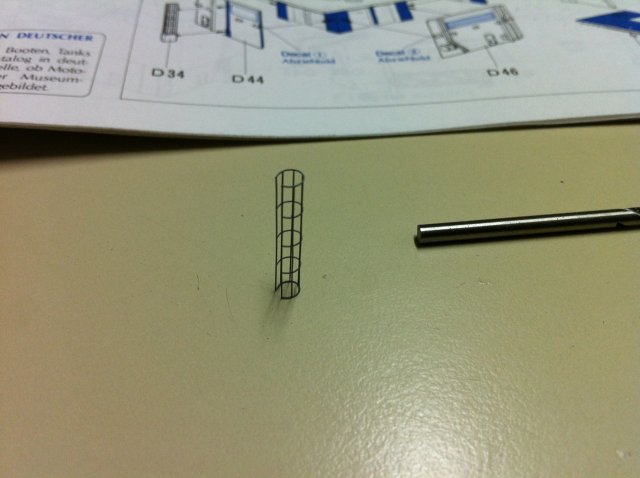
Just as a test, we will build the stairs and railings in PE. Following the instructions, it is quite easy:
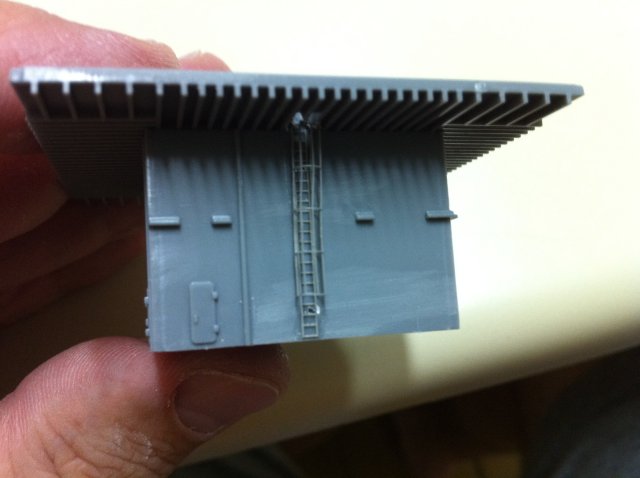
And the result is good, because the fit is very precise:
After an hour ...