Greetings Fellow Modelers,
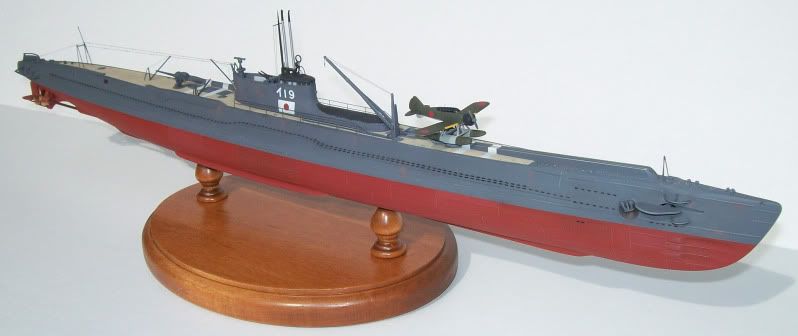
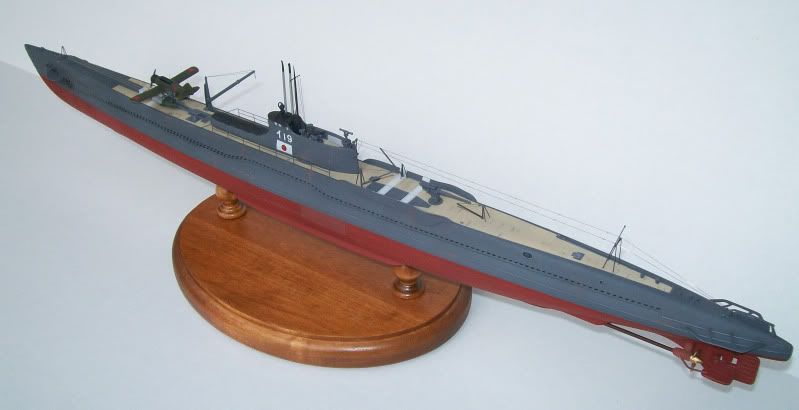
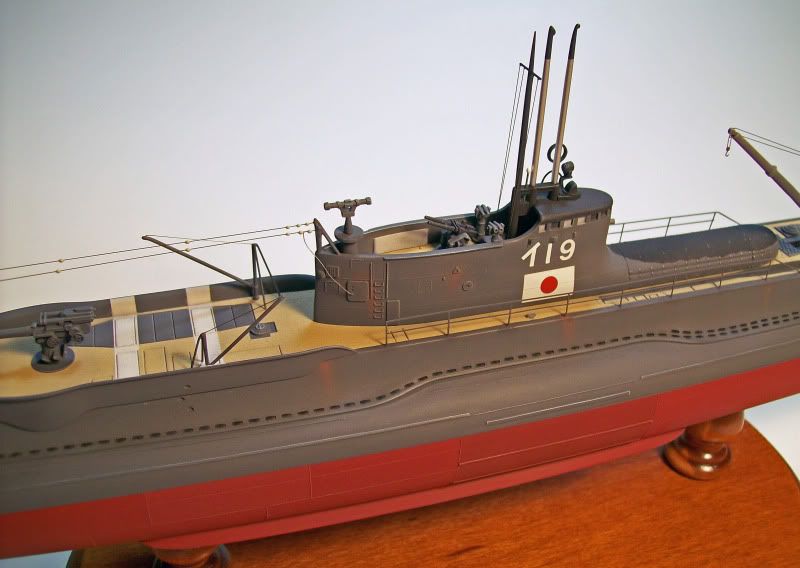
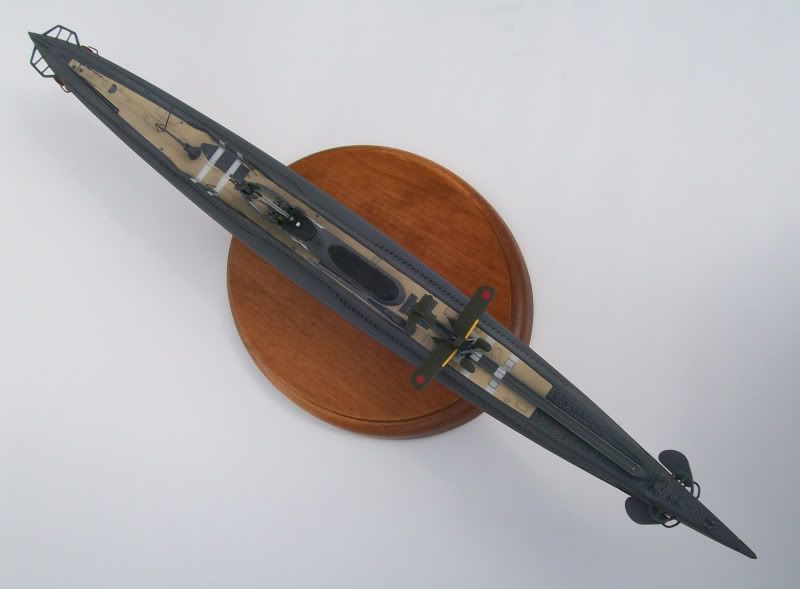
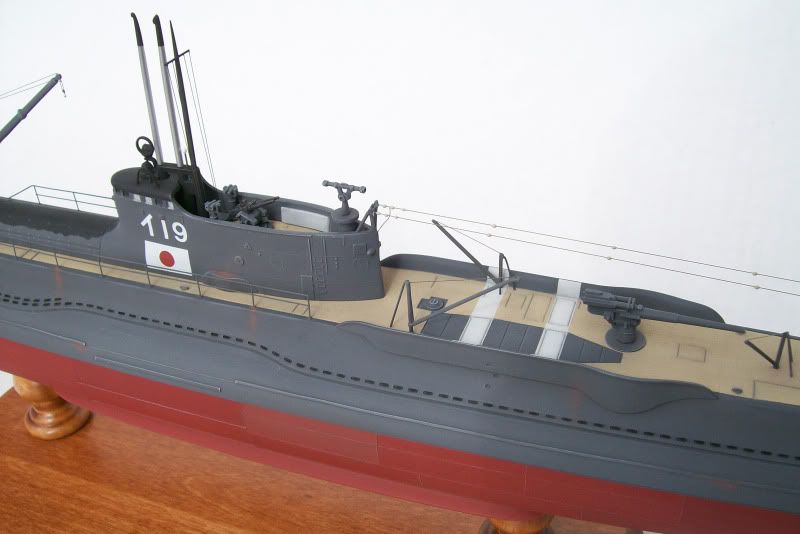
Below are photos of my latest build completed about a week ago. It is Nichimo’s 1/200 scale WWII I-19 Japanese B1 Class long-range fleet submarine.
The I-19 was built by the Mitsubishi Shipbuilding Company in Kobe, Japan and was completed in April 1941. Its first combat service was being part of the Hawaiian Operation “Advance Group” that attacked Pearl Harbor in early December. Later that month the I-19 torpedoed and damaged an American tanker off the West Coast. On September 15, 1942, during the Battle of the Eastern Solomons, the I-19 fired six torpedoes at the aircraft carrier U.S.S Wasp (CV-7), striking her with two. Incredibly, two of the remaining torpedoes continued running until they reached another task force operating thousands of yards away, hitting the battleship U.S.S. North Carolina (BB-55) and the destroyer U.S.S. O-Brien (DD-415). The aircraft carrier and destroyer sank and the battleship was severely damaged. Some historians believe this torpedo spread was the deadliest fired by any submarine during the war. From November 1942 to January 1943, the I-19 participated in cargo supply missions to Guadalcanal Island. Between April and August 1943, the I-19 sank and severely damaged two American freighters, and sank and damaged two American liberty ships. In mid-November, 1943 the I-19’s “Glen” floatplane made a successful sunset reconnaissance flight over Pearl Harbor, reporting the ships anchored there. On November 25, 1943, while operating off Tarawa and Makin Islands, the I-19 was attacked by the destroyer U.S.S. Radford (DD-446) and sunk with the loss of all hands.
I do not know how old Nichmo’s I-19 kit is, but it has to be fairly old since I first built it in 1991, and it was not new even then. Some of the parts have flash on them and the molds are showing signs of minor pitting. Some of the deck parts are out of scale and too thick, while many of the single piece parts are offset badly along the center mold line. Having said that, this is an extremely well detailed and accurate model of the I-19 (at least from all of the reference drawings and photos I have seen) and it does go together very well. Most of my modifications I made focused on replacing the upper deck details with small diameter wire. I hope you enjoy the photos.
Thanks
Phillip1
