As the title states I havn't built a ship in 15 plus years. I was building comercial trucks for better than 10 years and have gotten quite bored with them. So now after 2 1/2 years of not touching styrene I decided to pull the Tamiya Enterprise off the shelf it has been sitting on and collecting dust for about 7 years. I picked up (stole) this kit at an IMPS regional contest swap meet for 40 bucks. Well the day has come and I have started this build. My intentions are to build her as she was just prior to being deactivated this month. I know this kit will be an enormous endeavor and challenge to say the least. But since my favorite part of building models is scratch building and super detailing I should be in heaven and not get bore with this build.
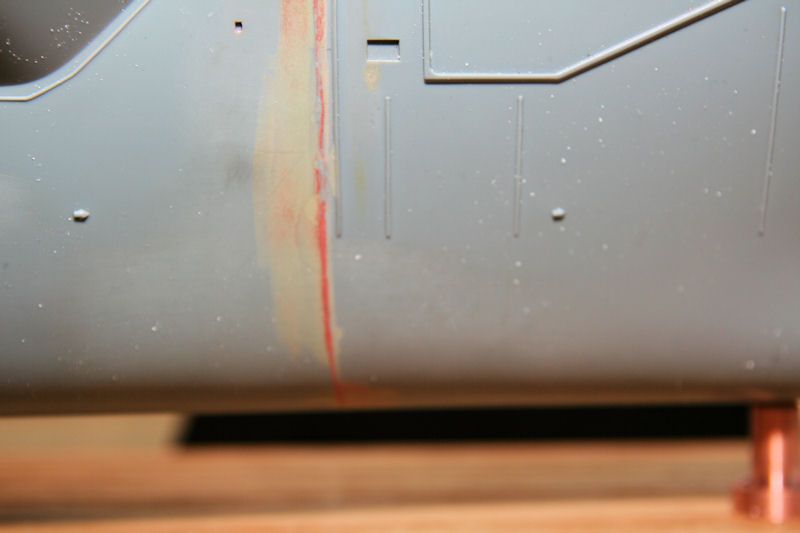
I have assembled the two hull sections. I am using automotive glazing putty for filler because it does not shrink over time. As you can see in the image below I still have more filler to add to the seam. I may very well end up having to replace the bow siffener because it may get damaged/removed in the sanding process to get the seam right.
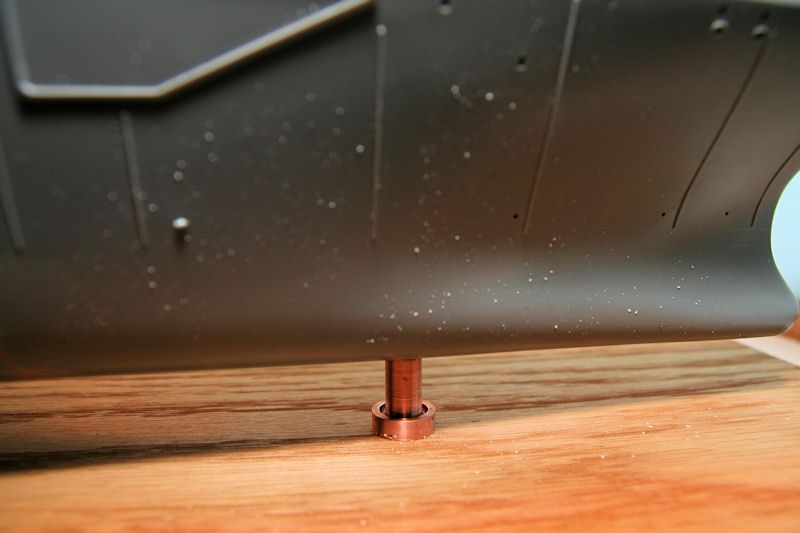
Next I have mounted her to a building board. Once she is completed the ship will be mounted on a custom made display base. For the pedastals she is sitting on I am using used copper plasma cutter tips. When I got these they were burnt and full of slag so I made a mandrel for them and cleaned them up on my drill press. Prior to mounting them on the finished display base they will get polished out.
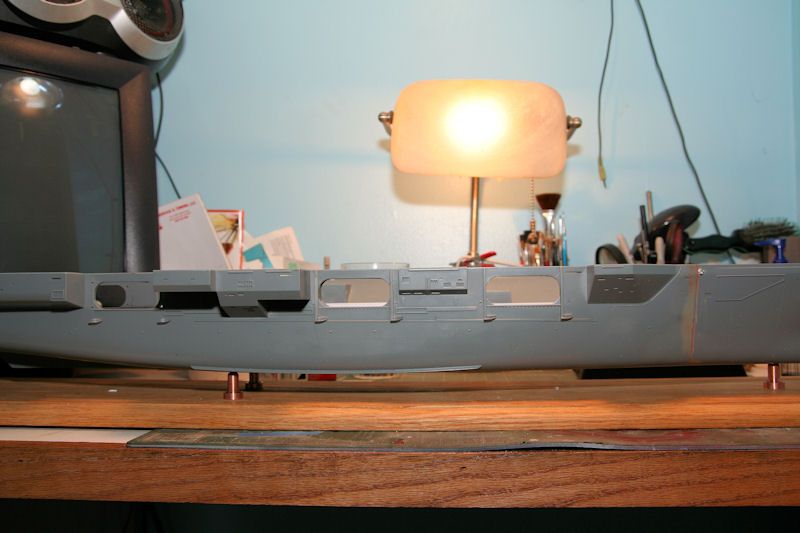
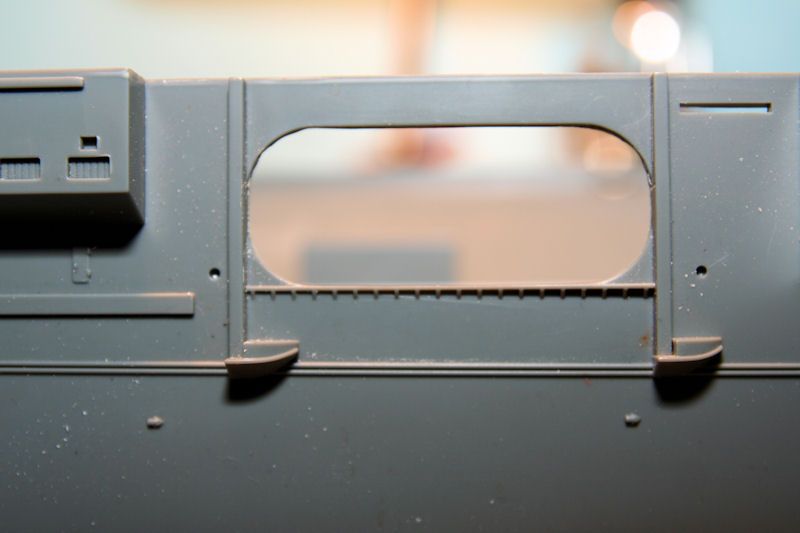
Since the #1 hanger bay blast door is inacurrate in appearance and placement it was opened up. As you can see I still have more sanding and filing to go.
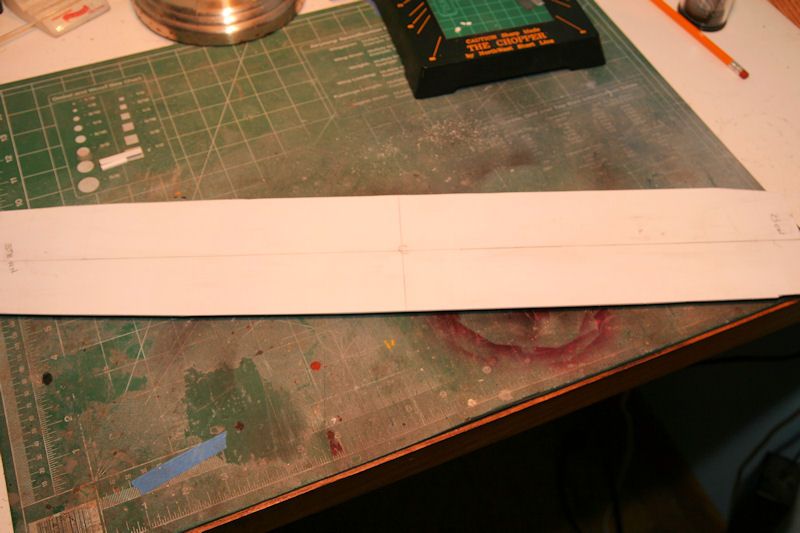
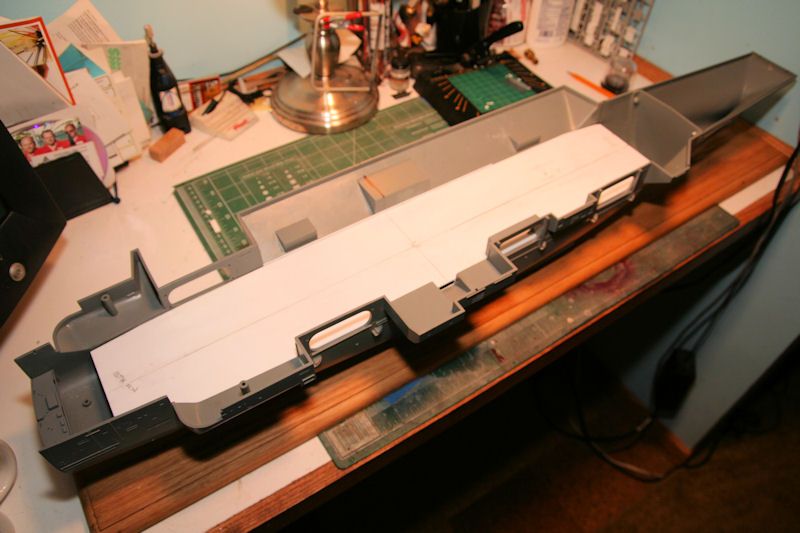
Whats an aircraft carrier with out its hange deck. Yep I am going to scratch build the hanger deck and bulkheads. The deck is made with .060 sheet styrene.
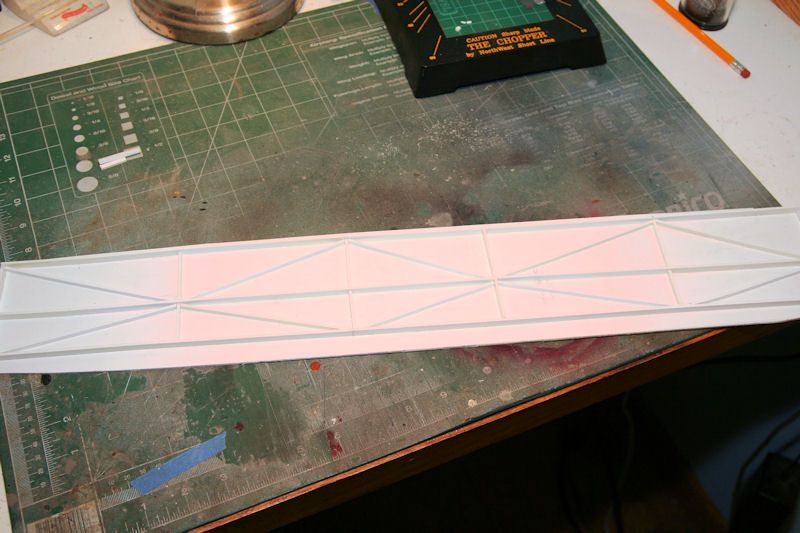
Reinforcements on the under side of the hanger deck so it does not sag.
Hull supports for the hanger deck
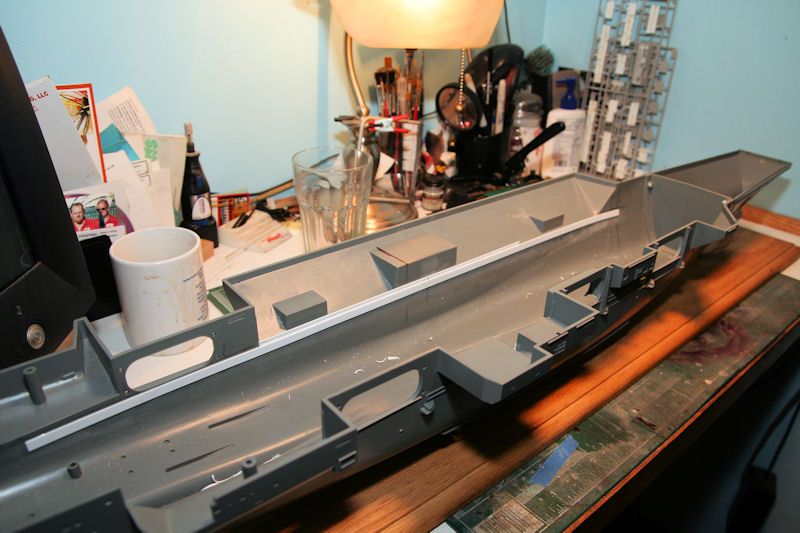
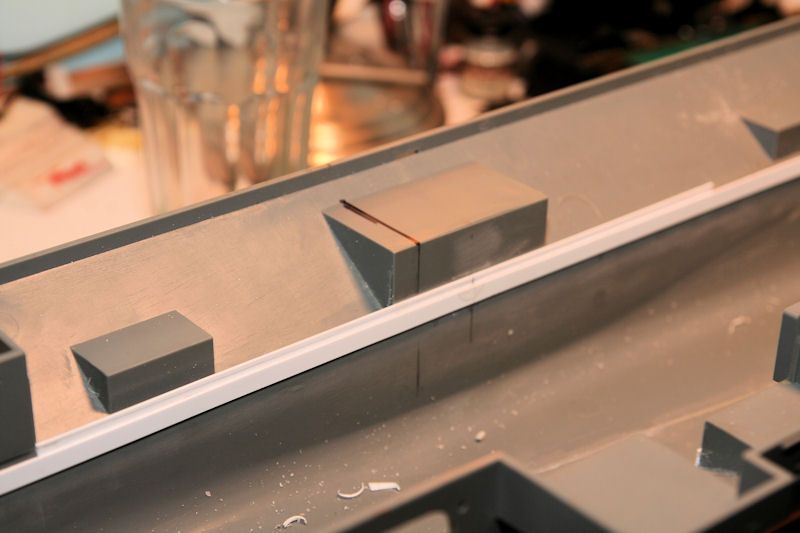
The hanger deck fitted to the hull and in place. (Not glued in yet)
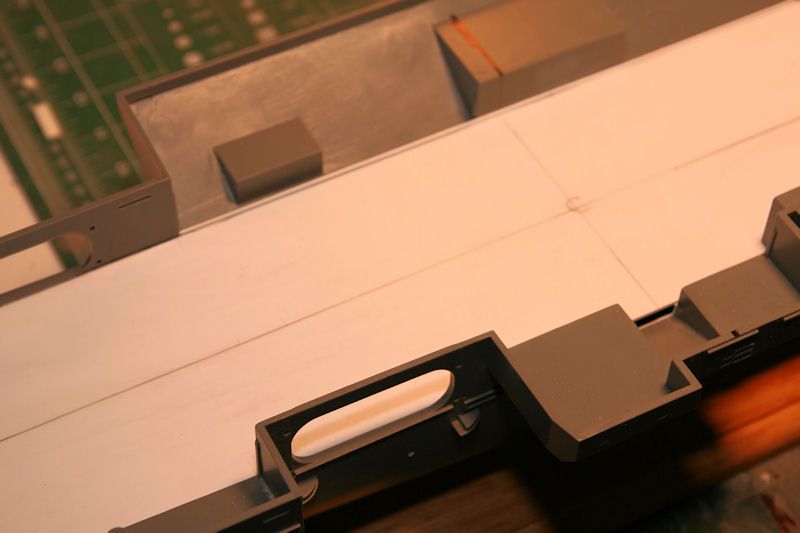
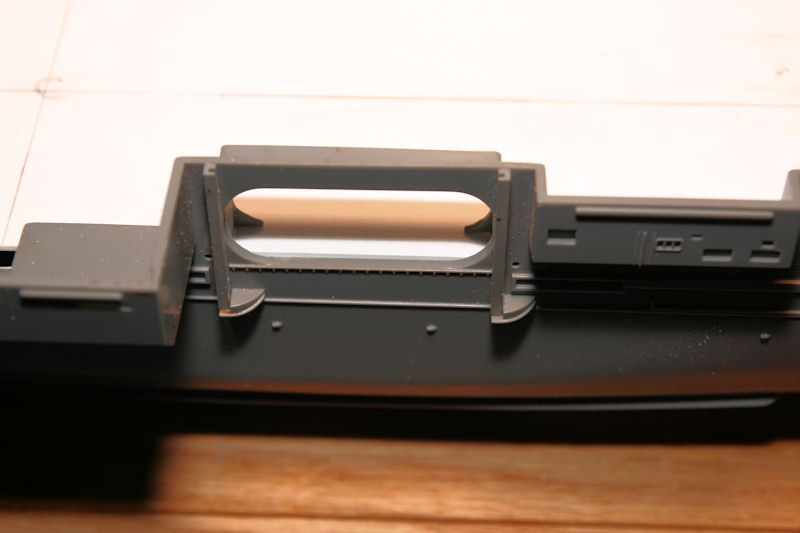
A shot through the #2 hanger bay door
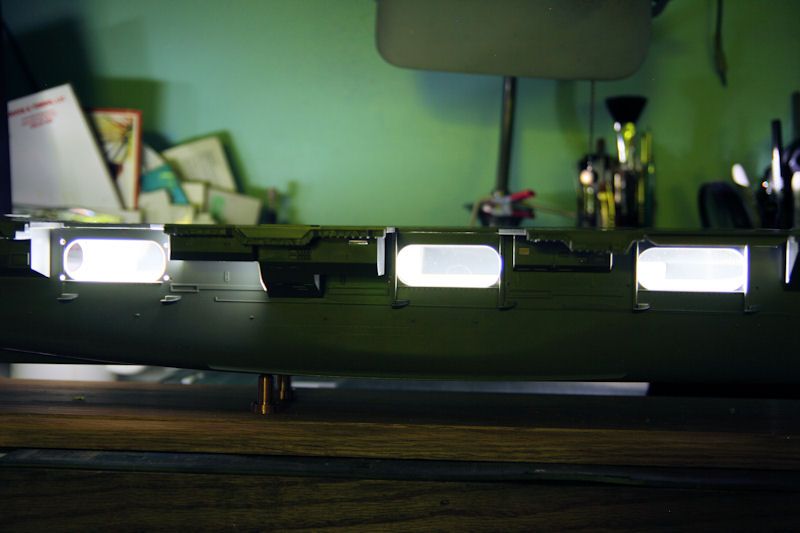
Since my intentions are to light the hanger bays at least so the details can be viewed I thought I would take a teaser shot for insperation. I used a LED flash light to light the interior just to get an idea of what it will look like.
Next I will be opening up the portholes for the dock lines and anchors. I am thinking of displaying her with the anchors in a partially lowered position. So I will be adding a floor to the bow section for any excess chain.