Hi, I am new to Fine Scale Modeler. I am a novice builder, and have only completed one 1/350 ship, the Tamiya Tirpitz.
I have now started work on the Tamiya 1/350 USS Enterprise.
I have found the blog and contributions made by A.M. Jorge and the rest of the community extremely helpful in staring and planning my build. I would like to contribute to the community by documenting my own build, and hopefully, get some HELP along the way, because I will need it. I also hope to provide a resource to other modelers tackling the USS Enterprise project. I plan to include a lot of detail and photos on how I approach the build.
I have to warn readers :-) ... I am not the most organized and co-herent mind, and this will be reflected in my building approach and blog. I am also a novice at building large ships, as such, I do consider a lot of factors before executing a task and thus I may not always follow the plan or the instructions.
This is what I have done to date. (I have had the project in the closet for more than 5 years.)
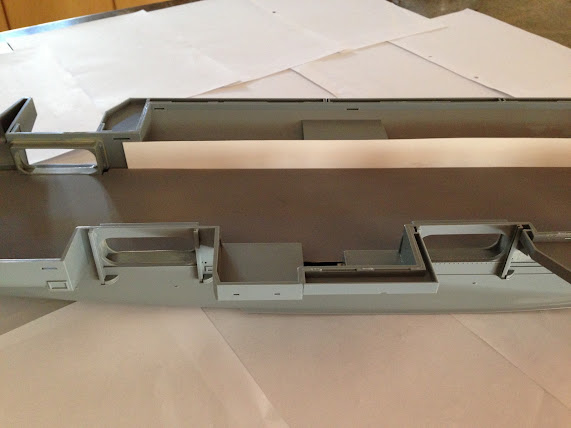
Hanger deck
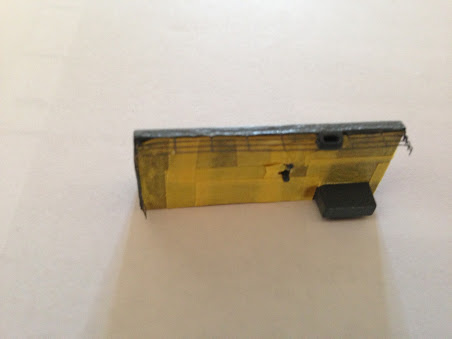
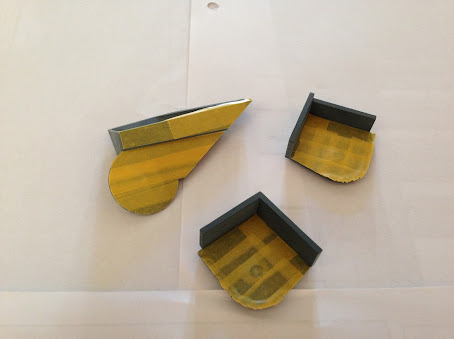
I wanted to build the model with a hanger deck. First task was to cut out the hanger doors, and to build the inside deck and walls. I used normal LED’s, but they cast a shadow at a height of 2.5cm. I have decided to rather use wide angle LEDS, with 130 degrees. Next steps are to paint the walls and roof and to install the LED's.


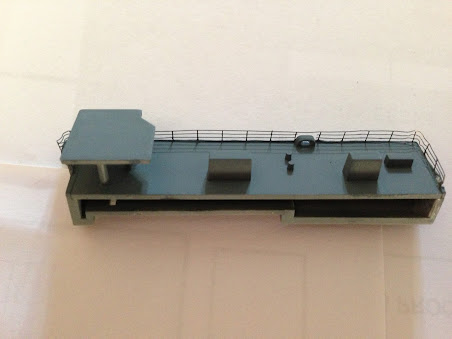
03/04/2013 Hanger Deck
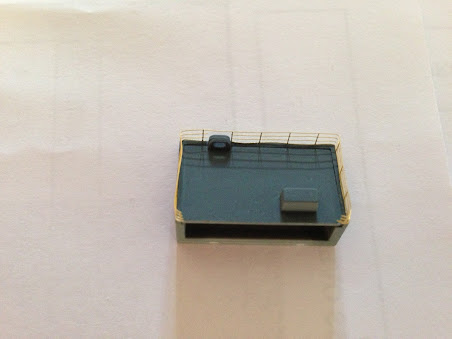
I received the wide angle LED's, prepared the roof, and installed the LED's. I am very happy with the results. Also painted the tie down holes and primed the walls and roof for final painting. Going to paint the inside hull colour.
Constructed walls for the Hanger deck
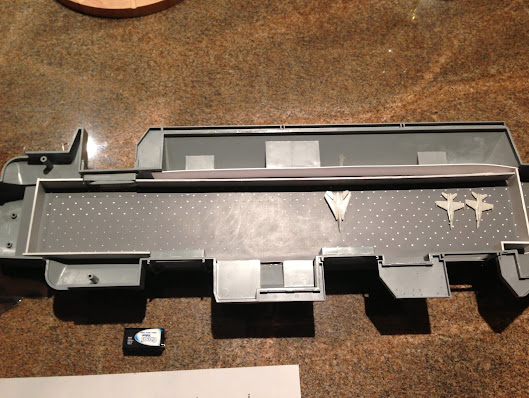
Installed 18 Wide Angle LED's
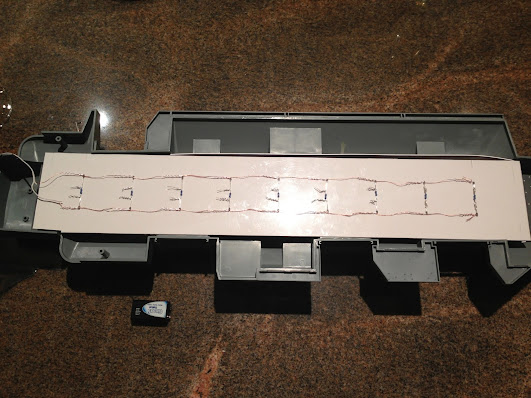

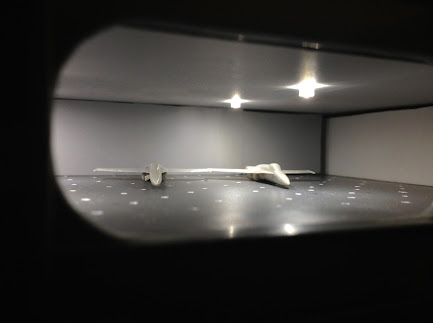

Happy with the final results.
Next Steps
- Pain the walls and roof
- Detail the aircraft for the Hanger Deck
- Complete final assembly
Hull, Sponsons and Other walkways
I have assembled all the sponsons. I have painted them according to the instructions, 3: Light grey (XF-63), 1: Field blue (XF-50). I only later noted that the top platforms should be the hull colour, and it would have been better to first paint them and then to attach them to the sponsons.
The other challenge I had, was the question of when to add the photo etched railing details. So, I experimented by adding some of them before painting and some after painting.
However, I think the best would be to add the PE later, as it is difficult to attach the sponsons to the hull with the railings attached. Some sponsons do however have very limited working space and I think it might be difficult to add PE details later on. I have left the large, open sponsons for later PE detailing.
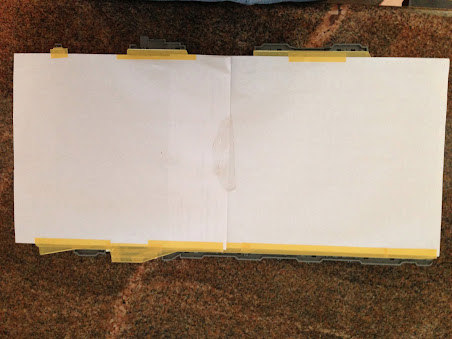
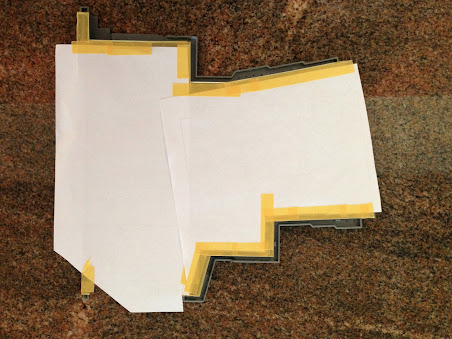
I have masked the floors for hull colour painting.
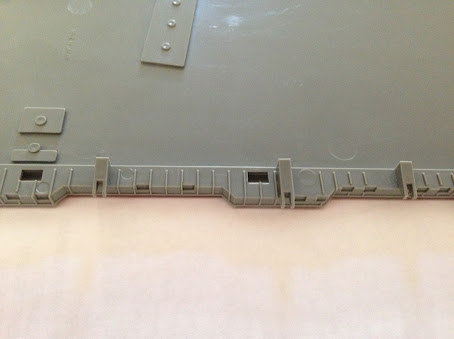
I have painted all the other parts requiring walkway colour on the frets.


I have finished spray painting the rest of the walkways on the sprue's


03/04/2013
Masked the rest of the walk areas for hull colour painting.


Next Steps
- Paint hard to reach places on the hull
- Attach various other hull parts
- Paint hull
- Detail with PE
Elevators
I have prepared the elevators for PE details.


Flight deck
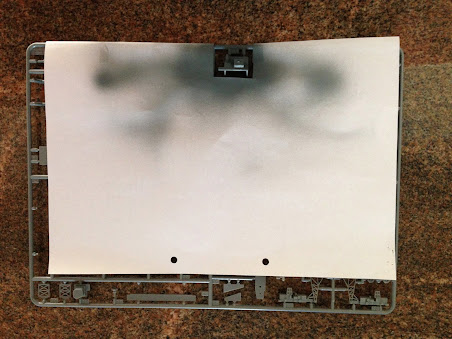
I have attached all the antennae attachments at the bottom of the flight deck, and masked the top to paint the walk ways hull colour.

Aircraft
I purchased the following Trumpeter aircraft sets as additional aircraft.
- F14 B/D Super Tomcat
- FA/18 F Super Hornet
- EA 6B Prowler
I was very happy and impressed with the details of the aircraft sets. Some sets are made from clear plastic, so detailing clear canopies is possible and I think that the final models will look great. The Tomcat comes with a separate clear canopy.
Next Steps
30/3/2013
These are the next steps that I consider to perform to move my project ahead.
1) Complete the inside deck - Build the walls, build the roof, make the holes for the LED's in the roof, install the LED's and then spray paint the walls and the roof.
2) Complete all outside hull building, fill gaps, and prepare for spray painting of hard to reach spaces.
3) Attach side sponsons
4) Spray paint the flight deck walkways