SEARCH FINESCALE.COM

Enter keywords or a search phrase below:

Trumpeter 1/350 HMS Dreadnought 1907 WIP

17581 views
62 replies
1 rating 2 rating 3 rating 4 rating 5 rating
  • Member since
    September 2013
  • From: San Antonio, Texas
Posted by Marcus McBean on Monday, July 28, 2014 10:11 PM

It was very uneven and I had to putty and sand a lot to remove the seam.  I had to trim the main deck to make it fit at the bow.

  • Member since
    July 2010
  • From: Tempe AZ
Posted by docidle on Monday, July 28, 2014 9:25 PM

Marcus,

Thanks for checking the build out.  I love the pictures you posted earlier on your Dreadnought build, and hopefully I can get some pointers on any issues you have run into.  Did you have any issues with the seam amidships?

Steve


  • Member since
    September 2013
  • From: San Antonio, Texas
Posted by Marcus McBean on Monday, July 28, 2014 9:17 PM

I am building the same kit at this time.  Also building the SMS Konig on the same group build.  Will be paying close attention to how you tackle this build.

  • Member since
    July 2010
  • From: Tempe AZ
Trumpeter 1/350 HMS Dreadnought 1907 WIP
Posted by docidle on Monday, July 28, 2014 8:42 PM

Since today is the 100th anniversary of the start of the Great War, I started the Trumpeter 1/350 HMS Dreadnought 1907 kit for the Group Build of the same name here on FSM.  I am cross posting so that anyone considering to build this kit can see what issues they might find.  I plan on modeling her as she looked on the eve of the war and I am using John Roberts Anatomy of the Ship HMS Dreadnought and Kagero's 3D Views of the HMS Dreadnought as reference.

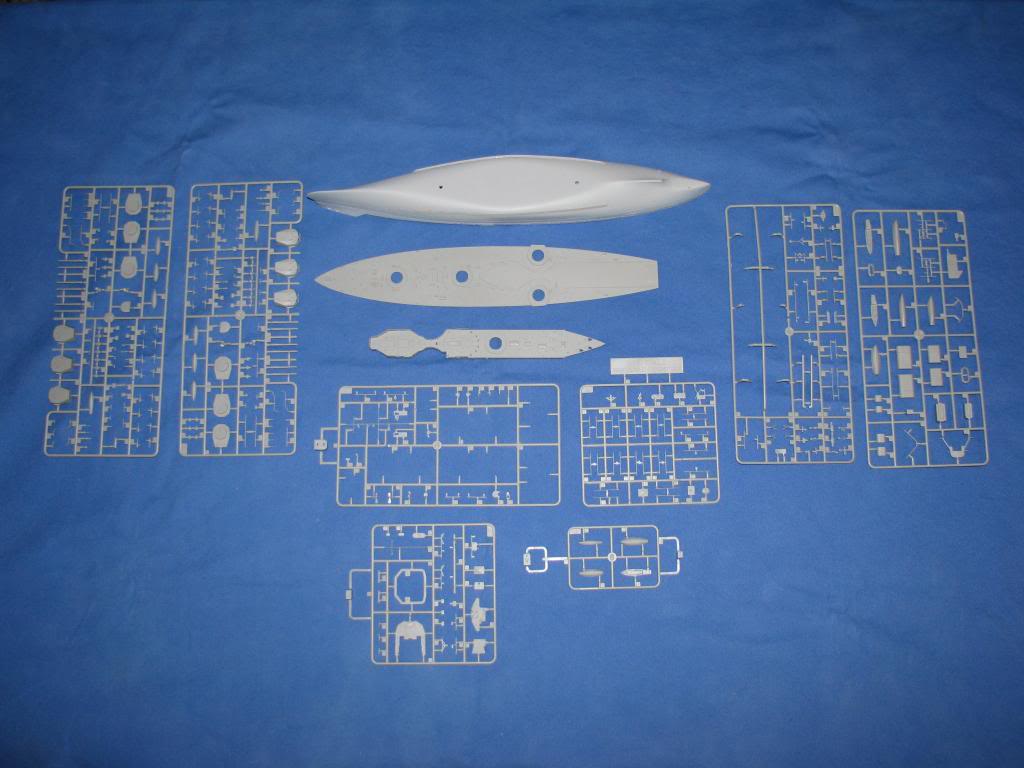
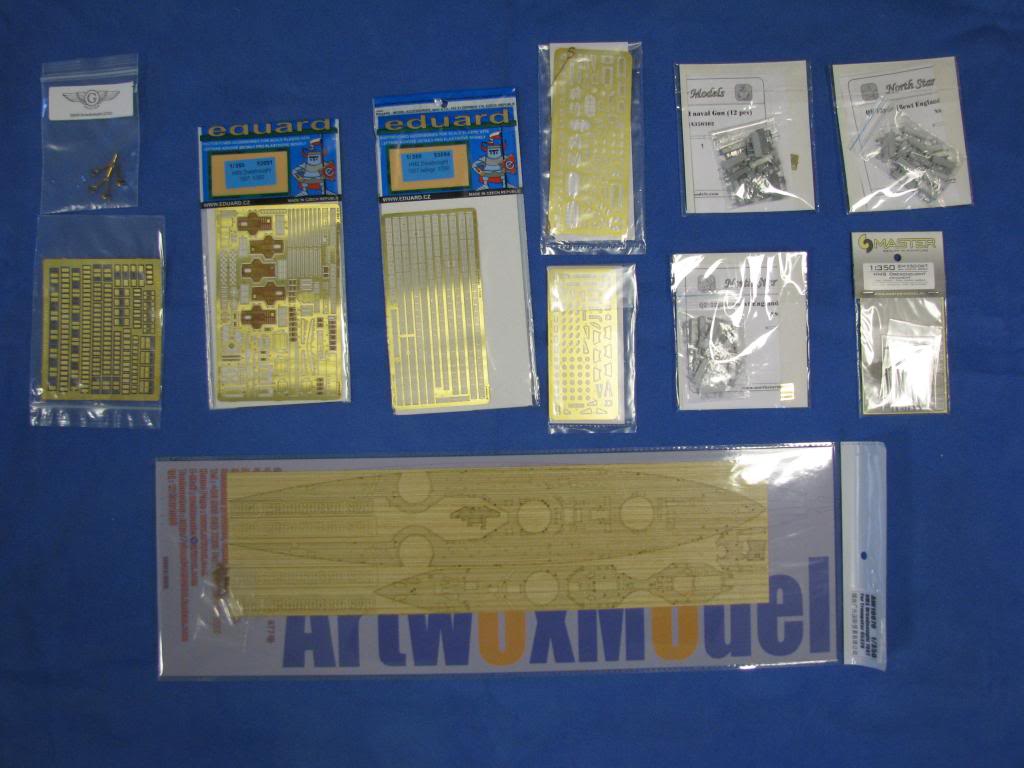
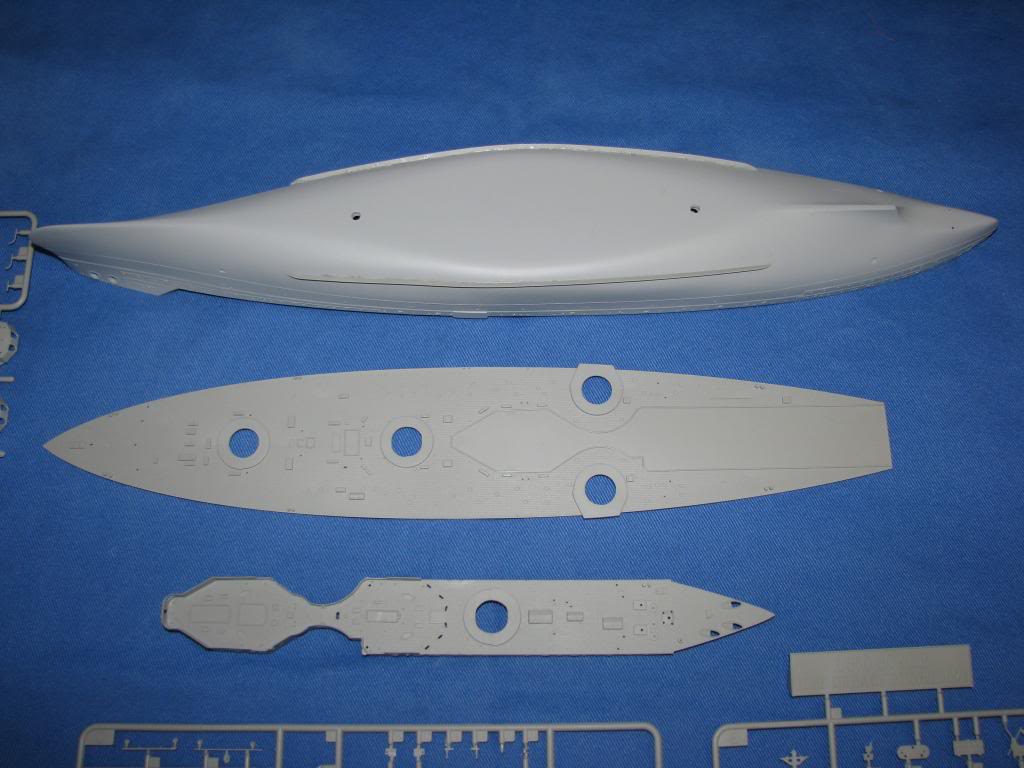
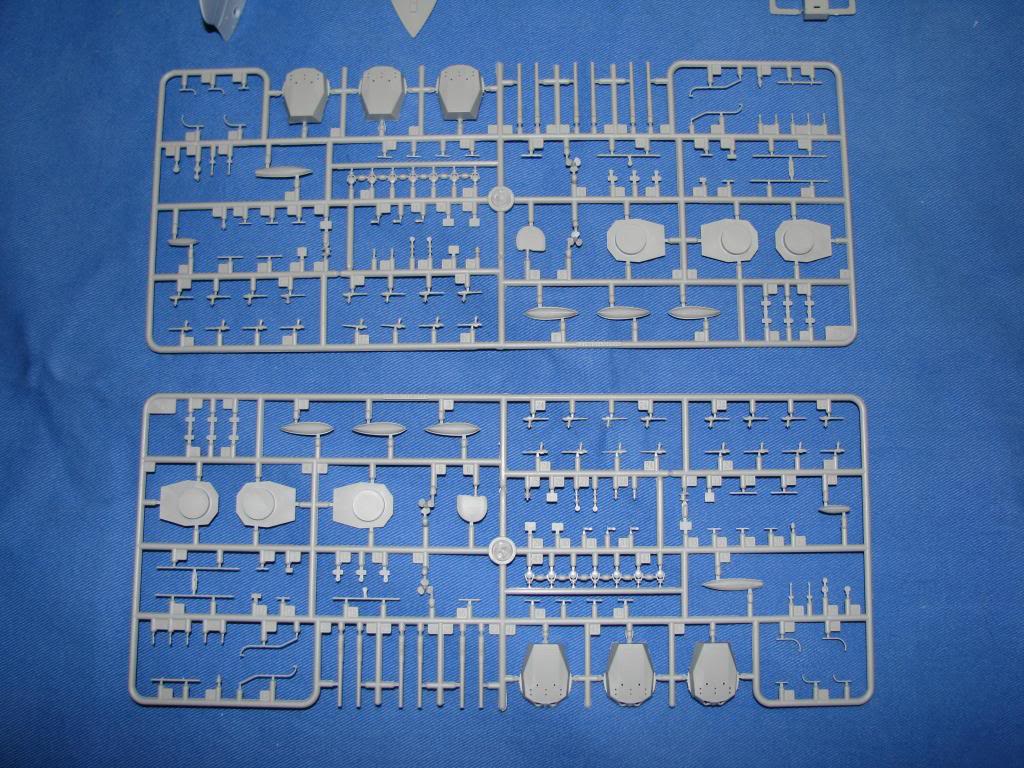
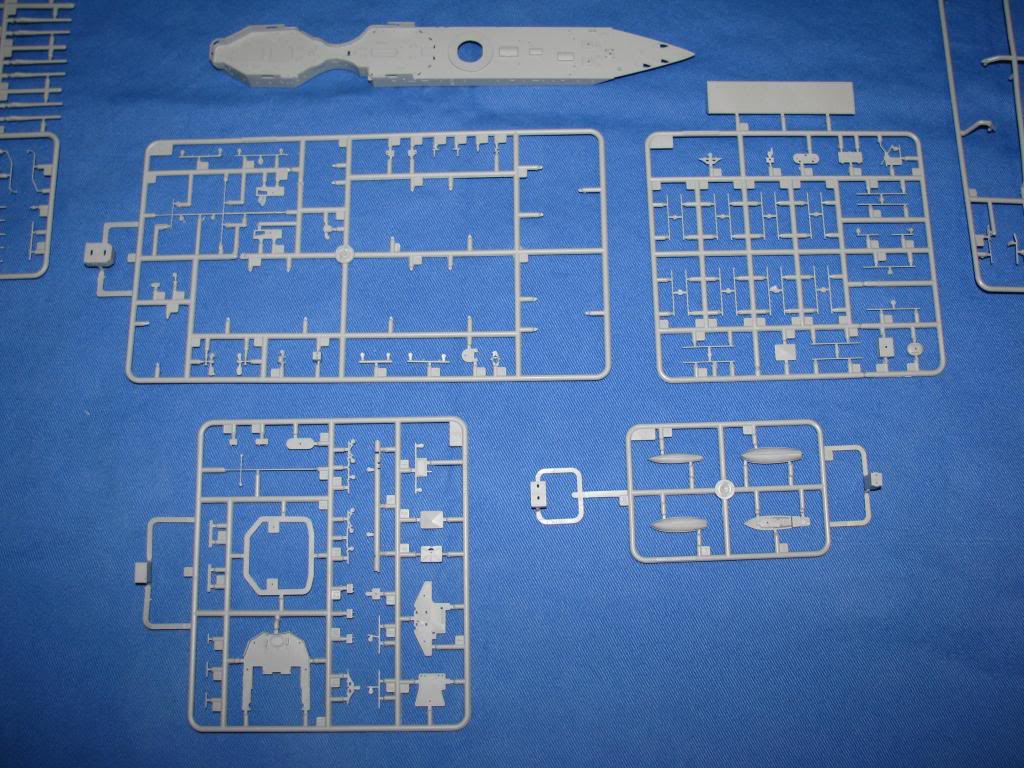
The first set of pictures show the kit, the sprues and the AfterMarket (AM) I will use for this build.  I have not decided on whether I will use the ArtWok wooden deck or not.  I will probably start by painting the decks and if I cannot get them to look the way I want then I'll use the deck.

Some of the other AMs I plan on using include Model Master barrels for both the 12" and 6 pdrs along with  NorthStar Model resin 6 pdrs with photo etched parts to replace the kit's 6 pdrs.  Brass propellers and Eduard's photo etch Details and Rails.

I drilled out all 112 scuttles on the hull and lower superstructure to give them a bit more depth.  I then glued the bulkhead spacers and finally glued the two halves together.  I ended up adding some Evergreen .125" sheet along the midship bottom since the hull was either warped or I did not get the allignment correct.

So without further ado, here's the start of this build log.

Enjoy,

Steve


JOIN OUR COMMUNITY!

Our community is FREE to join. To participate you must either login or register for an account.

SEARCH FORUMS
FREE NEWSLETTER
By signing up you may also receive reader surveys and occasional special offers. We do not sell, rent or trade our email lists. View our Privacy Policy.