MArcus, Mike... thansk guys, I appreciate the nice comments.
The torpedoes gave me the opportunity to try something I've been using to metalize small parts. I've been curious how it would look on a larger scale like an aircraft and these parts were big enough to see what it would look like. It uses MM buffing metalizers. For the smaller parts I actually just dip them in the jar, this time I sprayed, but the trick is in the buffing. To get into the nooks and crannies I put a pointed cotton swap in the Dremel and use it as a buffing wheel. This also makes the surface much more durable. Maybe not as good as Alclad but way better than the reputation the MM metalizers have gotten.
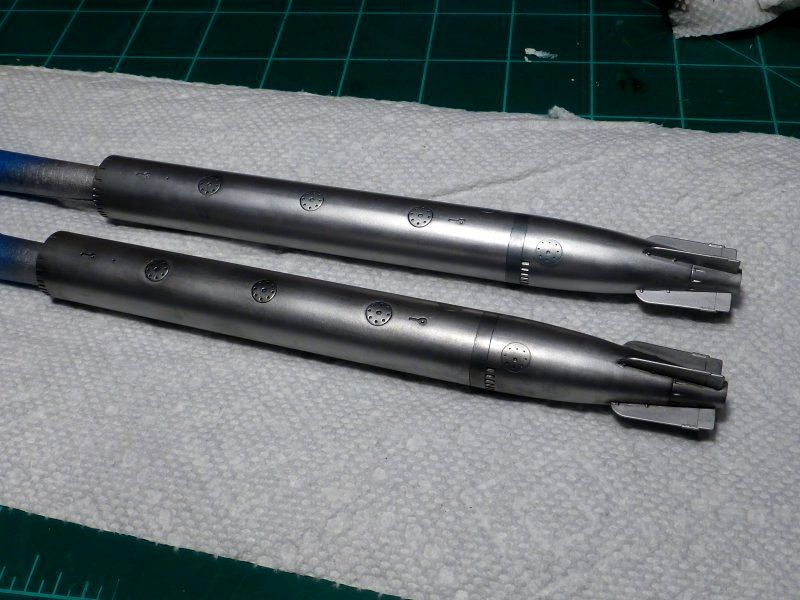
Sanding, priming with Mr. Surfacer and then a sanding again with 4000 micro mesh gives a super smooth surface. Buffing steel was applied. The swap it never perfectly round so when you're buffing at a low(ish) speed the tip sort of bounces on the surface. It buffs sort of unevenly and leaves tonal variations. Sadly they don't show to well in the photos. The more you buff and the heavier the build up on the swab the better. Next time I will spray/buff some scrap to get there quicker.

The front fish has has not been buffed yet. You can see the variations in the surface a little on the back one between the center and right access hatch.

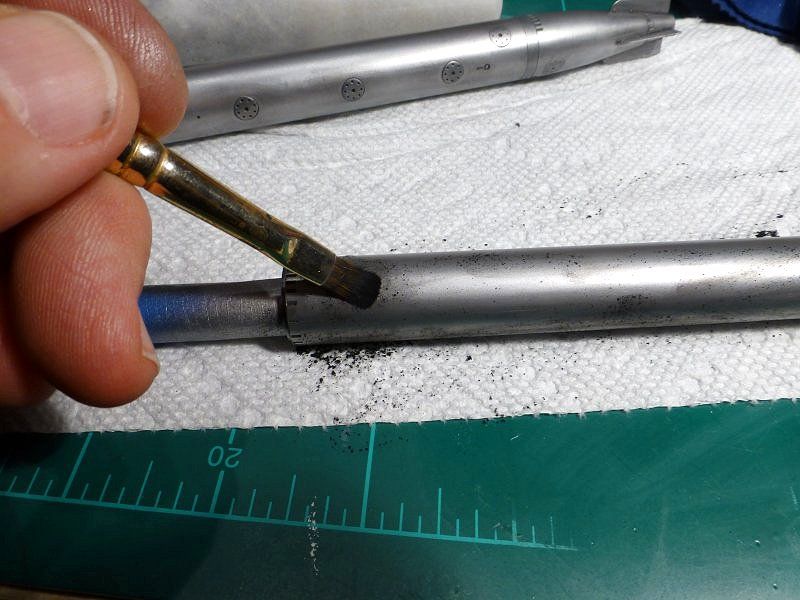
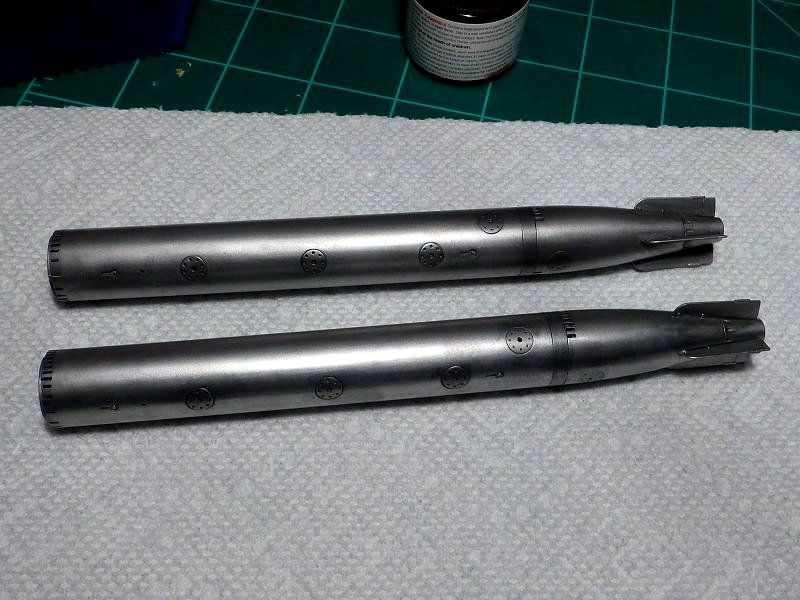
Weathering takes advantage of the MM Metalizer's notorious reputation for being delicate. It is done with caulk pastels ground with a mortar & pestle as fine as talc and rubbing it into the surface with a brush. Buff as before. A wash is made with the pastels with water and a drop of liquid soap to make of flow. This is applied around the recessed detail and then buffed after dry. The hatches and band near the rear were masked and sprayed with buffing magnesium for some contrast. This was done back at the beginning with the original painting.


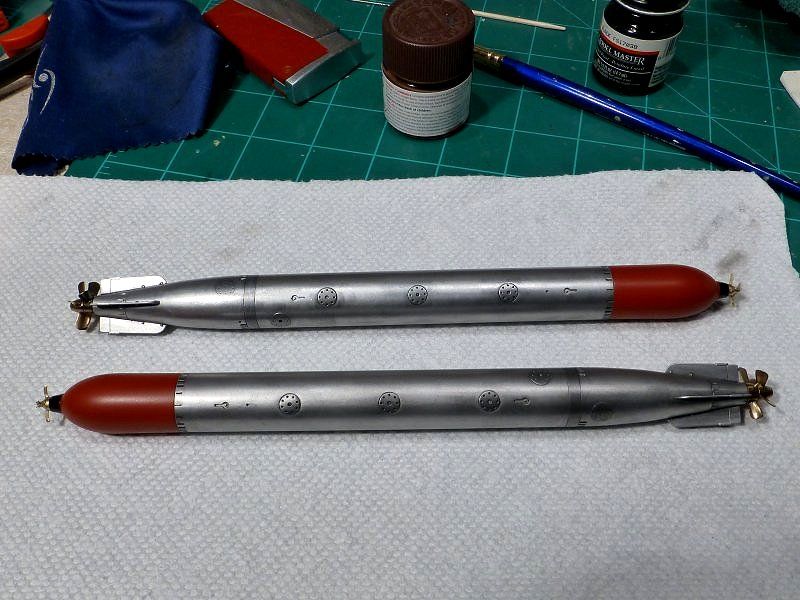
And the finished torpedoes. The props are ist painted with Tamiya gloss black then a coat of Alclad Polished Brass.
