SEARCH FINESCALE.COM

Enter keywords or a search phrase below:

Revell 1:196 Constitution Resurrection

3799 views
10 replies
1 rating 2 rating 3 rating 4 rating 5 rating
  • Member since
    January 2015
Posted by rdiaz on Monday, April 18, 2016 3:23 AM
nfafan, is the unspecified scale model you have the "simplified build" version? It's a quite nice kit, with potential to add a lot of detail. I'm pretty sure the scale is somewhere around 1/147.
  • Member since
    April 2003
Posted by nfafan on Sunday, April 17, 2016 1:15 PM

Does anyone know if there are any simplistic - "looks OK to me at 10 feet away" - mods that can be done to build this 1/196th kit as the Barbary Wars version, or War of 1812 version, Pacific cruise version?

I ask as I have several Connie kits (Monogram 1-piece hull, Imai 1/120?,  Revell's 1/196 and 1/96 Connies, and another Revell Connie - scale unknown- that was originally derived from the "picture framed half-kit" I read about?) and I'd like to build each as she would have appeared during significant events in her career.

Thanks!

  • Member since
    July 2013
Posted by steve5 on Saturday, March 12, 2016 2:51 PM

that was very interesting , on how to wash the hull gmorrison , thank's for sharing

steve5


  • Member since
    September 2012
Posted by GMorrison on Saturday, March 12, 2016 2:28 PM

To answer "fright" who answered an old thread.

i would use Testors copper in a rattle can.

Give it a week minimum to cure, more if possible. Seal it with a clear coat. I would brush on a coat of acrylic floor polish, like Future. Something that thinners won't attack.

i have a little set of oil paints like the ones that are $15 or so for ten colors. I use odorless "turpentine" like turpenoid. $ 3 for a little bottle. Make a wash of a little black paint and almost all turps. Slather that all over the copper and let it sit about 15 minutes. At this point, don't panic! The bottom of a real ship looks and smells a lot worse than what you've got.

Take a soft cloth and wipe off what you can. Very quickly you will get a feel for how to get effects of light and dark.

If you feel like you goofed it up, the whole mess comes right off with Windex, which will strip the floor polish down to the copper paint.

i think you will be pleased with your work in short order.

Sorry to hijack the thread, but the OP isn't here and I thought I could answer.

As for the kit, it really is a favorite of mine. Revell was on a roll, it's small enough to be buildable in a reasonable time, and not hard to find.

Its not possible rig in too much detail, which is a bit of a blessing because it'll look great with standing rigging plus lifts and braces on the yards, only.

One possible pitfall is whatever comes with it for shrouds and ratlines, but that's a universal problem with small scale fully rigged ships and you can do worse than ignore the ratlines all together.


 Modeling is an excuse to buy books.


  • Member since
    May 2003
  • From: Greenville, NC
Posted by jtilley on Saturday, March 12, 2016 8:21 AM

Cobra, there are hundreds - maybe thousands - of good sailing ship plans out there. The modeler just needs to know where to look for them. Many are available as big sheets, or sets of sheets. Some wood kit manufacturers (Model Shipways, for instance) sell their plans separately. Others are available through museums, or government agencies. Still others are published in books. (Howard I. Chapelle's History of the American Sailing Navy, for instance, contains plans of almost every U.S. sailing warship ever built. There's no shortage of plans for sailing vessels.

For what it's worth, experienced modelers rarely use cotton - fabric or thread. Cotton thread is notoriously hygroscopic - that is, it shrinks and expands with changes in the humidity. Cloth sails rarely look good on models at very large scales.

Recently there's been a lot of interest in a new product line from Syren ( www.syrenshipmodelcompany.com ). Syren rope is a mix of cotton and linen, and so far It seems to be wonderful stuff.

Finishing wood is a big subject. The best modeling woods, like cherry, boxwood, pearwood, and holly, have such tight grain that it's not a problem. Smoothing the texture of basswood (probably the most conveniently available) takes some time and effort, but it can be done all right.

The big problem that plastic sailing ship enthusiasts face is that so few kits are available. But there are some good ones out there.

If you decide you want to get into sailing ships, this Forum is a good place to start.

Youth, talent, hard work, and enthusiasm are no match for old age and treachery.

  • Member since
    September 2012
Posted by GMorrison on Friday, March 11, 2016 11:11 PM

Cobra 427

That's the only thing that makes trying to build something from this era accurately - there are no known photos of these, and plans are almost impossible to find, and most are inaccurate as someone has made their own

If you do become interested in ship building, I'd suggest you look at the drawings of George Campbell, for a start. There are very excellent drawings available on a wide range of subjects.

As far as photos, yes that's true, but there are excellent pencil drawings from artists like Turner.


 Modeling is an excuse to buy books.


  • Member since
    September 2009
Posted by Cobra 427 on Friday, March 11, 2016 5:38 PM

I don't know the names of all those parts for sure, but thank God that you do! I love these kinds of ships the most, and I'm glad that there are some who are still interested in this style of boat building. I wish I had the patience, and the place to work that I could build something similar in real wood form. I'd use cotton for the sails, and cotton string for the rigging. That would make for realism, but sealing the wood grain to a smooth finish would take more time than I would want to put into it unless it was three feet, or longer. I just don't think that I would have the patience for it now! It's better to use a plastic kit, and modify it than to try to build something that there's no reference for. That's the only thing that makes trying to build something from this era accurately - there are no known photos of these, and plans are almost impossible to find, and most are inaccurate as someone has made their own, and you can't always rely on the ones you find on the internet! Thank you for sharing this with us. I'll be watching this to the end.


~ Cobra Chris


Maybe a picture of a squirrel playing a harmonica will make you feel better?


  • Member since
    January 2012
  • From: Atlanta Metro, Georgia
Posted by fright on Friday, March 4, 2016 12:28 PM

Mark... can you tell me what brand of copper paint you used and did you use over a primer? If so, color used on primer? I do not own an airbrush, so I'm going to go with spray paint. Thanks! This is my 1st attempt at building a sailing ship and I'm looking for any help I can get!

Robert O

  • Member since
    January 2006
  • From: Sarasota, FL
Posted by RedCorvette on Monday, June 1, 2015 8:52 AM

A little more progress this past weekend.  Worked on rudder preventer chains.  Played around to adjust the amount of sag compared to my reference photos.  Used Model Expo brass chain with fine wire clips inserted into holes drilled into the stern.  Once I'm completely happy then I'll take off to blacken the chain and then re-attach.  The transom piece is temporarily fitted so I can still access the interior of the hull.  Plan to scratch-build the split lids for the stern windows and show them partially open.  

Mark

FSM Charter Subscriber

  • Member since
    March 2005
Posted by philo426 on Thursday, May 28, 2015 12:34 PM

Looks good so far!

  • Member since
    January 2006
  • From: Sarasota, FL
Revell 1:196 Constitution Resurrection
Posted by RedCorvette on Wednesday, May 27, 2015 2:00 PM

Back in 2006,  I posted this in another thread:

"I'm currently building the 1/196 Constitution to appear as it does today in Boston.  Not historically accurate for her active duty days perhaps, but there's certainly no lack of documentation and photos of her current configuration.

This is the second time I've built this kit -the first time was back in the late 60's when I was in junior high.  That kit had the old coated-string ratlines, which actually didn't look that bad IMHO.  Certainly more convincing than than molded monstrosities in the current kit. As I recall, that kit also had multiple piece masts as opposed to the one-piece masts in the current release.

I'm opening up the main hatch and am building a false gun deck below - kind of a shadow box effect.  Used my 1/96 kit as a pattern to add some details to the false gun deck -hatches, lashed spars, etc. Really not that big of a deal. Will try to post some pictures later.

Other miscellaneous stuff:

  • Fabricated gun port doors for the three windows/gun ports on the stern. More accurate, plus more convincing than trying to paint them convincingly. And certainly less work than cutting them out and actually glazing them.
  • Currently rigging the footropes and Flemmish horses on the yards.
  • Currently painting all of the long guns - painting the ends red to represent the tampions rather than drilling out the bores (truly boring...).
  • Detailed the head - including drilling out the appropriate openings...
  • I've painted the hull above the waterline, including the stripe along with the bow and stern details and the insides of the bulwarks - easier to mask and paint those areas prior to assembling the hull.  As soon as I get the guns painted and mounted I'll close it up and then paint the copper bottom.
  • Added an eyebolt to the rudder so I can add the preventer chains after it is mounted

My plan is to rig the topgallant shrouds and ratlines, seize the lower shrouds, step the masts and then tie off the individual shrouds to the molded deadeyes and lanyards.  Once the standing rigging is done, I'll mount the yards and add the running rigging.  So I'll be working on this one for a while yet.  I've got another 1/196 kit on the shelf, and I've played with the idea of "backdating" it to 1812(?) configuration: scratch-build a new stern, cut down the bulwarks, single helm to represent the pre-Java configuration.  Maybe even with some weathering and battle damage.  Might make an interesting companion piece to the current configuration.  Also have given some thought to building the receiving ship version, or maybe a cut-away version showing the lower decks... too many ideas and too little time. :)

Due to numerous factors (work, training for triathlons, etc.) this project hit the doldrums.  I never actually put it away, but it was shoved to the back of my workbench, mostly gathering dust.  I would occasionally sit and look at it and dry fit parts together but didn't really work on it in earnest.

So finally after nine years, I'm finally picking it up again.  Admittedly some of my renewed interest has been piqued by watching the reports of the real Constitution entering dry dock for an overhaul - so the new target for getting my model done is now sometime before the real thing is completed.  

As previously, my plan is to build her as she looked during her turn around sail in 1997.  

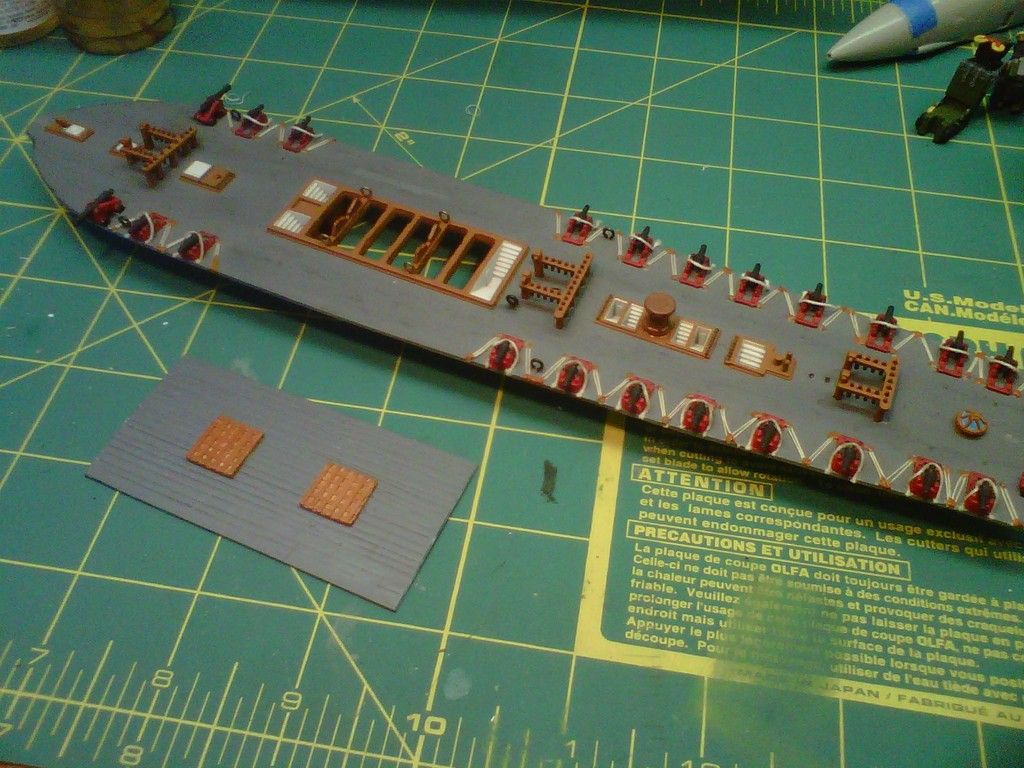
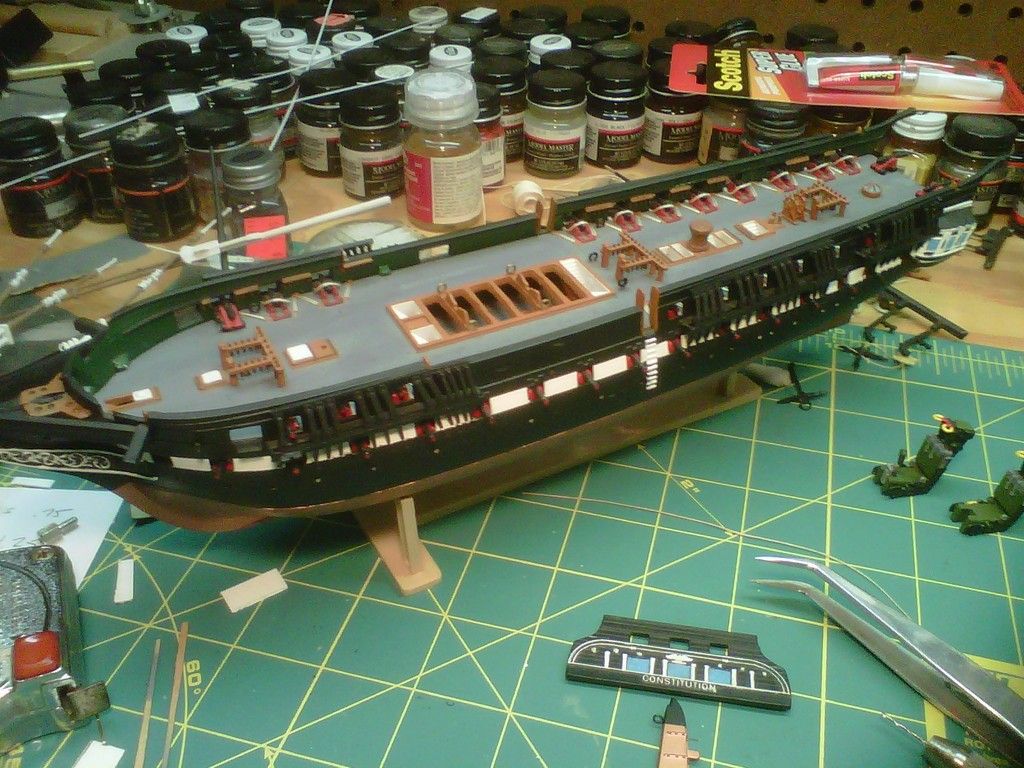
Here's the mostly completed deck with the scratch-built filler piece to fit under the main hatch.  Just a piece of scribed plastic sheet and some hatches made from Evergreen strip.
  

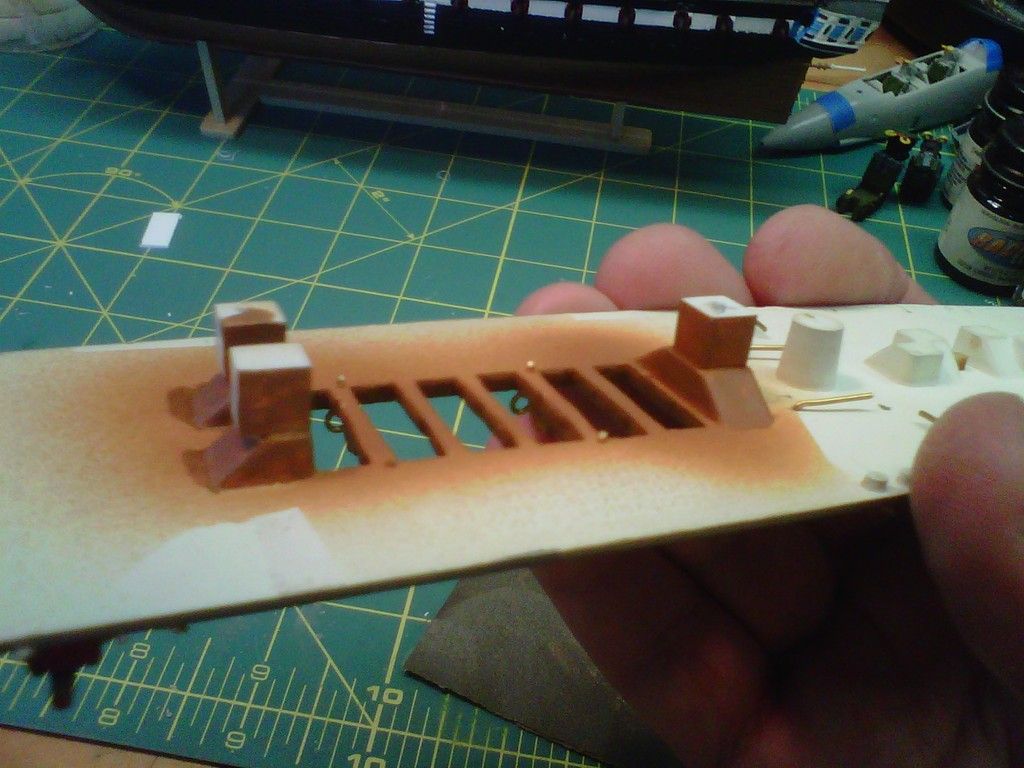
To position the insert piece at the correct height as the gun deck, I attached some spacers to the bottom of the spar deck:
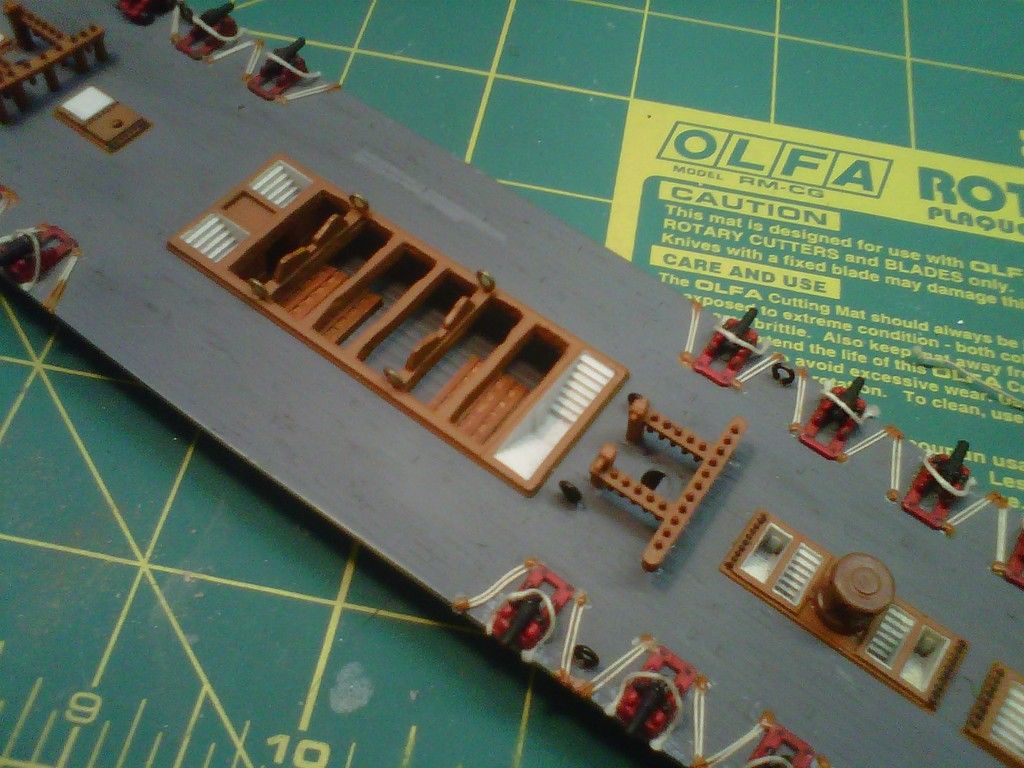
Looks like this when fitted,  Didn't sweat adding too much detail as you can't see much of it on the finished model.
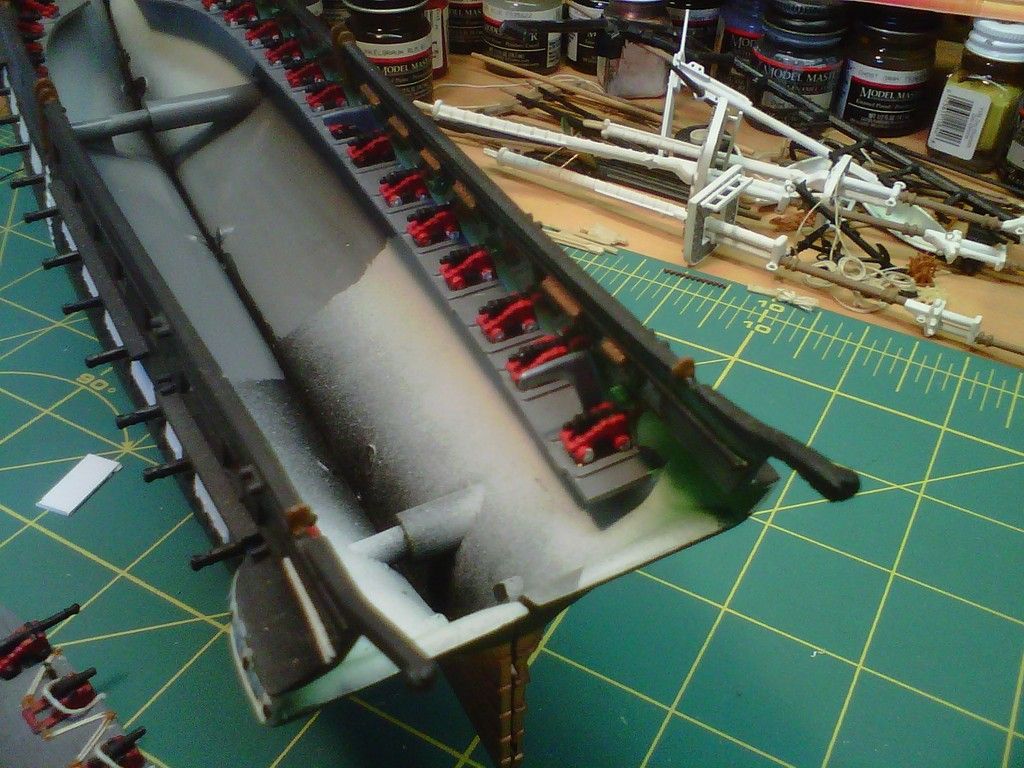
Getting ready to close up the hull halves for the final time with all the long guns ready to go:
The hull all closed up with the deadeye assemblies mounted to the channels.  (No, the F-14 ejection seats don't figure into this project).
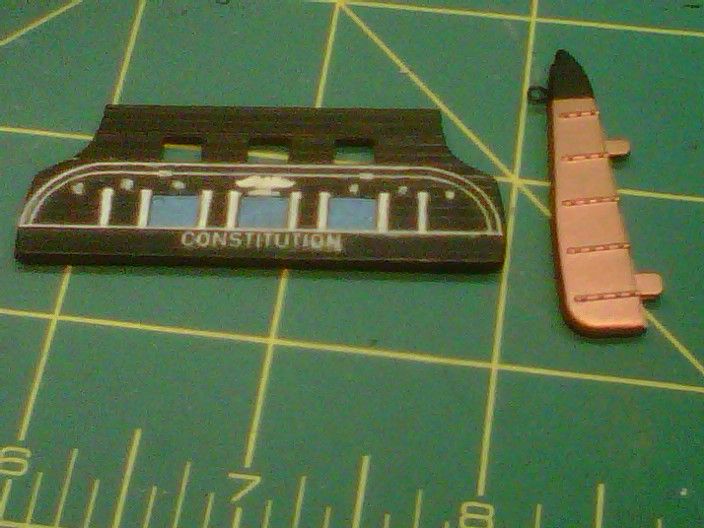
Transom and rudder painted up and ready to go.  Added an eye bolt to the rudder for the preventer chain.
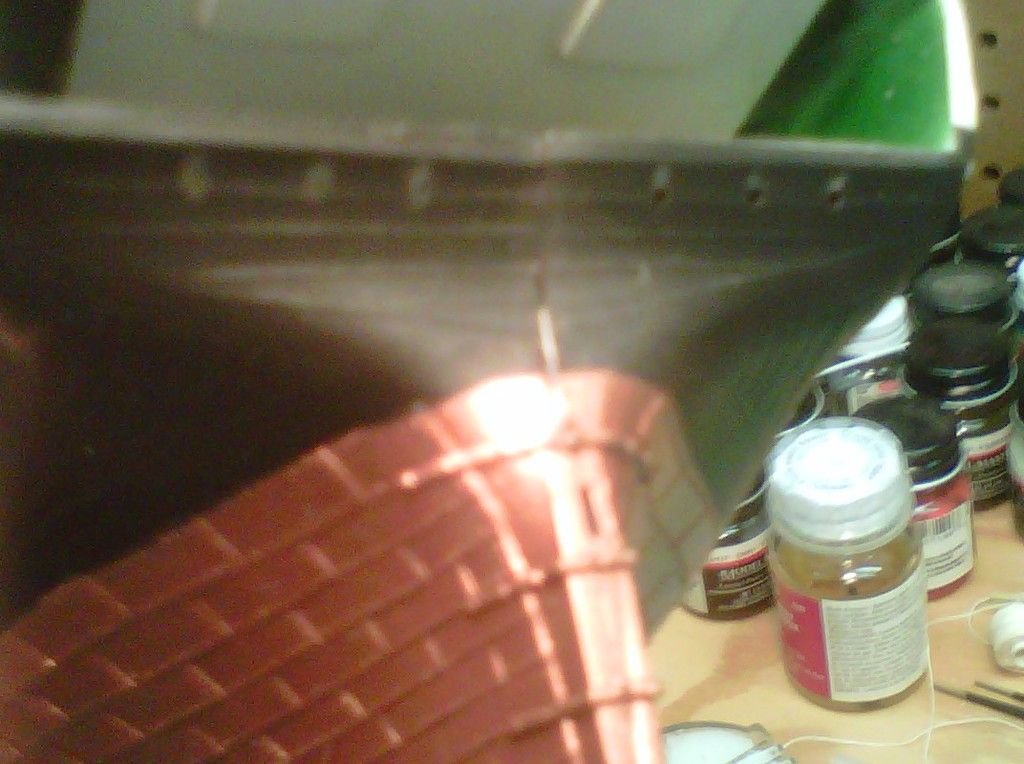
Before mounting the transom and rudder, drilled holes for eyebolts to festoon the rudder preventer chain:
 

That's about it for now.  Going to do some detail work and paint touch-up on the deck & hull and then step the masts.  The fun is just beginning.

Mark 

FSM Charter Subscriber

JOIN OUR COMMUNITY!

Our community is FREE to join. To participate you must either login or register for an account.

SEARCH FORUMS
FREE NEWSLETTER
By signing up you may also receive reader surveys and occasional special offers. We do not sell, rent or trade our email lists. View our Privacy Policy.