Hello everyone, total rookie here!:) I've never built a model before in my life, but I have always had a fascination with ships from the Age of Sail. My father made an entirely scratch-built USS Rattlesnake before I was born, and I can remember just sitting and staring at the incredible details when I was a kid. Maybe someday I'll have that kind of skill, but then again, my father is one of those infuriating people that makes things like that look easy.
Anywhoo, I was watching my husband play a video game with all kinds of ships, and I randomly decided that I needed to build one. Being the kind of person who refuses to do anything halfway, I also decided that I needed to learn how to airbrush. I also immediately decided that plastic ratlines look terrible and the sails in my kit are awful, so those should be fun things to overcome. I'm a glutton for punishment I suppose.
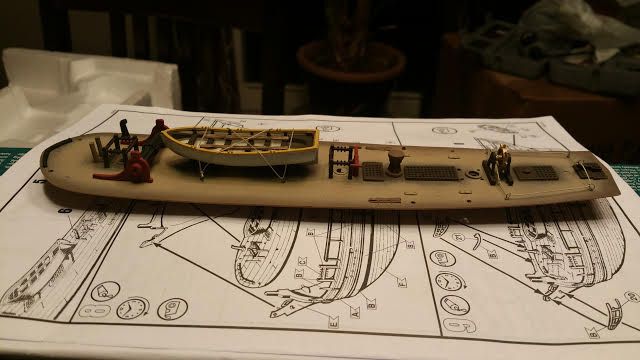
Before I settled on the Revell HMS Bounty for my first kit, I did a ton of forum stalking, so I figured now I might as well participate instead of being a creeper. Here is what I've accomplished so far, and I have a question as well: I've looked at a bunch of intricate Bounty models for inspiration on extra details, and they seem to show different ways of running the rope for the anchors. Some of them run along the top of the deck, and others go into holes in the deck and out then through holes in the bow. Which is correct, or is that debatable? Personally I think the holes look nicer and make more sense, and I do love an excuse to use my new obnoxiously tiny drill bits, but my obsessive attention to detail and accuracy demands that I find an answer. :)
I'm looking forward to participating in discussions and getting some input while I fumble my way through this.
So airbrushing is fun! I think the painting will be my favorite part.
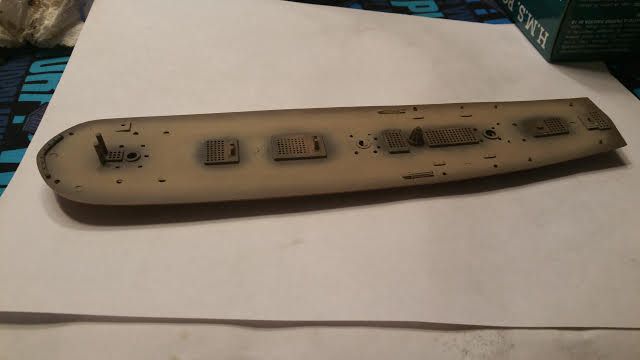
I don't really know how Revell thinks you're supposed to run thread around tiny little nubs of plastic, but that's okay, because I have wire and those awesome micro drill bits.
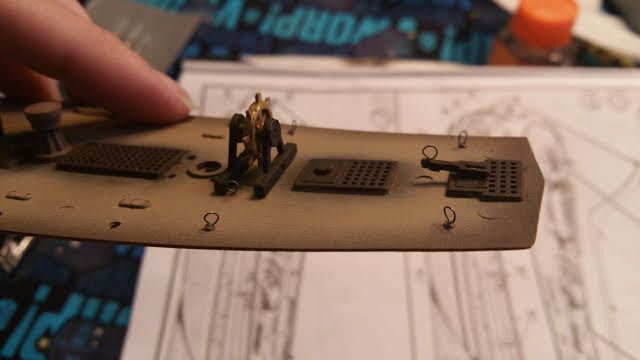
I added some more wire eyebolts to tie down the boat. Don't want the tiny sailors to lose their tiny boat when they are sailing the high seas! I might be having entirely too much fun here. This is the point when I realized that I didn't know what to do with the anchor rope, since if I drill holes I'll need to get that in place before I go much further.