I've built so many sailing ships over the years and have built them with furled sails with sails and with no sails. My last big ship (Glory of the Seas) is without sails and my Cutty Sark is without sails.
Well the Great Republic is the biggest and most expansive clipper I have built thus far and I feel sails are appropriate...since she was the largest wooden clipper ever built.
she was enormous...so she needs saild...but not just any sails.....clean, sharp, accurate sails are what's called for. Well I've opted out of using cloth..since the scale problem will only make the model look clumsy. I considered silkspan..but this is still too translucent for me. So I'm going with plain paper(again).
Like anything I do I try a test bed to test techniques..methods...and asthetics.
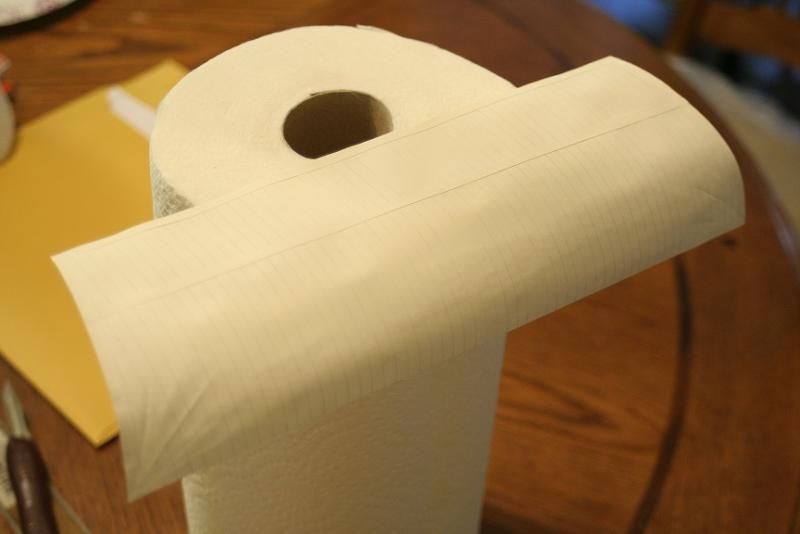
So the other day I fabricated a master sheet that I duplicated(both sides) that will represent the 2ft panels that will represent the entire sail.
Today, I cut out a test sail and trimmed its outer(Leach lining) and top(Head lining) edges with a 2ft panel and I laid the reef band mid sail. In some cases a foot band will be installed as well.
I did not add the the reef points to the reef band at this time..since the test was about over-all appearance not function.
After the sail was constructed I then gave it an entire dusting of muslin tan paint to simulate the tan/orange look of faily knew sails(Previously I mentiond about weathering the sails with India ink/alcohol...but upon further reflection and the over all newness of the model itself.....new sails was an accurate choice.
I finished off the course connections at the lower edges of the sail with some stretch and wrinkle folds...simulating the streching of the sail inflated with wind.
I think I hit the kackpot with this technique and it didn't take long..about 30 minutes. Prior to painting I used one of my wife's fondant(Cake making tool) ball rollers to roll the stretched roll to the foot of the sail. With some fine tuning I think this is the clean look I was after.
Rob " target="">
 " target="">
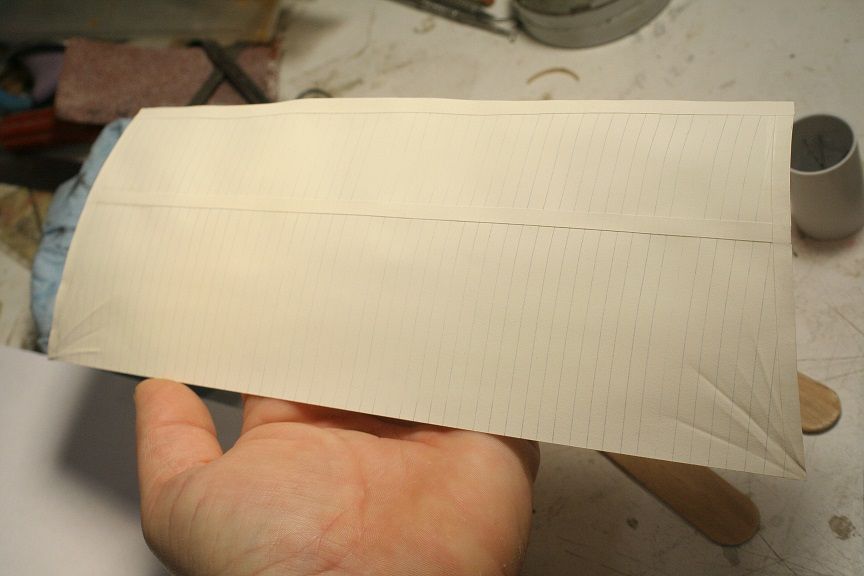
 " target="">
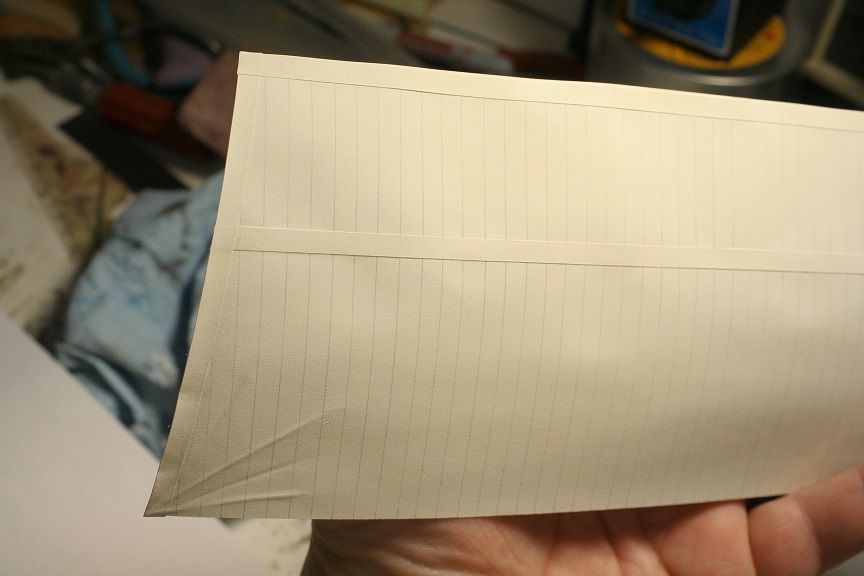
 " target="">
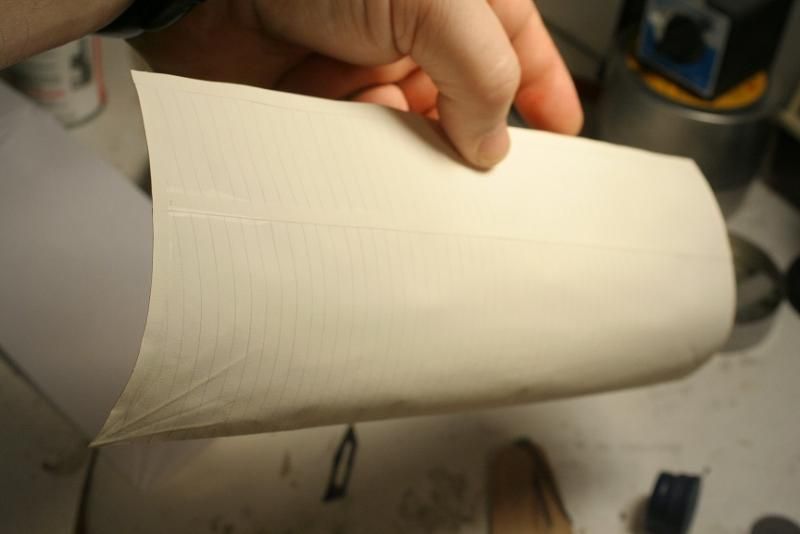
 " target="">