SEARCH FINESCALE.COM

Enter keywords or a search phrase below:

Admiral Graf Spee | Academy Premium 1/350 WIP

5901 views
25 replies
1 rating 2 rating 3 rating 4 rating 5 rating
  • Member since
    May 2016
Posted by Revenant on Monday, September 26, 2016 6:37 PM

jtilley


Jester75

Thanks again. At this point I am unsure if I would chose the Academy kit again. Very soft and even lacking on a lot of details and several glaring errors. I dont know if the Academy kit is much better in the accuracy department but looking at the sprue shots in reviews, it definitely has more detail. 


Jester, is it possible that you typed "Academy" once when you meant to type "Trumpeter"?


Ditto

  • Member since
    December 2006
  • From: N. Georgia
Posted by Jester75 on Monday, September 26, 2016 8:30 AM

jtilley


Jester75

Thanks again. At this point I am unsure if I would chose the Academy kit again. Very soft and even lacking on a lot of details and several glaring errors. I dont know if the Academy kit is much better in the accuracy department but looking at the sprue shots in reviews, it definitely has more detail. 


Jester, is it possible that you typed "Academy" once when you meant to type "Trumpeter"?


Oops Corrected, thanks for pointing that out professor!

Eric


  • Member since
    May 2003
  • From: Greenville, NC
Posted by jtilley on Monday, September 26, 2016 8:09 AM

Jester75

Thanks again. At this point I am unsure if I would chose the Academy kit again. Very soft and even lacking on a lot of details and several glaring errors. I dont know if the Academy kit is much better in the accuracy department but looking at the sprue shots in reviews, it definitely has more detail. 


Jester, is it possible that you typed "Academy" once when you meant to type "Trumpeter"?

Youth, talent, hard work, and enthusiasm are no match for old age and treachery.

  • Member since
    May 2016
Posted by Revenant on Sunday, September 25, 2016 9:57 PM

Some pics would be kinda nice...

  • Member since
    December 2006
  • From: N. Georgia
Posted by Jester75 on Sunday, September 25, 2016 3:00 PM

Thanks again. At this point I am unsure if I would chose the Academy kit again. Very soft and even lacking on a lot of details and several glaring errors. I dont know if the Trumpeter kit is much better in the accuracy department but looking at the sprue shots in reviews, it definitely has more detail. 

Eric


  • Member since
    March 2009
  • From: brisbane australia
Posted by surfsup on Wednesday, September 21, 2016 6:55 PM

Very impressive. May have to grab one myself.....Cheers Mark

If i was your wife, i'd poison your tea! If Iwas your husband, I would drink it! WINSTON CHURCHILL

  • Member since
    December 2006
  • From: N. Georgia
Posted by Jester75 on Wednesday, September 21, 2016 7:24 AM

Thanks fellas! I am working on the lifeboats and such which are scarily bad in this kit.

Eric


  • Member since
    March 2009
  • From: brisbane australia
Posted by surfsup on Wednesday, September 21, 2016 2:22 AM

Looking like she is coming along quite nicely.....Cheers mark

If i was your wife, i'd poison your tea! If Iwas your husband, I would drink it! WINSTON CHURCHILL

  • Member since
    December 2010
  • From: Salem, Oregon
Posted by 1943Mike on Saturday, September 17, 2016 9:35 AM

Eric,

Good choice to make the masts and yards from soldered brass. I did the same when I built my HMS Dreadnought and they turned out well and quite solid to this day.

  " alt="" />

Mike

"Le temps est un grand maître, mais malheureusement, il tue tous ses élèves."

Hector Berlioz

  • Member since
    July 2004
  • From: Sonora Desert
Posted by stikpusher on Saturday, September 17, 2016 8:06 AM

Yes Very well done with the masts! The kit ones are not too flimsy. But as you said, they are inaccurate. Yours' are a big step up. Toast


F is for FIRE, That burns down the whole town!

U is for URANIUM... BOMBS!

N is for NO SURVIVORS...

       - Plankton

LSM


  • Member since
    December 2006
  • From: N. Georgia
Posted by Jester75 on Friday, September 16, 2016 9:45 PM

Preciate the comments gents!

Moving along with a bit more etch, I added some of the stairs to the main tower.

I wanted to add a bit more detail to the funnel as it is pretty prominent. I drilled out all of the existing exhausts and added some brass tubing underneath to keep it from just looking cavernous inside. I am not sure if this is accurate but I like how it looks.

I added some of the smaller ones using some 25 guage needles. Working in a doctors office does have its perks! 

The soldering iron finally came in so it was on to soldering the masts and yards. I really like how they turned out. Just test fit into their places, they are rock solid and I can't imagine them moving or bending much when the rigging comes.

Getting close to time for some paint! I am contemplating ordering some of Trumpeters lifeboats and torpedo launchers. Looks like their new replacement part service will let you buy just about anything.

Eric


  • Member since
    May 2016
Posted by Revenant on Sunday, September 11, 2016 1:50 PM

Looking good...

  • Member since
    September 2005
  • From: Groton, CT
Posted by warshipguy on Sunday, September 11, 2016 11:49 AM

Ditto!  I love your work so far!

Bill

  • Member since
    June 2014
  • From: New Braunfels , Texas
Posted by Tanker - Builder on Sunday, September 11, 2016 11:15 AM

Hi ;

 I gotta say it .WOW ! I like it I like it !  T.B.

  • Member since
    September 2013
  • From: San Antonio, Texas
Posted by Marcus McBean on Saturday, September 10, 2016 7:00 PM

Good choice. Replacing the mast and yardarm will make it easier to do the rigging.  Some of those masts included in these kits will just bend with the slightest of pressure. 

  • Member since
    December 2006
  • From: N. Georgia
Posted by Jester75 on Saturday, September 10, 2016 10:15 AM

Small update here. I've started to try and correct another one of the biggest pitfalls of this kit....the masts. The only one that is correct is the one of the stern range finder. I hang out on another forum that is dedicated to ships only and picked up an easier method to try and turn my own masts and yards. Some small diameter brass rod, measured to length and chucked half way in my dremel. A file and a few minutes worth of work and I've got some decent replacement masts and yards. I plan on soldering them together as soon as my replacement iron tip gets in.

I also tried to replace some bracing on the funnel mast which the kit compeltely omits. You can see in the pic that they added a flat one dimensional part in the etch set but I don't particularly care for it so out comes the styrene rod. 

Much better!!!

Here they are temporarily fixed into place.


Eric


  • Member since
    December 2006
  • From: N. Georgia
Posted by Jester75 on Monday, September 5, 2016 6:44 PM

I'm jealous of your Trumpeter kit Mike, more specifically the torpedo launchers. Trumpter seems to have done a much better job at getting more detail molded into the plastic.

Here's the work on the catapult and the Arado! 

Cat goes together with ease. I chucked some brass rod in my Dremel and made the air tanks on either side rather than use the kit plastic.

Focus then turned to the Arado. I doubted myself for a second when I saw the photoetch for the float struts but said what the hell. I replaced the kit Arado with one from a Trumpeter 6 pack mainly because they are way more detailed and they are clear.

The struts.........talk about tiny! Look close enough and you can see the 'steps' they used to climb into the plane...

On the Arado...

...and on the floats with the catapult carriage to the side.

Oops, left one out of it sitting on the cat...

Eric


  • Member since
    December 2010
  • From: Salem, Oregon
Posted by 1943Mike on Saturday, September 3, 2016 11:46 PM

I'm following your build with interest as I have the Trumpeter 1/350 Graf Spee in my stash. I bought the main brass barrels and, based on what I see you've built of the Flyhawk 20mm and 37mm guns, I bought those too.

You're doing a great job with the PE - I wish my hands were steadier since I always manage to screw up some of the PE. Such is life Smile.

Keep up the fine work.

Mike

"Le temps est un grand maître, mais malheureusement, il tue tous ses élèves."

Hector Berlioz

  • Member since
    March 2009
  • From: Yorkville, IL
Posted by wolfhammer1 on Saturday, September 3, 2016 10:18 PM

Not a ship person, but have always loved the look of the WWII German Navy ships.  They just seem so elegant.  I love what you are doing, and the replacement guns are a huge improvement.  Looking great so far, and cant't wait to see her finished.

John

  • Member since
    September 2013
  • From: San Antonio, Texas
Posted by Marcus McBean on Saturday, September 3, 2016 8:55 PM

Wow, she is really to shaping up nicely.  Those brass barrels really make a difference.  Looking forward to your next progress report.

  • Member since
    December 2006
  • From: N. Georgia
Posted by Jester75 on Saturday, September 3, 2016 5:28 PM

Thanks gents! I remember your build of her Stik, she turned out nicely! You are right, the fitment of the kit is super. Academy has seemingly worked hard to improve their repuation. I also have the Warspite and just recently snagged the Premium Indianapolis (a really cherry of a kit with some phenomenal aftermarket) and can't wait to get back to them. 

All of the main superstructure and upper decks assembled with ease. All plastic barrels have been replaced with their brass counterparts. One easy to fix error on this kit was the molded on chevrons on the turret tops. A quick shave with a sharp blade and some sanding and they were as good as gone.

The smaller range finders/directors had this weird Klingon looking ridge on the top of them that represented some kind of fairly thik railing. This was shaved off, holes were drilled, and wire from a solid core ethernet cable was bent to shape. Not quite to scale but much better than it had.

Another part of the kit that really bothered me was the lack of any kind of gun breach on the rear of the 150's. Normally these did not have doors and my understanding was that there were canvas covers that would be fixed over them when not in use. Fortunately, the Graf Spee was the odd ball and had doors fitted to the back of these turrets as you can see in the image below.

..so I took some rectangular styrene stock and glued it over the back then sanded it down as thin as I could get it. Much better!

My attention was soon turned to another part of the kit that just absolutely BEGS for some extra work....the search lights. You can see below the progression from stock kit parts to the end result. I started out by drilling out most of the space with my trusty Dremel Micro Lithium (holy cow I absolutely love this thing!!!!) Then I moved the bit between the holes. After the space was big enough for a micro file to fit it, it was as good as done! They still aren't perfect representatives of the real thing but I do think they are leaps and bounds better than stock!

Oh, and all of those AA guns were completed. Fortunately for me, there was little in the way of AA on the Spee which kept this work to a minimum.

More to come later!

Eric


  • Member since
    July 2004
  • From: Sonora Desert
Posted by stikpusher on Saturday, September 3, 2016 1:57 PM

Marcus McBean

Very nice work on those guns. 


Ditto

The basic version is a nice kit that goes together without any fuss. The version you got should really turn out sharp! The guns are a little but major improvement where most needed.


F is for FIRE, That burns down the whole town!

U is for URANIUM... BOMBS!

N is for NO SURVIVORS...

       - Plankton

LSM


  • Member since
    September 2013
  • From: San Antonio, Texas
Posted by Marcus McBean on Saturday, September 3, 2016 7:23 AM

Very nice work on those guns. 

  • Member since
    May 2016
Posted by Revenant on Friday, September 2, 2016 7:40 PM

Not bad...

  • Member since
    September 2012
Posted by GMorrison on Friday, September 2, 2016 5:12 PM

What was wrong with the kit guns?

Pirate

Wow those are beautiful.

 Modeling is an excuse to buy books.


  • Member since
    December 2006
  • From: N. Georgia
Admiral Graf Spee | Academy Premium 1/350 WIP
Posted by Jester75 on Friday, September 2, 2016 4:41 PM

I had intended on waiting to post any pics on this build until it was finished due to my tortoise like build speed but a friend persuaded me to go ahead and do it as a WIP. So here it is! I have always had a fascination with this ship ever since reading about her antics in the Atlantic and her demise in the River Plate. I still think Langsdorff could have taken all 3 cruiser in Force G had he stayed and fought. That's not to say she wouldn't have been sank by one of the other Forces chasing her but still. On a personal note of interest, the commander of Force G, Commodore Henry Harwood, and myself share the same surname!

The kit itself is basically a pretty good kit with some inaccuracies that I will try to correct. The addition of a quite large etch fret, wood deck, dry transfer draft markings, anchor chain, turned barrels for the 28cm main turrets, 150's, and for the 105's really boosts the quality of the kit. 

As with all the ships I build, work starts out with the base as I am a full hull kinda guy. Love those curves on that bottom!!Surprise 

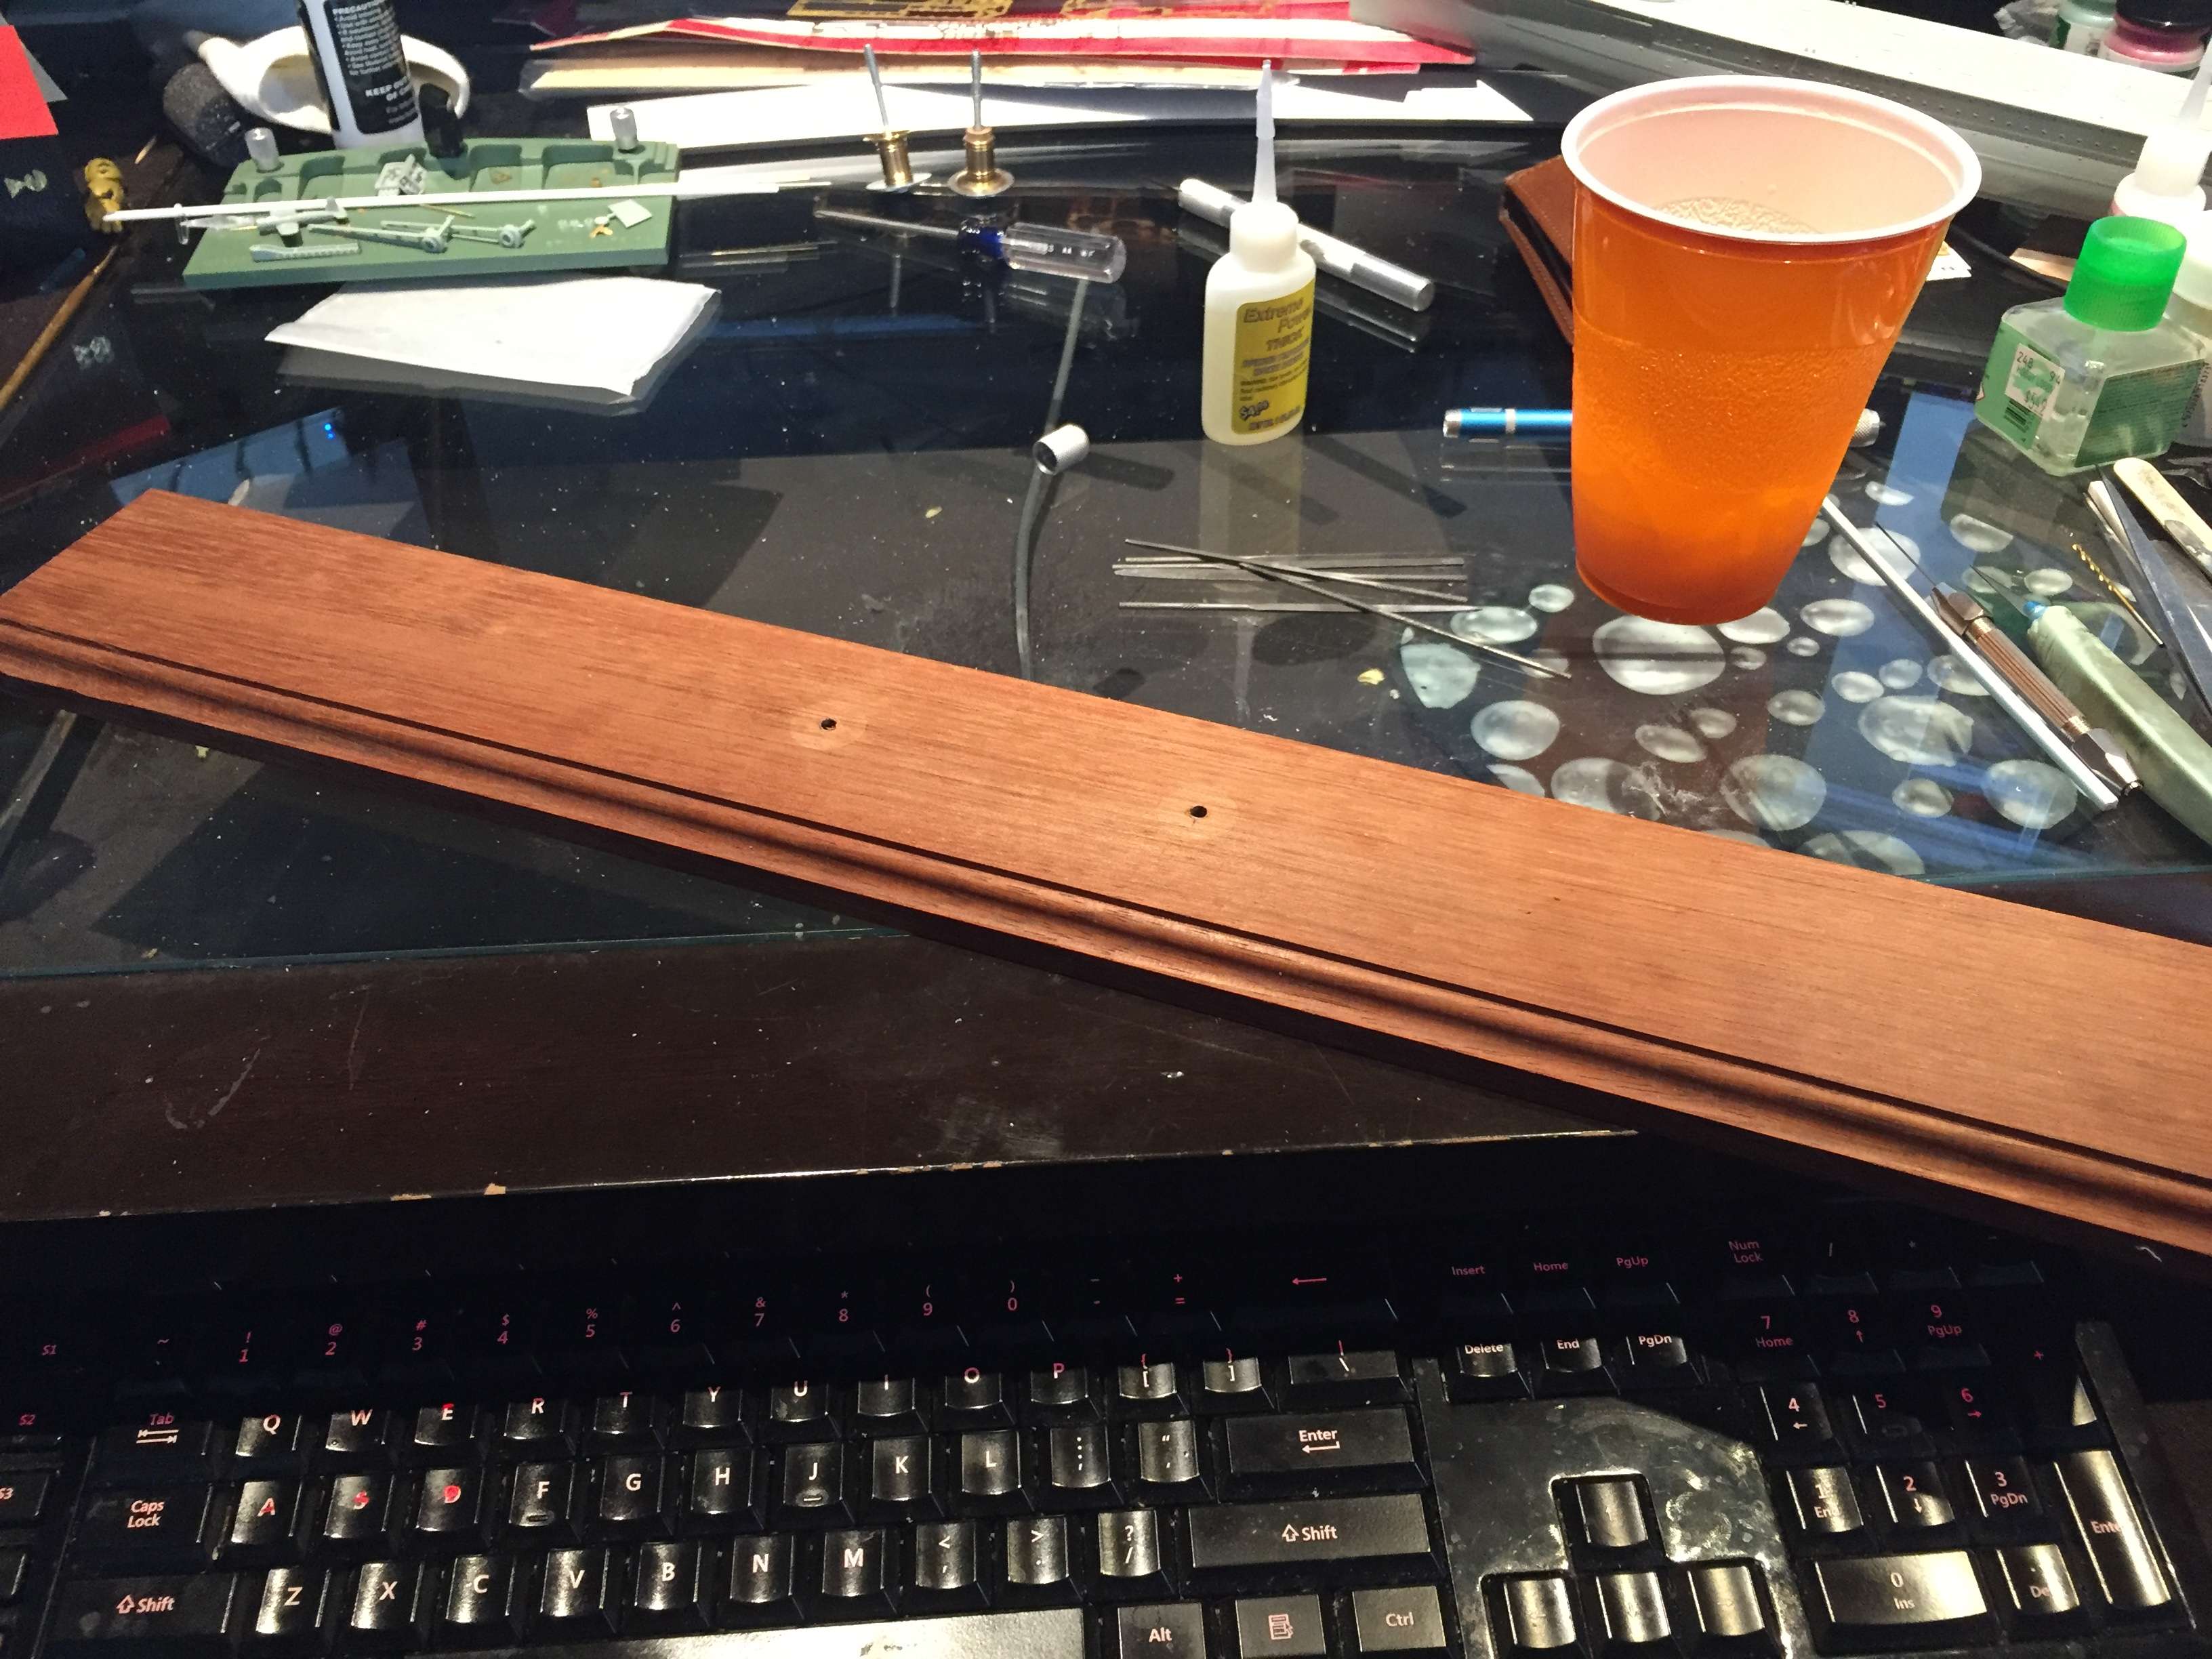
I chose a piece of the same rosewood that I used on my Arizona build as I really like the color and the unfinished look of it. I used the markings on the kit for the Academy stand and drilled them out to accept the mounting hardware. Sadly, once again, I dont have pics of the hardware inside the hull but it basically consists of a small block of wood with two threaded inserts similar to these.

Image result for threaded wood inserts

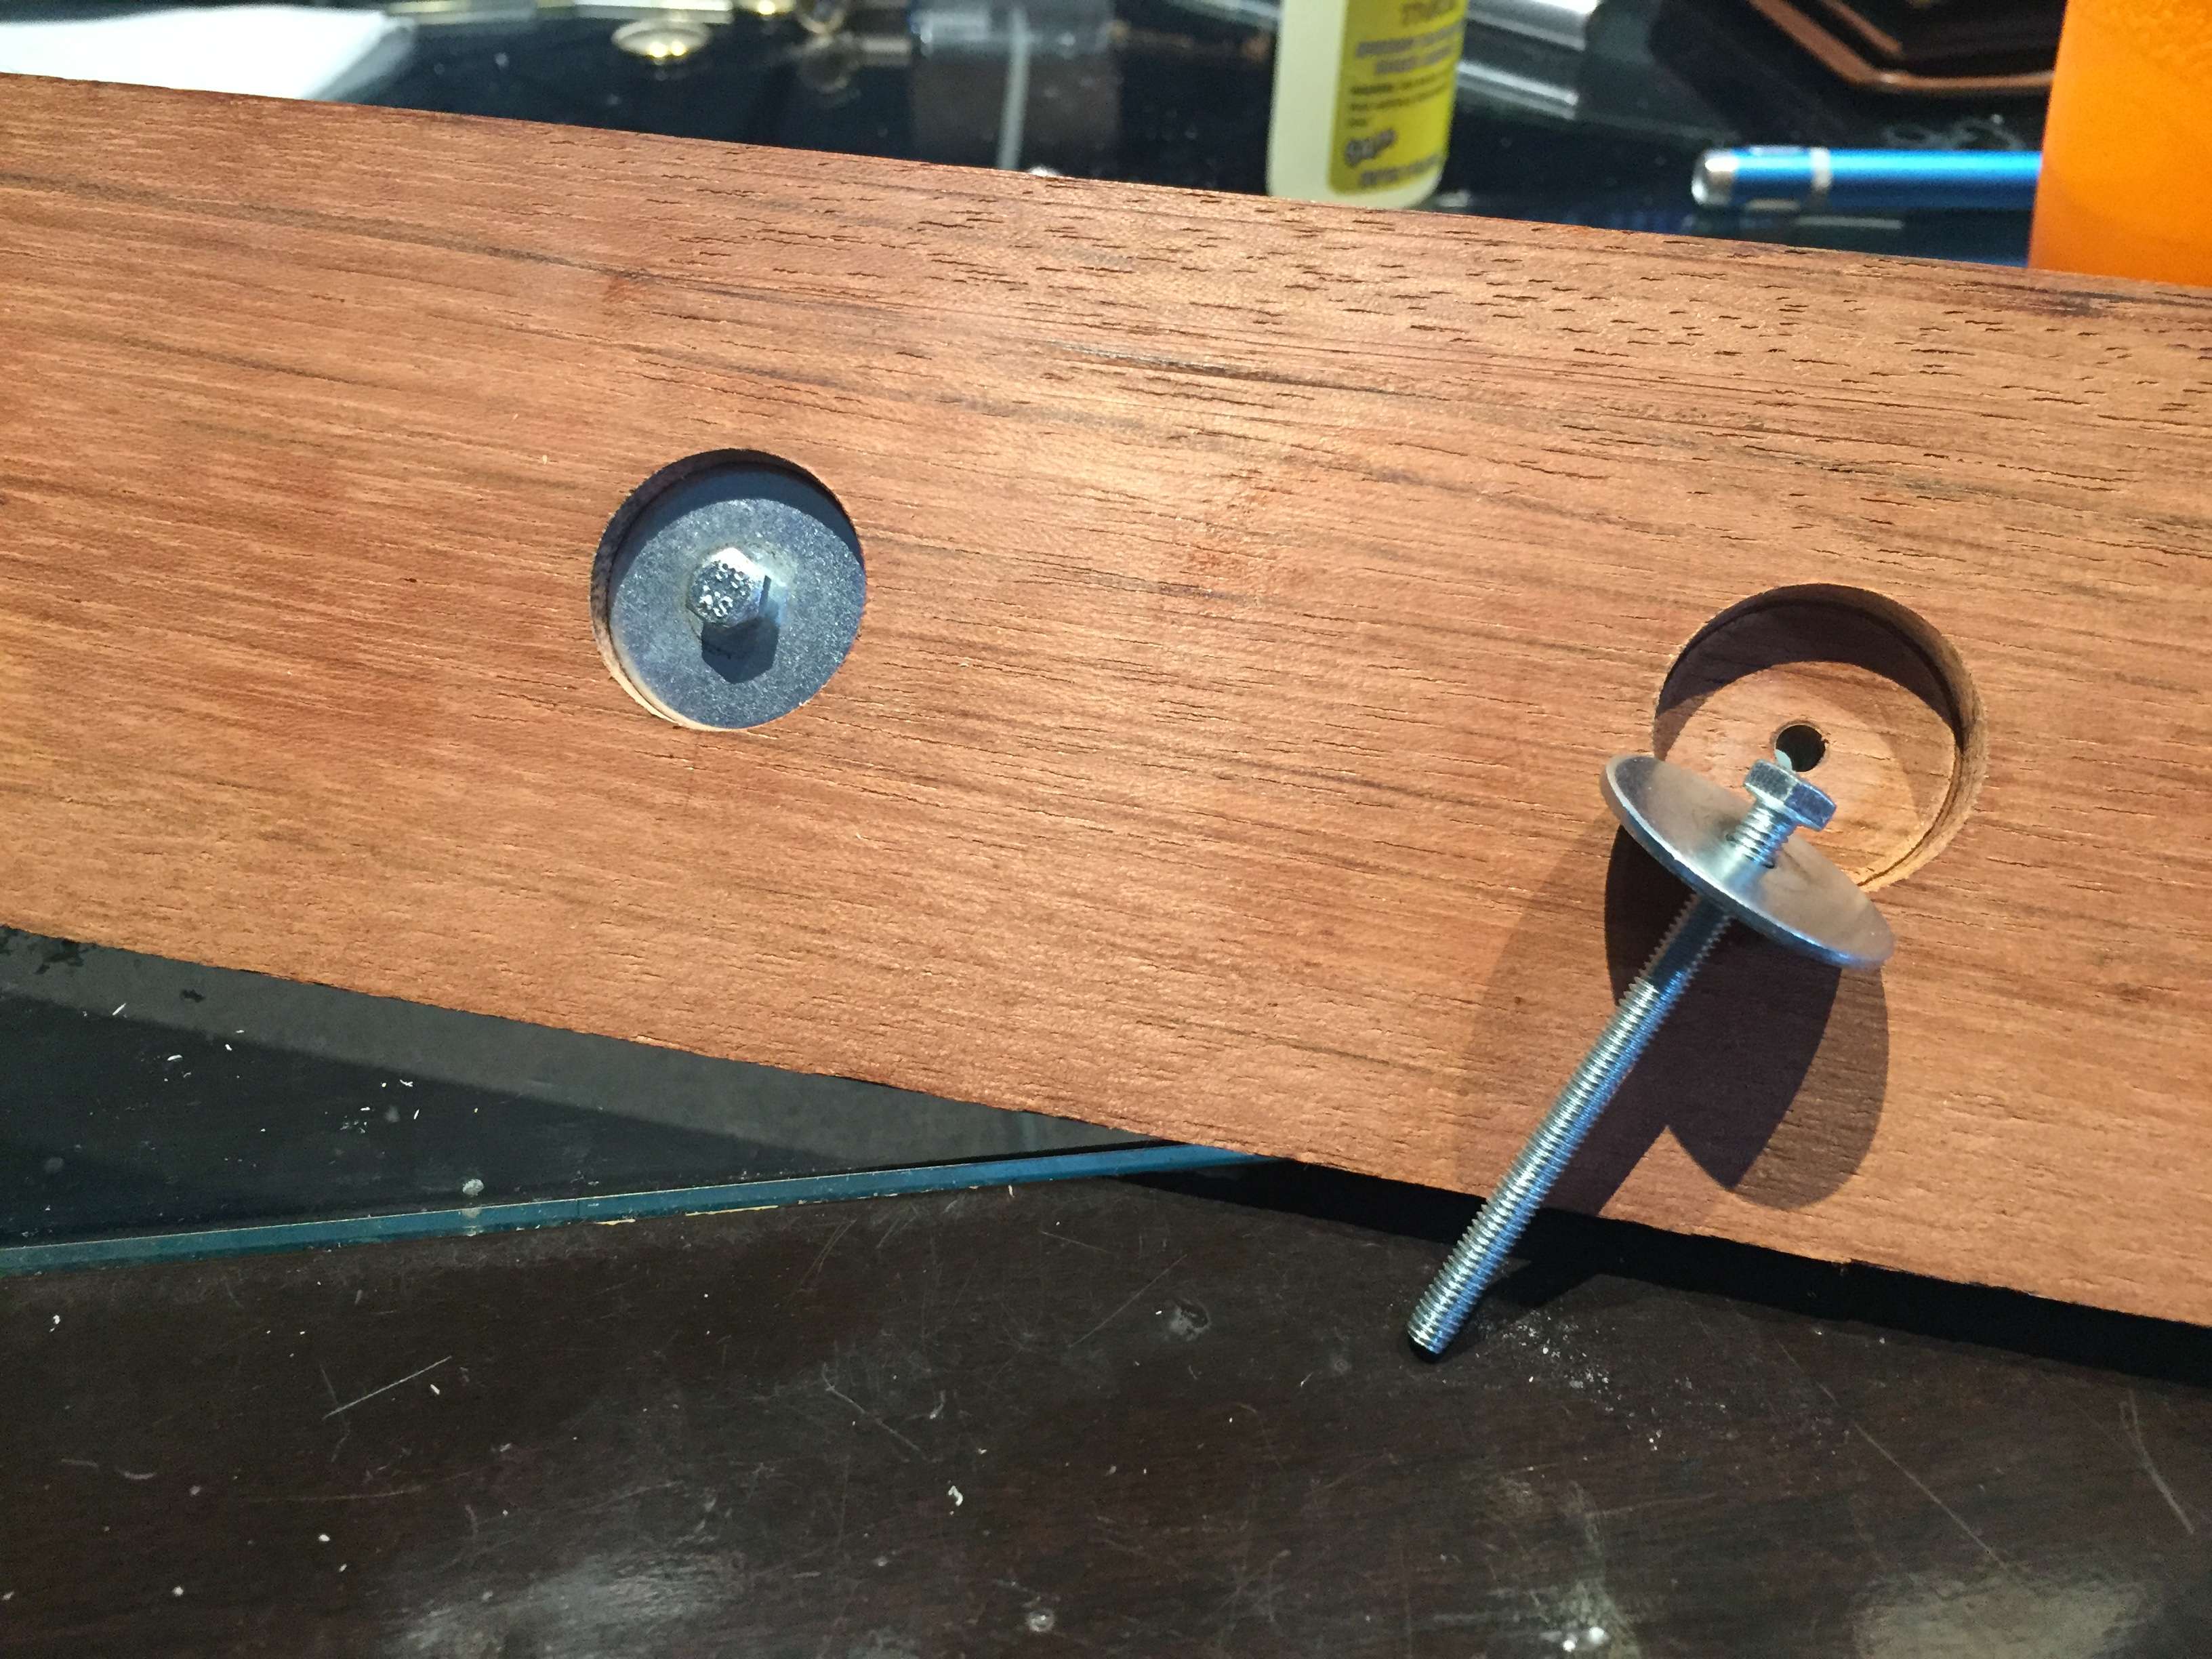
This allows me to remove the ship from the base at need. After the base was sanded, planed, and routed, the holes from the hull were matched and drilled through. I used a forstner bit on the bottom matched to the diameter of a pair of 1" fender washers to spread the force out to a bigger area.
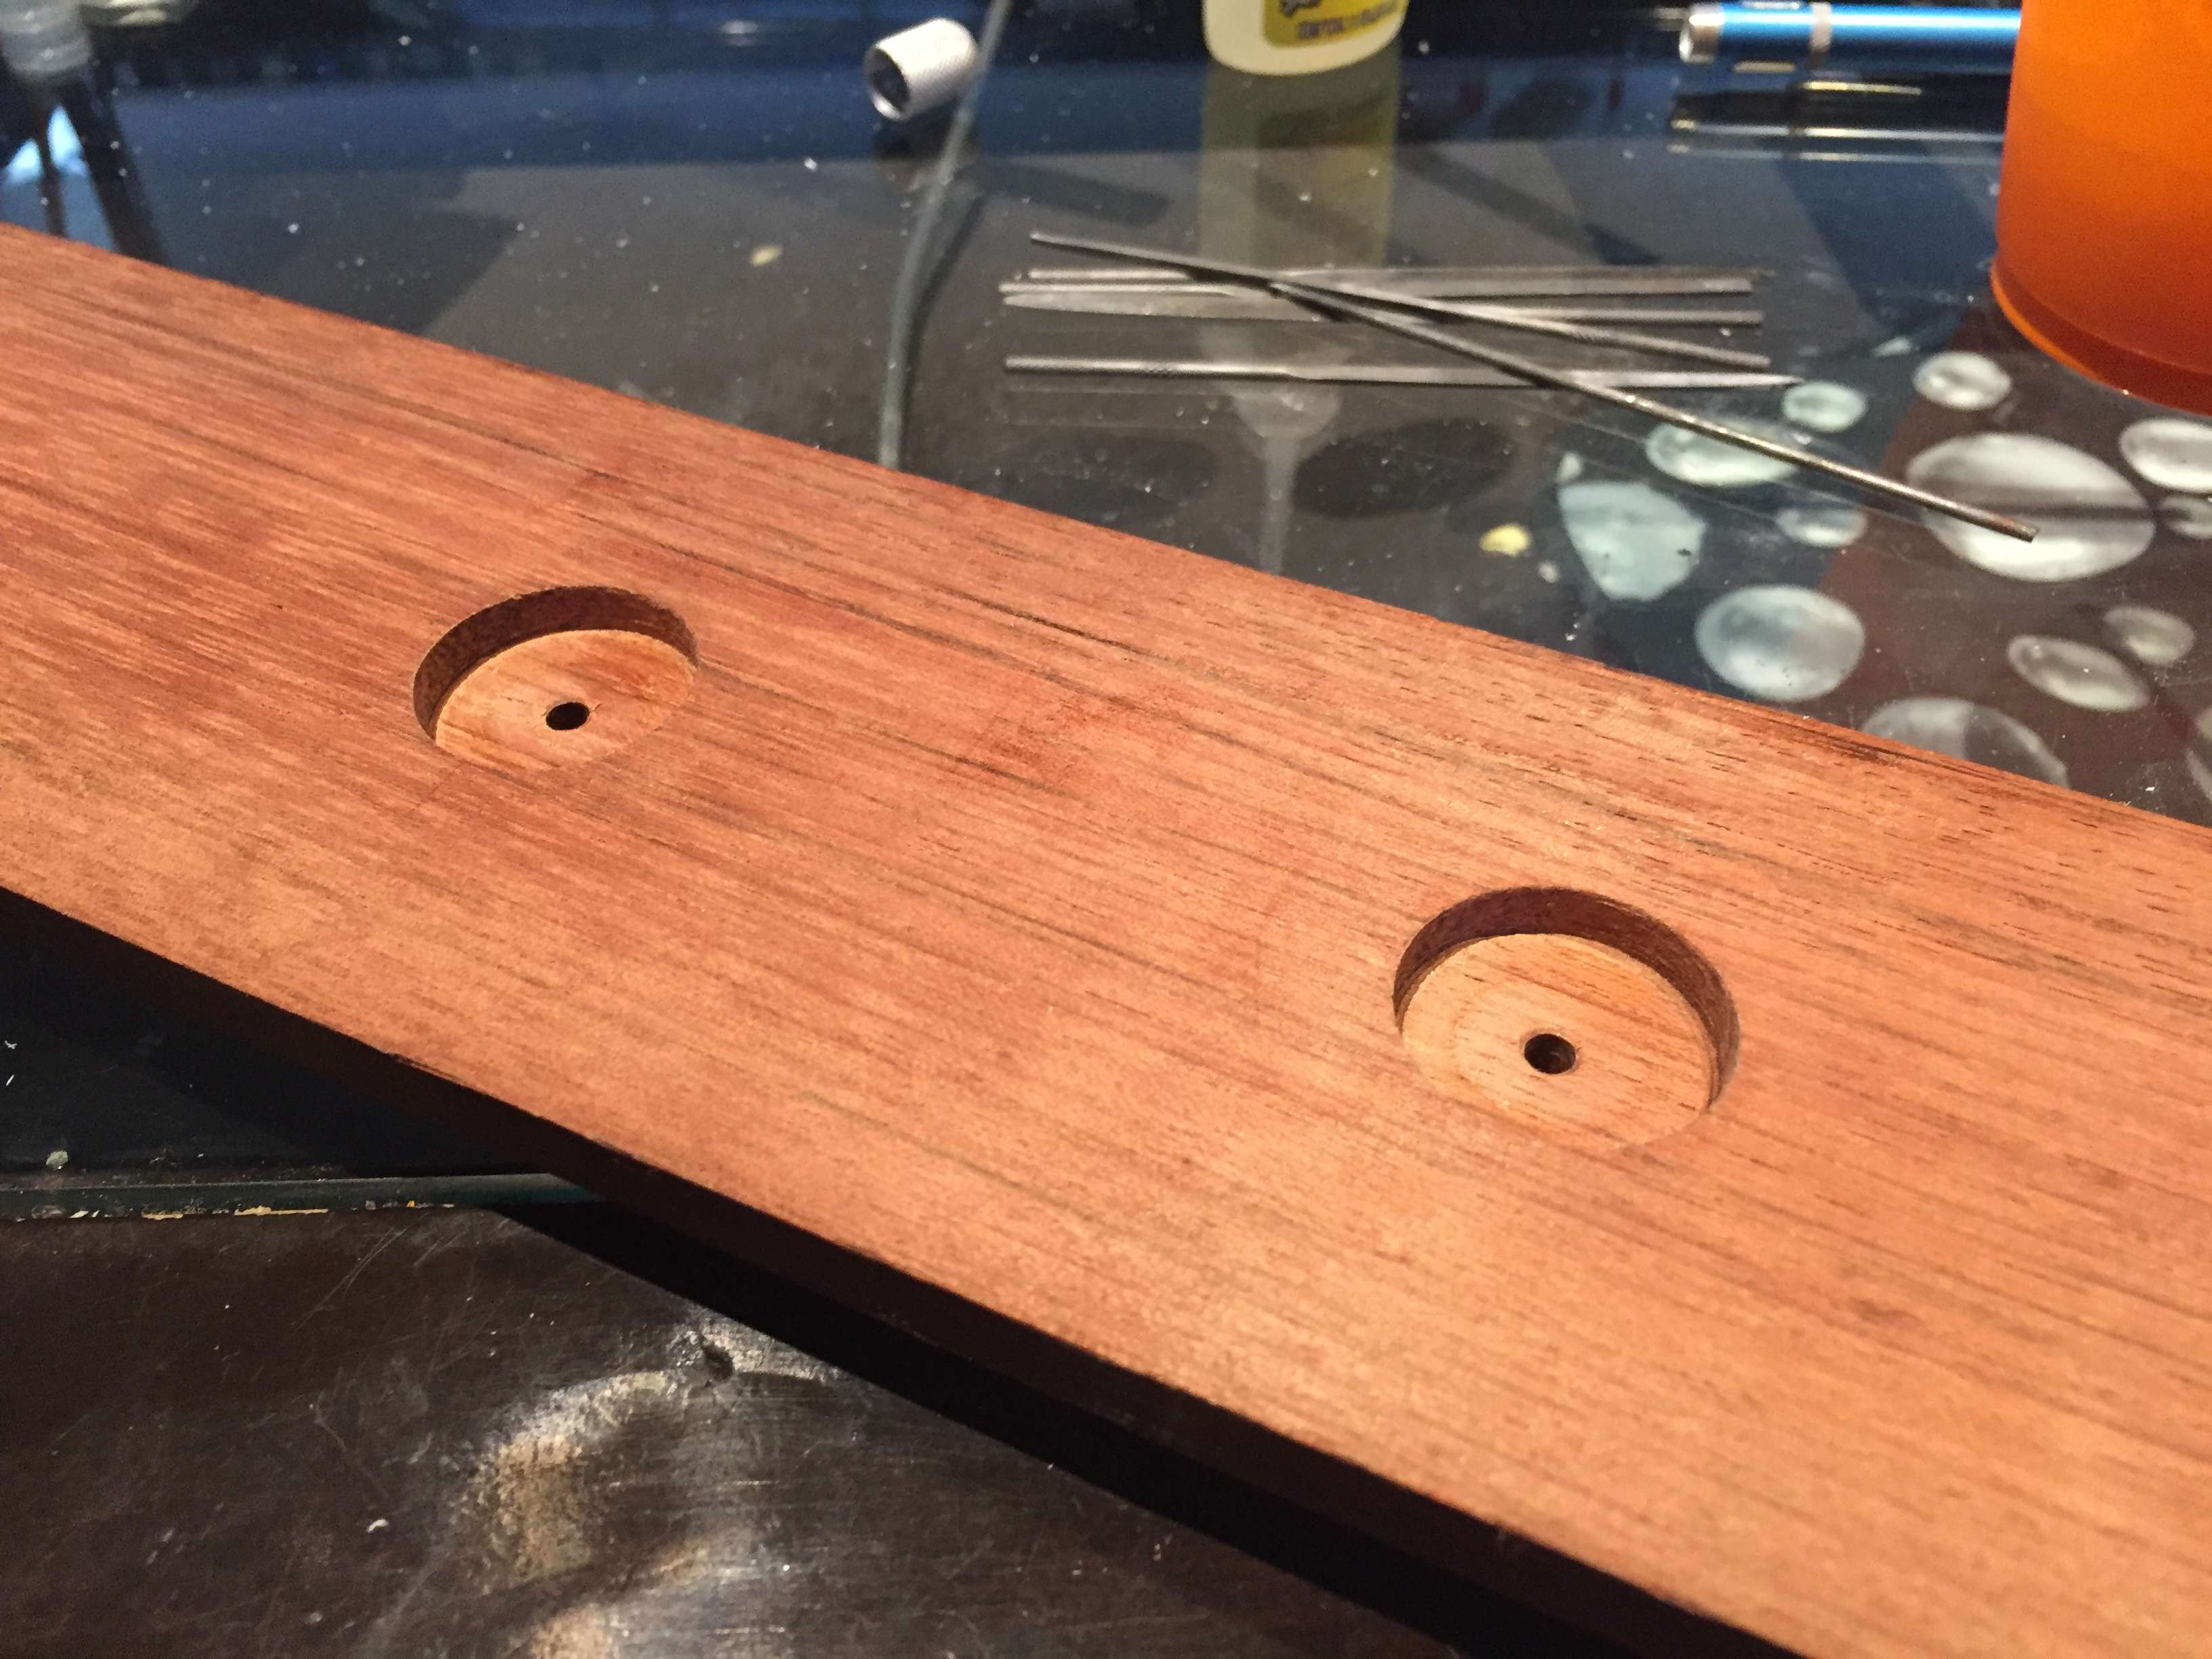
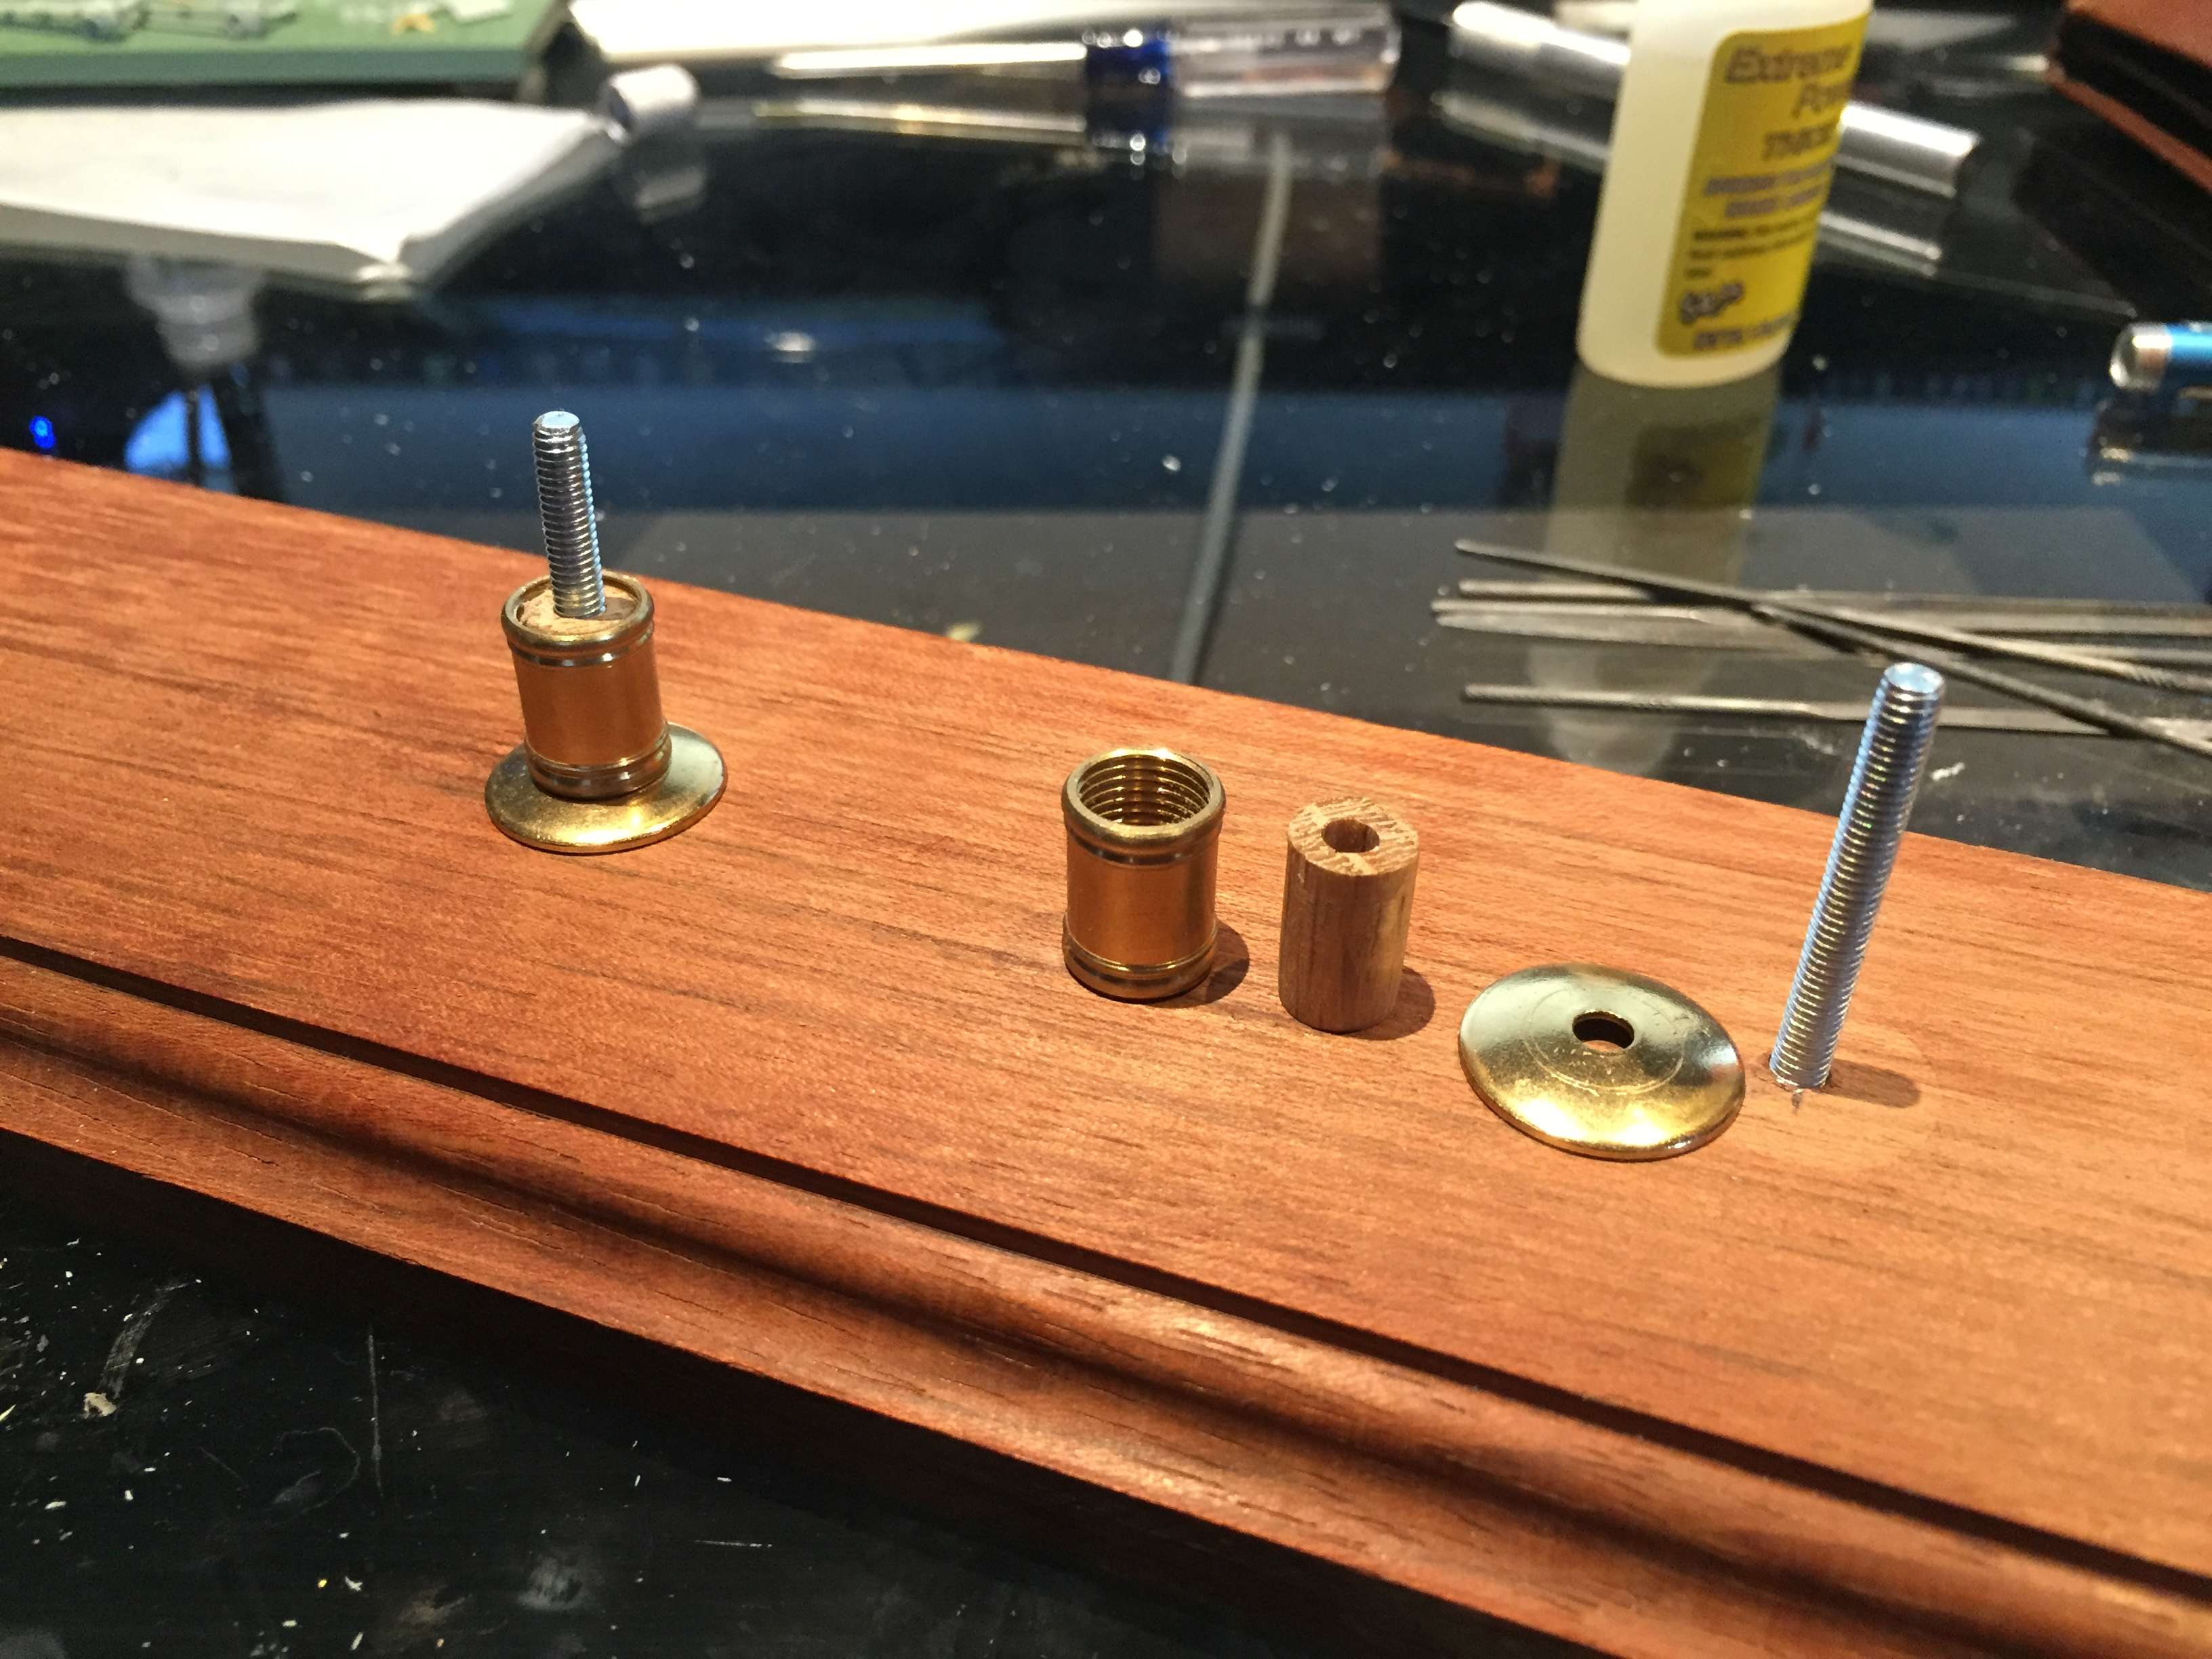
I picked up some basic lamp hardware from Home Depot for the finials. I am not a big fan of large shiny finials as I want people focused on the build rather than the mounting hardware. Less is more for me in this area. A dowel of similar diameter was sanded down and drilled then cut to length and inserted into the lamp hardware to keep the bolts straight as well as to keep the posts centered on the brass washers.
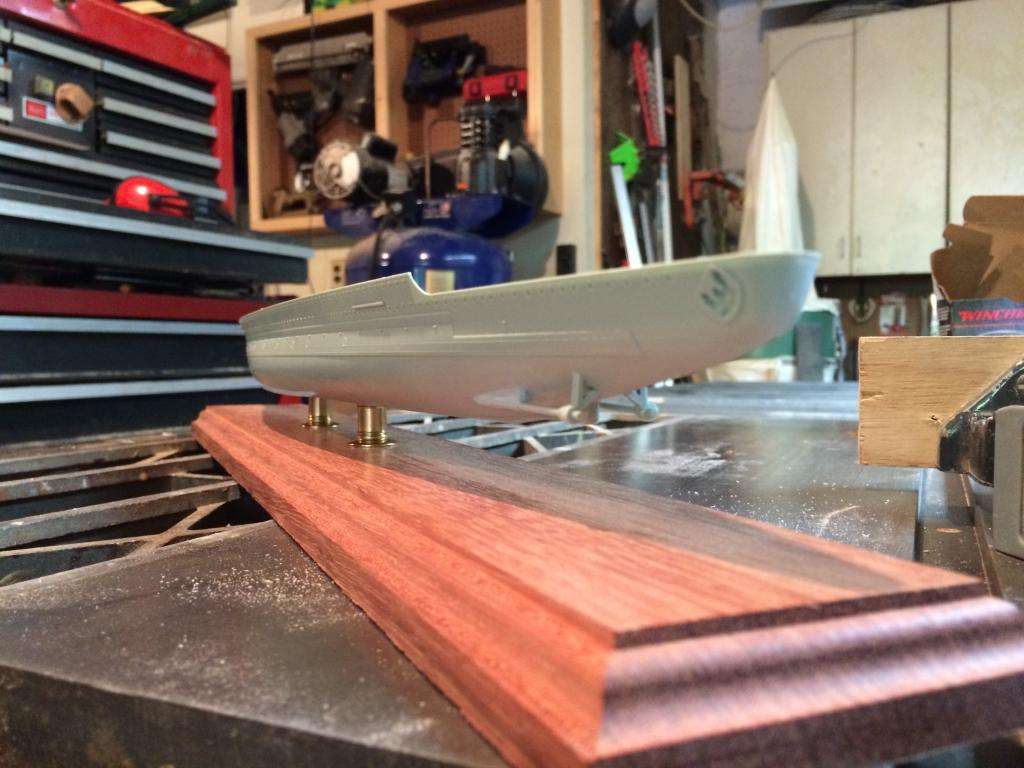
And here she is mounted on her new home with hull halves glued and sanded, bilge keels glued and faired, and prop shafts and hubs mounted. The deck was also fitted and so far everything has fit perfectly.
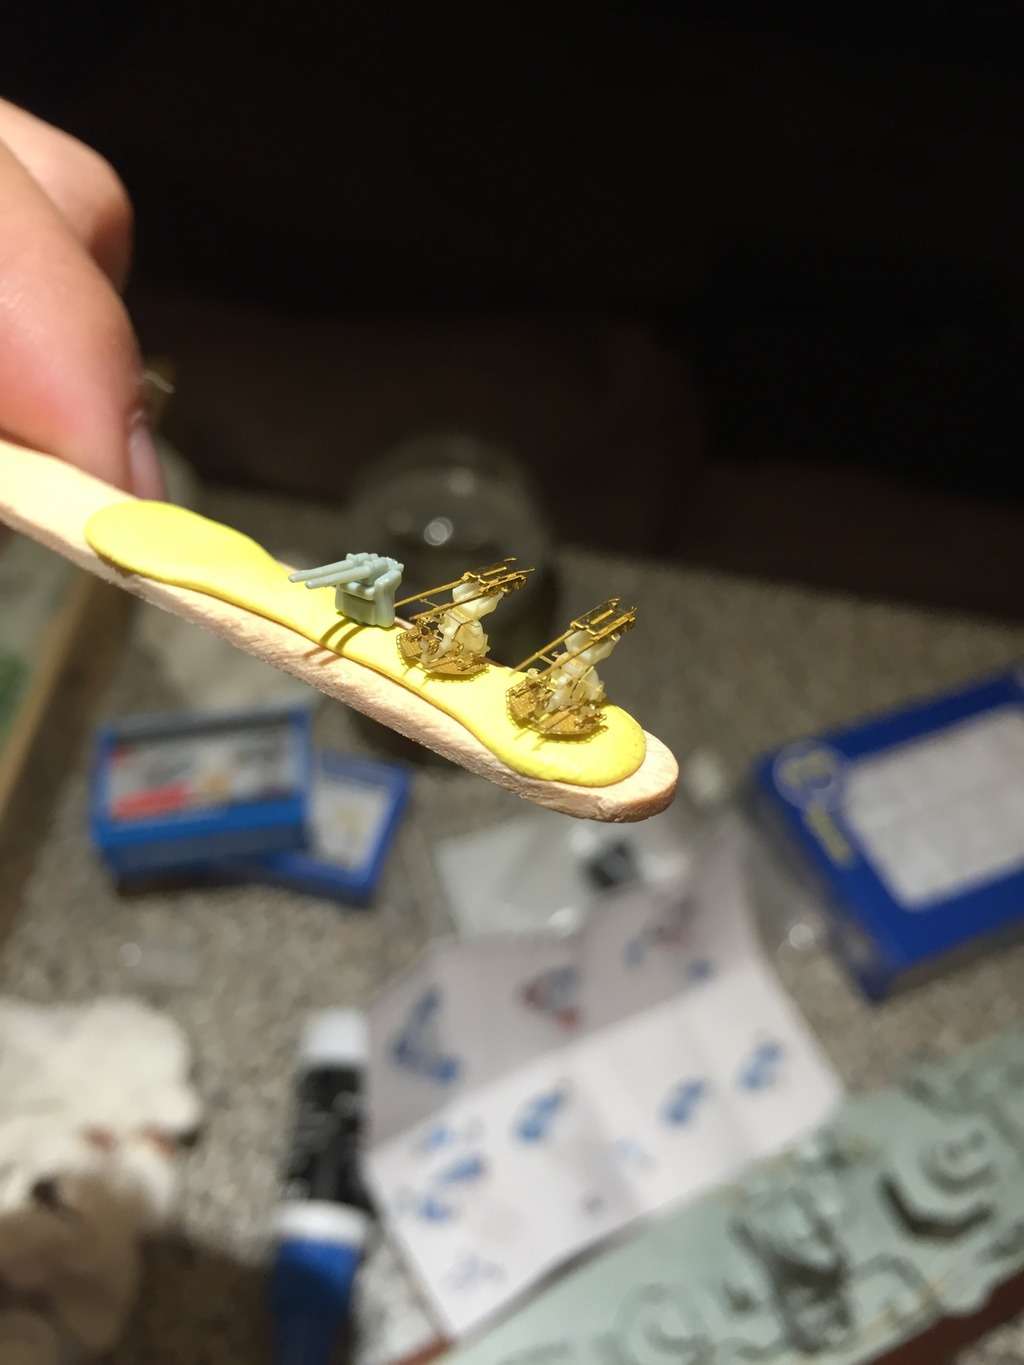
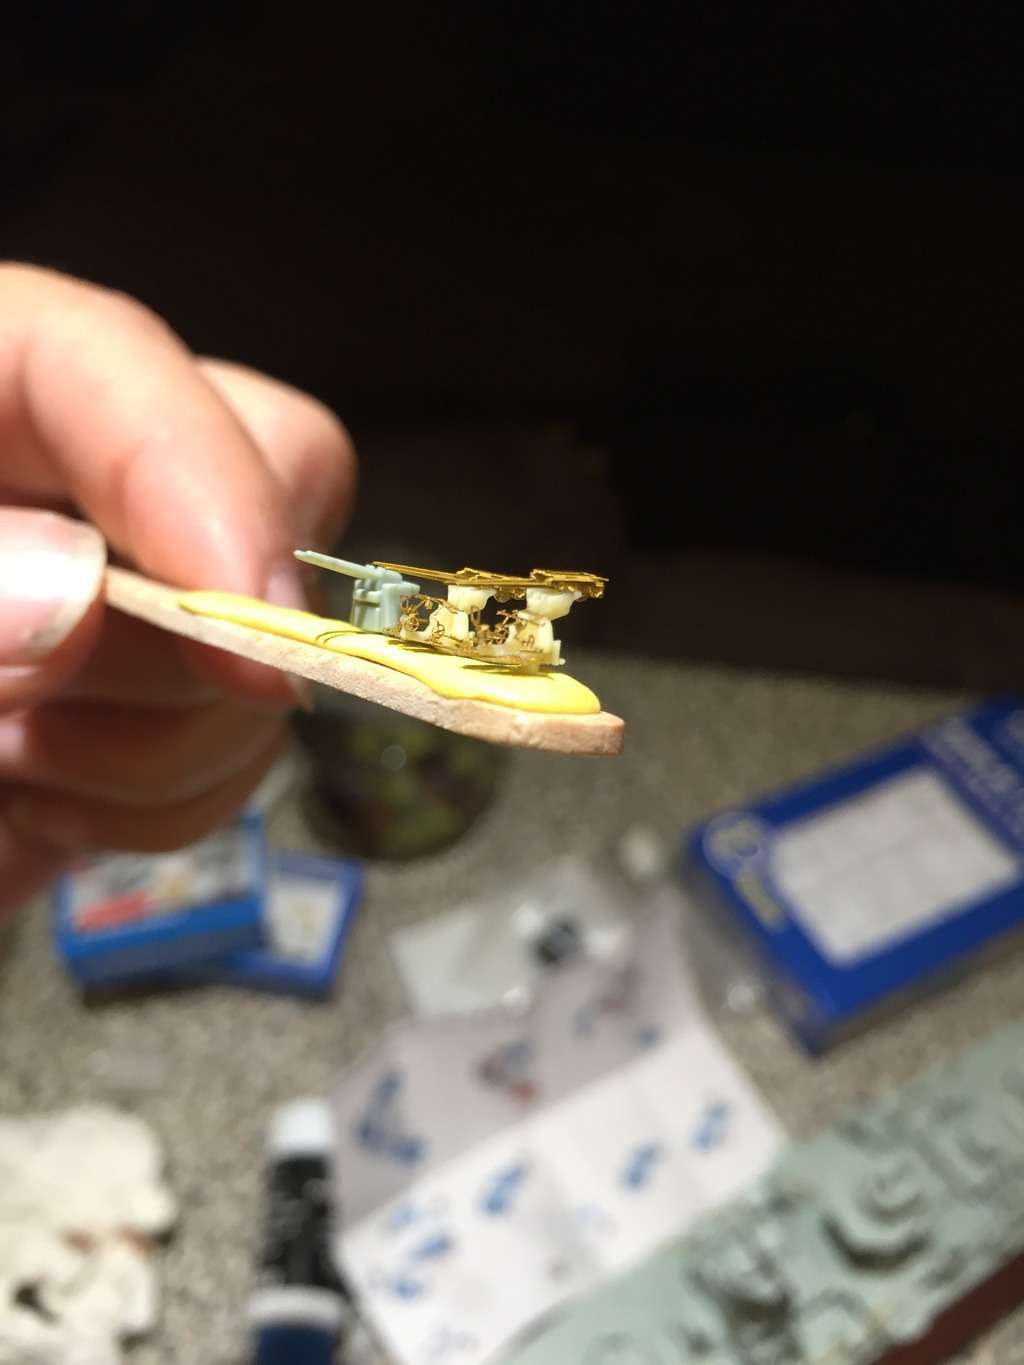
I picked up the Flyhawk replacements for the single 20's and the dual 3.7's. Man were these things tiny! I think the differences in them and the kit parts speak for themselves in the pics below.
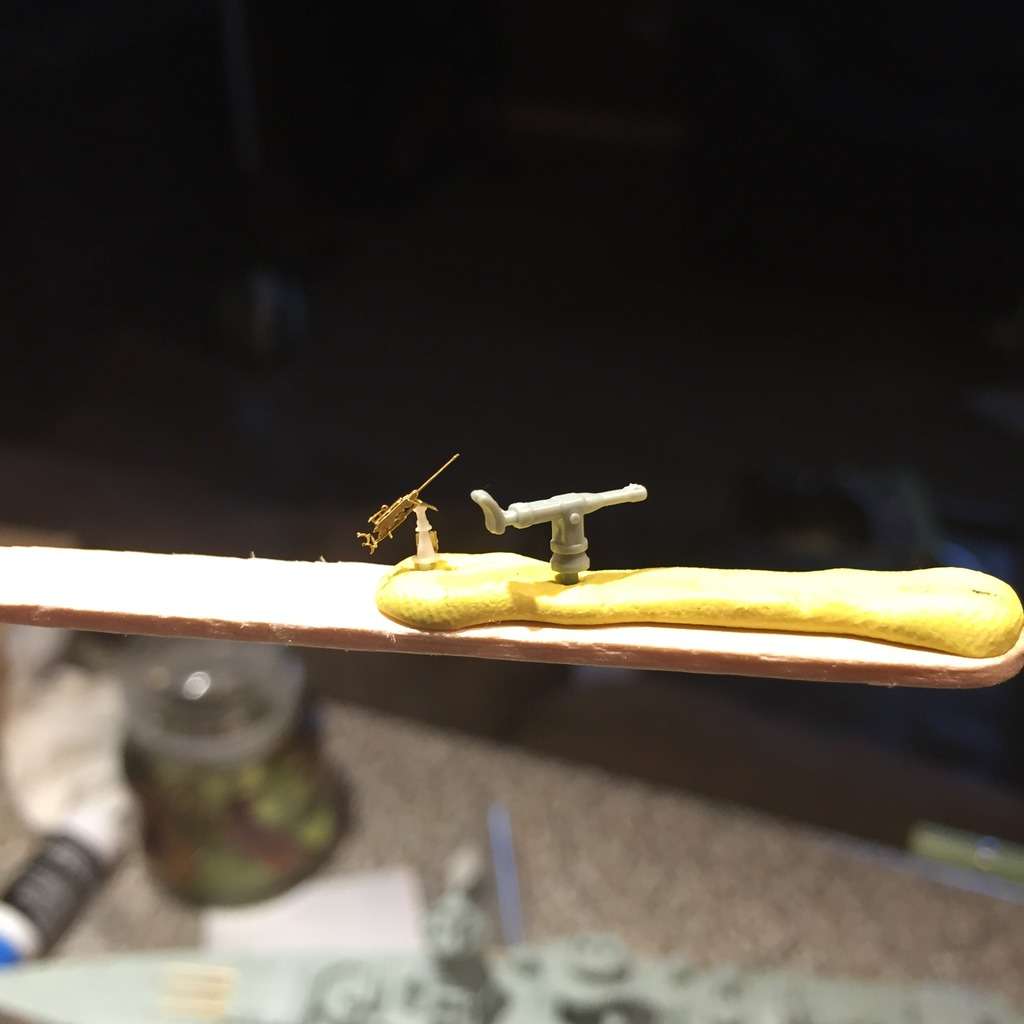
...and the 3.7's
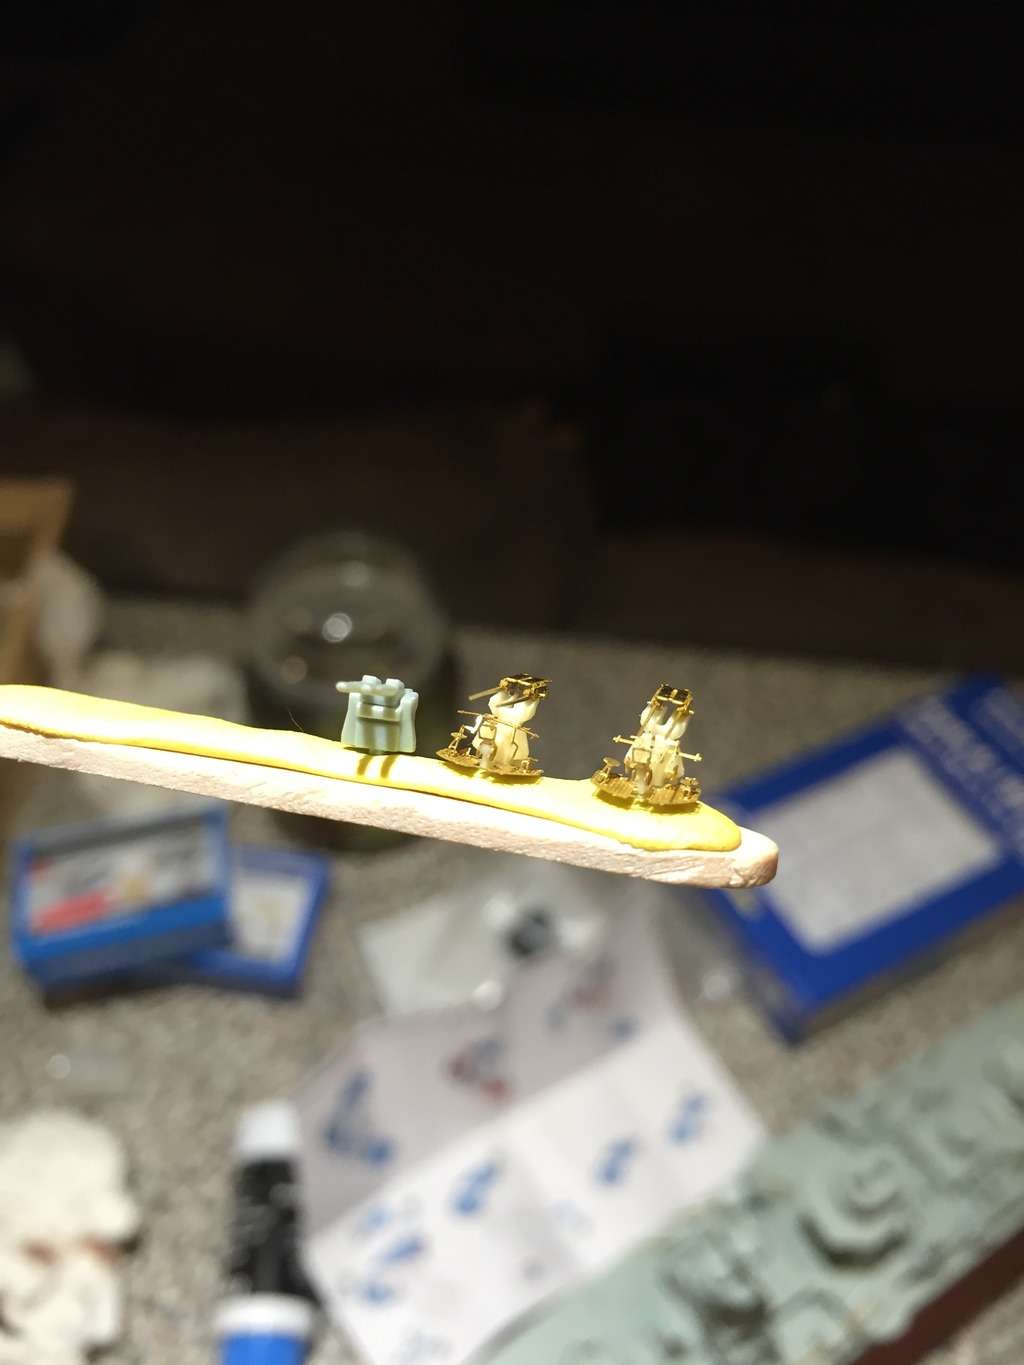
 

 Stay tuned as there is much much more to come!

Eric


JOIN OUR COMMUNITY!

Our community is FREE to join. To participate you must either login or register for an account.

SEARCH FORUMS
FREE NEWSLETTER
By signing up you may also receive reader surveys and occasional special offers. We do not sell, rent or trade our email lists. View our Privacy Policy.