SEARCH FINESCALE.COM

Enter keywords or a search phrase below:

Academy's FFG-7 USS Oliver Hazard Perry Conversion to FFG-47 USS Nicholas

2828 views
12 replies
1 rating 2 rating 3 rating 4 rating 5 rating
  • Member since
    March 2016
  • From: Tulsa, OK
Academy's FFG-7 USS Oliver Hazard Perry Conversion to FFG-47 USS Nicholas
Posted by AV8R1992 on Tuesday, August 29, 2017 11:58 AM

Hey everyone, so after a brief hiatus from building models, I have decided to start on my next kit. I'm building this ship as a present to my dad for Christmas (this was his 2nd ship he served on). I'll post the pictures once I get home from work and have access to my laptop but this kit was a blast to build. The kit comes with the parts to convert it from a short to long hull but no instructions on how to do so. I had to do some cutting and sanding to get the new flight deck and transom fantail to fit. Once all that was connected I had to reshape the stern because the pieces weren't fitting correctly. I also added the Oliver hazard Perry photo etch detail set which included railings, radar, and seahawk detail set. My one question for you guys is does anyone know how to build 1/350 scale 50 caliber machine guns? the photo etch detail set includes them but they're flimsy and would like to scratch build some.

  • Member since
    July 2014
  • From: Philadelphia Pa
Posted by Nino on Friday, September 1, 2017 9:22 PM
 My only experience in making a 1/350 scale small caliber gun was making a German 3.7cm Flak 42 for a 1/200 Nichimo IXc sub kit that was missing one.   Maybe you could use the delicate .50 cal PE set you have but add a touch of paint or glue ( White, Super, etc...) to give it more "body" and strength.
     The M2 .50 cal machine gun was 65” long: a 20 inch “body” and a barrel of 45 inches.  I suppose you could try using a rectangular piece of plastic (approx .01” x .05”) for the gun body and a thin piece of wire for a barrel .12” long.  (Your best guess at gauge of wire -AC extension cord strands??  .005"?? ).  The Mount (Tripod or Pole or ?) could be plastic round-rod or stretched Sprue. Super-glue could be used for gluing on the barrel and would give a tapering effect at the guns body to barrel connection.  This might be more substantial and 3D looking. Left-over PE brass or even paper might be used for the Gun body connection to tripod mount. I fear my ideas might still look over-scale however.
     There are 1/350 versions of WWII water-cooled .50cal out there made by Pit Road, 3D model parts and Shapeways, among others, but I have not seen any resin, plastic, or 3d printed Air-cooled guns.  I suppose you could cut off the barrel of the water-cooled version and use the gun body with a scratch-built barrel and mount.
      Whatever you come up with, please post your solution. I have that Academy 1/350 Oliver Hazard Perry kit in my stash.  
    
     And tell your Dad, Thanks!
 
            Nino.


P.S. You may need to confirm if the USS Nicholas had SeaHawk Helos or Seasprirtes . The Academy kit gives you SH-60B Seahawks.   
  • Member since
    March 2016
  • From: Tulsa, OK
Posted by AV8R1992 on Friday, September 1, 2017 10:38 PM

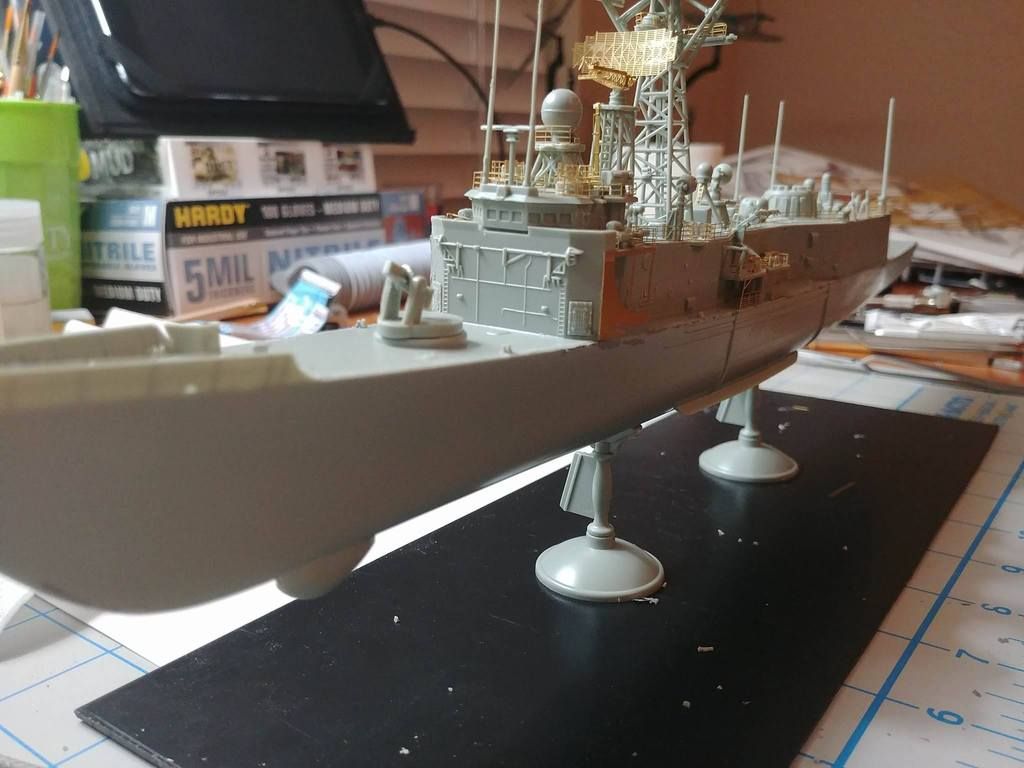
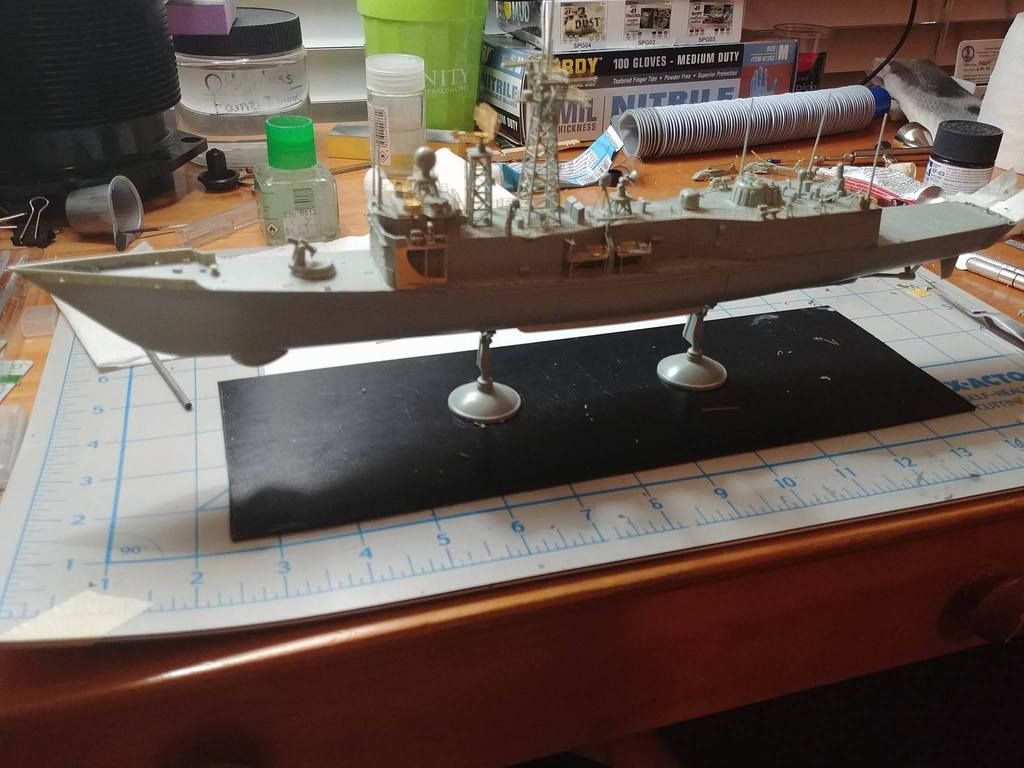
Alright, so I finally managed to get to my laptop. Made pretty good progress on the final assembly and painting over the past two days. Here are the pics of the build so far!

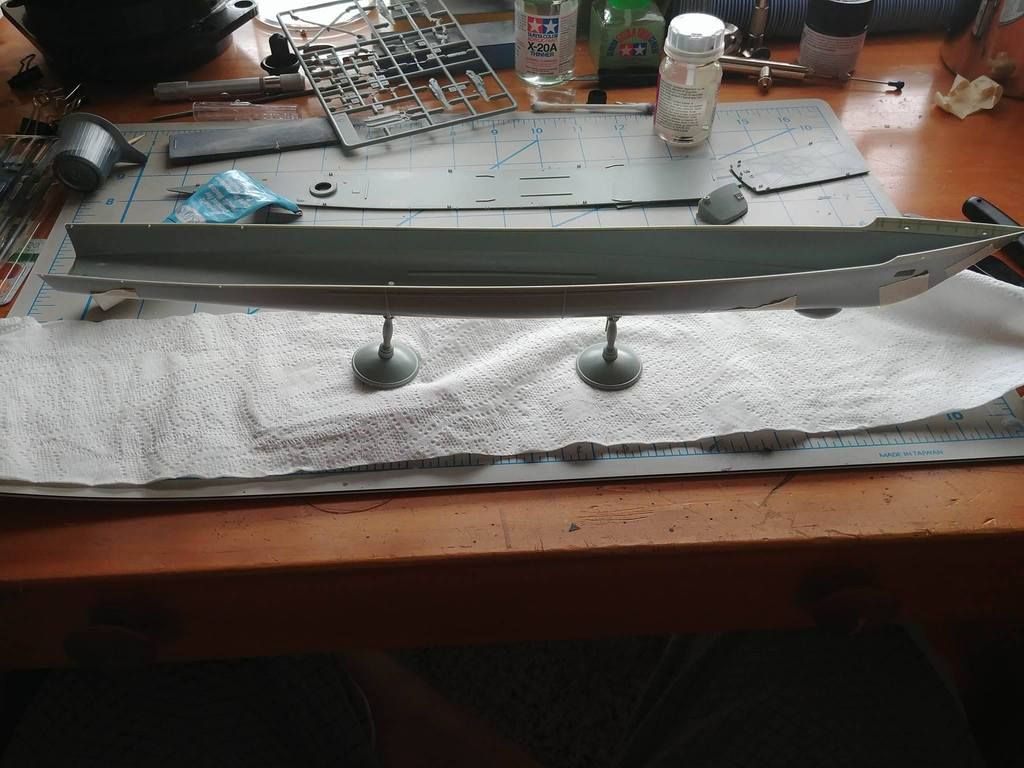
Heres the two hull halves glued to gether. 

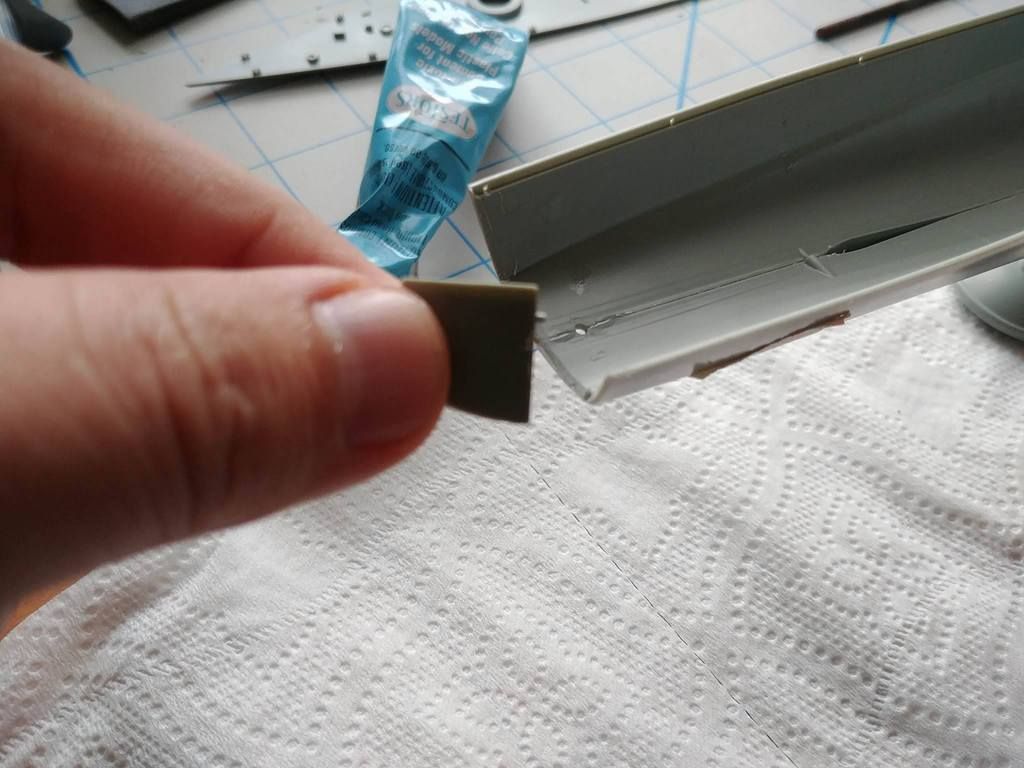
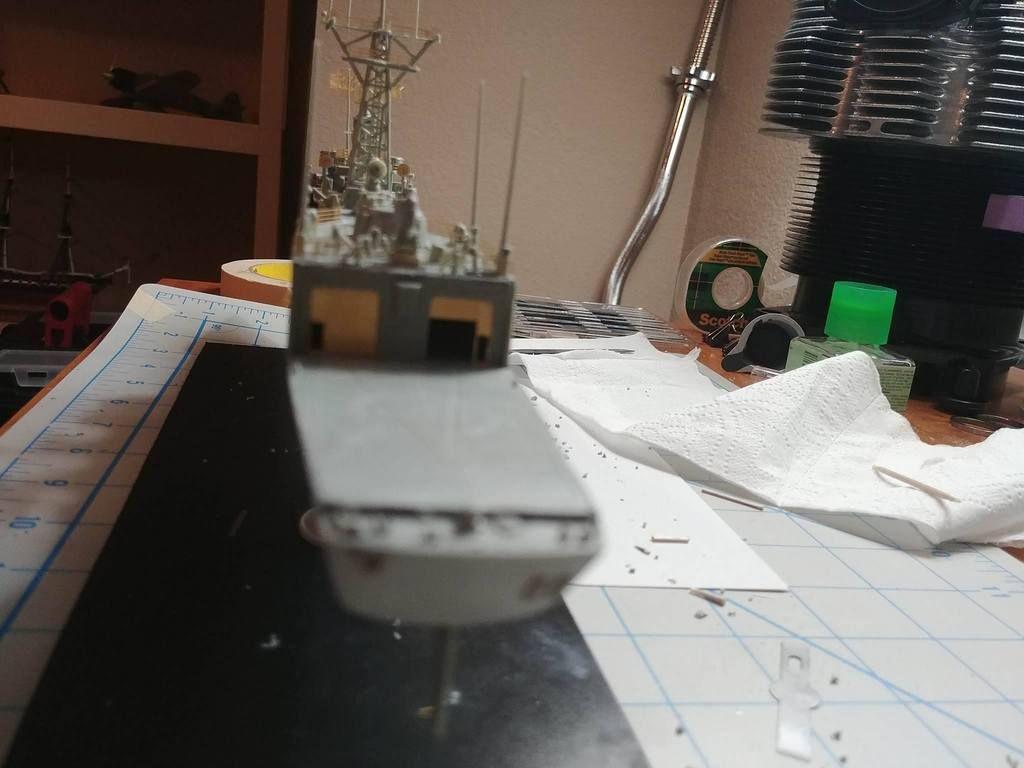
Had to remove this part of the stern in order to convert to the long hull version.

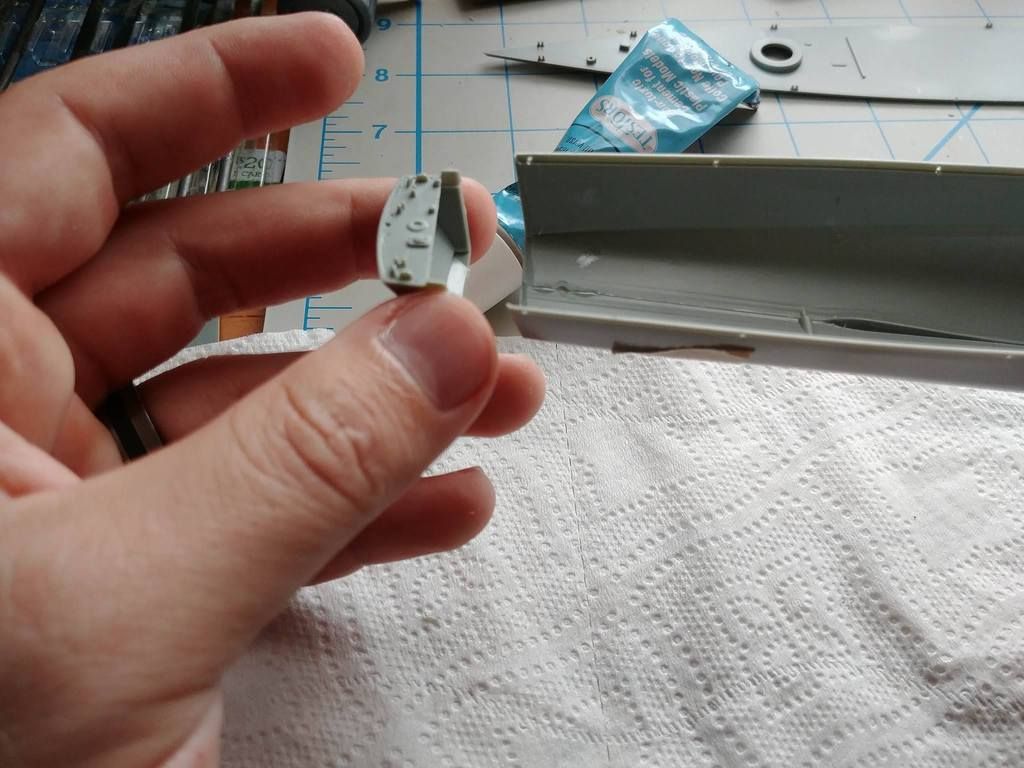
New transom fantail. After attaching, I had to do a lot of putty work and sanding in order to reshape the stern to accommadate the new piece. You'll also have to reshape the new flight deck for the long hull variant but its minor.

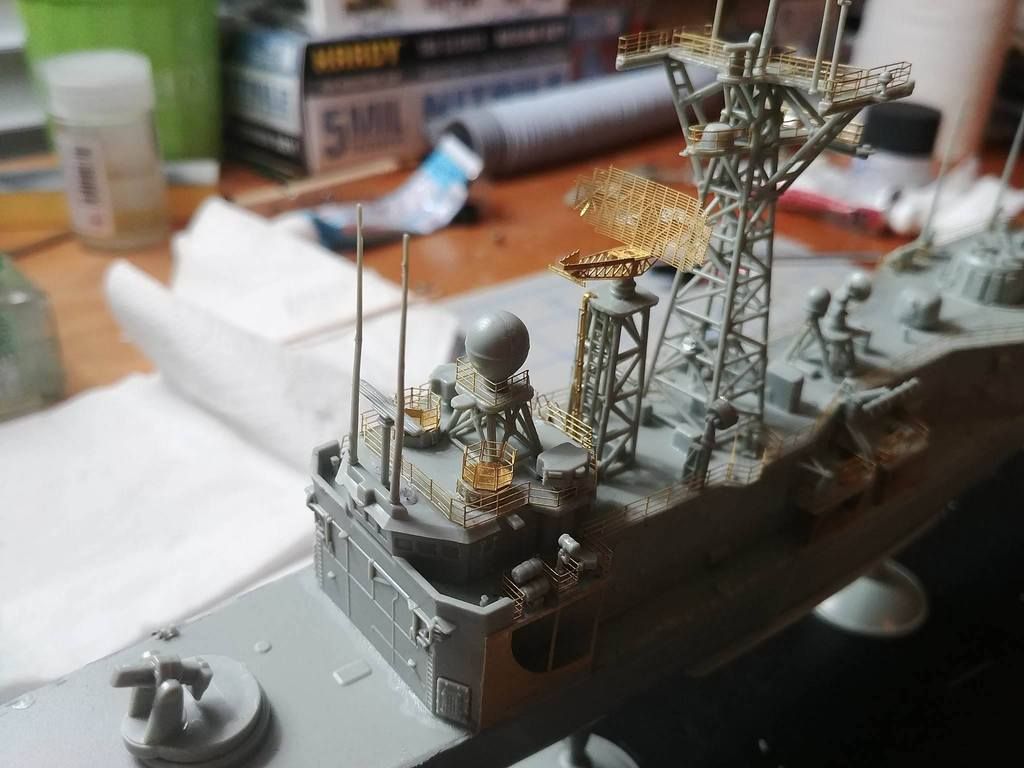
Bridge with photo-etech part 1

Bridge with photo-etch part 2.

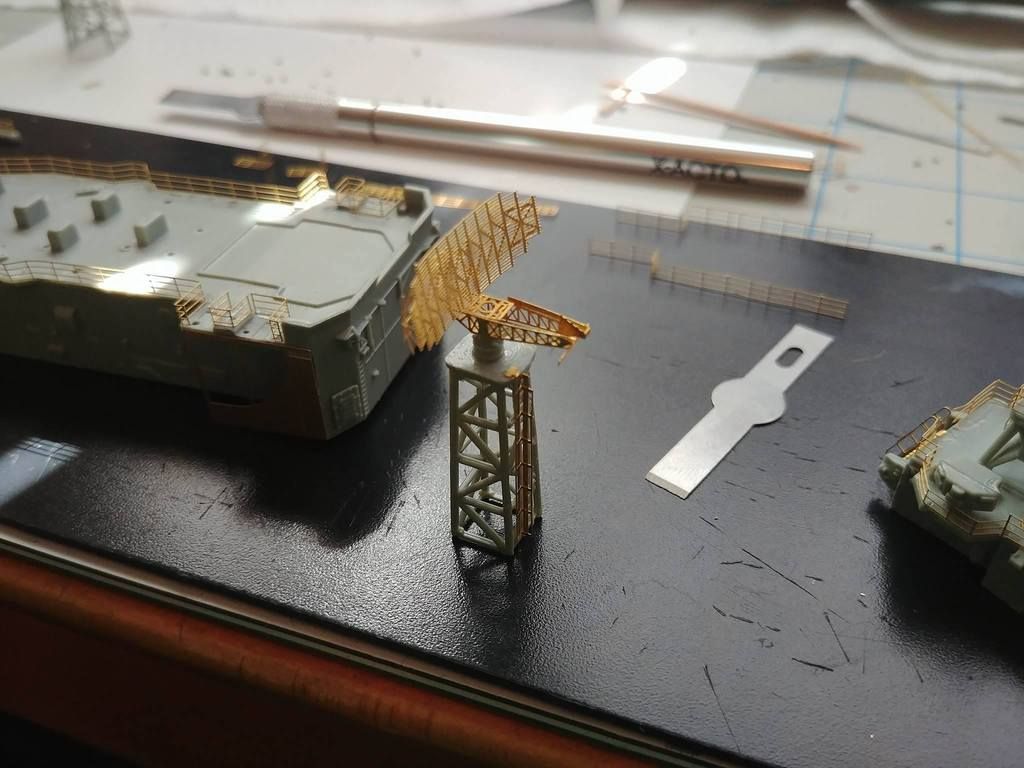
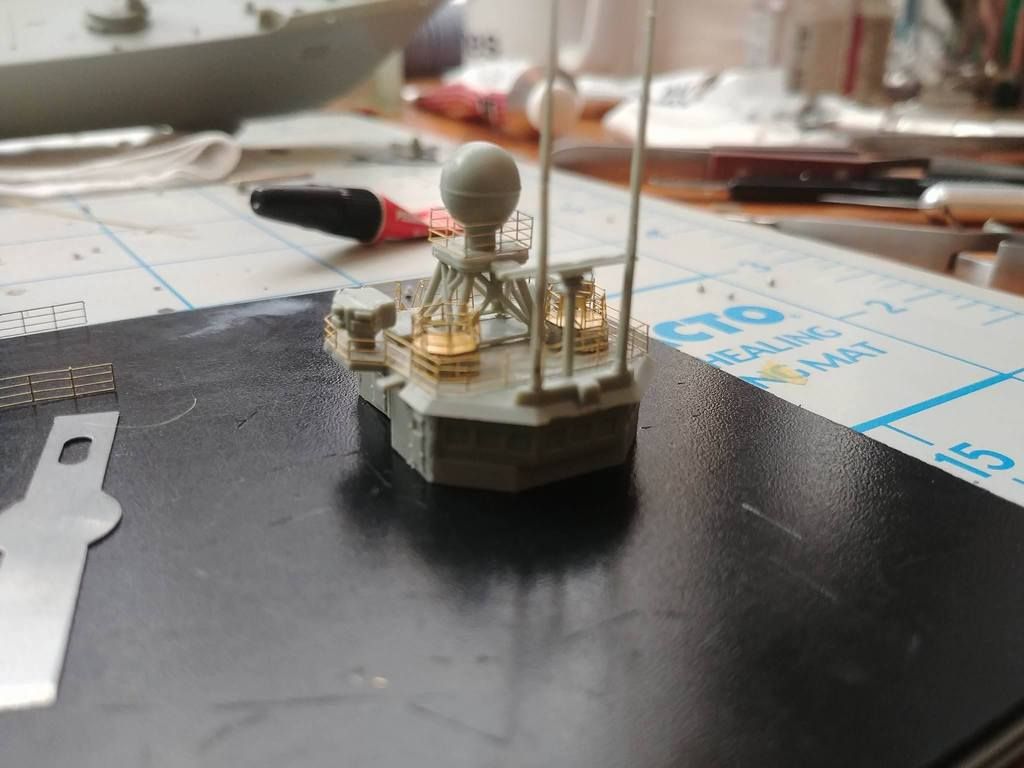
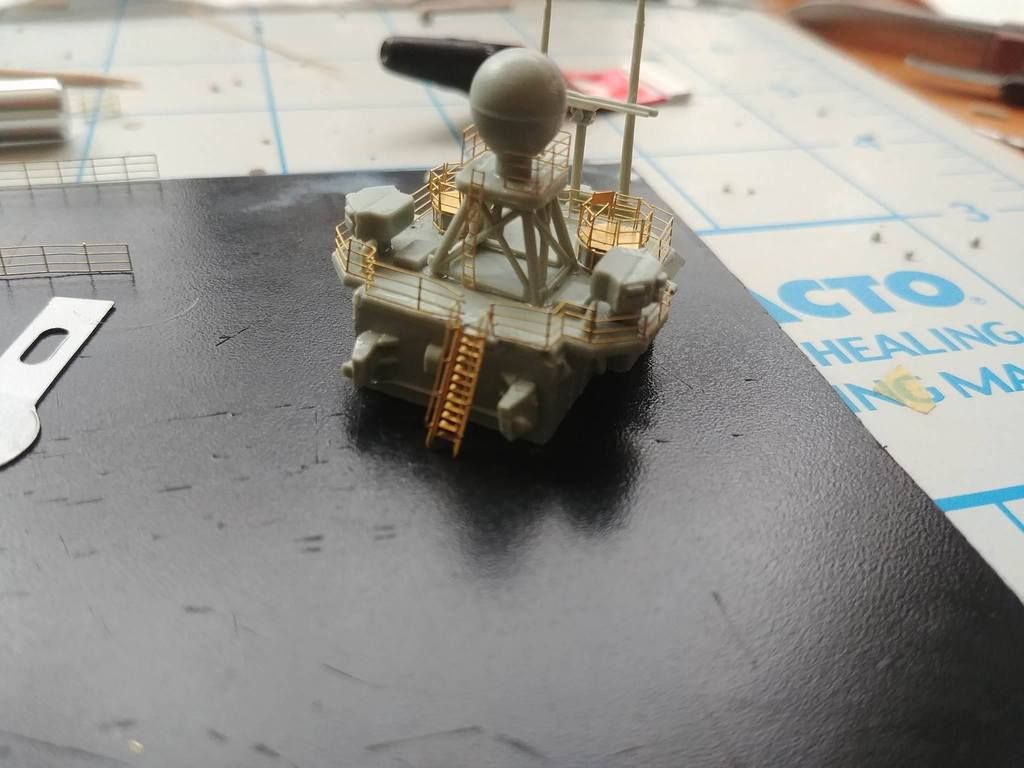
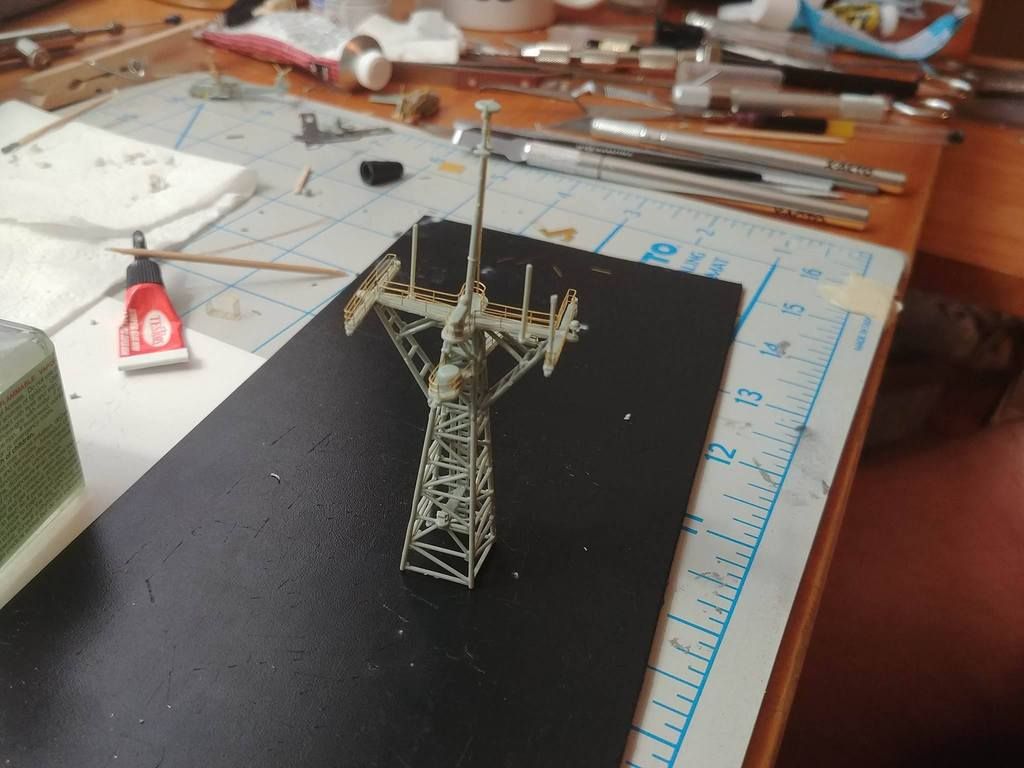
Photo-etch SPS-49 radar.

Unfortunate with this mast, I broke off on of the supporting beams when taking it off the sprue and it flung some where behind my desk into the carpet...still trying to find it!

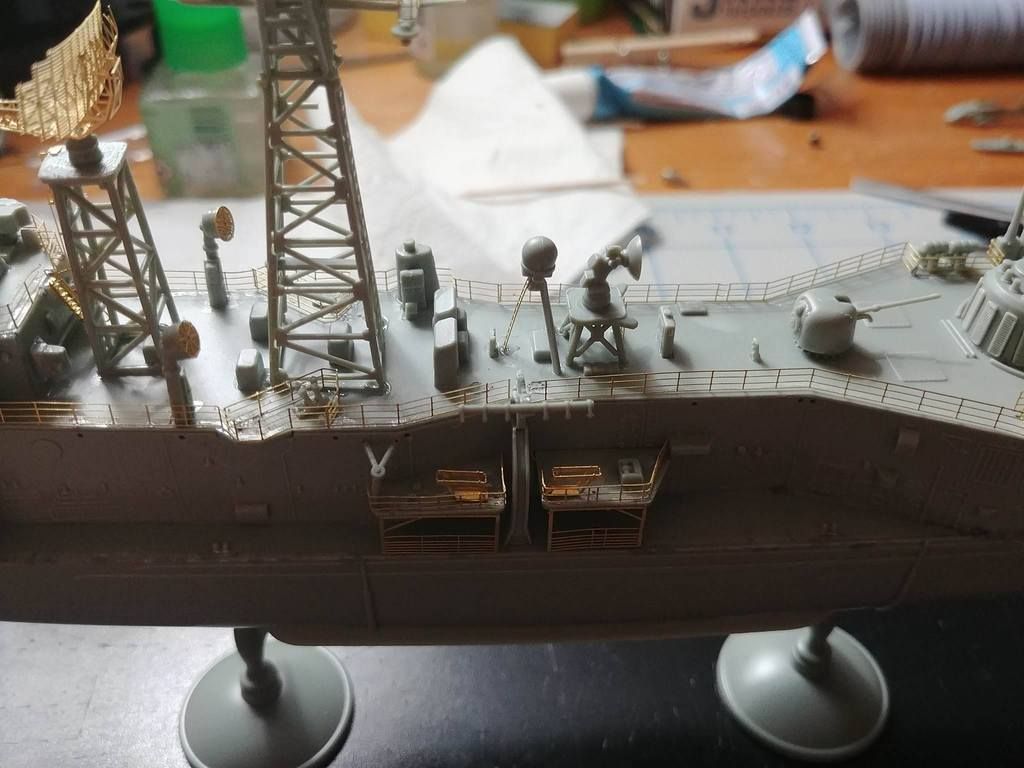
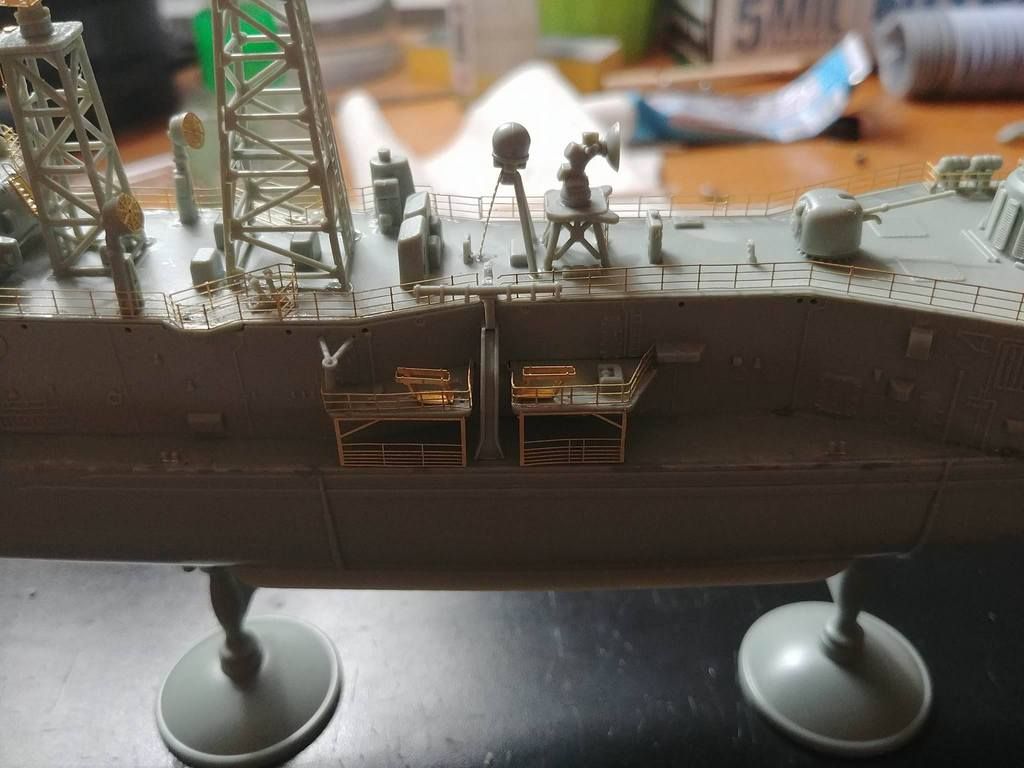
RHIB Platform. Left the RHIB off for painting.

Replaced the hangar bay doors with the photo-etch ones and made the starboard bay door open (enough to still put the decal on).

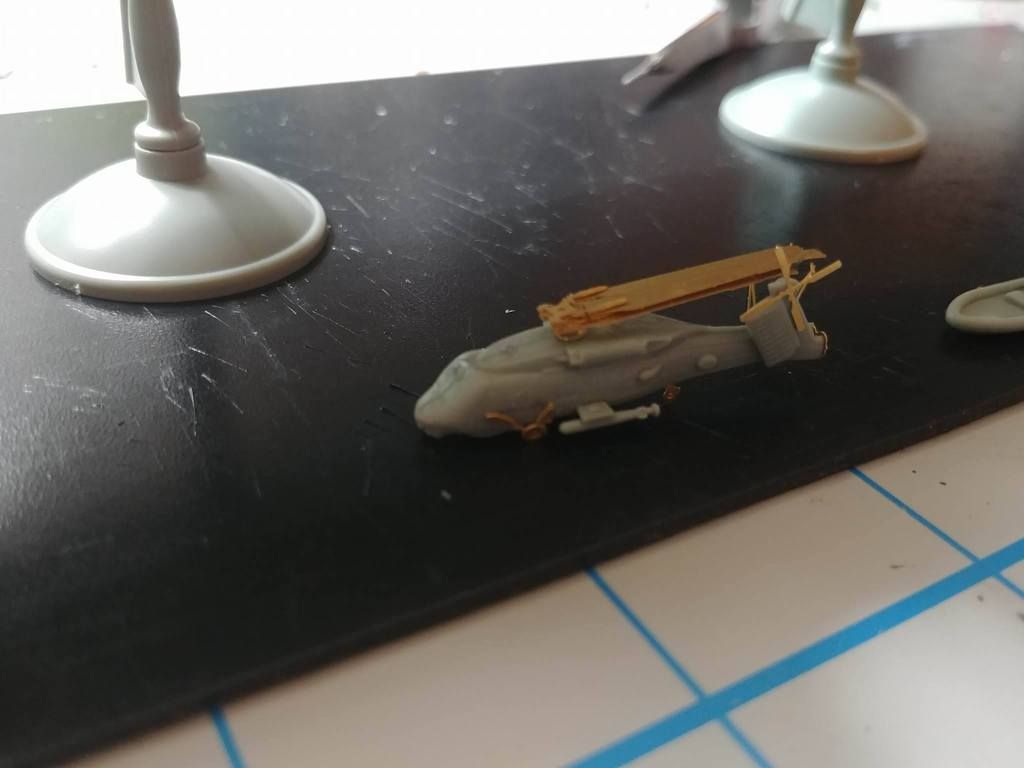
Seahawk 1 folded, the photo-etch detail made this look a lot better than the thick plastic parts.

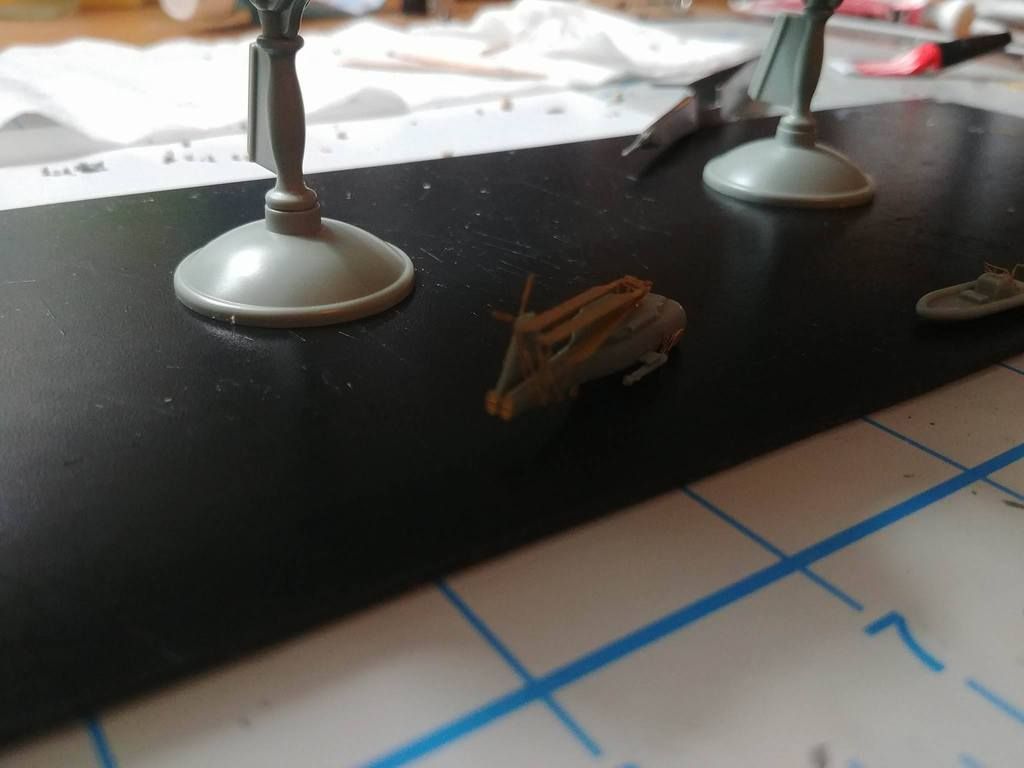
Seahawk 1 folded view from the rear.

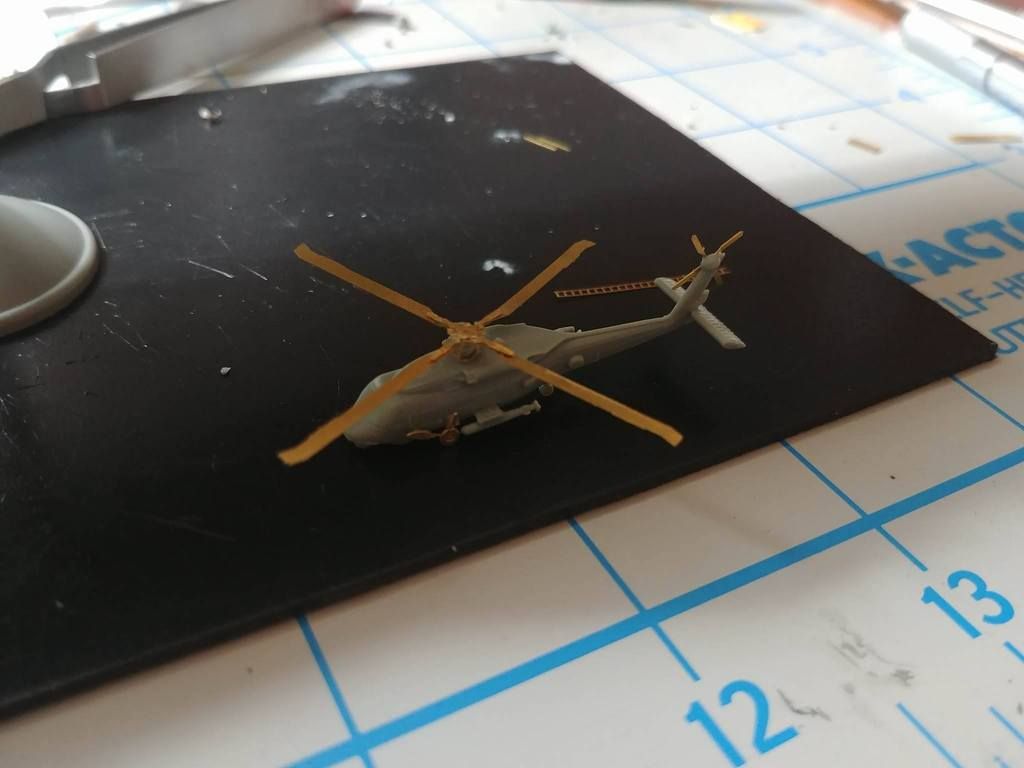
Seahawk 2 in-flight.

RHIB with photo-etch.

Thanks for the reply Nino! I'm gonna try to get some styrene sheets this weekend and try to make a couple. The photoetch set has the shields and stands for the 50 cals so Ill be sure to use those for the tiny ones I build! When my dad was on it (dont remember the service dates for this one but he was on this during 9/11) they had the seahawks attached. Trying to ask him questions about this ship without giving it away that Im building one haha but I've found a couple of photos from when he was onboard as reference plus the plethora I found on google! 

Honestly though, this has been one of the most fun kits I've done in a while. Mainly for the customizing and all the options that are available with the photoetch set! With that being said, the photoetch set is a must!

Next question, on the bridge, what color do I paint the windows? When I built the 1/350 Arleigh Burke DDG (his last ship DDG 58) it came with a clear bridge so I had actual windows. Would a sky blue suffice or what do yall recommend?

  • Member since
    July 2014
  • From: Philadelphia Pa
Posted by Nino on Saturday, September 2, 2017 5:42 PM

For my future kits I have been planning to drill out windows and use various sized PE railings as window frames. I was planning on using thin clear plastic or Testors Clear parts cement (Dries Clear!). Many many years ago I started a 1/600 Airfix HMS Tiger and I did a hint of green on dark blue, in gloss. I have not looked at that kit in decades. and I only completed a few sub-assemblies. IIRC it looked believable to me.

  • Member since
    March 2016
  • From: Tulsa, OK
Posted by AV8R1992 on Tuesday, September 5, 2017 1:07 PM

So I'm at work on my iPad and I noticed that the pictures aren't showing up but they show up on my laptop. Are y'all able to see or do I need to reupload them?

  • Member since
    January 2009
Posted by F-8fanatic on Tuesday, September 5, 2017 1:21 PM

photobucket no longer allows you to hotlink photos from your page without paying, I believe....so we do not see photos in your posts above


  • Member since
    July 2014
  • From: Philadelphia Pa
Posted by Nino on Tuesday, September 5, 2017 2:43 PM

AV8R1992

So I'm at work on my iPad and I noticed that the pictures aren't showing up but they show up on my laptop. Are y'all able to see or do I need to reupload them?


    Rob,

Folks have listed some alternatives for posting pics: Fotki, Village Photo, Flickr, etc.

     Here's a thread regarding Photobucket at http://www.britmodeller.com/forums/index.php?/topic/235023381-photobucket-to-stop-allowing-direct-linking-unless-you-pay/

I went to your Photbucket page and your PE work is exquisite. (And a great looking deck on your Victory too)
     Once you get a new hosting site, I'm hoping you'll come back and re-add your pictures here.
      Jim.


  • Member since
    August 2007
  • From: back country of SO-CAL, at the birth place of Naval Aviation
Posted by DUSTER on Tuesday, September 5, 2017 2:48 PM

F-8fanatic

photobucket no longer allows you to hotlink photos from your page without paying, I believe....so we do not see photos in your posts above


                                      PB= poo-ie  


On the other hand, I've had a positive experience with  Postimage.  Simple to use, Free, works easily,its  Free, has a good graphic page ( Ya can see your pictures in a reasonable size as opposed to the postage stamp PB offerings) and  oh did I mention its Free?


Steve

Building the perfect model---just not quite yet  Confused

  • Member since
    March 2016
  • From: Tulsa, OK
Posted by AV8R1992 on Wednesday, September 6, 2017 8:52 AM

Alright y'all, lets try this again!


So one of the things I noticed when I went to start painting is that I shouldve painted the deck before I put all the photoetch on...


  • Member since
    June 2014
  • From: New Braunfels , Texas
Posted by Tanker - Builder on Wednesday, September 20, 2017 9:41 AM

Hmmmm;

 I hate to burst your bubble . Just have to . None of your pictures showed . PB must be holding them for ransom . I have this ship and would've liked to have seen what you did .  Got them on the second try . Thank you .

 Oh By the way . Can you imagine what scratch building that big Radar is like in 1/96 ? Can you say 134 parts ?   T.B. ------ P.S. Your P.E. Looks great !

  • Member since
    March 2016
  • From: Tulsa, OK
Posted by AV8R1992 on Wednesday, September 20, 2017 10:01 AM

Thanks! Yeah I used photo bucket but re-uploaded the photos through imgur and now they're showing no problem. Darn photo bucket! I really enjoyed the PE with this kit. I'm painting now and wished I waited to put them on and attached everything. Slowly painting around parts right now, should have pictures up by this weekend!

  • Member since
    December 2010
  • From: Salem, Oregon
Posted by 1943Mike on Wednesday, September 20, 2017 1:25 PM

Your PE work is outstanding!

Too bad about not having painted the deck(s) first. I'm sure that with the patience it took to work on your PE you'll have no problem gettting the deck(s) painted.

Mike

"Le temps est un grand maître, mais malheureusement, il tue tous ses élèves."

Hector Berlioz

  • Member since
    March 2016
  • From: Tulsa, OK
Posted by AV8R1992 on Wednesday, September 20, 2017 1:52 PM

I took the easy way out this morning with painting the decks, I whipped out the airbrush. I'm now going back and hand painting all the parts that need to be haze grey. The next challenge I have is painting the flight deck. The academy kit only came with decals for FFG7 but included the parts for the long hull variants (I think this is because they did release the Reuben James kit). So I'll be painting the deck markings with my airbrush. I did find the decal sheet that has the markings I need as well as the ships name and other USN markings from Hawk Graphics but I haven't heard anything back from them about my order.

JOIN OUR COMMUNITY!

Our community is FREE to join. To participate you must either login or register for an account.

SEARCH FORUMS
FREE NEWSLETTER
By signing up you may also receive reader surveys and occasional special offers. We do not sell, rent or trade our email lists. View our Privacy Policy.