Not often i get to but a build thread in here. This is my first 72nd scale ship build and the most detailed ship to date. As i am not to familiar with building ships, i am taking my time with this and i am intending follow the instruction sequence rather than jump around as i might do with armour or aircraft.
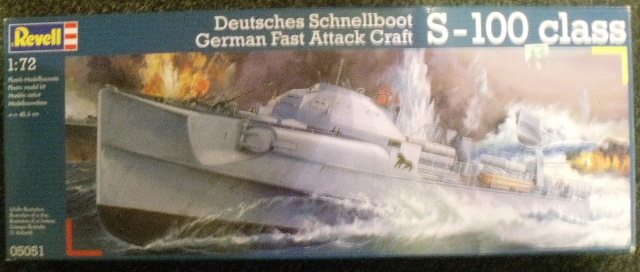
I don't usually get referance boks for subjects i only have one kit of, but i have made an exception with my larger ship kits.

The kit itself cost me nothing, being a gift from Bobby (Eagle90) a few years back. But i made up for that with the AM. The Griffon premium set contains 14 PE frets, resin parts, metal barrels and torpedo's and a few other things. I got 2 Peddinghaus decal set as the boat i want to do, S-205, is not covered by one of them. Also an Artwox wood deck and some sea mines from CMK.

I started out with the mounts for the railings on the main deck piece. I didn't have much spare time Thurs night so didn't want to get into anything to intricate.

Then over the weekend i made a start on the bridge. Main piece i needed to work on was the RZA 5 torpedo sight. The kit piece lack detail and is totally wrong, and the PE only added a couple of bits. This is what it should look like, from the Squadron book.

And this is the kit part, this being the upper portion. Notice how it narrows at the top.
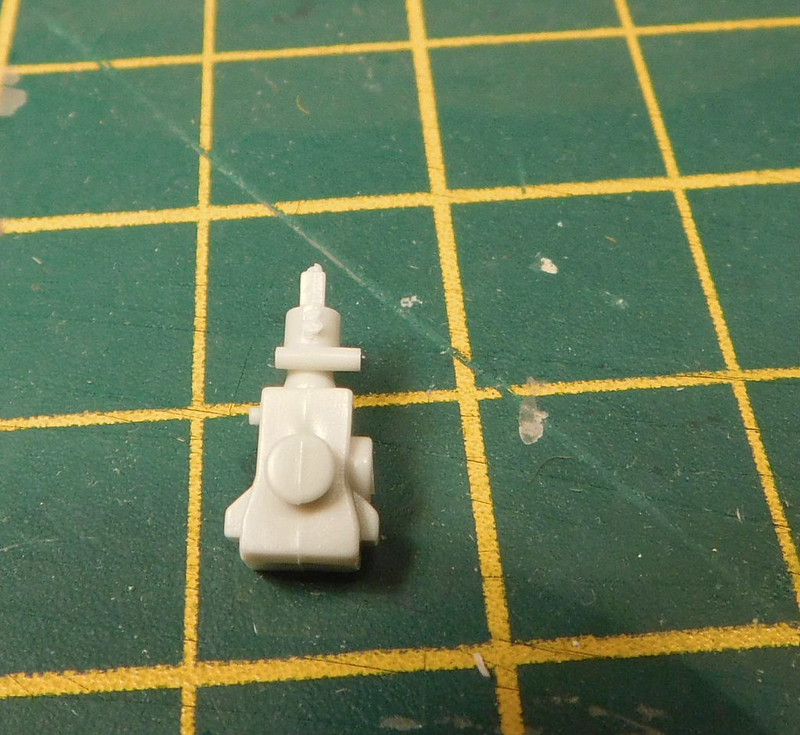
And the lower portion is part of the front of the bridge. On the real thing, it would extend lower down below the bridge floor.

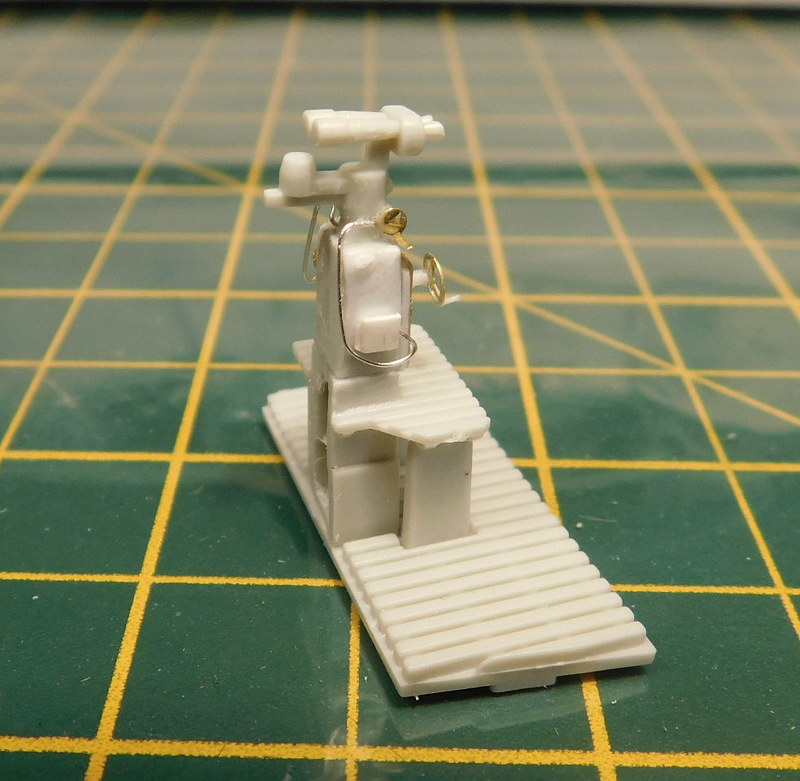
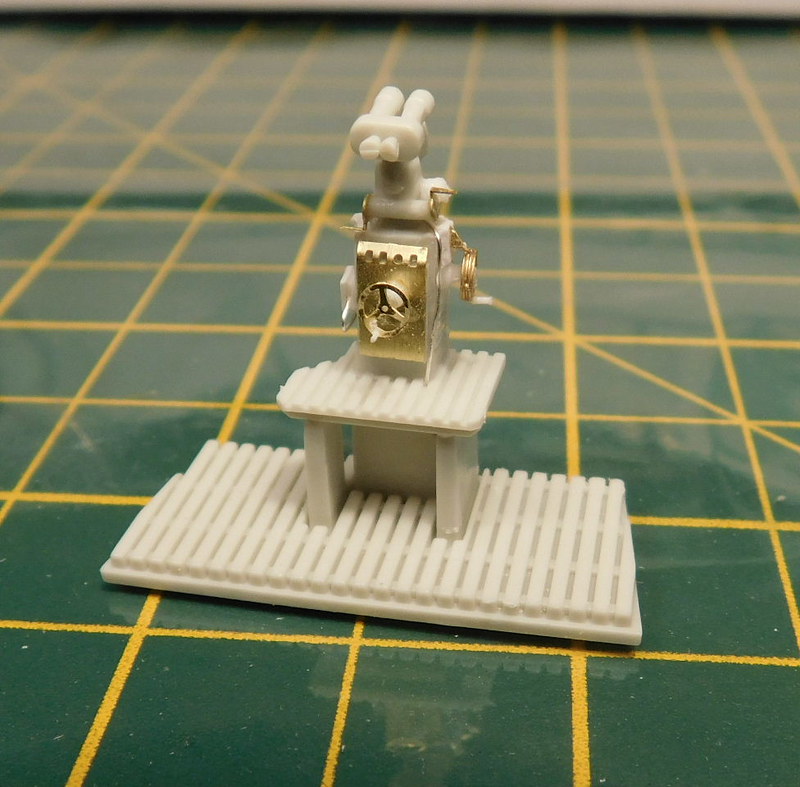
That whole piece is replaced by PE. So i cut out the bit i needed and attached it to the upper portion. I also filled out the side with some styrene sheet and added a bit of PE.

I then finished it off with some PE and scratched some detail with styrene and PE scrap. The hand wheel on the rear is from the PE set, the one of the right is made from 2 spare wheels from one of my Luftwaffe ladder sets. I put 2 together to give it some thickness. I finished off with some wireing. This was one of those things when you have to know when enough is enough. I could have spent a whole day adding tiny details and it still would not have matched the real thing. I think this looks enough without going OTT. It was then fitted to the bridge floor.

I then got the front and sides of the bridge fitted out.

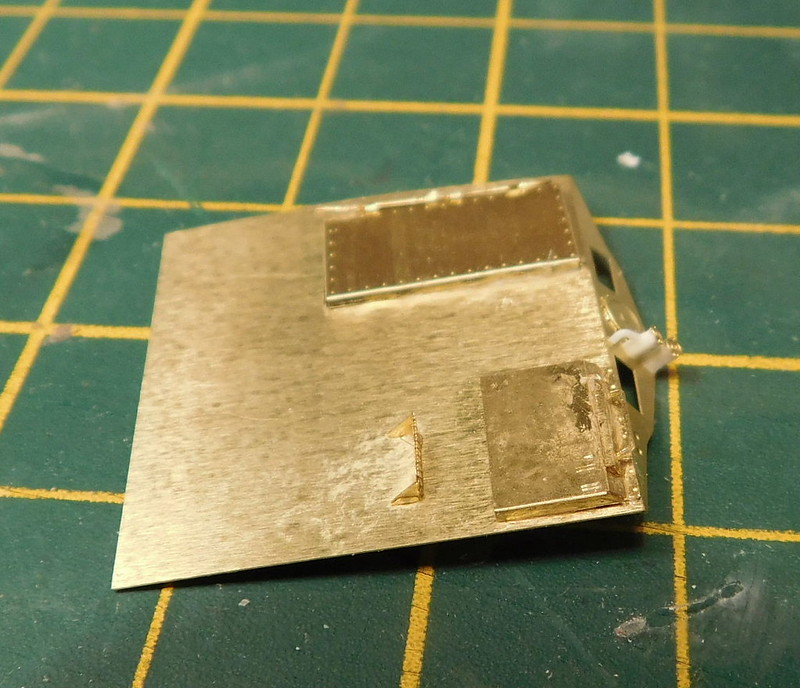
And then the armoured front to the bridge/wheel house.

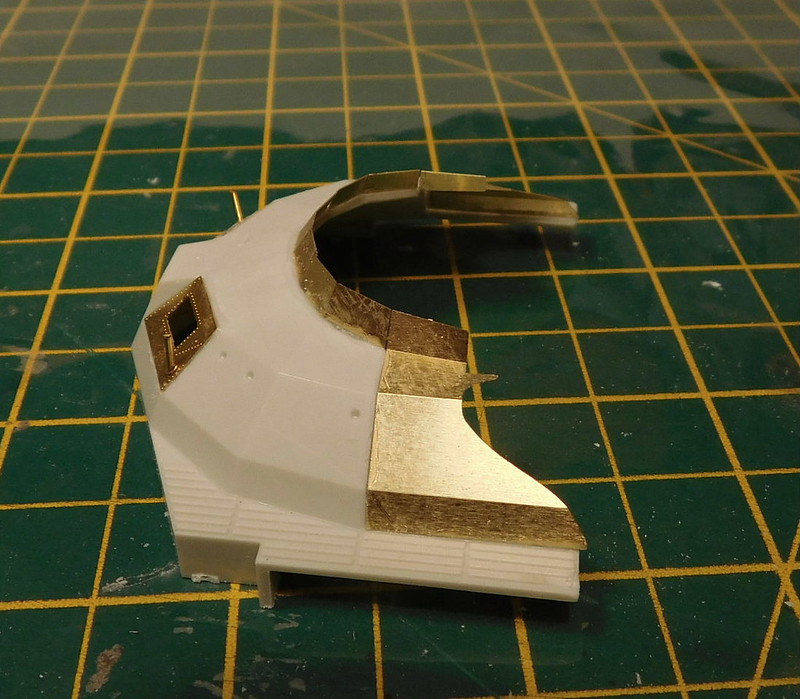
So the bridge is now ready to be primed and painted on the inside. I'll do that and then put it all tofgether. There is some slight cleanup and a few parts to be added to the outside, but they can be done later.
Enjoying this so far, still a long way to go.