OK, I apologize for taking so long between updates.
I suppose it's that, when I'm feeling well and the weather is cooperative, I just forget about what's on my "bench". Under those circumstances I'm usually outside enjoying my predilection for nature and landscape photography along with easy to moderate day hiking.
Lately I've tried to get back into working on the model ... I do enjoy that time ... but, alas, my normally sloppy technique has erroded to nearly unacceptable to me. And that is saying a lot since I put up with my sloppiness more than I should.
However, I am pushing on.
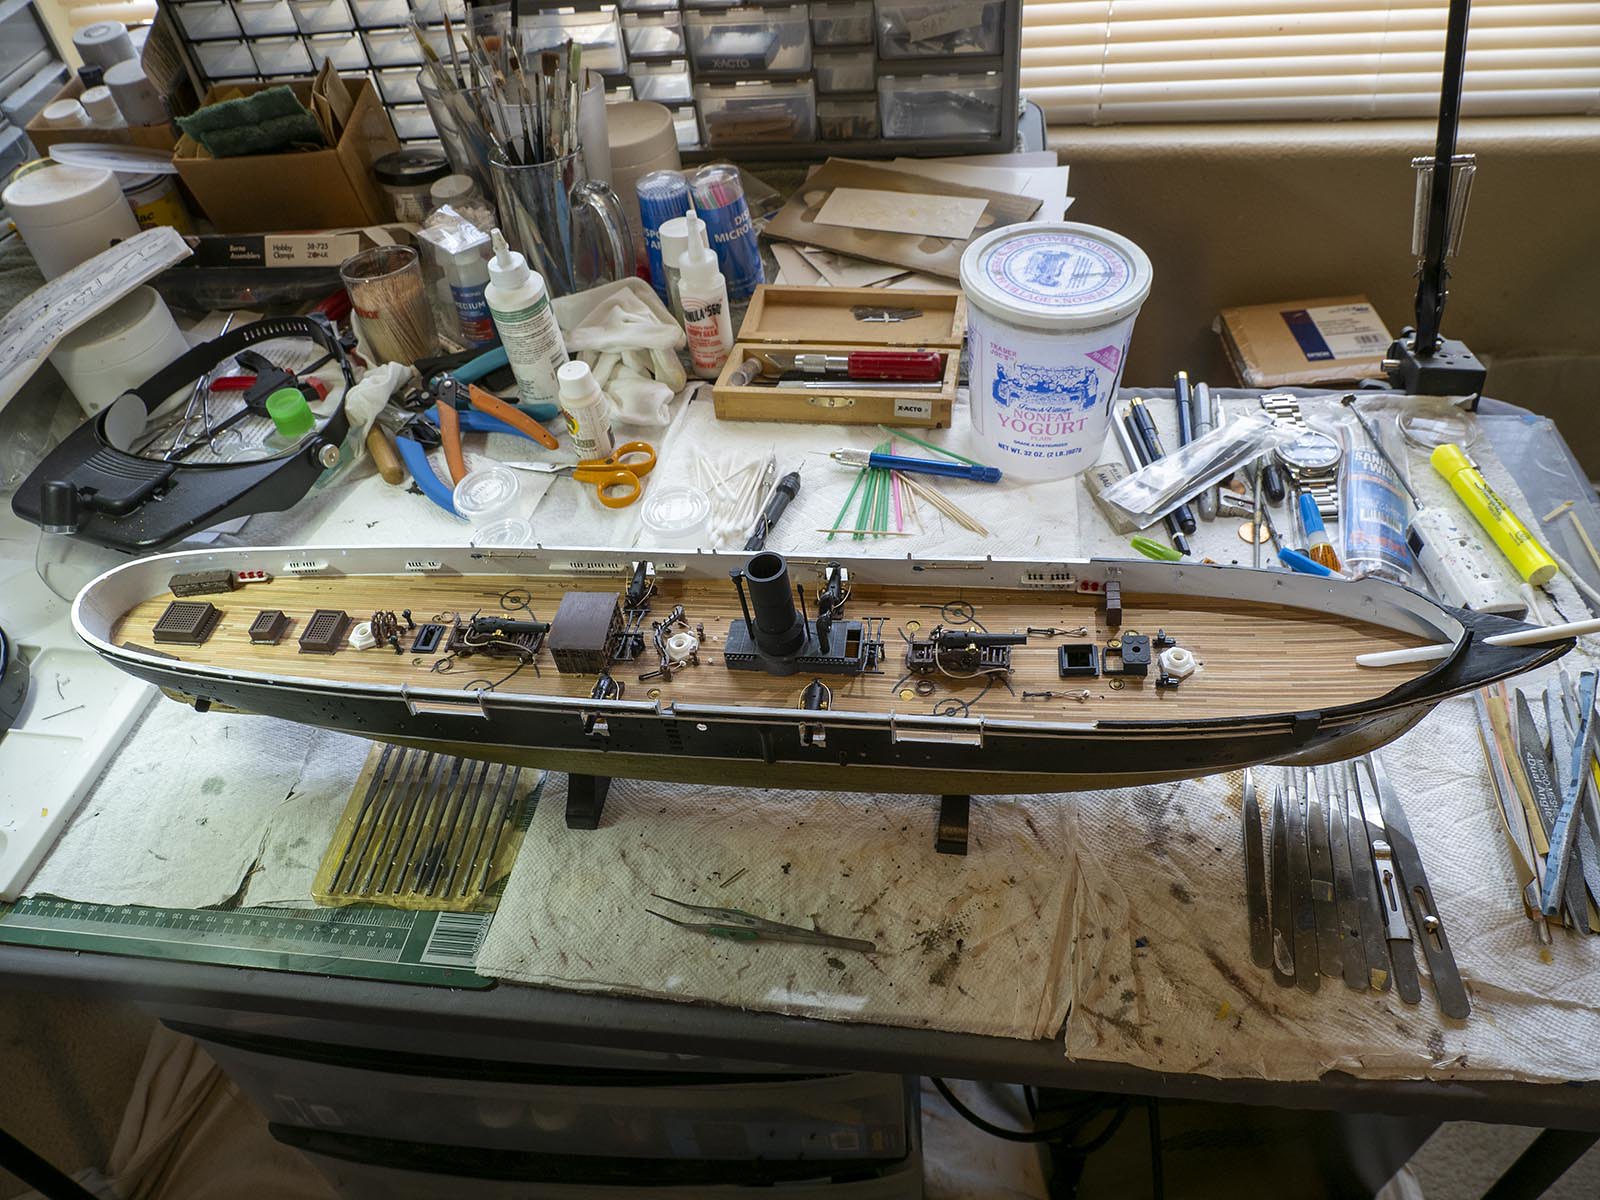
Here's what she looks like with most of the bits and pieces of deck furniture and hardware on the main deck complete.
The difference in color between the aft section and the rest of the deck is due to the difference in color temperature between the two LED lamps I used to light her for this quick update.
Note:
A) I mixed using the supplied, white padeyes and some brass eyebolts I had on hand.
B) I broke a couple of ram rods so I made my own with brass rod and Tamiya tape. I used the brass eyebolts I had on hand to secure them to the inside of the bulwarks (if that's the correct description?).
C) I destroyed one of the pinrails. I made another from styrene but could only find some brass belaying pins that were a bit too large. It does show if you're comparing them. I'm not too broken up about it ... I wish I'd had enough of the larger, brass ones to replace all the belaying pins - I just think they look nicer. Thinking back on what I've done I feel it would have served the model better to just have use some brass rod of the proper scale and painted them black before installing them as I did with the larger, out of scale pins.
I will be working on the forecastle deck next.
Before I get to the ship's boats and davits I'll have to think about attachment points for the standing and running rigging. I can see myself getting into lots of trouble without some forethought on that subject.
