fox
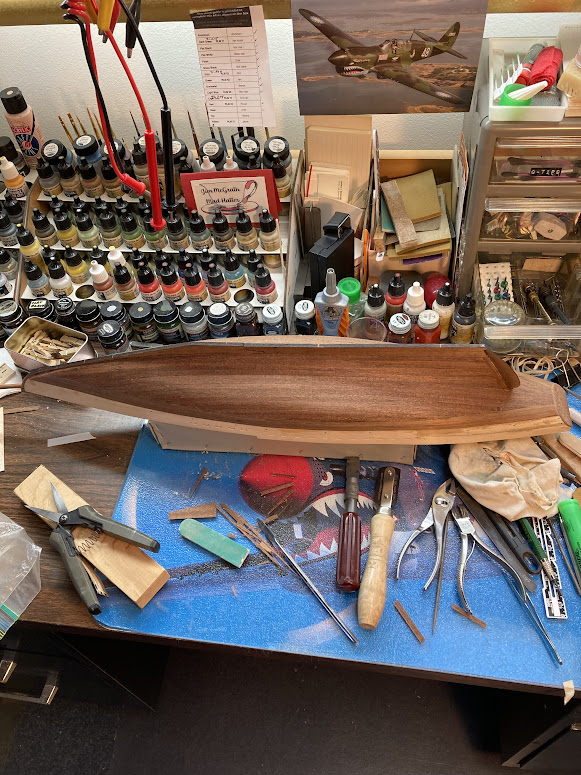
establish a line for the remaining planks and started planking from the keel up.
It can be very satisfying to follow the full-size method (if only for doubling the number of books a person can consult.
And part of it is in, functionally, treating each plank almost as a model unto itself.
For example, in 1:1 construction, the garboards are huge bits of timber, often foot or more in width rough cut. The bottom edge is left square to be fit to the rabbet in the keel. The top edge is narrowed fore and aft to the planking interval at stem, midships, and stern. The upper back edge is "backed out," e.g., tapered to about half its thickness and half the backside width in 1:1 to reduce the beding stresses (this is seldome needed in model construction).
It can be slow going, but, as you have seen, you can put the time between planks to good end in building deck furniture, or roughing out spars and the like.
Now, a set (or three) of these is very handy, too:

Model Expo (and similar vendors) used to have a set with like a 1mm "step" so the holding-down "toe" would lay more flat upon the plank, more like these from MicroMark:

fox
found the trick to getting the pics over to my computer a little easier,
The next step is the slow-going bit of inserting them in the text. Which an be sore counter-intuittive here.
I went to your link, picked the middle photo, then right-clicked "save image link"
Then, pasted that link in the "Source" box of the Image Tab:

I specified 600 pixels wide, as that pretty much neatly "fits" the default page size here at Kalmbach (you need not specify a height, it will be proportional)