Comrades! Zdravstvujtye! It is with great pride that the Bureau of Rocket Research and Development present to you our latest marvel of Soviet technical prowess, the Vostok!


The main booster engines.

This is the MPC 1/100 scale Vostok model MPC792/6. It was originally released as both a flying and a plastic static model. This later kit (Round 2) does not contain the engine mount and parachute for flight, though some parts are still included (which can cause confusion if not paying attention). The kit can be built in two versions: the Sputnik and the Vostok 1 boosters. I choose to do the Vostok, the booster that launched Yuri Gagarin into space.
After separating and cleaning the parts, I assembled the four side boosters, the main body and the upper stage. The upper stage actually has a small Vostok (“Sharik”) spacecraft that can be viewed through a clear, plastic half of the covering shroud. Since I was going to paint over this, I did not install the spacecraft in the upper stage (and will build it separate with additional detailing for display). I had read some reports of poor fit on the parts, but I didn't run into anything unusual or difficult to remedy (or I'm just not as finicky).
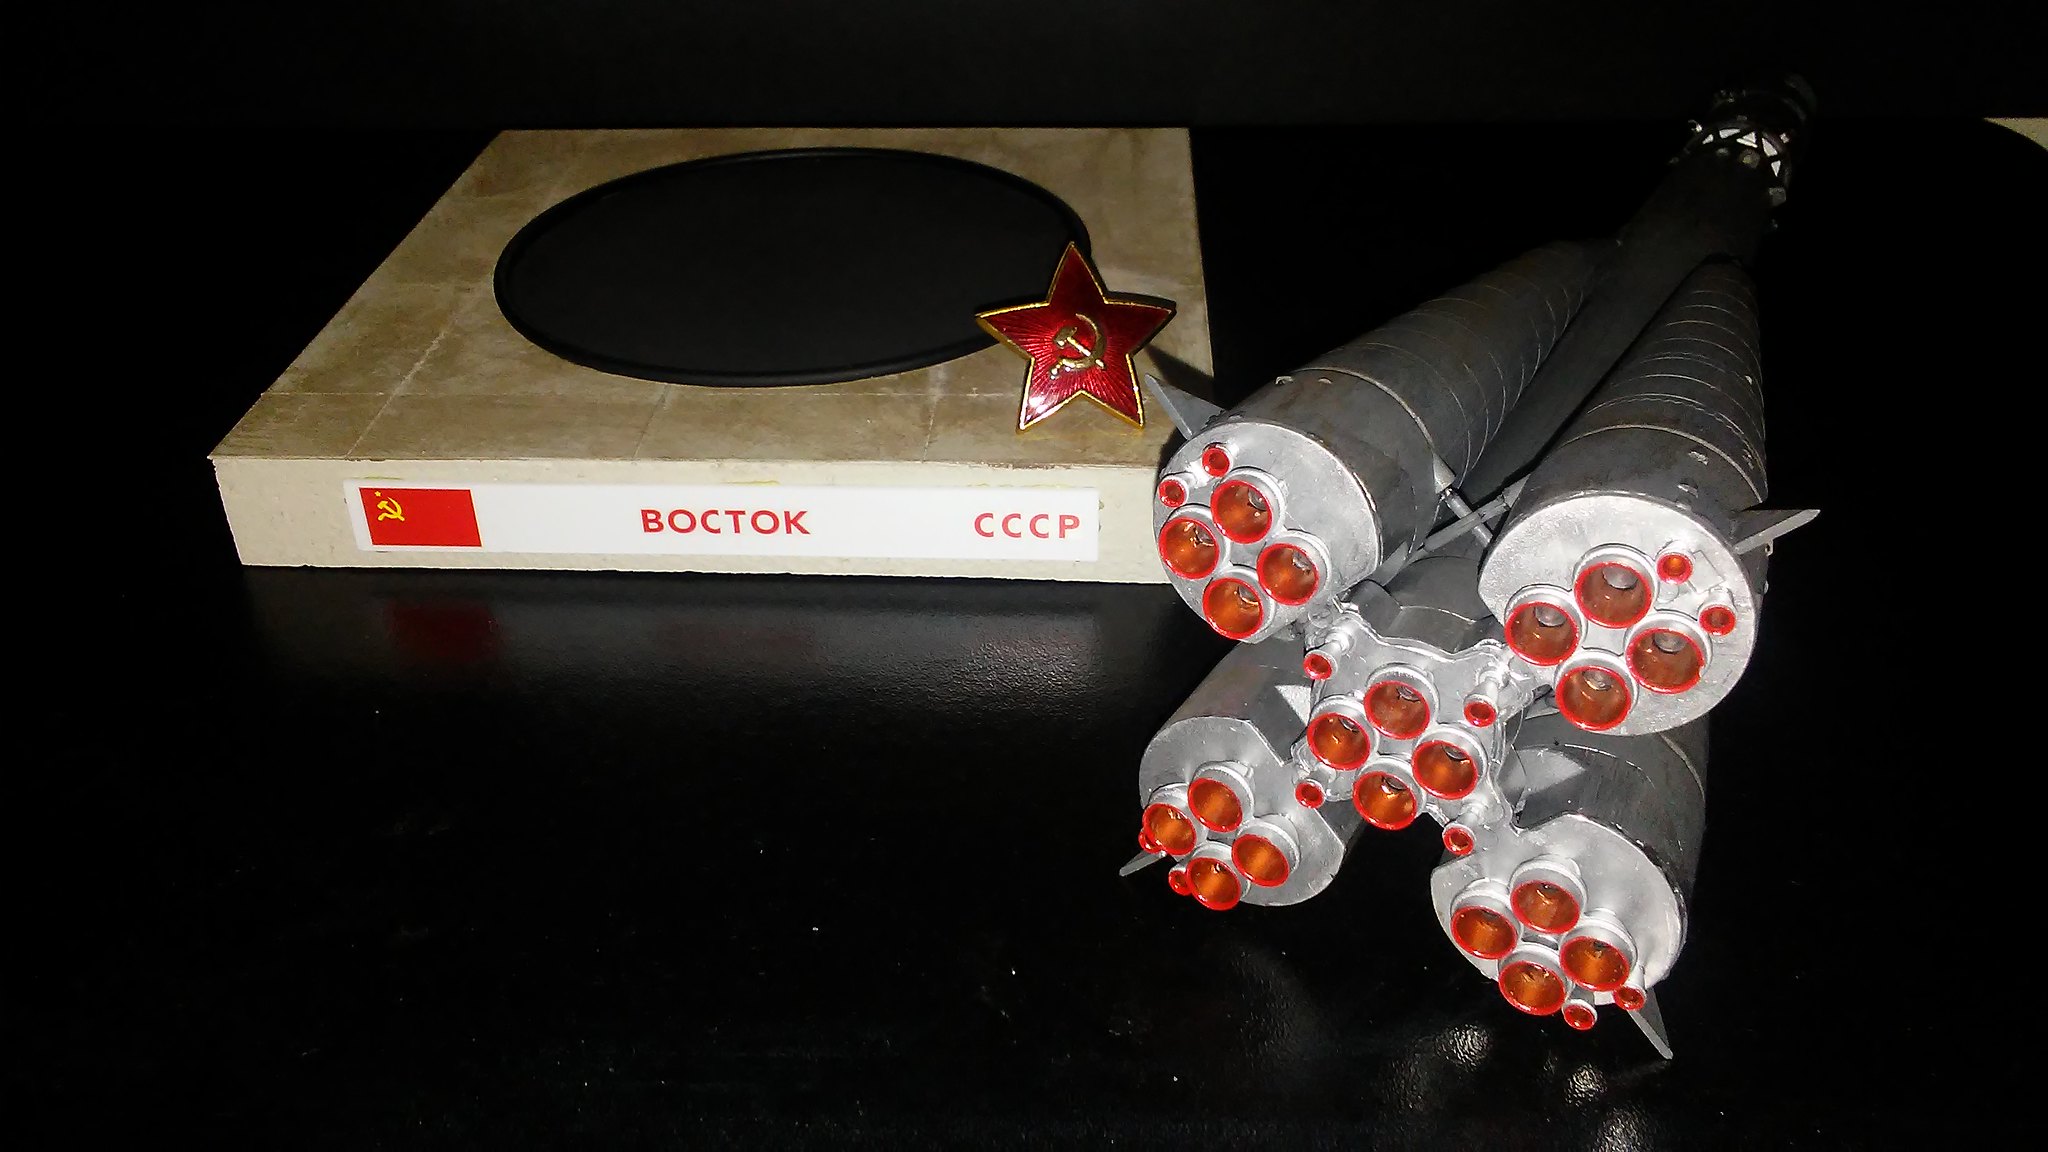
After assembling the main parts, I shot them with a flat black base. I also removed chrome plating from some of the parts by soaking them in degreaser (Purple Stuff). The base was assembled with all 20 main engines and painted ModelMasters “silver” and Tamiya “aluminum”. The engine bells were painted “copper” inside with a dark red trim. I found a photo of the center booster online that showed me the correct colors (shown above).
I then painted the main body with “Euro 1 Gray” that was recommended as closest to the Vostok's actual color. After drying, I assembled the four boosters, main body and upper stage. I then scratch built some external parts and added antenna as noted on a plan I found online, and photos of other kits. The base was a square piece of packing foam upon which I glued a piece of poster board and scored to simulate concrete. This was painted Testors “flat light aircraft gray” and then given a brown wash.
I did not want to cut such a large hole in the base, so I used a steel ring and cut a piece of cardboard into a matching circle. I sprayed this flat black. I cut a strip of sheet plastic and applied the decals found in the kit, then glued this to the base.
The Soviet “Hammer and Sickle” pin I acquired while serving in the GRU. (No, not really!)
Thank you for looking! The KGB will be around shortly to check your papers after viewing such a highly classified project.
Gariski (GAF)