Whew! 4 months since I first planned this build, finally, its done!!!
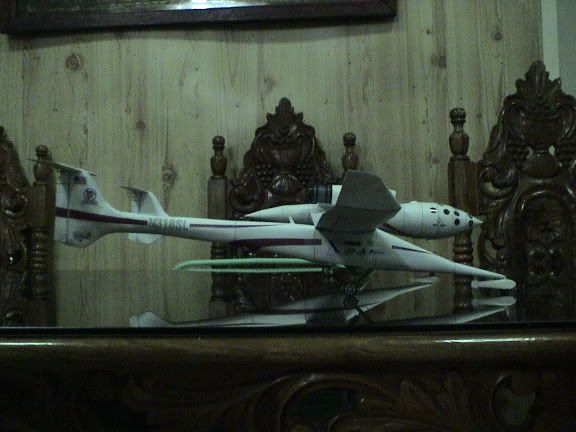
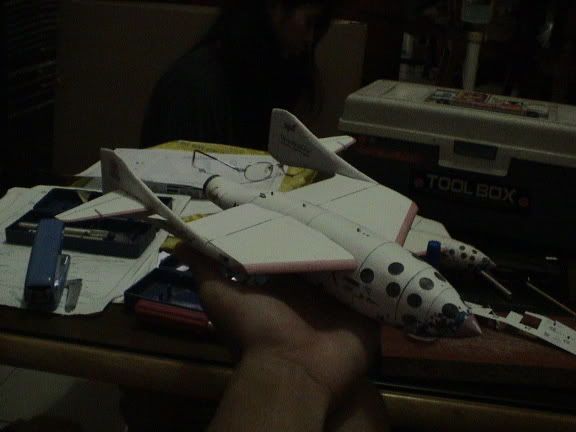
So here it is!!! Scaled Composites' Tier One finally finished!
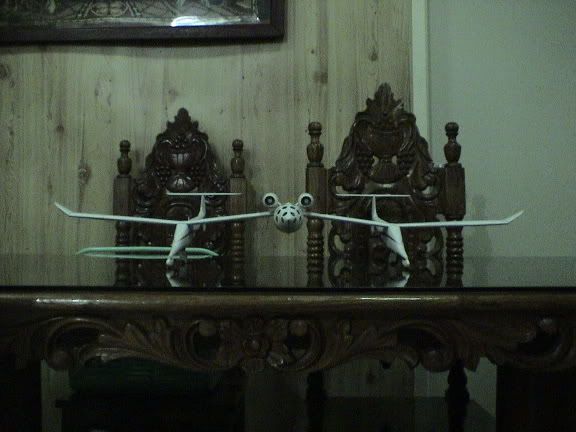
First stop, White Knight
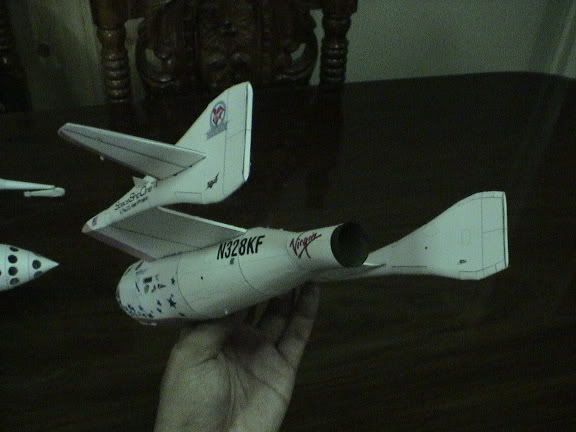
Starboard Side
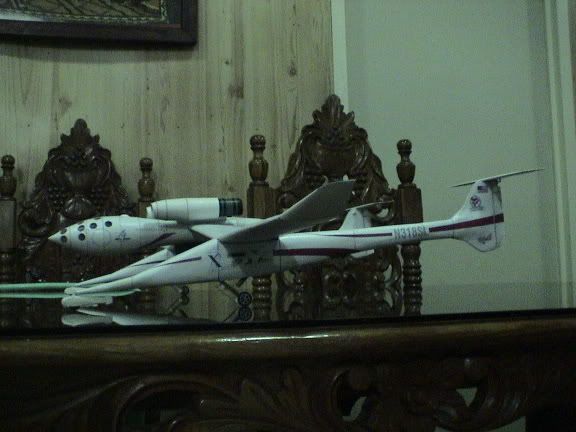
Port Side
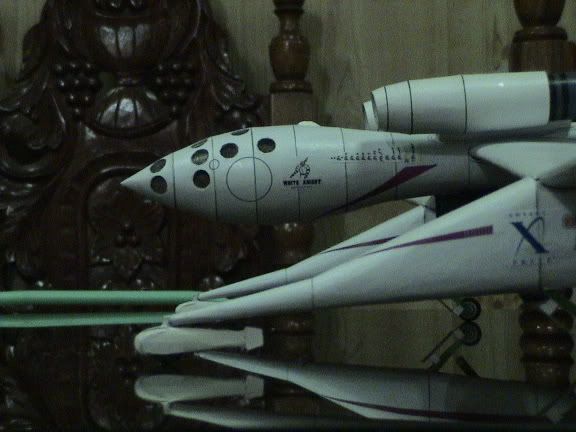
Port side, close-up to cockpit/nose
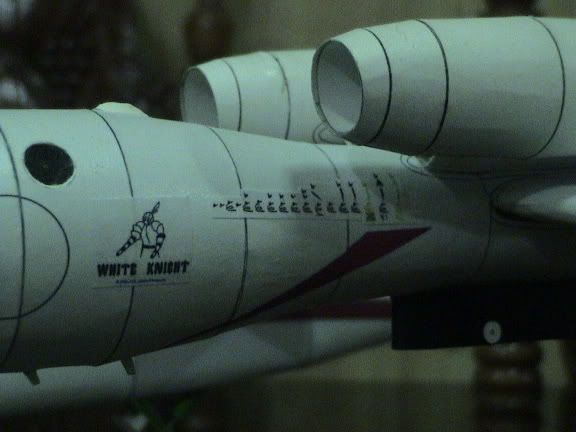
BTW, the (bond paper) decal you see just behind the Official White Knight Logo is (obviously) the symbols for the 17 successful test flights (with some minor incidents) of SpaceShipOne, from the first glide test to the final, X-Prize winning flight. I manually drew this from MS Paint.
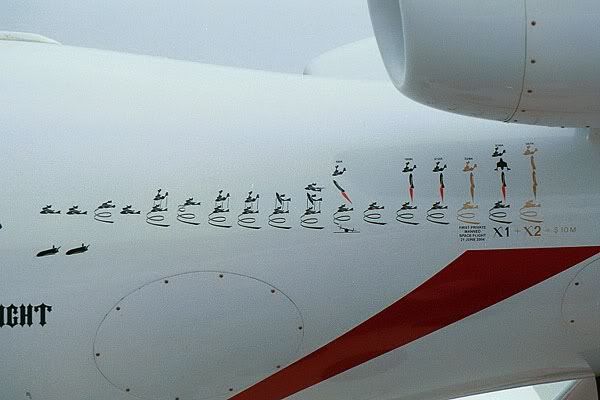
Here's the actual, I didn't include the 2 other artworks below, since it represents the X-37 Glide test that NASA conducted in cooperation with Scaled.
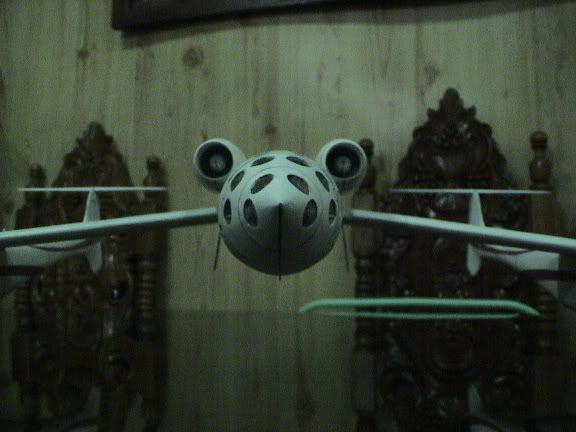
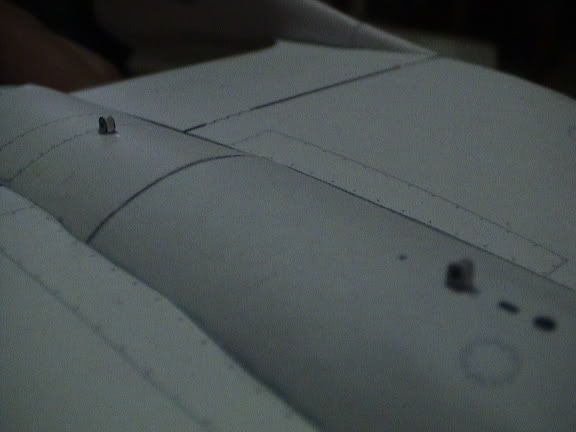
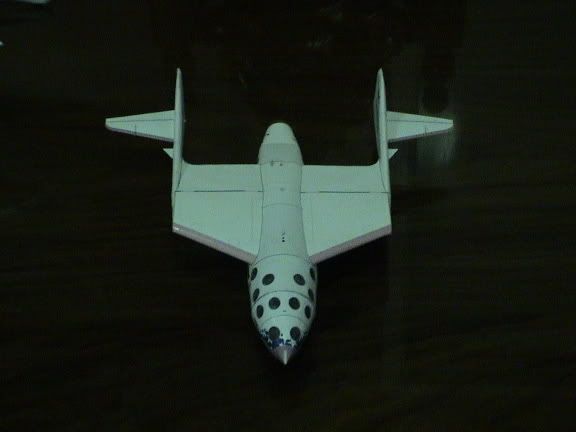
Forward side, close-up (BTW, the intake turbines aren't just printed, they're all raised detail)
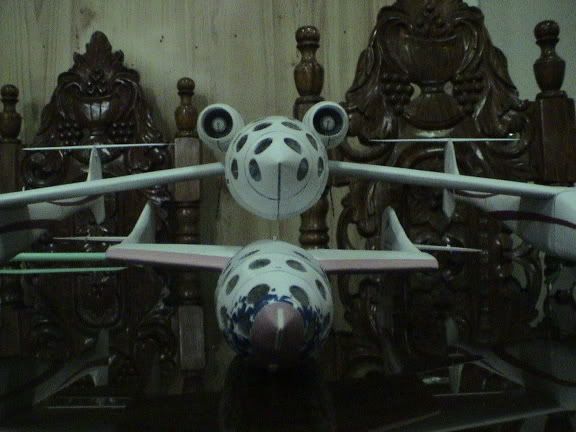
Forward View (overall)
Aft View
Individual details
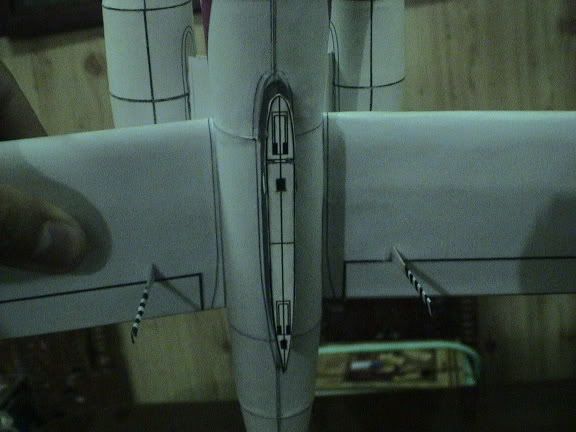
SS1-WK mating pylon (the 2 anti-sway braces glued in each wing are scratchbuild, since the card kit didn't provide it...)
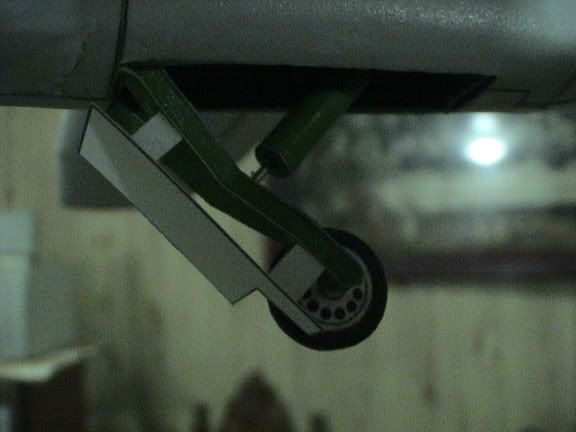
Right Main Landing Gear, similar to the left (the original card kit landing gear struts are just plain wrong, so i replaced it with an enlarged version of the mains that came from my e-copy of the 1/48 scale WK model (available from its designer, Physicist Jan Mueller, at www.cardmodels.de), which is correct, the wheels came from the 1/32 card kit though, but reduced in diameter slightly because its too large)
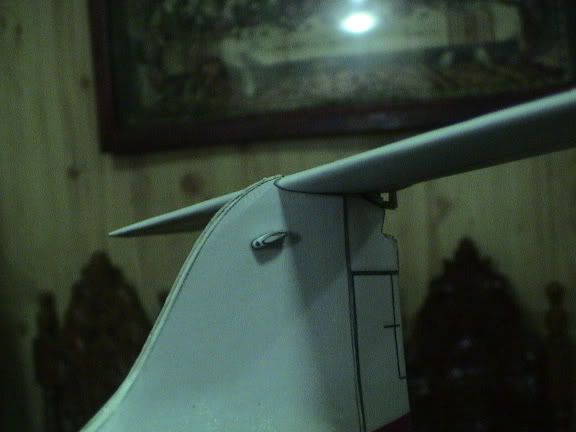
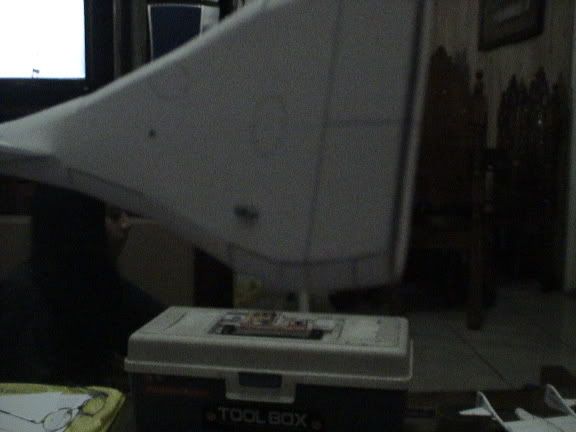
Right Vertical Stabilizer (with camera pod, again not provided in this kit, but I got it from the SS1 model)
Camera Pod View (well, sort of...)
Before I finished the entire airplane, I pained it with gloss white, but it turned out to ba a catastrophe! So I printed another set, but but on bond paper only, and only for the outer skin, and glued it as a second skin, and applied the markings... Fortunately, it hid away any traces of that disaster (whew!)
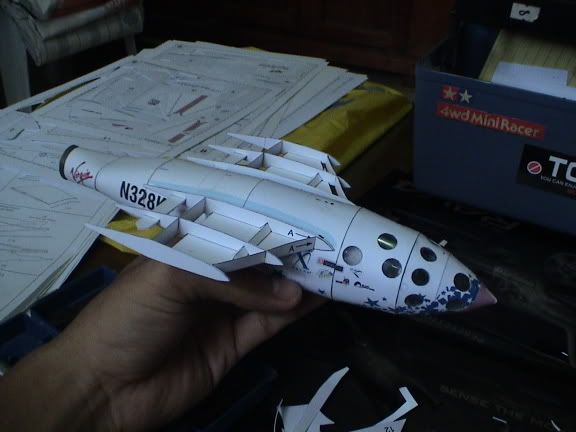
Next in line is of course, SpaceShipOne!

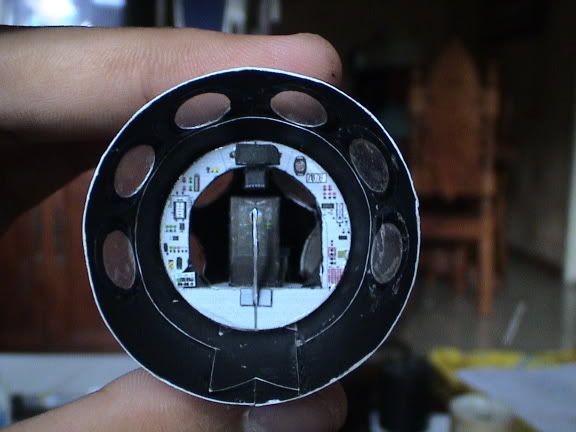
Cockpit/Nose pieces
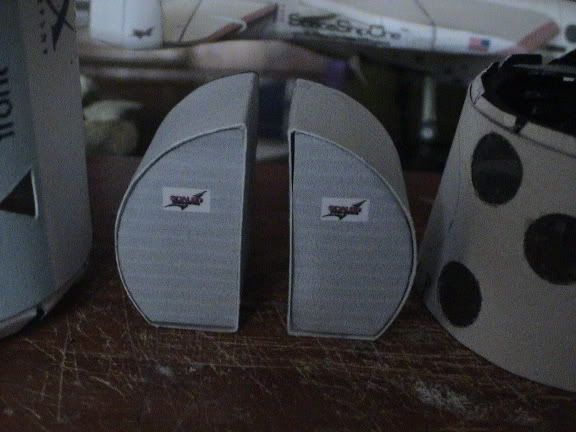
Ballast Cabinets (Scratchbuilt)
During the X-Prize qualifying flights, the FAA was in the process of approving the law in which people will be permitted to fly in space (at their own risk), but it didn't make it on time for the flights, so, Scaled resorted to the alternative, put ballasts that have an equivalent weight of 2 adult persons (this altenative is also stated in the X-Prize Rules), but instead of putting sand bags, dummies or any heavy object, Burt Rutan decided that each and every employee of Scaled should send some object or item or memento that will symbolize them and put them inside the ballast cabinet, along with some toys and other stuff... But for this model, I put 1 stone each inside
SS1 Pilot seat
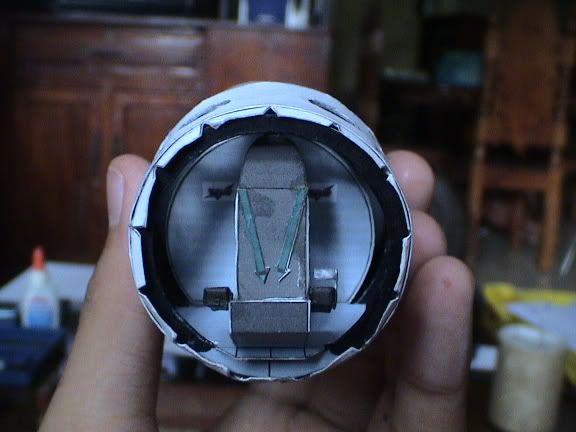
Seat & ballast cabinets installed
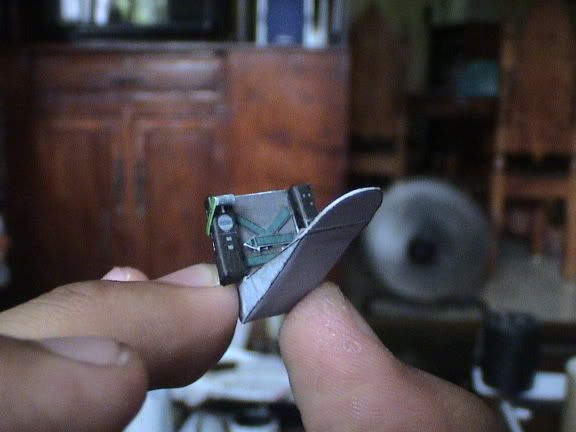
SS1 Instrument Panel, Control Stick & Rudder pedals
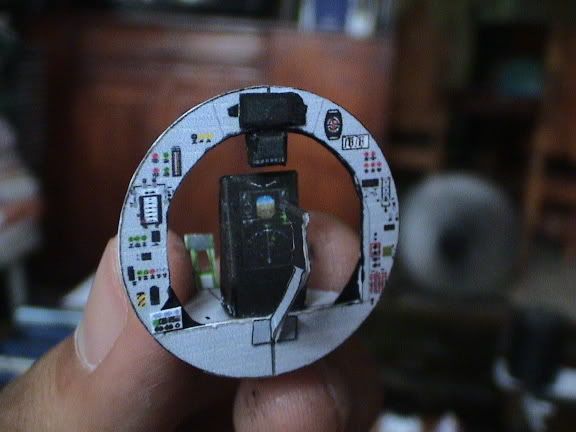
Now installed in the nose section
All closed up!
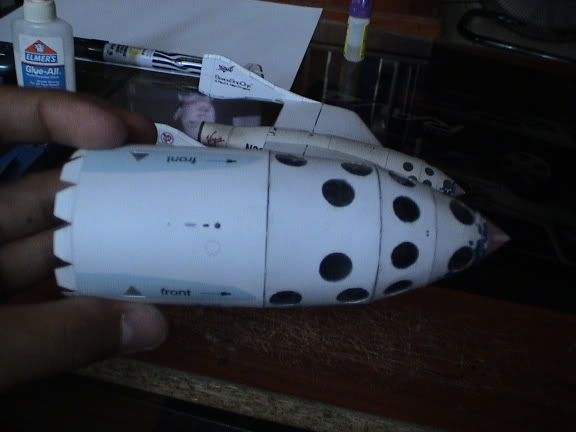
Dorsal View
And continuing with the rest of the fuselage;
Wing Spars installed
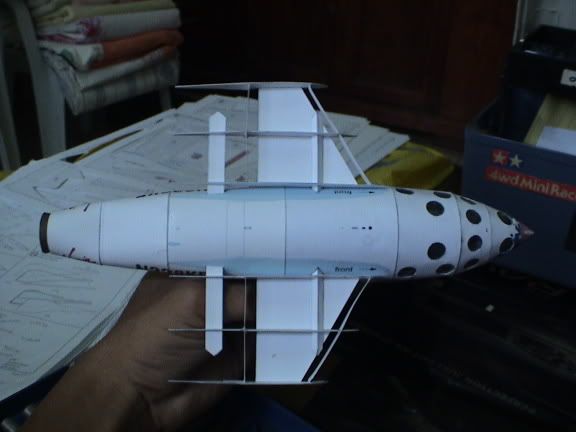
Another Dorsal View
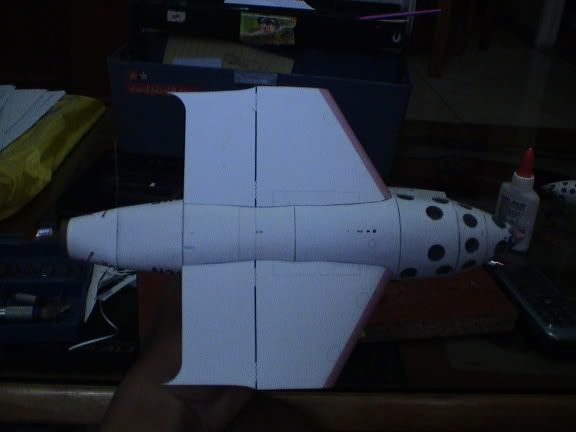
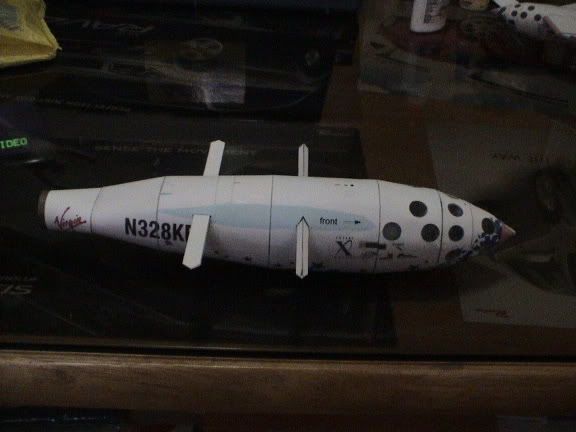
Wings now finished
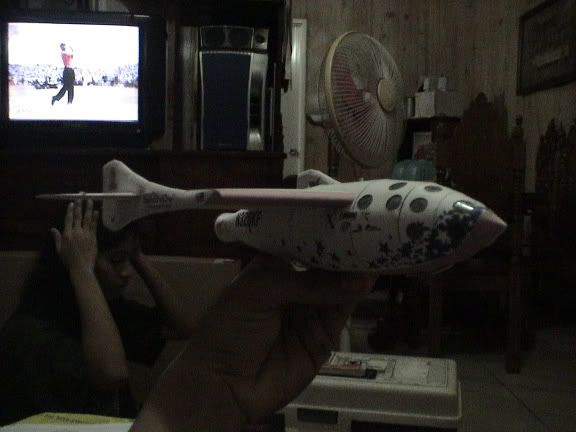
All Finished! (Apologies, first, I forgot to take pictures for the tail boom assembly, and for the dark pic, again no adequate lighting...)
Another one
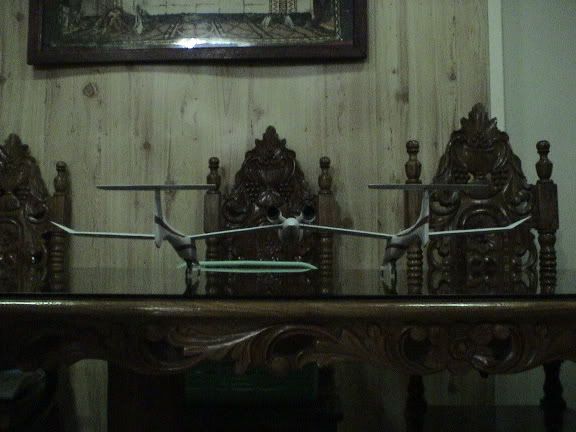
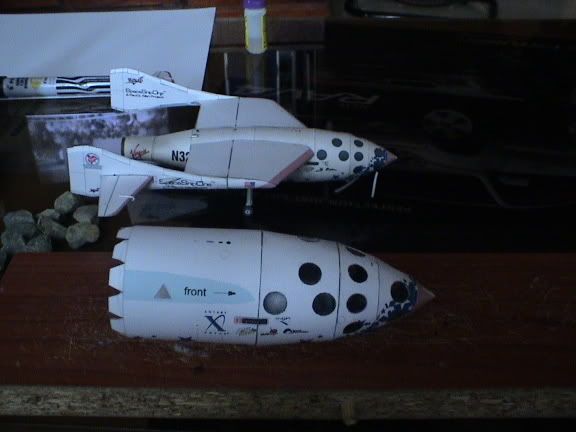
Next to the original 1/48 scale SS1 (this model is just an enlarged version of the 1/48 kit)
Also, I want to tell that after I finished this one, I kinda felt that the 1/48 kit just "shrunked", because it felt somewhat "smaller" everytime I hold it...
WK Attachment Points
Right Tail Boom camera pod (sorry again for the inadequate lighting & blurry pic...)

Another Shot
And Another
And Another!
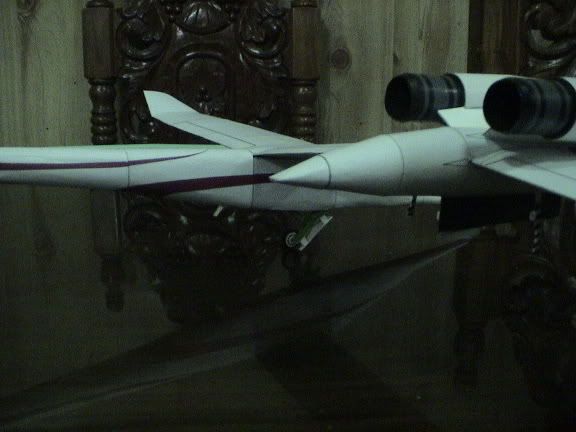
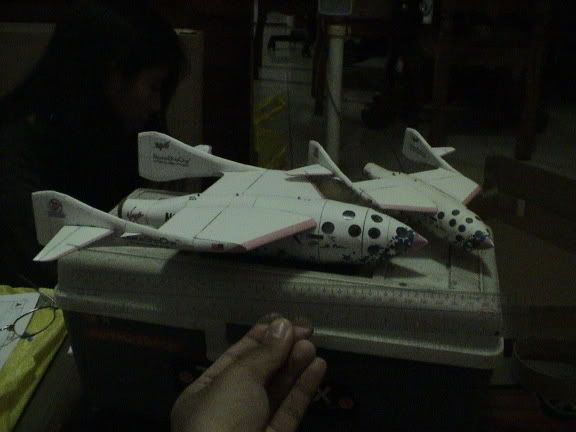
The tandem
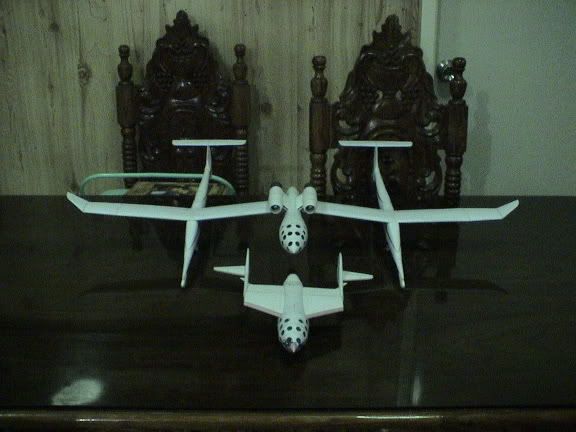
Well, By the time I took these pictures, I still didn't glued the two together, because I packed it up, brought it to school & displayed it as a part of our Science & Technology week exhibit at our school, where I finally joined them together, and hung the entire thing to the ceiling.
I'll take pics of them later, so watch out!
The Sky is NOT the Limit