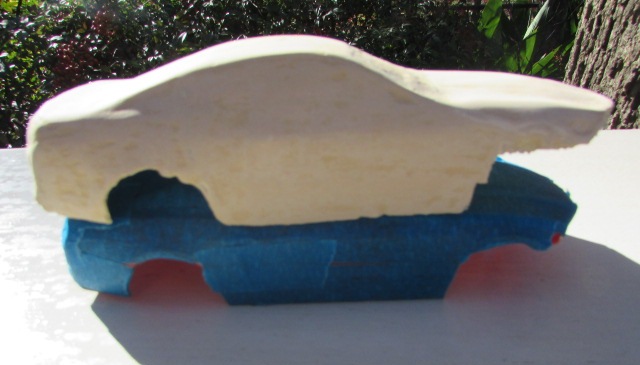
Additional layers of casting material are applied , sanded and formed to obtain a final smooth surface to the cast. Having the cast on the mold lends good support for filling, smoothing, inspecting, sanding and ease of handling when performing these various tasks. Corrections to imperfections in and on the surface and problems with body areas are also corrected here as well.
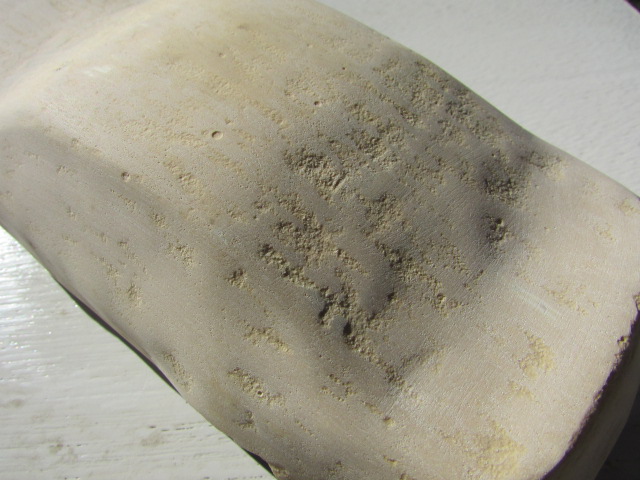
See how the surface needs to be filled and sanded smooth:
[url=https://postimages.org/]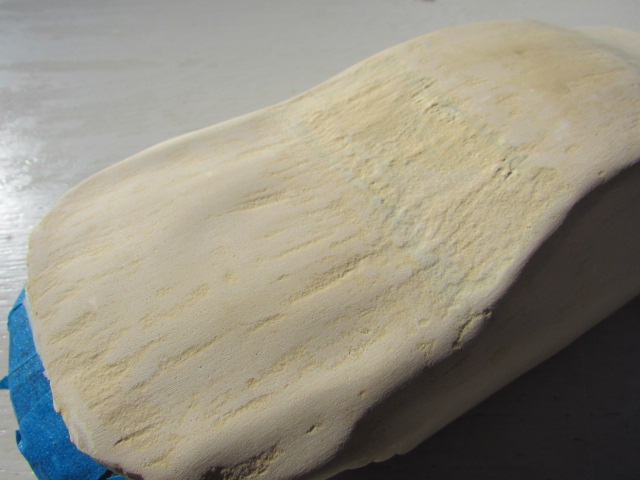 [/url]
A major and extremely important consideration is how to treat the windows on the cast. Obviously the windshield should be cut out from the cast. It is debatable whether the other windows should be cut out also. What determines this is whether or not doing so would jeopardize the integrity of the cast as a whole. If the cast were to be jeopardized as such, a workable alternative to cutting out those spaces for the windows is using black decals or black paper pieces applied to those appropriate window areas. I spray painted a sealer on the back of black colored paper and applied these facsimiles using a Glue Stick as an adhesive to the cast.
What I found, in Case 1 -1951 Chevrolet Fleetline, was that by cutting out all the windows, this seriously weaken the support pillars of the roof as well as the roof itself. Consequently a substantial amount of reinforcement material went into beefing up the underside of the roof and scabbing on wood and metal pieces to the roof pillars. These structural problems could have stemmed directly from using tissue paper as the starting point of the cast as opposed to perforated paper which appears to make a much stronger shell. The point here is to carefully access how cut outs for windows will impact the structural integrity of the overall cast. You don't want to get to this advanced stage of completion and fatally remove sections of the cast that would essentially “destroy” the cast. The window cut out situation is a point of no return. Give this extra attention and thought. There is no easy turning back after the cuts are made.
Another aspect that needs special consideration is replacing a part or parts that have to be removed from the mold to expedite the initial application of paper to the mold. These parts cannot be formed from paper and need to be made separately. In Case 3- 2012 Ford Mustang Boss, I had to remove and duplicate the front grille of the model mold. I made an impression of the actual piece in Play Dough and filled the impression with Durham's Rock Hard Water Putty. When the cast is completely finished, this grille section will be attached to it.
[url=https://postimages.org/]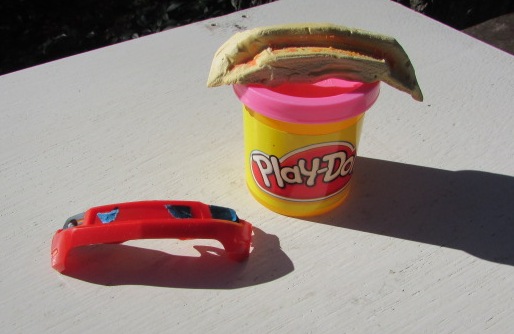

Decorating the Completed Cast :
Now that the cast is fully formed and sanded smoothly, it is time to apply a finish to the surface of the cast. Begin by applying a primer paint to the entire cast, both outside and underside. This serves as an initial sealing of the cast material and assures a much better bonding with a top coat of paint. If need be, a finish top coat can be applied to the inside of the cast; one or more top coats definitely should be applied to the outside of the cast. Once the top coat or coats of paint have cured thoroughly, decals, paper windows, and any other types of decorations can be applied.
Final Thoughts:
The finished paper model will be slightly larger than the mold model, so its scale is not completely accurate, of course. And the precise details and other parts of the mold will not necessarily be clear or authentic on the cast. However, the essential form captured in the cast is easily recognizable as the “real thing” and does serve as a legitimate platform for future upgrades and improvements if desired. My foremost intention in making these paper bodies was to put a body on a bare Monster Jam chassis as my logical conclusion was, “some thing is better than no thing”.
Thanks for your interest and feedback.