SEARCH FINESCALE.COM

Enter keywords or a search phrase below:

Homemade drying box

3999 views
4 replies
1 rating 2 rating 3 rating 4 rating 5 rating
  • Member since
    November 2009
  • From: Twin Cities of Minnesota
Homemade drying box
Posted by Don Stauffer on Thursday, May 9, 2013 10:02 AM

Okay, here are a couple of pictures and some words about my drying box.
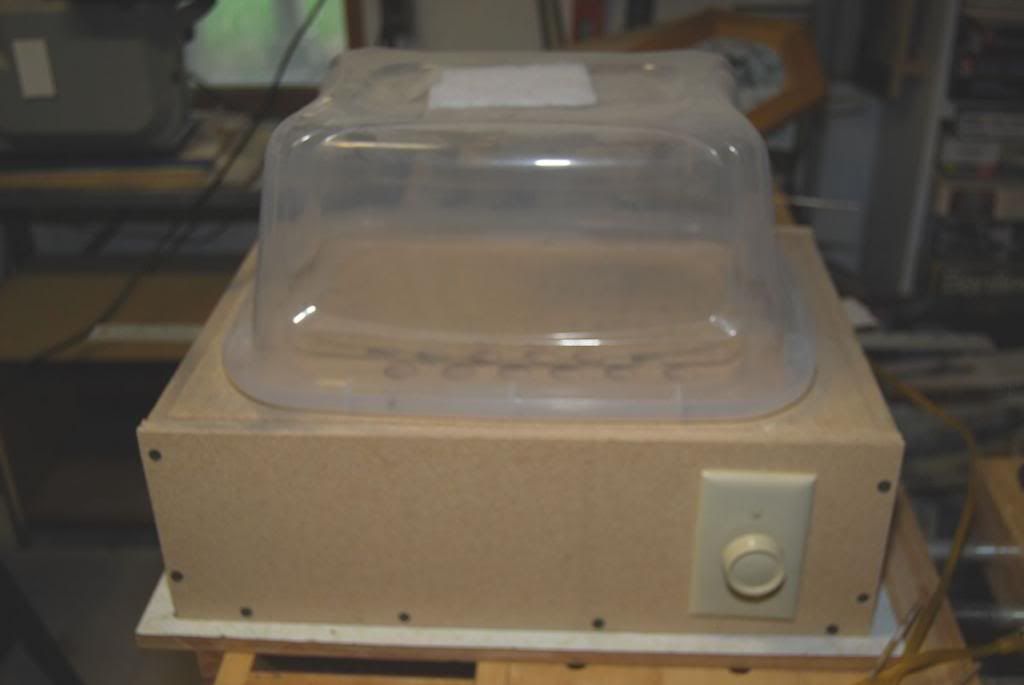
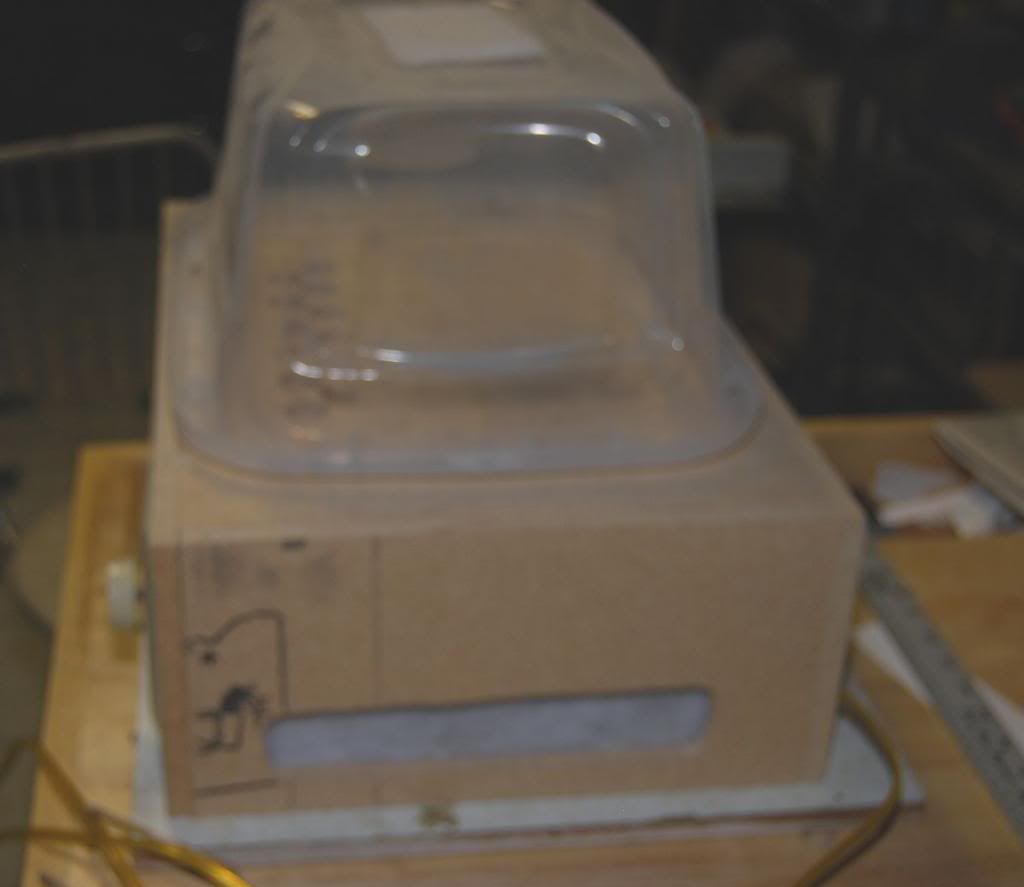
There are two chambers.  The bottom is a simple box made from particle board.  There is a slot in the end for air intake.  In the top there are a series of one inch holes off to the side to let the hot air from the bottom into the top chamber.  There are simple filters (those cloth filters meant to go in your hot air registers to control dust) covering the intake slot and the holes in the top (lid).  There is a porcelin socket screwed to the bottom, with a 40 W incandescent bulb- appliance bulb (yes, those are still available).  The lid only sits in place, resting on 3/4 x 3/4 wood strips glued to the sides, to enable changing bulb.

The top chamber is one of those plastic storage bins that we carry our models to shows in.  It is mounted upside down.  The top (at least, what is normally the top) has the center area cut out to allow air from the lower chamber to flow into it. It is mounted upside down with screws to the lid of the lower section.  The remaining part, which makes up the top compartment, has two 1" holes in what would normally be the bottom (now the top).  Again, one of those cloth filters acts to keep dust out of that chamber.

I installed a light dimmer in the side, but it is not needed with the 40W bulb- with the dimmer full on the box runs at just a little over 100 degrees.  This is fine- I did not want it too hot, so it would not warp plastic.  The dimmer can be replaced with a simple switch.  That temperature works fine- dries to touch and about three hours, instead of several days.  And, the filters ensure a dust free drying area.

Don Stauffer in Minnesota

  • Member since
    August 2007
  • From: back country of SO-CAL, at the birth place of Naval Aviation
Posted by DUSTER on Saturday, May 11, 2013 6:45 AM

WOW Great job. 

Simple,functional and cheap   inexpensive, to construct. 

adding this to my  "gotta-gonna get one" list. 

Thanks again.

Steve

Building the perfect model---just not quite yet  Confused

  • Member since
    March 2012
Posted by Chili on Saturday, May 11, 2013 1:19 PM

The drying tub arrangement looks great. I am a bit construction challenged, so has anyone had any luck with a food hydrator  as a drying unit? I looked at one at WalMart & they have a fan inside.

  • Member since
    December 2002
  • From: Bury St Edmunds, Suffolk, England
Posted by Bish on Saturday, May 11, 2013 1:40 PM

Nice idea. I was thinking of something to keep painted models in to keep the dust off. But I hadn't thought about going this far. I think I am going to have to try this. thanks Don.

I am a Norfolk man and i glory in being so


On the bench: Airfix 1/72nd Harrier GR.3/Fujimi 1/72nd Ju 87D-3

  • Member since
    November 2009
  • From: Twin Cities of Minnesota
Posted by Don Stauffer on Sunday, May 12, 2013 11:20 AM

The problem with food dryers is that some get too hot and warp the plastic.  Depends on brand.  That is why I made my own, and put in the dimmer.  However, I found that the 40 W bulb doesn't get the chamber hot enough to warp even full on. If you use a larger bulb then you should include the dimmer.  I wouldn't go much over a hundred degrees.

Don Stauffer in Minnesota

JOIN OUR COMMUNITY!

Our community is FREE to join. To participate you must either login or register for an account.

SEARCH FORUMS
FREE NEWSLETTER
By signing up you may also receive reader surveys and occasional special offers. We do not sell, rent or trade our email lists. View our Privacy Policy.