Hi there folks!
I own my Evolution for some time now and I really like it. It is really easy to clean in about 5-10 minutes and thought I'll just post a tutorial for everyone interested.
I talked Greg into buying this AB and offerd to explain how I clean mine. I don't want to keep everyone else who might find this tut interesting from having a look at it though, so here you go.
If anyone has any question, feel free to ask!
The tutorial is split into 2 parts: One for cleaning the AB when using another paint and one for cleaning it after a spraying session:
When changing paint:
First of all, I use "Aqua Color Clean" by Revell for cleaning my Evolution (I use acrylic paints), but you can use any other strong acrylic solvent:
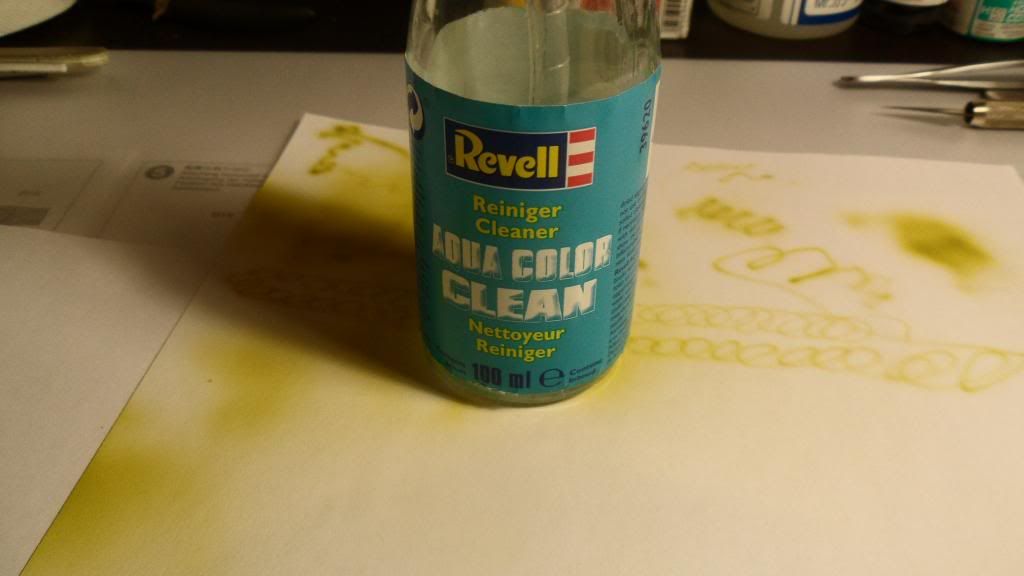
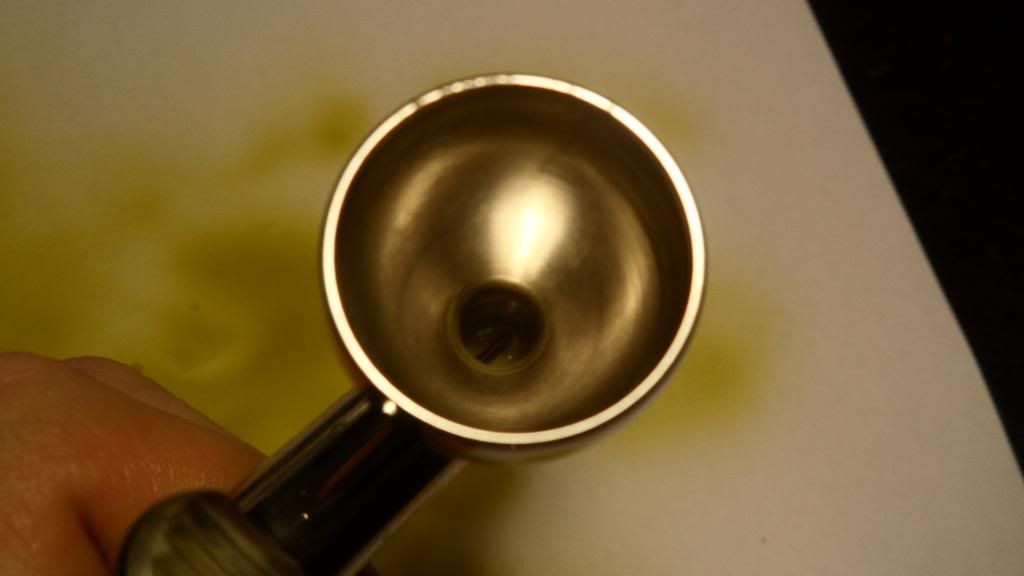
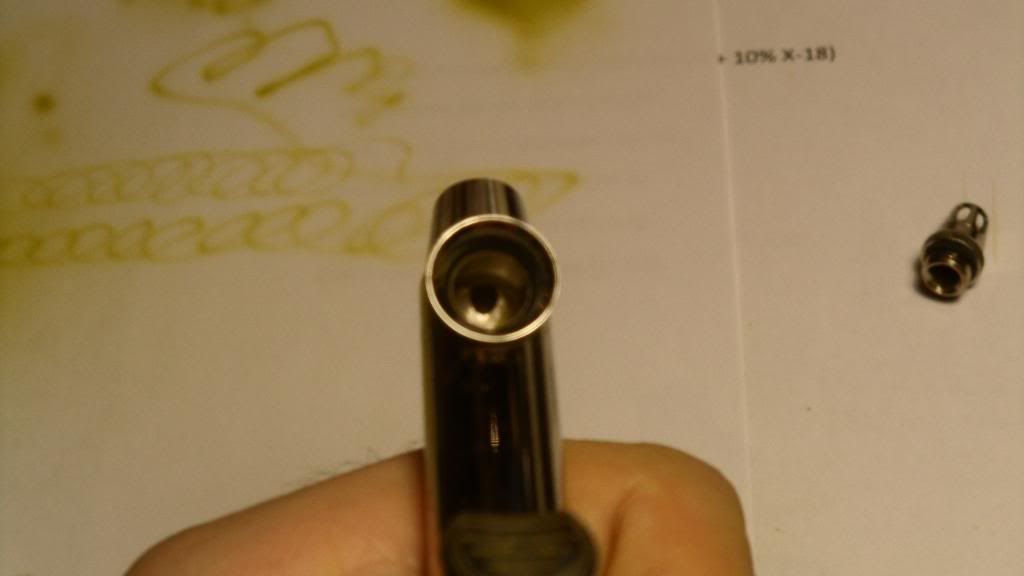
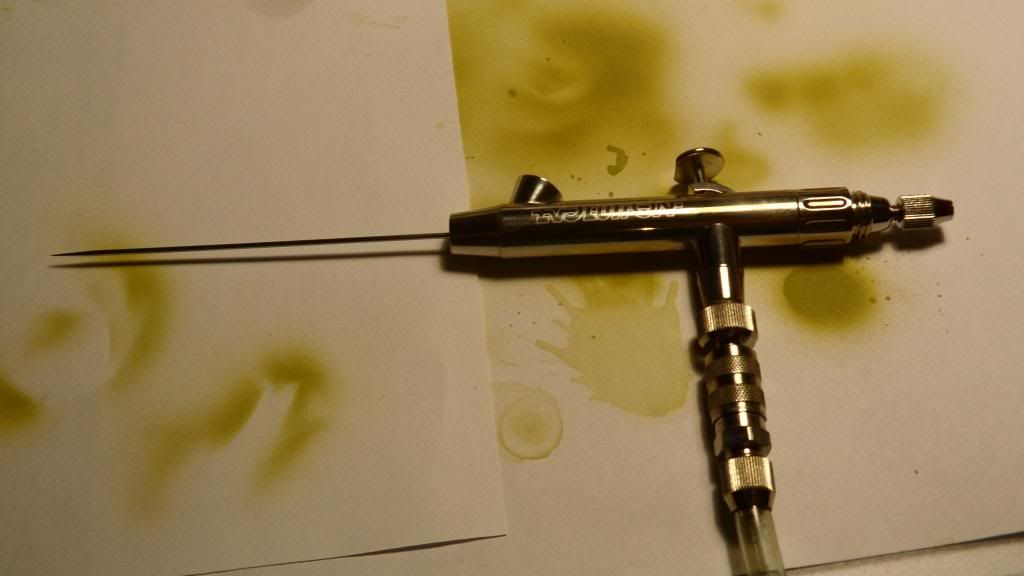
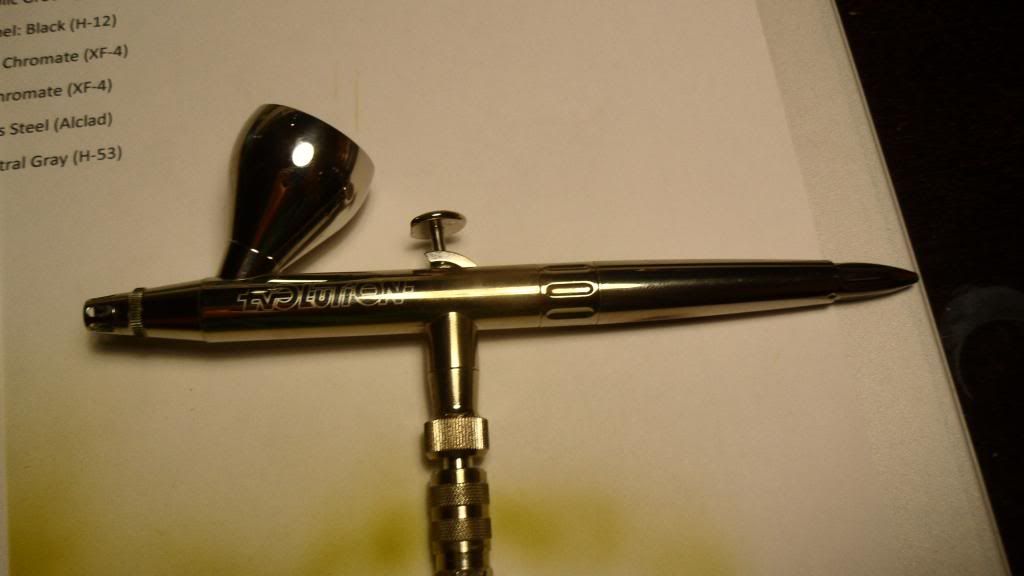
Your airbrush should look something like this after using it (the paint I used here was Tamiya XF-4):
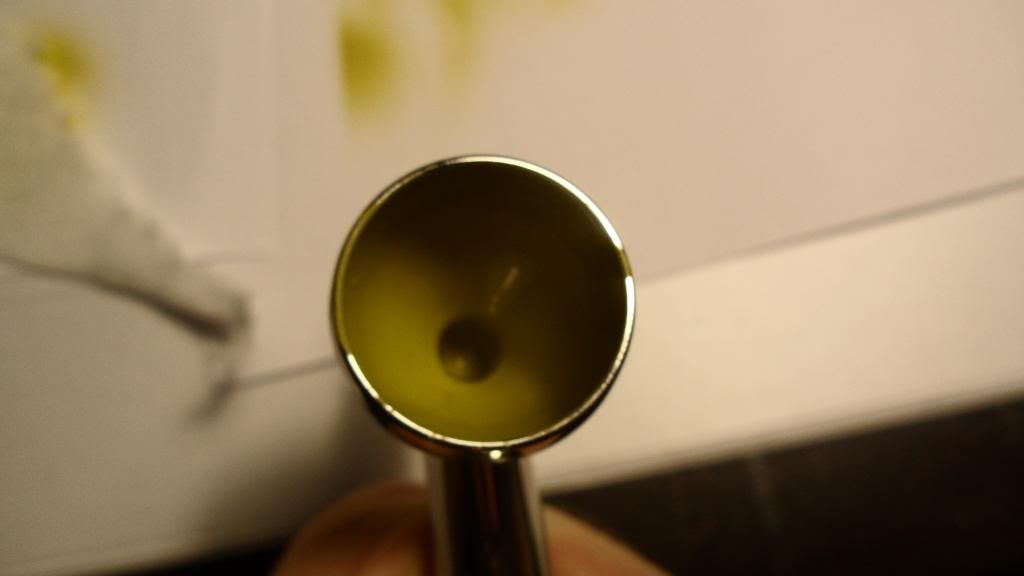
Start by pouring some solvent in the cup:
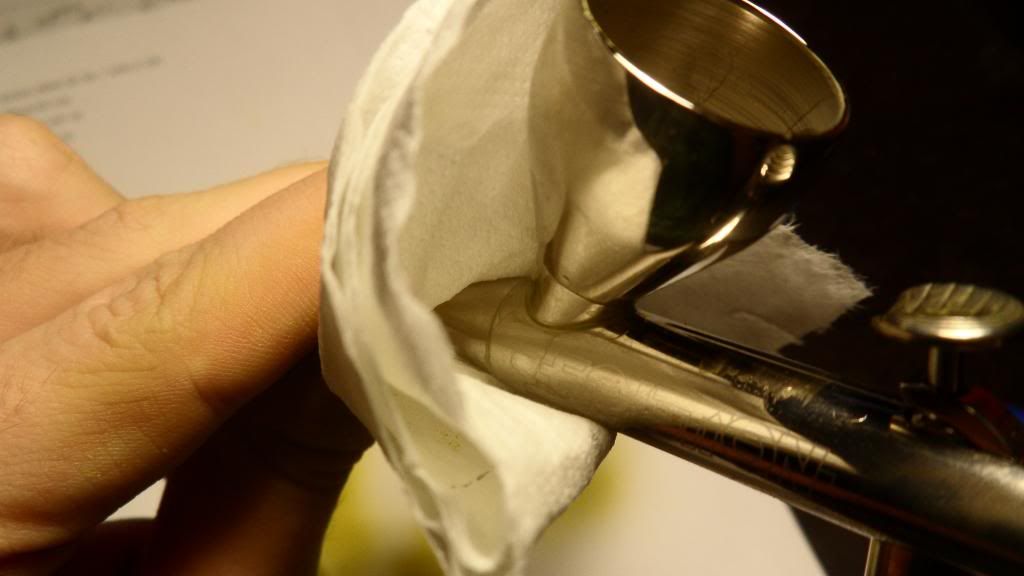
Then, unscrew the nozzle cap a bit (just turn it clockwise) and hold your AB over a trash can or something similar (I use the box of my compressor for this), so you don't mess up your floor/bench. Now just press the trigger down. The unscrewed nozzle cap prevents the air from coming out at the nozzle and it escapes throught the cup with the solvent/paint mix in it:
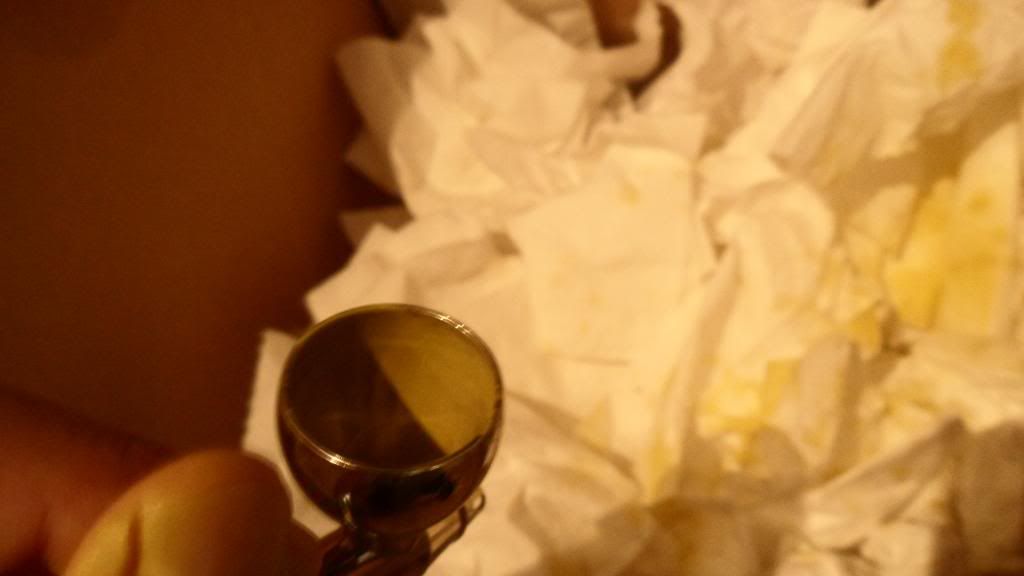
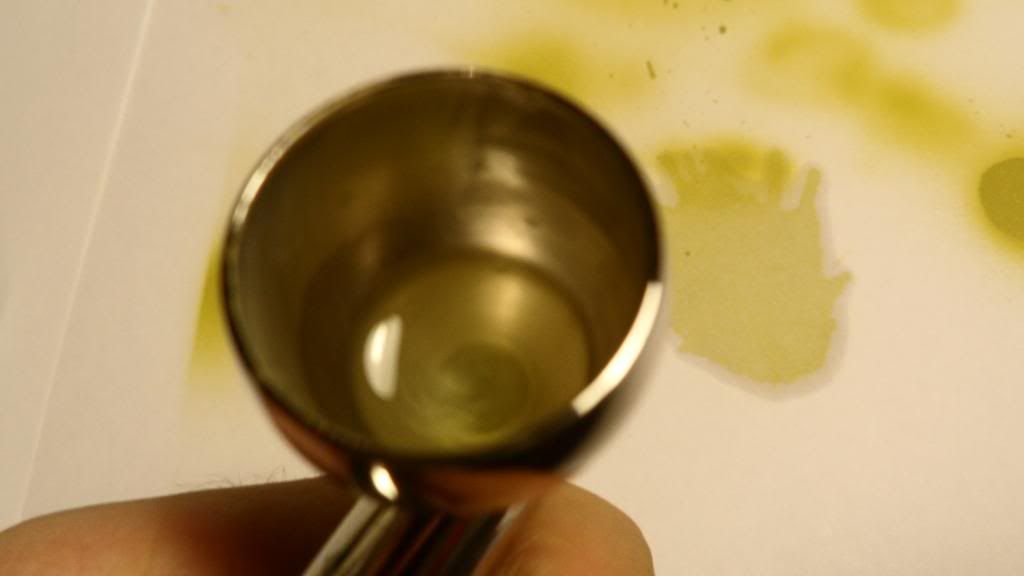
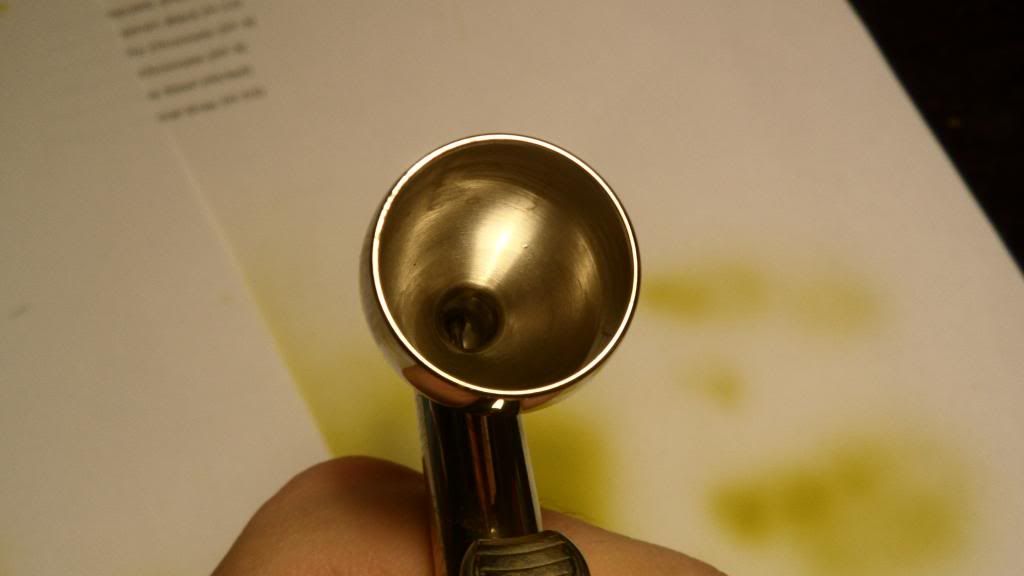
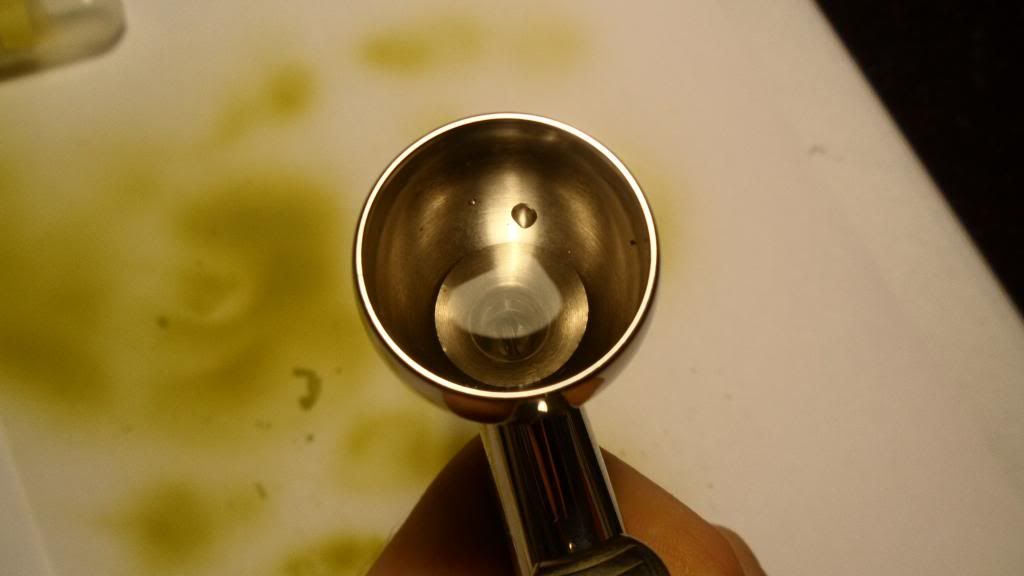
After all the solvent in the cup is blown out of the AB, take a piece of toilet paper/kitchen roll and just wipe off all the residue on the cup's sides. This is how your AB should look now: The cup is clean, but there is still some paint left on the bottom:
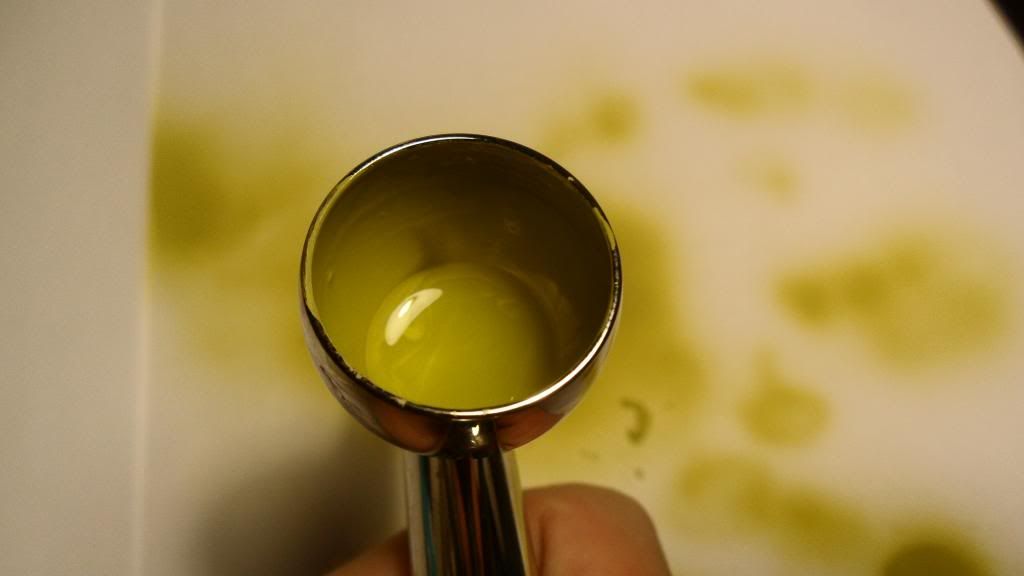
Now put a bit more solvent in the cup:
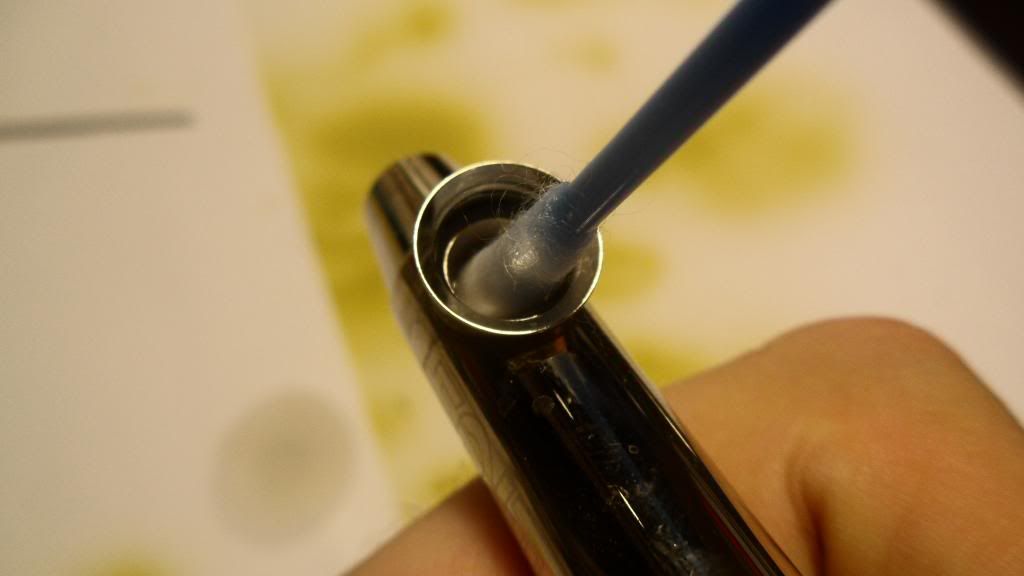
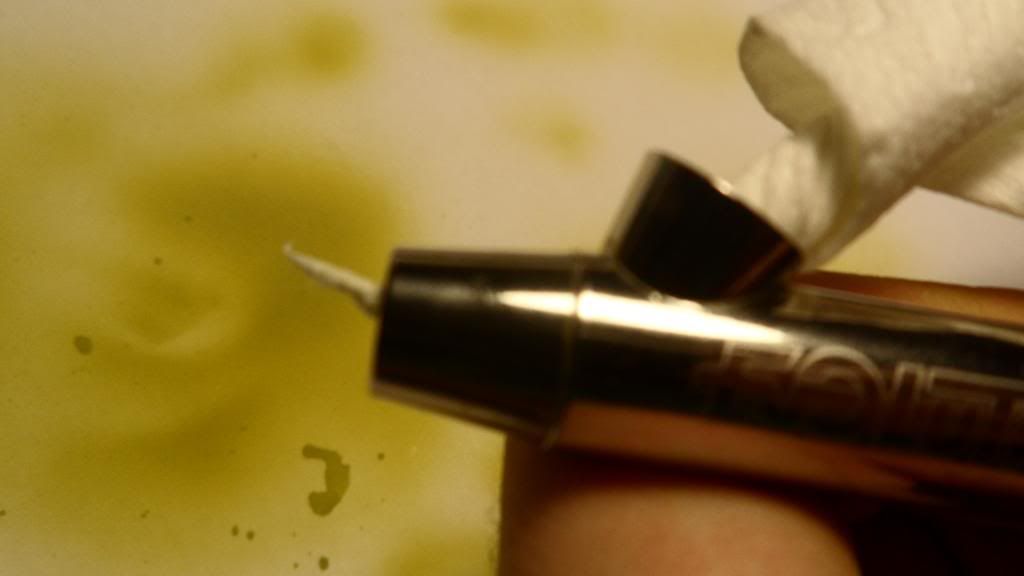
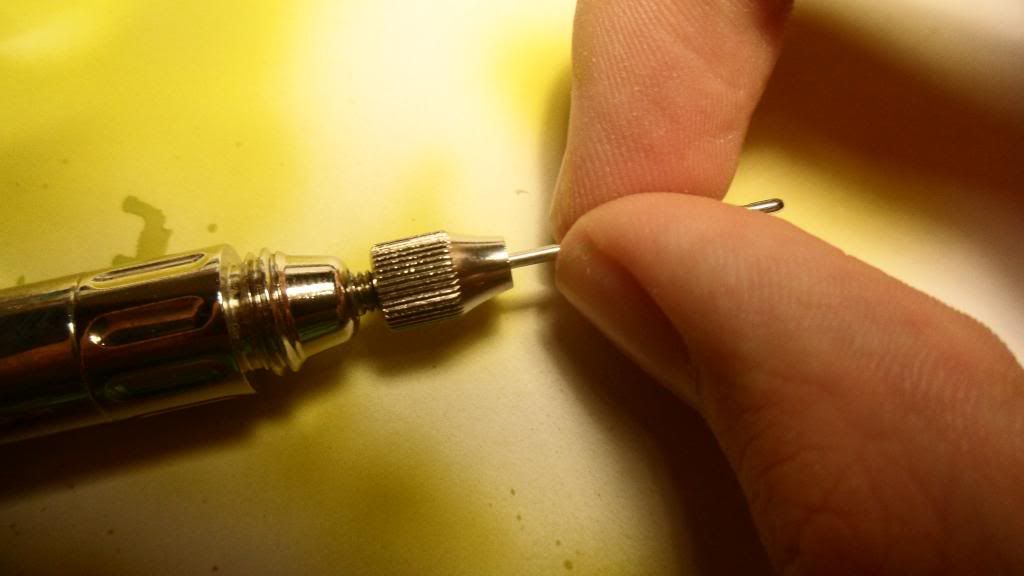
Tighten the nozzle cap again and hold the tip of the airbrush against a piece of kitchen roll (make sure the needle doesn't touch the kitchen roll to prevent damage to the tip):
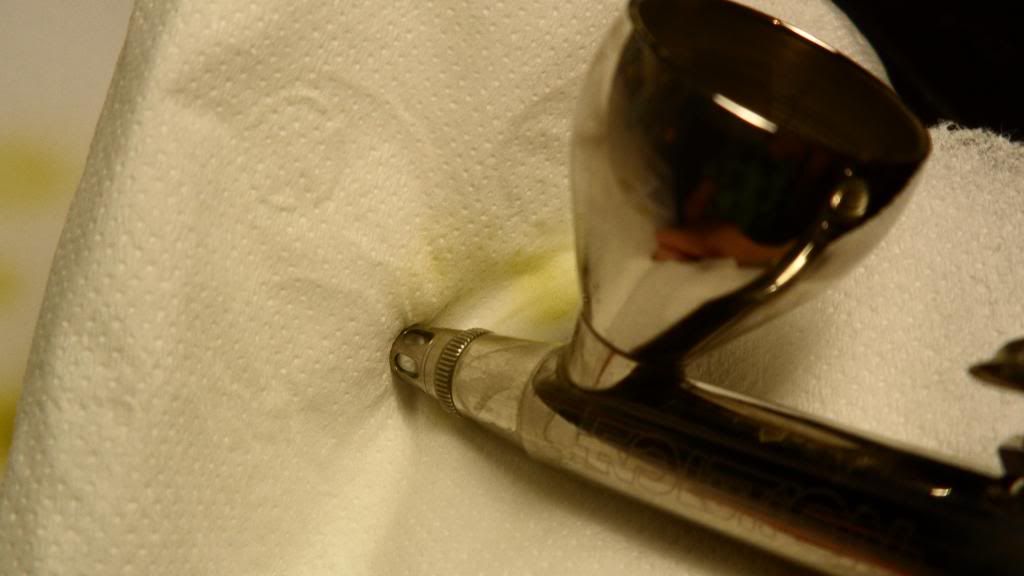
Spray the solvent against the kitchen roll. The liqud can't go past the kitchen roll and it will be sprayed through the cut-outs in the nozzle cap. This will clean it's inside:
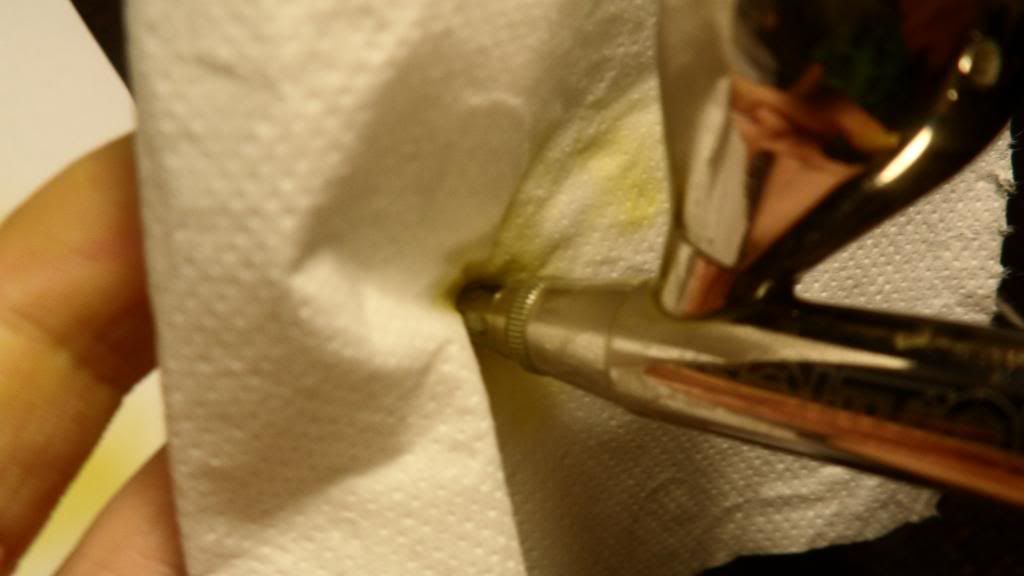
Now use the dampened area to clean the outside of the nozzle cap:
Repeat those 3 steps 3-4 times.
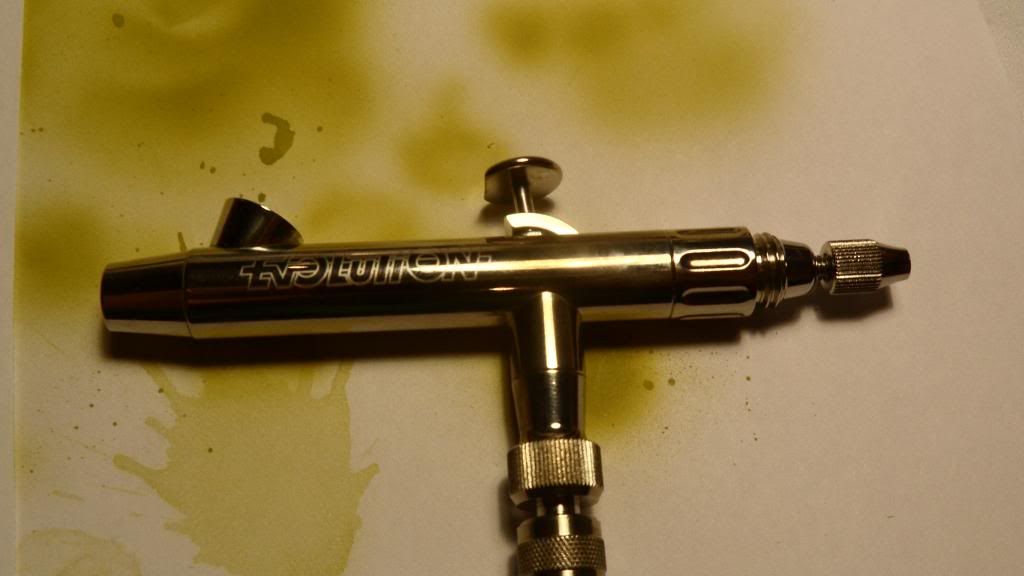
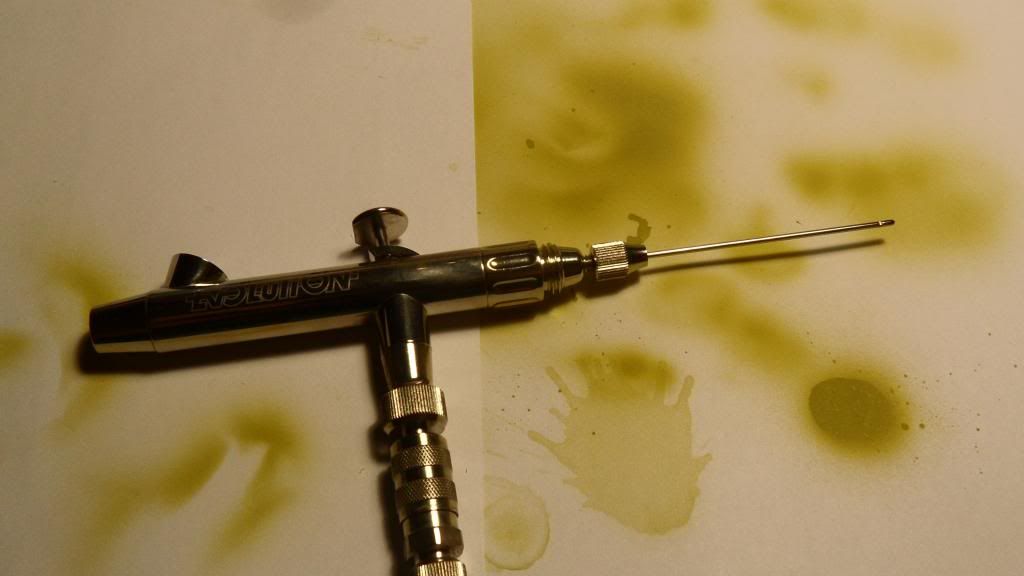
Your airbrush should be clean and ready for the next paint:
Cleaning after a spraying session:
The cleaning procedure shown above is all you need to do if you plan on using your airbrush again in the next hours. If don't want to use it again that day, you have to do the following in addition to the quick cleaning method:
First, you have to disassemble the AB. This is a really quick and easy task with the Evolution, but I'll show you the best way (IMO) to disassemble it (and put it back together) without risking to damage the needle:
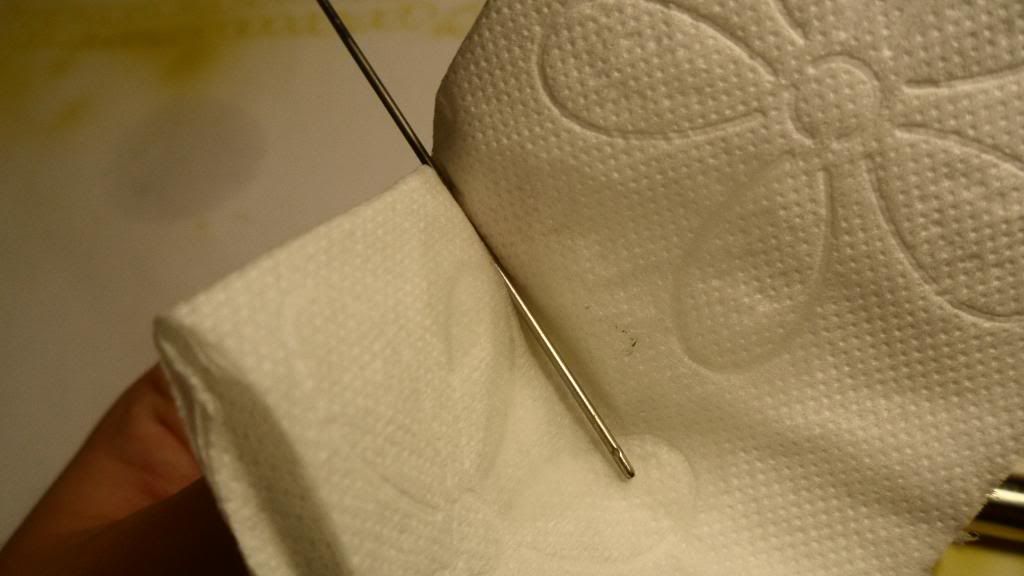
Remove the handle and losen the srew which holds the needle in place:
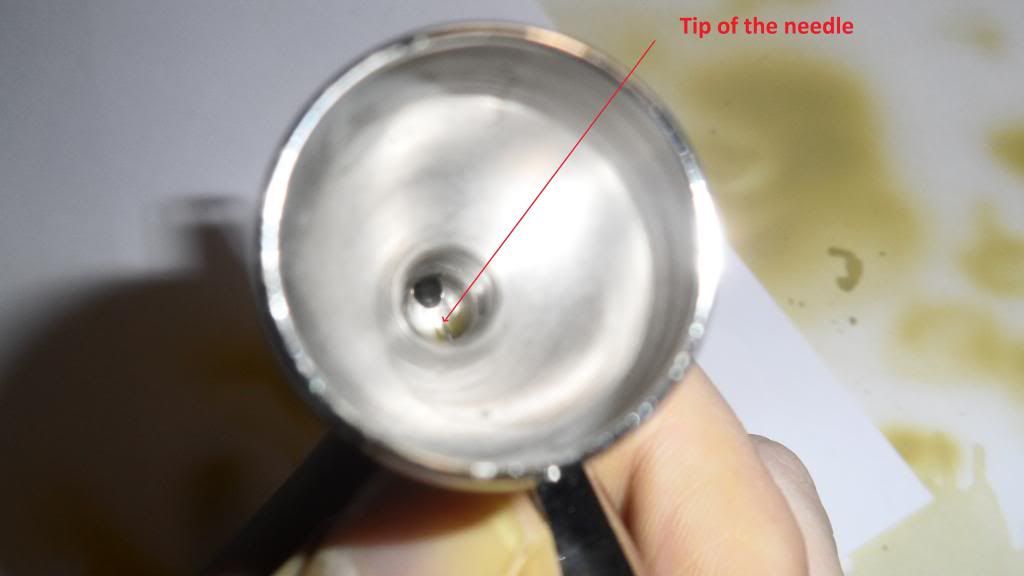
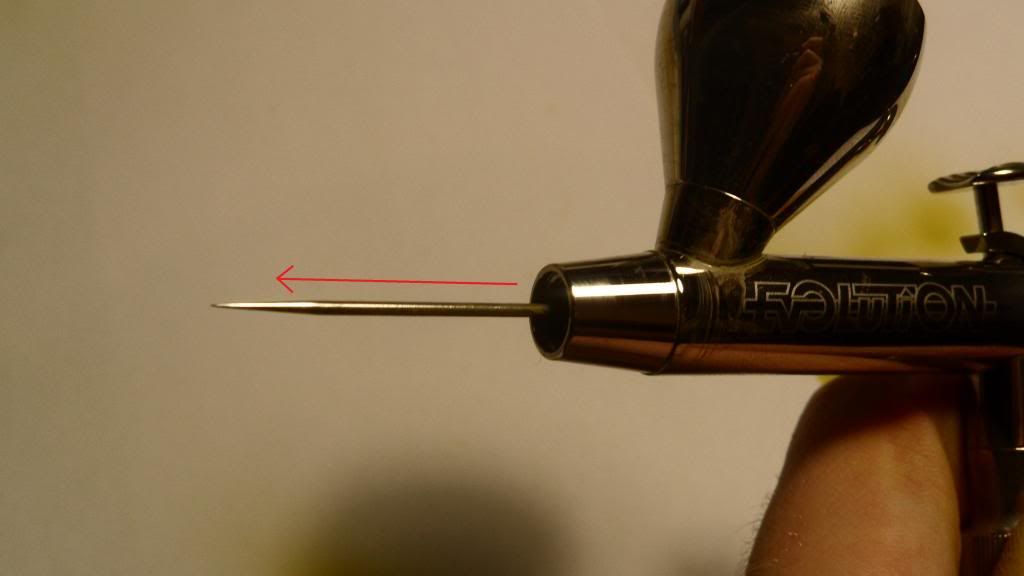
Now pull the needle back a bit, untill you can see its tip through the cup of your Evolution (you can't damage the tip when removing the nozzle this way):
Now simply remove the nozzle and the nozzle cap holding it in place:
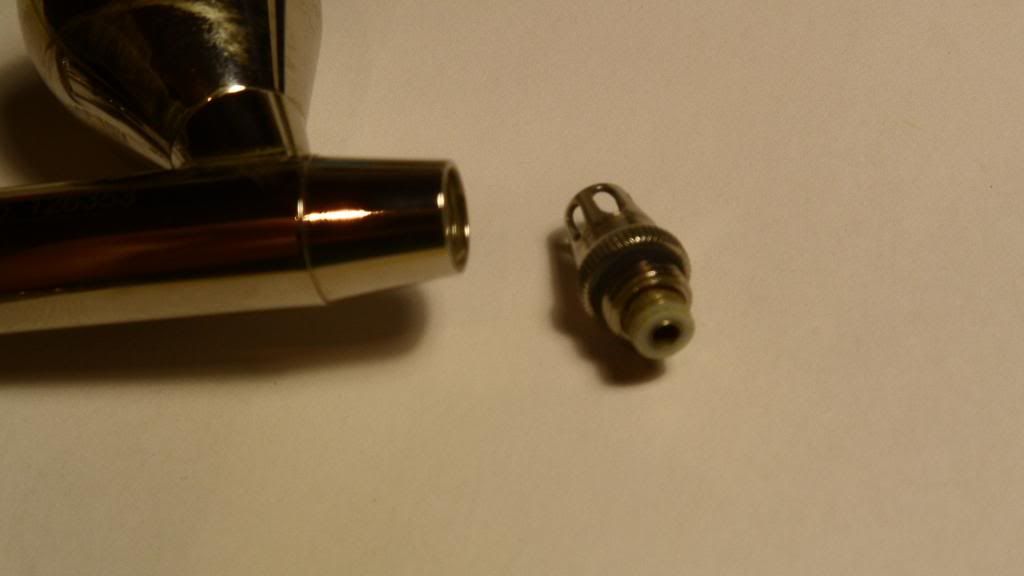
Remove the nozzle from the cap immediately after removing them from the AB (the nozzle might get stuck due to paint residue otherwise):
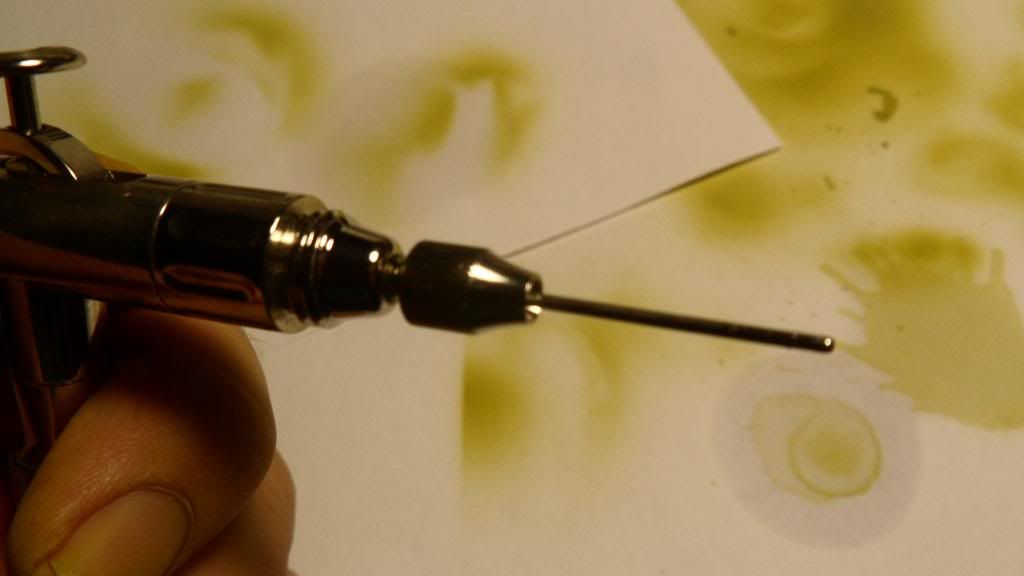
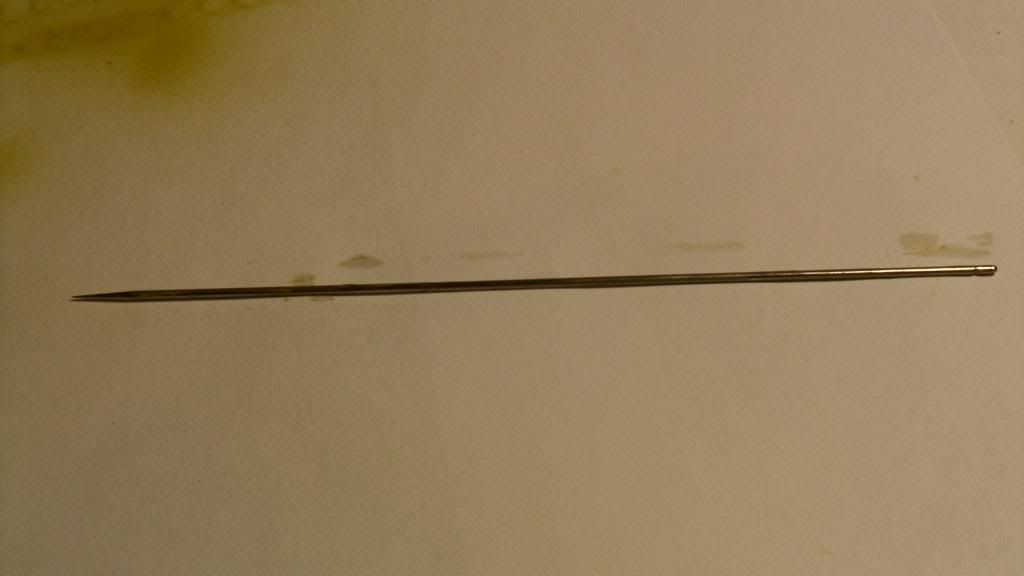
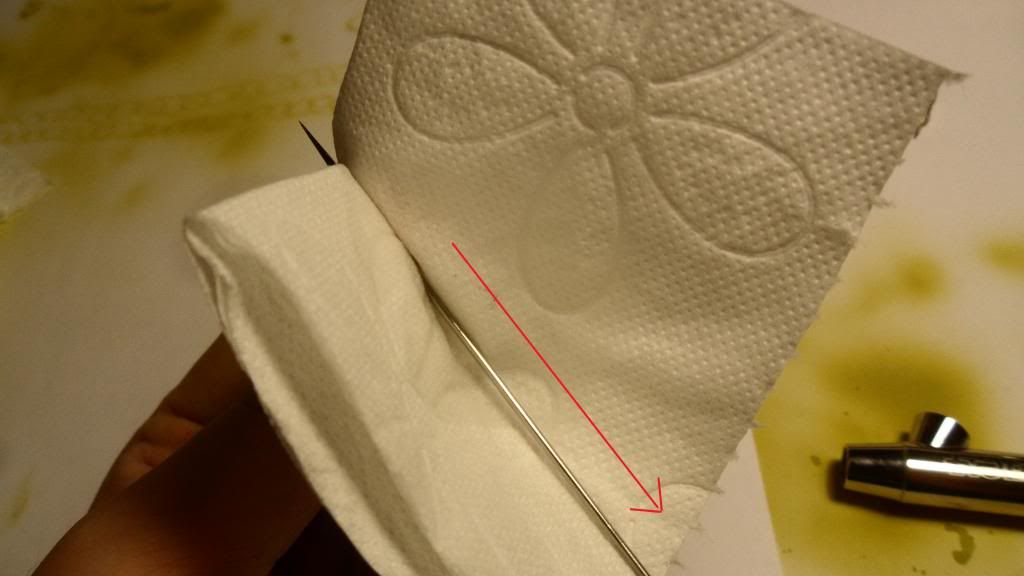
Pull the needle out of the airbrush through the front (doing so will prevent the needle fron pulling paint back into the trigger assembly and you don't have to clean that area afterwards):
Put the needle aside without its tip touching anything (again, to prevent it from being damaged - those needles are expensive!):
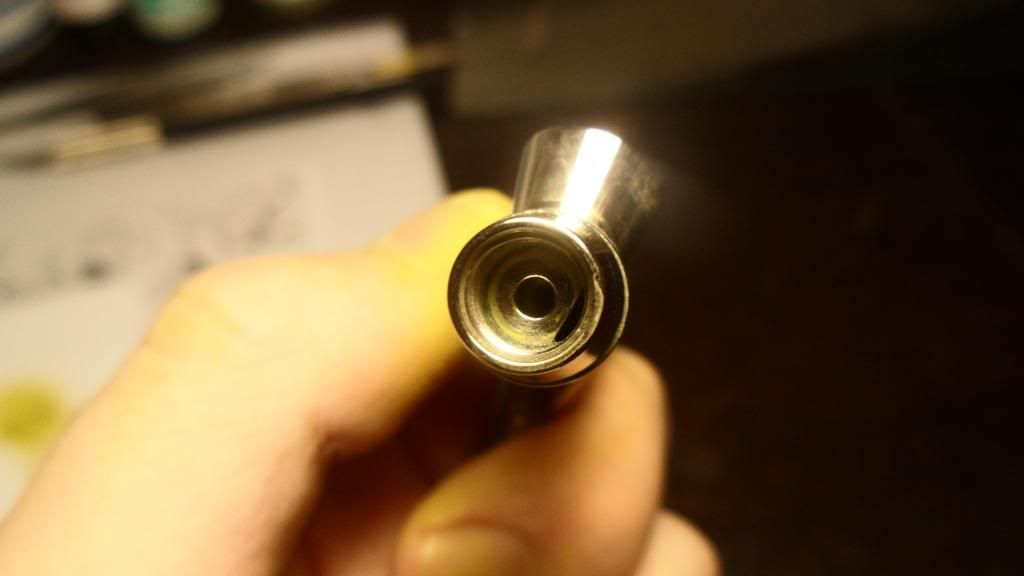
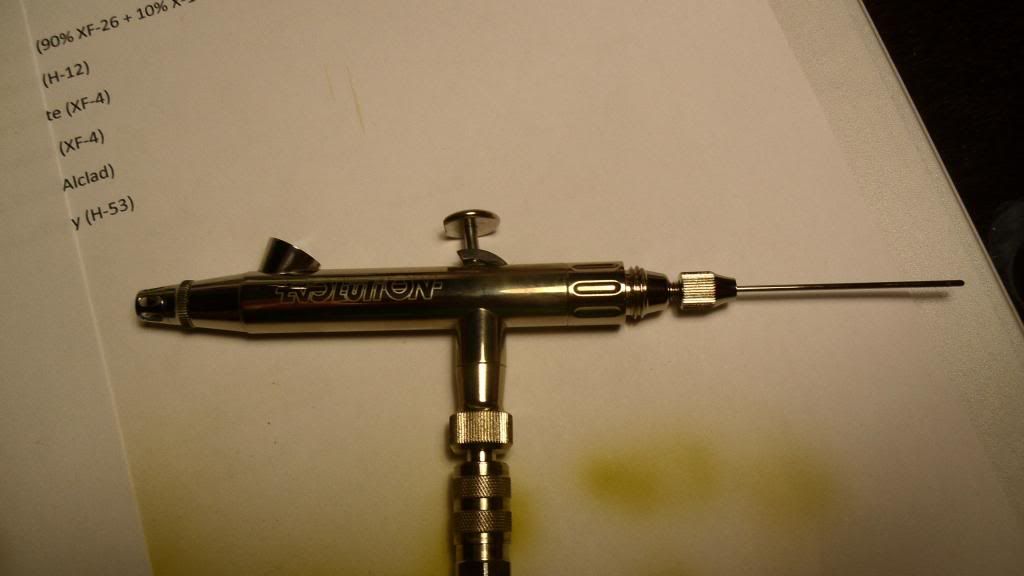
There might be (and most likely, is) some paint left on the bottom of the cup (you can't really see it in the pic, but it is there):
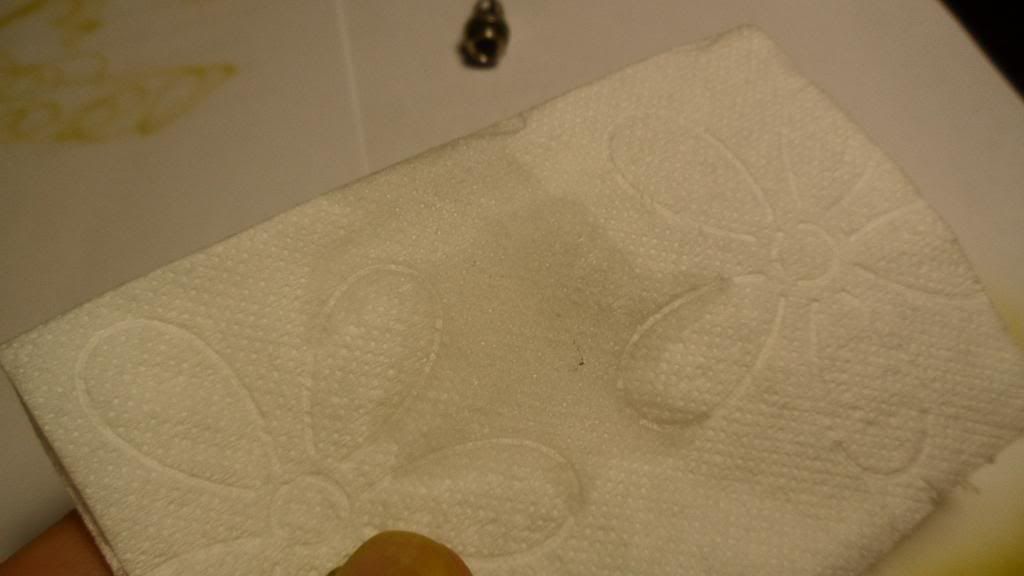
To remove this, just take a Q-tip (i usually need 2 to fully clean this area). Dampen one end with solvent and remove the paint, then use the other end to get everything dry again (and remove minor residues):
Do the same thing with the area where the nozzle is put in (pic was taken before I cleaned it):
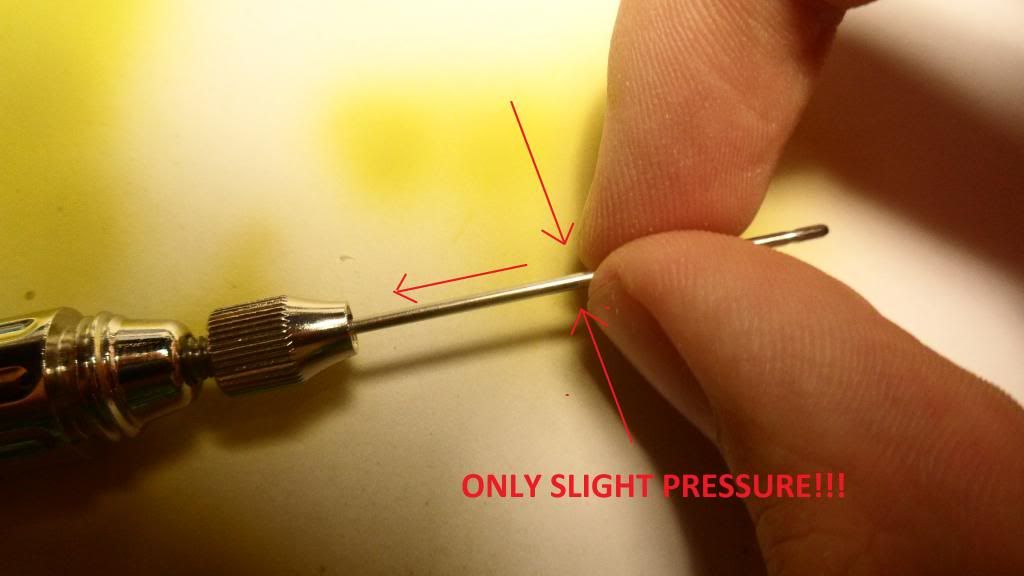
Now dampen a piece of kitchen roll/toilet paper with solvent:
Place the needle on top of it (take care with the tip!)
Then press the kitchen roll against the needle and pull the needle to you with the tip facing away (do not push the needle away from you, or you might damage the tip!):
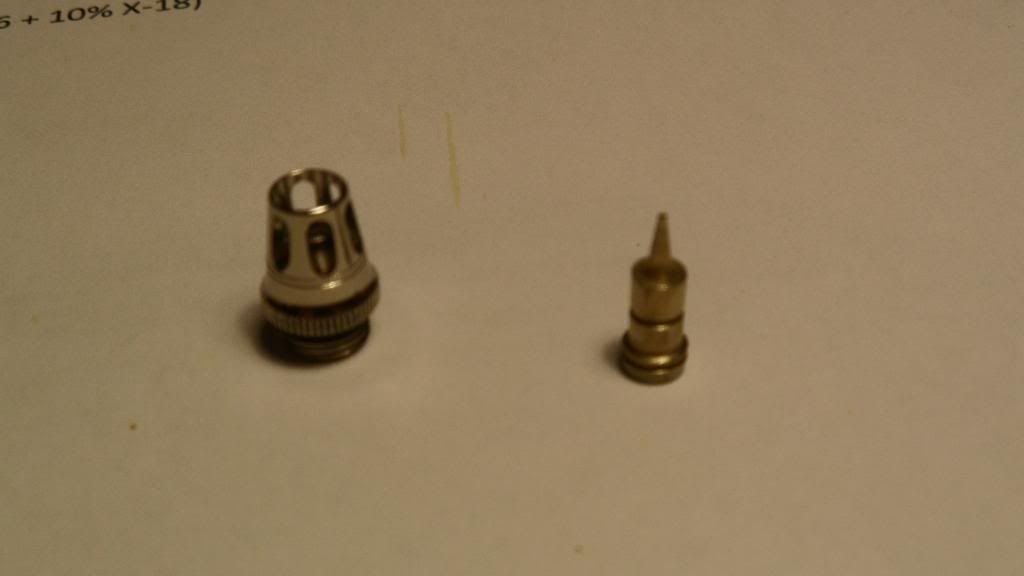
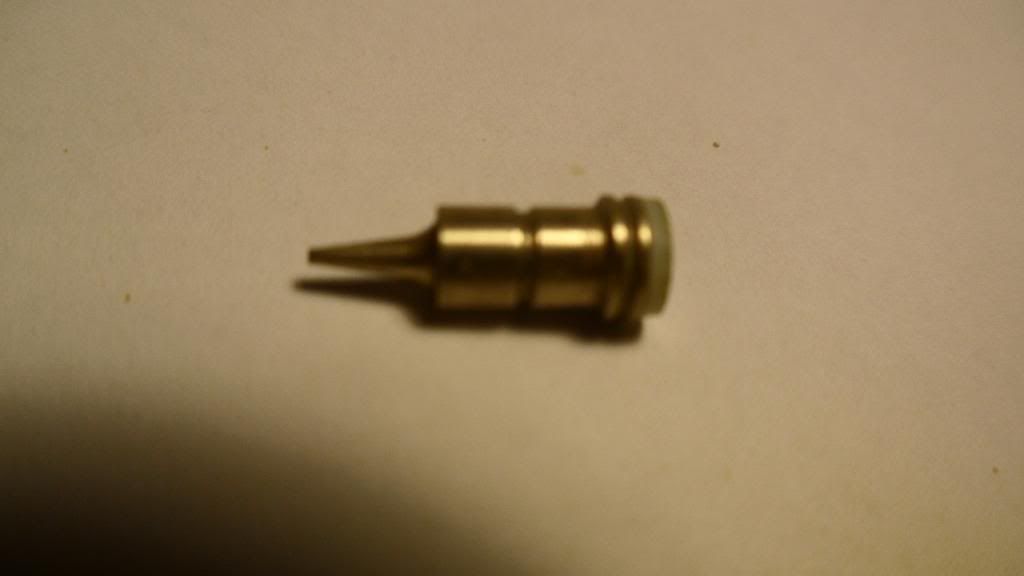
Next thing to clean is the nozzle cap:
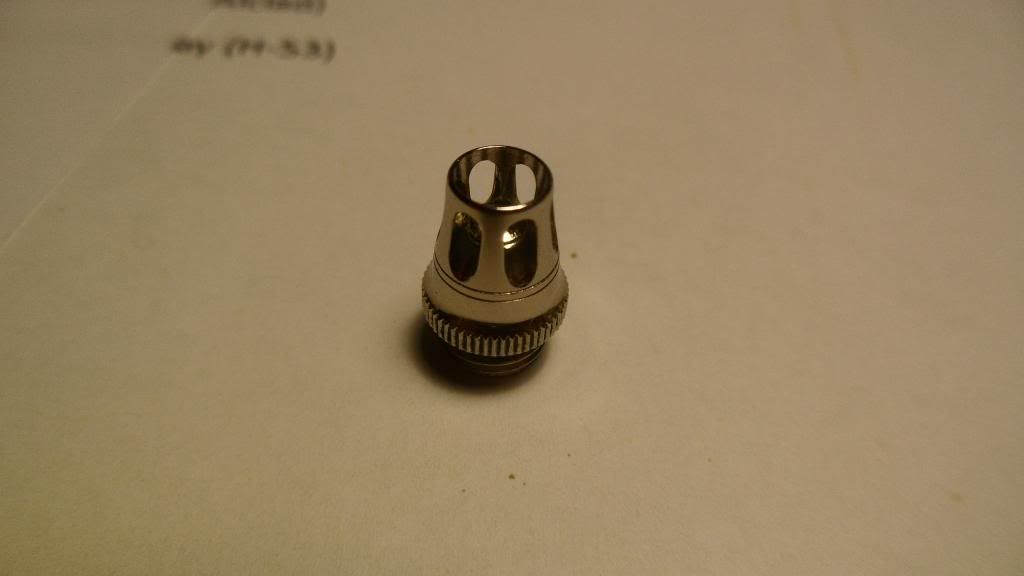
You normally don't have to clean this part, because it should be clean already, but in case there is some paint left on the front end, just remove it with a q-tip dampened with solvent (the back end should be clean at any time - i never had any paint residues there):
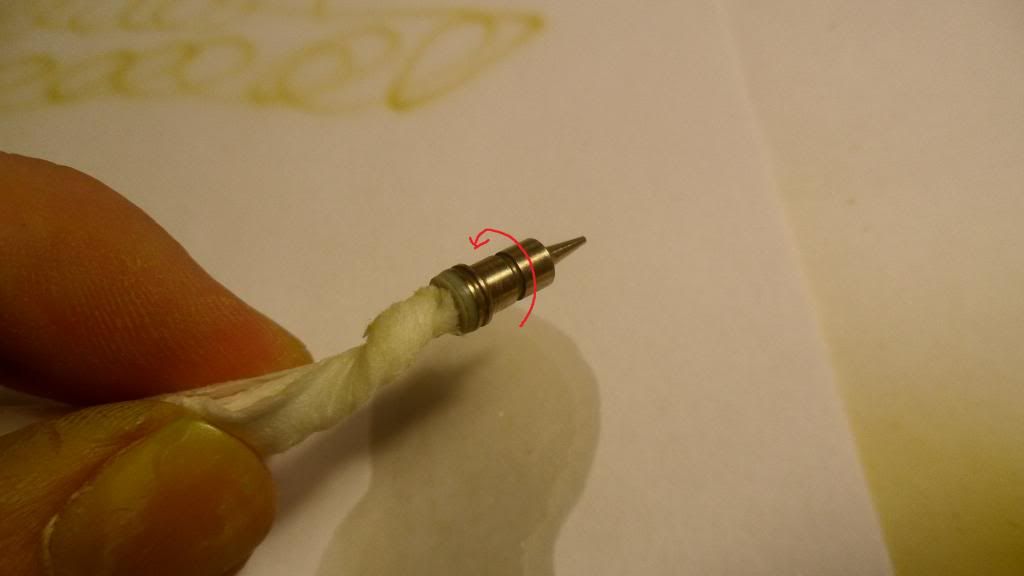
Now to the most important part: Cleaning the nozzle:
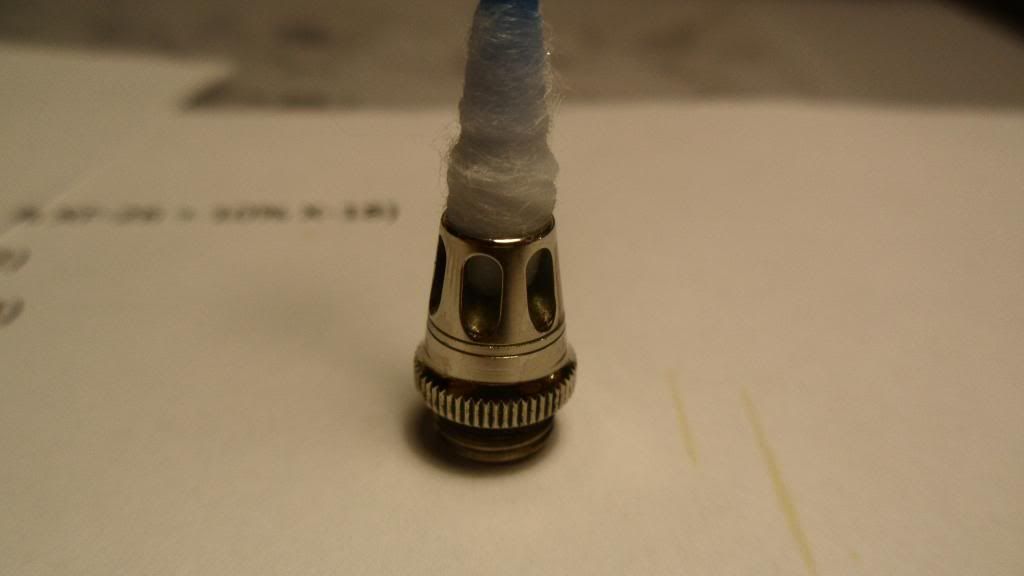
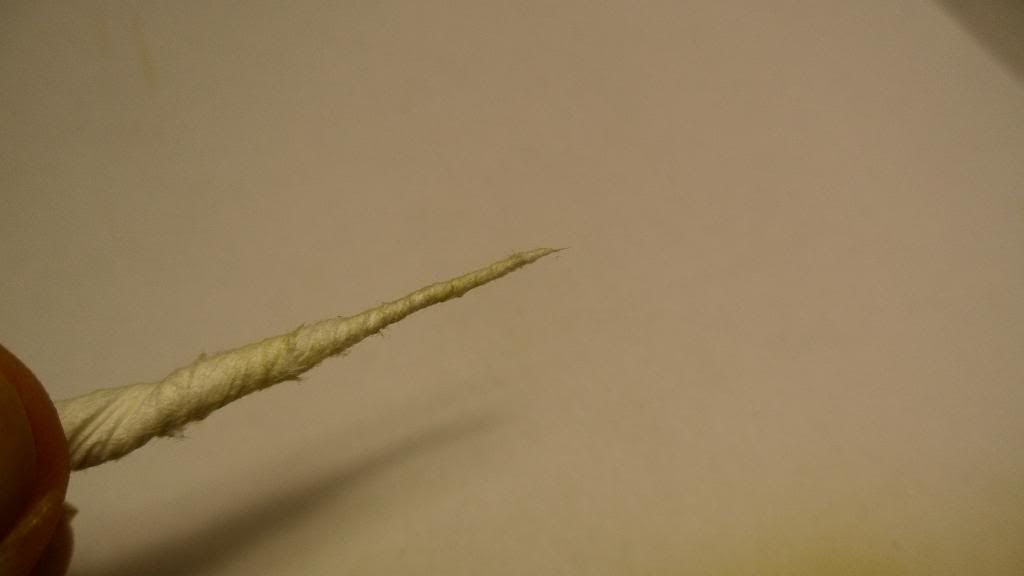
Take a piece of toilet paper (it works way bette than kitchen roll, because it is thinner) and form a thin cone out of it, by simply taking one corner and twisting it. Try to get this cone as thin and pointy as possible (moistening your fingers with a bit of saliva helps a lot!):
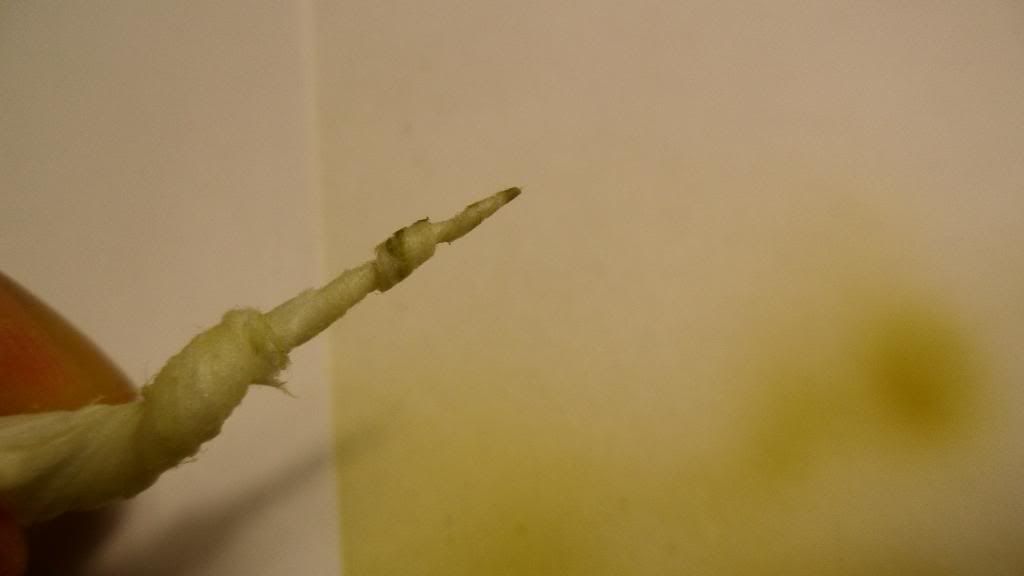
Slide the nozzle on top of that cone. It is hard to see in the pic, but the tip of the cone should exit the nozzle at its tip:
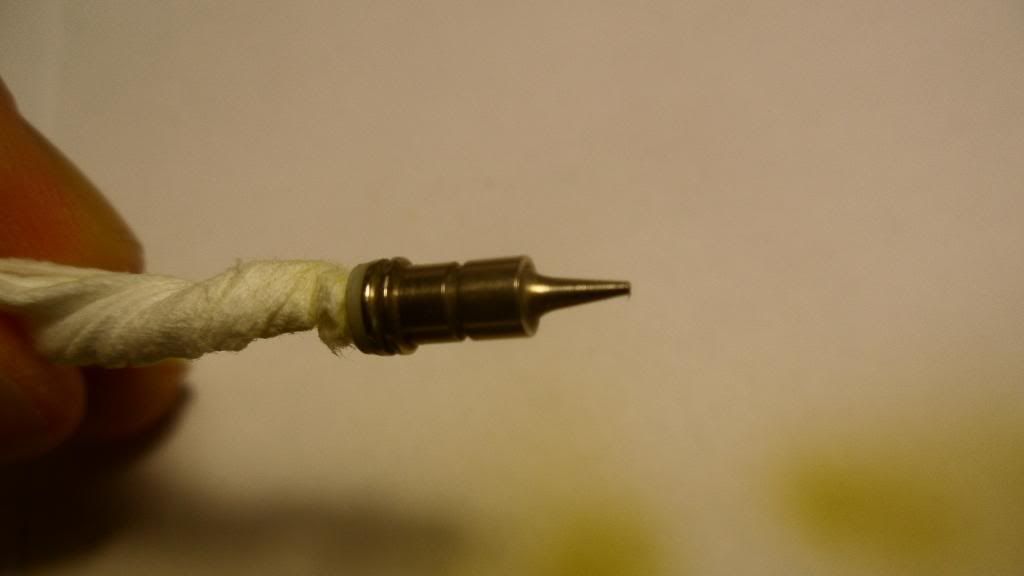
You can see it better in this pic:
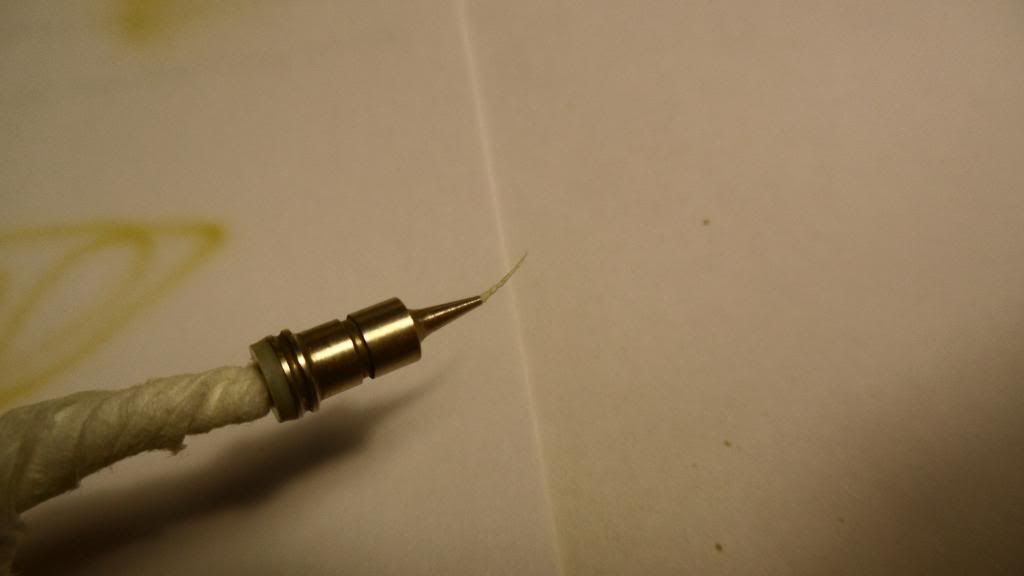
Now, put a drop of solvent on the real end of the cone (after you put the nozzle over it) and turn the nozzle, while applying a bit of pressure to the cone:
When you remove the cone from the nnozzle, it should look like this:
Repeat the last 3 steps untill the cone is clean after removing it from the nozzle.
Now do the exact same thing with the front end of the AB (the cone can be a lot thicker here):
It's time to assemble the airbrush again!
Take the body of your Evolution:
Put the needle in from the front:
Now gently push it back to the point where you can see the tip through the cup, without touching the tip (I can't stress that enough):
Put the nozzle back in its cap and screw it on:
Now take the needle between two fingers (only put enough pressure on it to hold it between your fingers) and slide it forward:
As soon as the needle touches the nozzle, your fingers should slide along the needle without moving it anymore (if you don't use too much pressure to hold it):
Now screw the handle and the cup back on, after tightening the needle screw again:
The last step is to fill the cup with some tap water (destilled water is a bit better, but not necessary) and start spraying. This removes all the solvent residues from the inside of your AB (they can damage the seals over time) and you see if your AB works correctly after assembling it (push the trigger down - only air, pull the trigger back as well - water gets sprayed out):
I hope you like this kinda long tutorial. Some pics are a bit blurry, because my camera has some issues with focusing on the shiny surfaces of my AB...
Cheers, Clemens