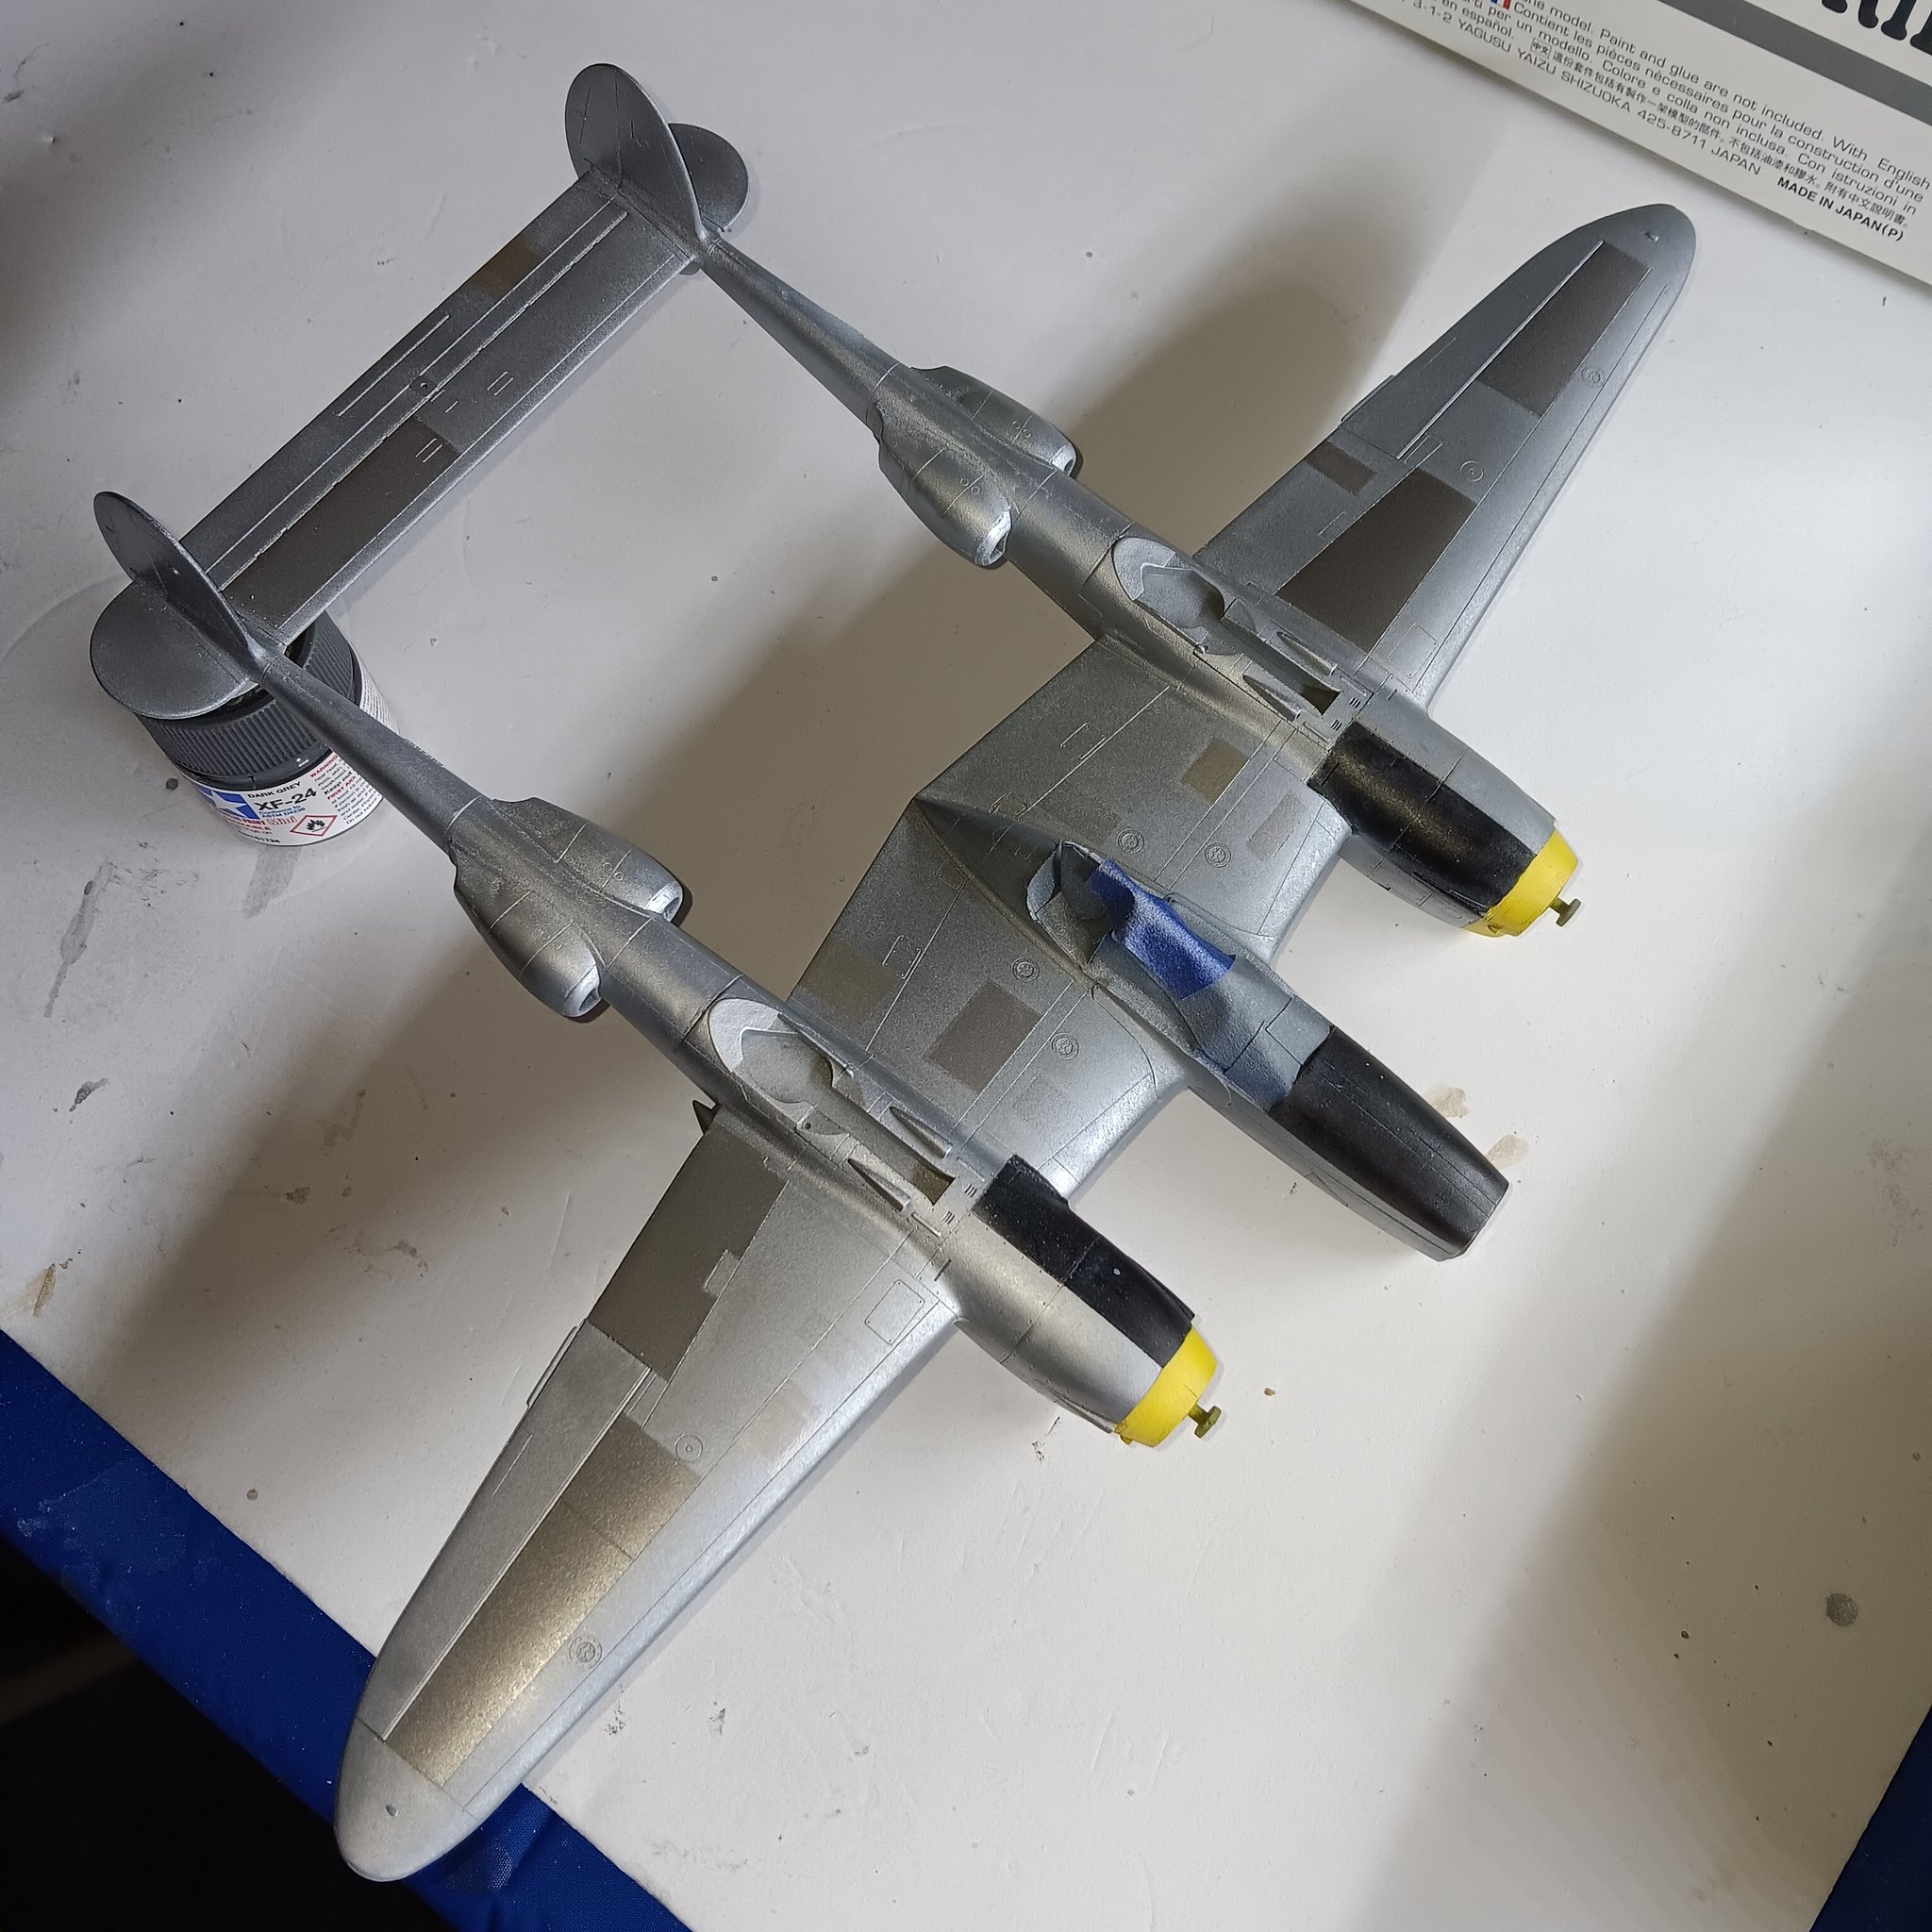
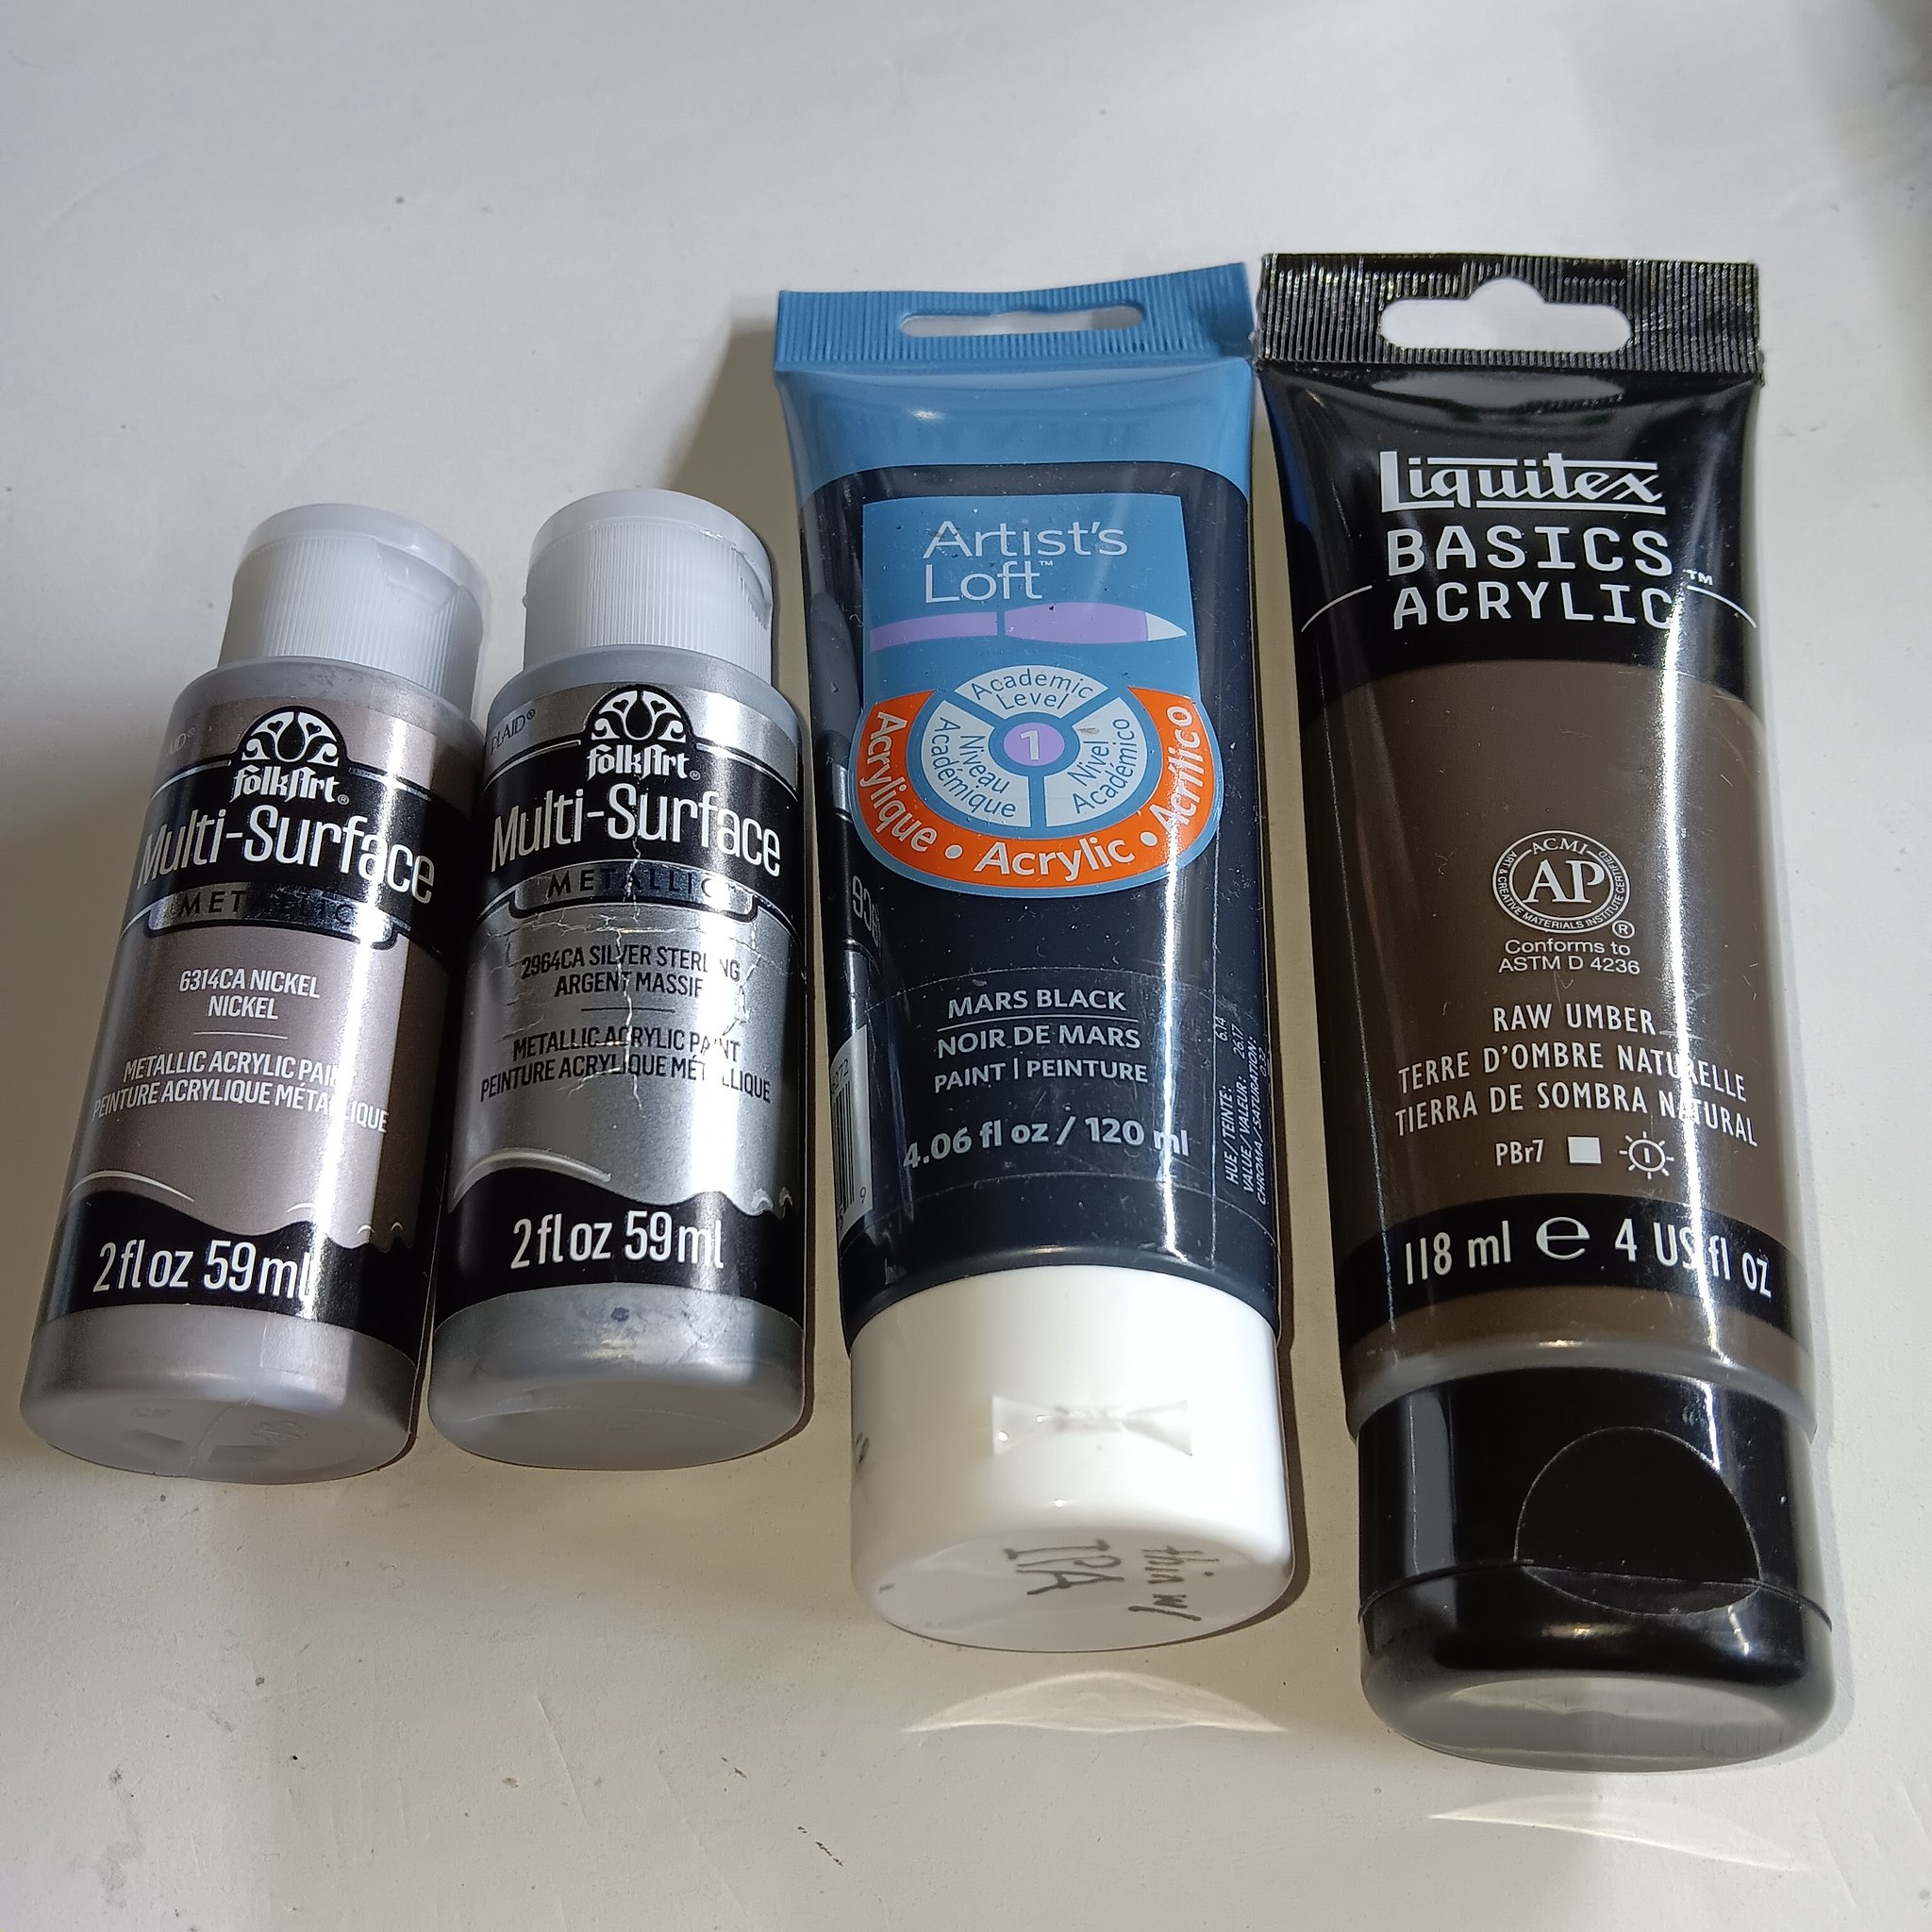
I didn't like the presahded panels. They looked like dark squares with silver paint on top, which makes sense because that's what they were. So I decided to paint over them. I wanted to avoid masking on top of the alclad, but I accepted the inevitable and used my 3M blue masking tape. There were no issues with the alclad getting pulled off. I got craft metallic acrylic from Michael's, they had a 40% off deal so I got two bottles for $3.00. I mixed them with various combinations of acrylic black and/or raw umber to get different shades. I used my airbrush, it had a tendency to clog unless I got the thinning just right. I'm still navigating the learning curve, but eventually I got decent results. They are a bit too prominent right now, but I will try to tone them down during final weathering.
I applied panel line and rivet wash using raw umber acrylic thinned with water and a few drops of detergent. Next steps are to apply panel line post shading, exhaust and oil stains, and dry brushing.
 20231027_210727
 20231027_221300