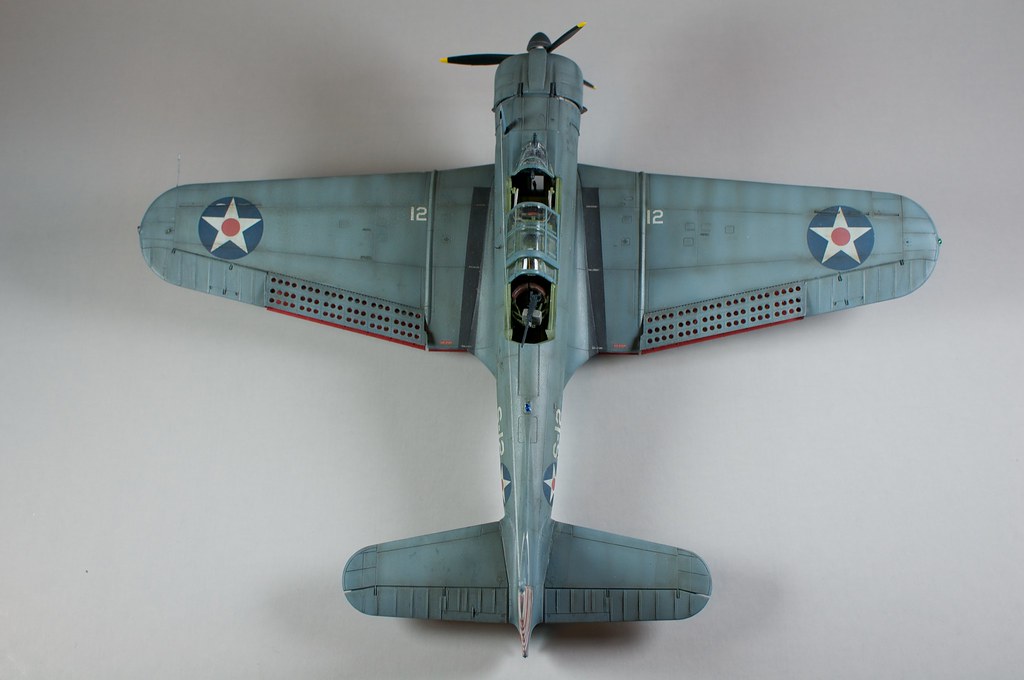
I'm still kind of muddling my way along, figuring out what works as I go, but here's what I did for this Dauntless:

1 - Gloss and apply decals after principal painting. In this case it was blue grey, lightened blue grey, and then a thinned blue grey blending coat.
2 - Once the decals were set and sealed, I hit them in quick passes with the thinned blue grey. Have to be careful here not to overdo it.
3 - I then weathered the plane with 50/50 Tamiya Flat Black/Brown thinned 90% with denatured alcohol. Did the post-shading thing along panel lines, then hit it with random swipes in the direction of airflow (and a few in direction of gravity on the fuselage).
4 - Another pass of the thinned base color to calm the weathering down and blend everything together a bit.
5 - Spray a bad bottle of Polly flat and spit white flecks all over the place. Swear profusely for ten minutes.
6 - Carefully wet-sand the kit with (at least) 1000 grit sandpaper. In my case I was trying to get rid of the flecks, but not break through the Testors Dullcote underneath. The sanding actually improved the finish in the end, I think. And it seemed to thin down the really thick national insignia markings, but I don't know if that's more perception than reality.
So yeah...I tried a little bit of everything with this kit. I think the key is, once you're dealing with finished paint and decals, proceed slowly and exercise caution. You can always step up to a coarser sandpaper or more potent paint mix, but you can't step down.
On the Bench: 1/32 Trumpeter P-47 | 1/32 Hasegawa Bf 109G | 1/144 Eduard MiG-21MF x2
On Deck: 1/350 HMS Dreadnought
Blog/Completed Builds: doogsmodels.com