SEARCH FINESCALE.COM

Enter keywords or a search phrase below:

cockpit IP decaling...HOW???

1232 views
7 replies
1 rating 2 rating 3 rating 4 rating 5 rating
  • Member since
    November 2005
cockpit IP decaling...HOW???
Posted by Anonymous on Saturday, July 9, 2005 12:55 PM
Hi ya'll
I'm ready to detail the IP of my F4u and after reading alot of opinions from you guys I've decided to apply the individual decals in the appropriate "hole". The question is HOW?
How do you cut a decal that small? How do you apply it? do you try to slide it off the backing. If so how do you handle something that small? Or do you glue it in backing and all? Don't want anyone wasting their time writing me an entire book about this but any advise or directions to other sites or pages that might discuss this in detail would be greatly appriciated.

Thanks a bunch. John
  • Member since
    September 2003
  • From: N.E. Ohio
Posted by dragonfly on Saturday, July 9, 2005 2:21 PM
Hey John,

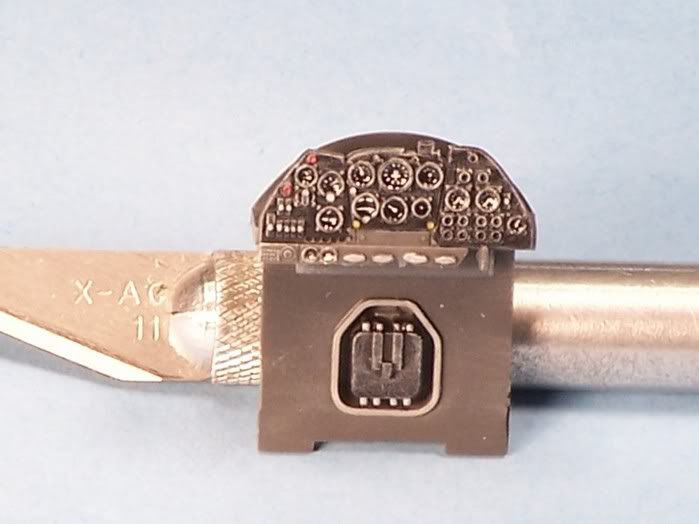
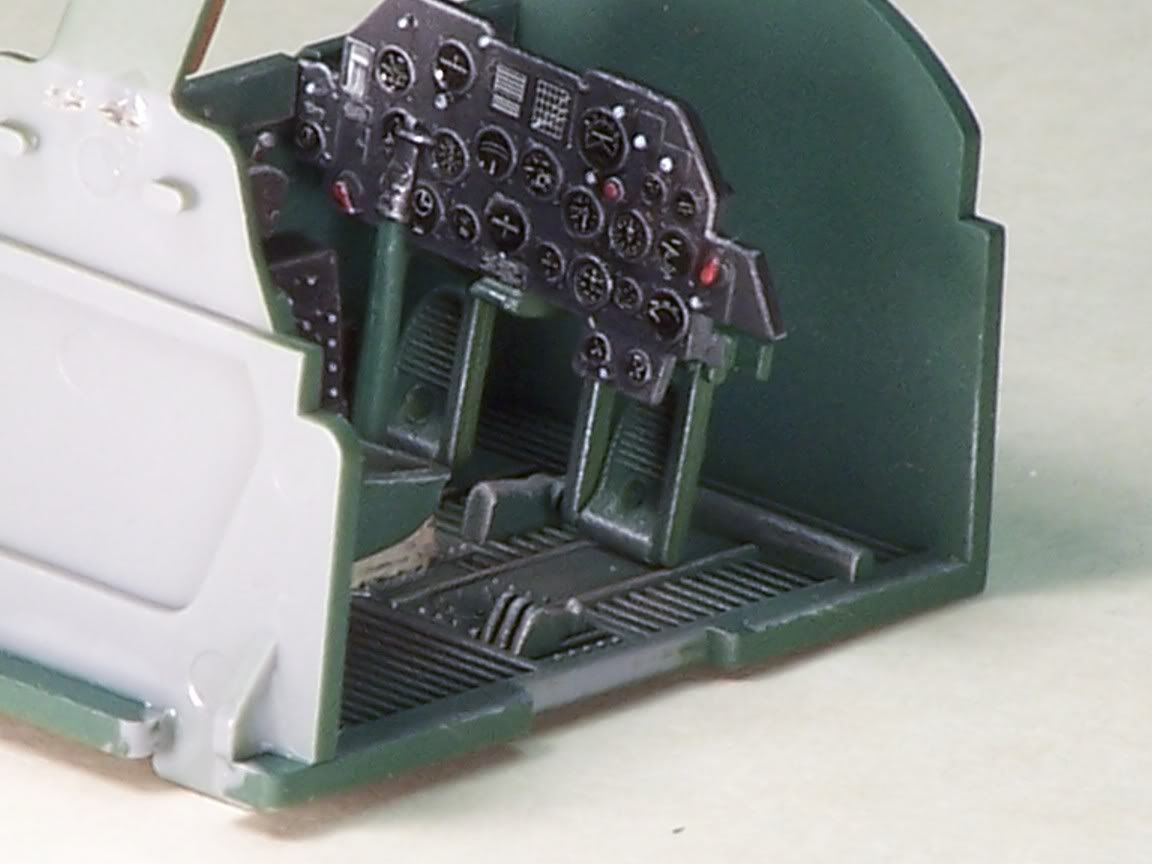
I guess there really isn't any easy way to do what you want to do. however it's no more than cutting the inst.'s individually and installing them into the opening. What works for me is to carefully cut around and thru the decal film with a #11 blade and leave it on the backing. Then, cut the inst. away from the others in such a way that you have something to grab with tweezers. Soak for a couple of seconds, and when it's loose you can separate the inst. from the backing. I like to use a couple of fine paint brushes to push the tiny decal onto the tip of the other. Put a drop of micro-set in the opening, and slide the decal into position using the other brush. Just take your time and work your way around the IP untill you're done. Make sure you have the inst. oriented correctly and not sideways or upside down. After a drop of micro-sol, the decals will sink right into the face of the dials. Coax them down if you must with a cotton swab, followed by a drop or two of future to simulate a glass face.


Hope this helps. The key is take your time and carefull cutting....patience

Dragonfly
  • Member since
    November 2005
Posted by Anonymous on Saturday, July 9, 2005 2:51 PM
Hey Jerry.
Thank you so much for the advise. This is my first model since I was a kid when you could just stick a few drops of paint on the IP and call it good. I'll give it a try. I'll see if I can figure out how to post some pics so you can see how it went.

John
  • Member since
    February 2003
  • From: A Spartan in the Wolverine State
Posted by rjkplasticmod on Saturday, July 9, 2005 3:08 PM
I use a similar method as posted by Jerry, But I have a small punch & die set from Verlinden that I use to cut the IP decal from it's surround. It's still tricky to do as you have to get it lined up perfectly. Most of the time, if one is available for the kit I'm building, I prefer to use an AM PE IP.

Regards, Rick
RICK At My Age, I've Seen It All, Done It All, But I Don't Remember It All...
  • Member since
    November 2005
Posted by Anonymous on Saturday, July 9, 2005 4:15 PM
Thanks Rick. I appriciate that. Unfortunatly, being a new kid, I have no idea what an "AM PE IP" is!Blush [:I] Sorry about that.

John
  • Member since
    September 2003
  • From: N.E. Ohio
Posted by dragonfly on Saturday, July 9, 2005 4:42 PM
John,

Rick is refering to " after market photo etch instrument panel".
  • Member since
    November 2005
Posted by Anonymous on Saturday, July 9, 2005 5:07 PM
Thanks dragonfly. That makes sense now. We learn as we go huh?

John
  • Member since
    September 2003
  • From: N.E. Ohio
Posted by dragonfly on Saturday, July 9, 2005 6:42 PM
No sweat John.....and welcome to the forum.

Dragonfly
JOIN OUR COMMUNITY!

Our community is FREE to join. To participate you must either login or register for an account.

SEARCH FORUMS
FREE NEWSLETTER
By signing up you may also receive reader surveys and occasional special offers. We do not sell, rent or trade our email lists. View our Privacy Policy.