Hi again, guys!
Thanks to Pvt Mutt, Glamdring, panzerguy and Mike for comments! Interesting that the new kits have the "amended" directions!
Well, I've been working away, and I'm finally finished up the building and will soon be on to the painting stage. Here's what I've got so far...
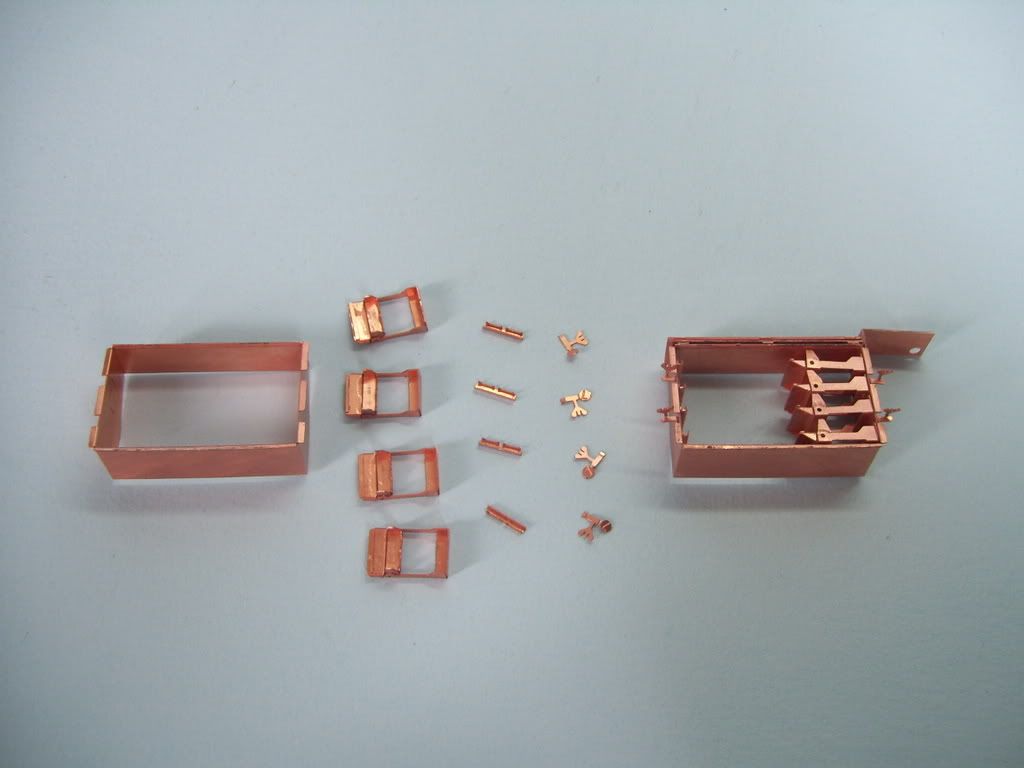
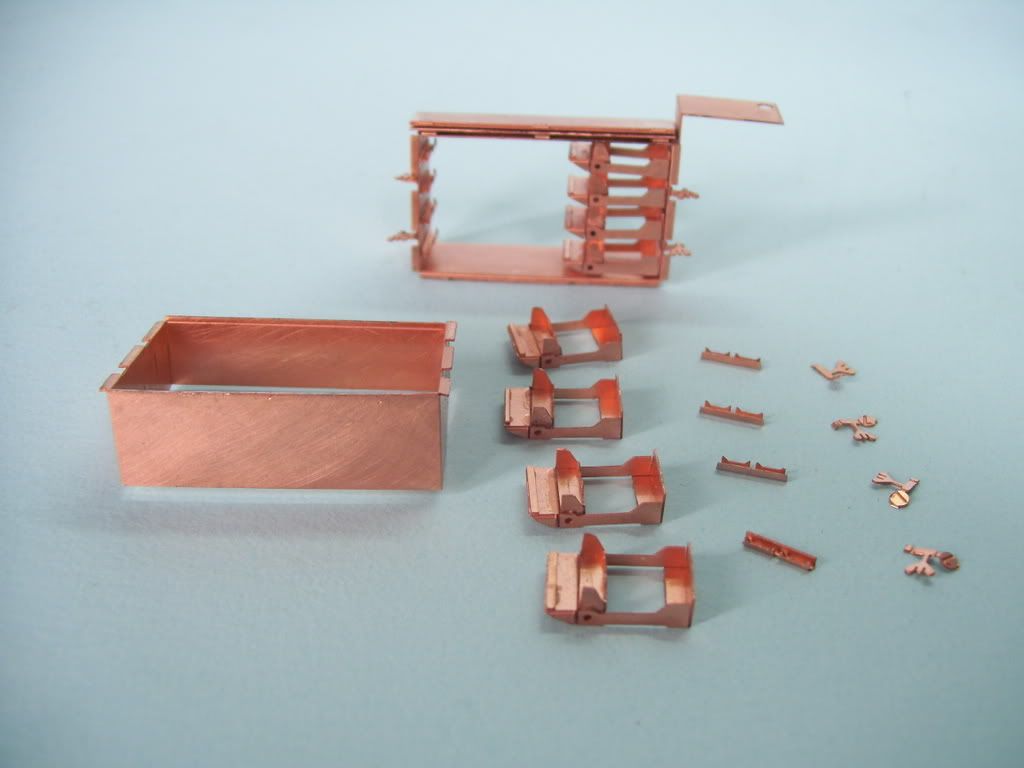
Here's the Verlinden ammo racks PE assemblies. The ones on the left are the individual pieces; the 2nd-from-left row of 4 "letterboxes" there are three assemblies each. On the right is the finished rack. They were a bit of a PITA to assemble--in order to get those shell trays to fit, I had to remove approximately 1mm from each of the aforementioned "letterbox" "ears" coming up off of them, otherwise they wouldn't fit! Lots of filing done against a small sharpening stine was in order as well, in order to fit certain parts...
Man, the side panels are just chock-full of knockout marks to be filled!

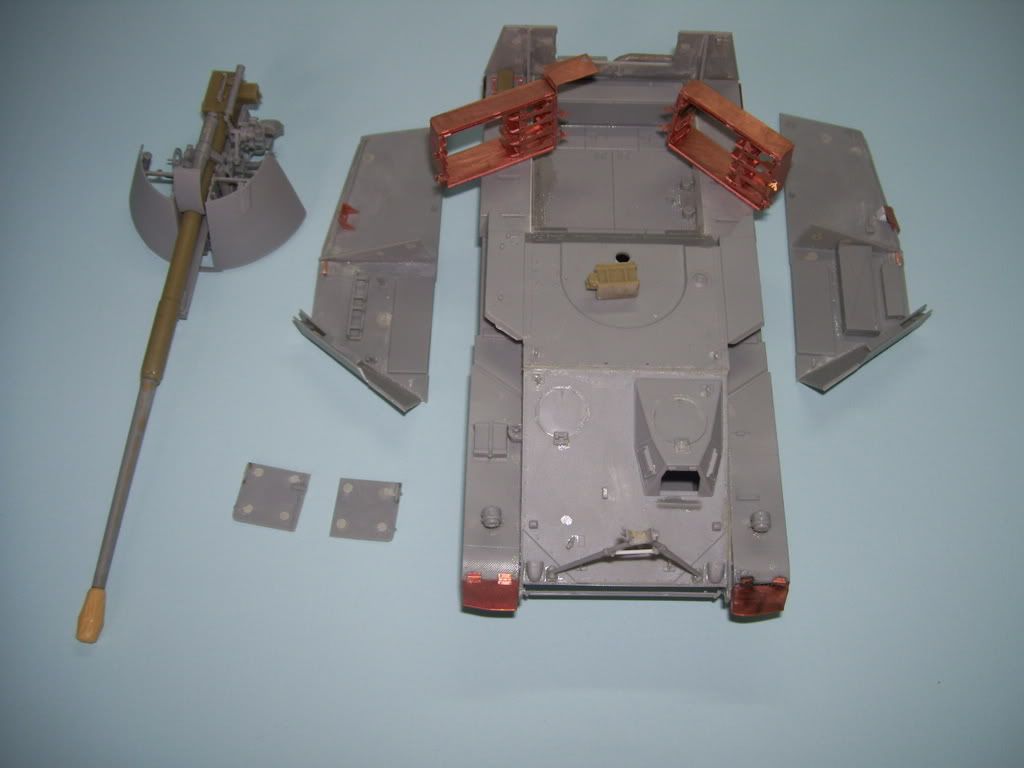
I'm going to say a bit about my method of using sub-assemblies to do open-top kits like this. On eof the daunting teasks to doing a kit like this is to be able to adequately paint all the interior details. I like to break the painting down like this--the sides are test-fitted to the sides. The rear panel there willl be glued to the hull. The sides panels and little front panels are glued to each other carefully, and held in place until they set--here, the panels are drying hard in place, so that they will fit perfectly after they are totally painted and weathered inside--only at that point willl the exterior be painted!
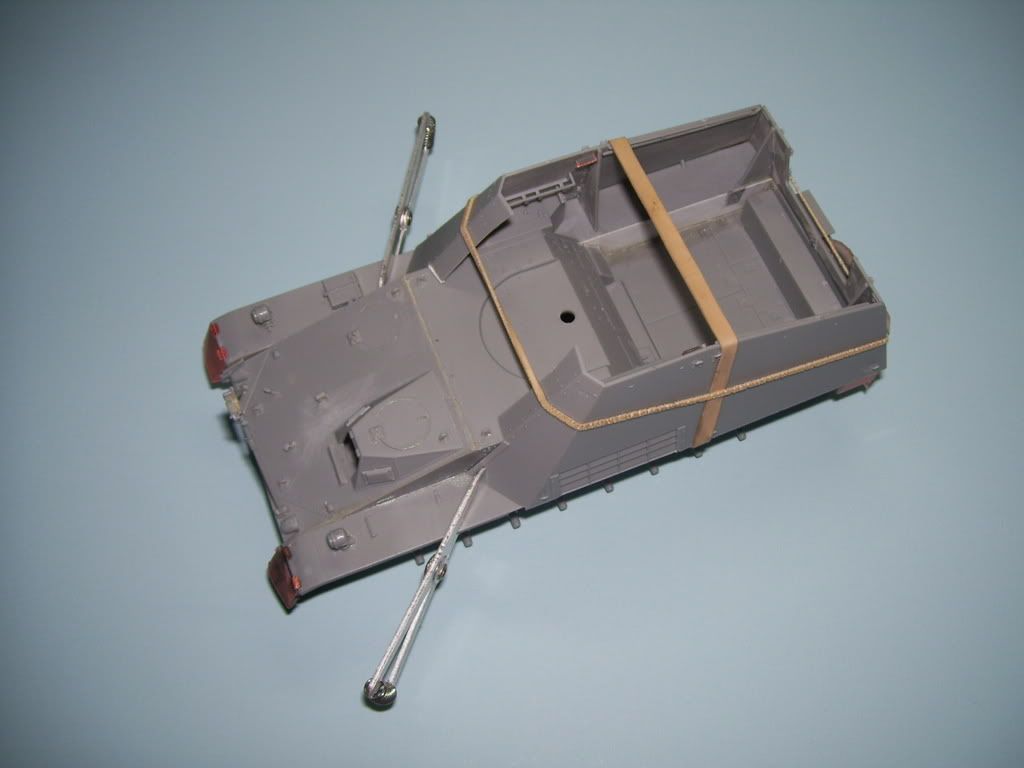
They come right off...
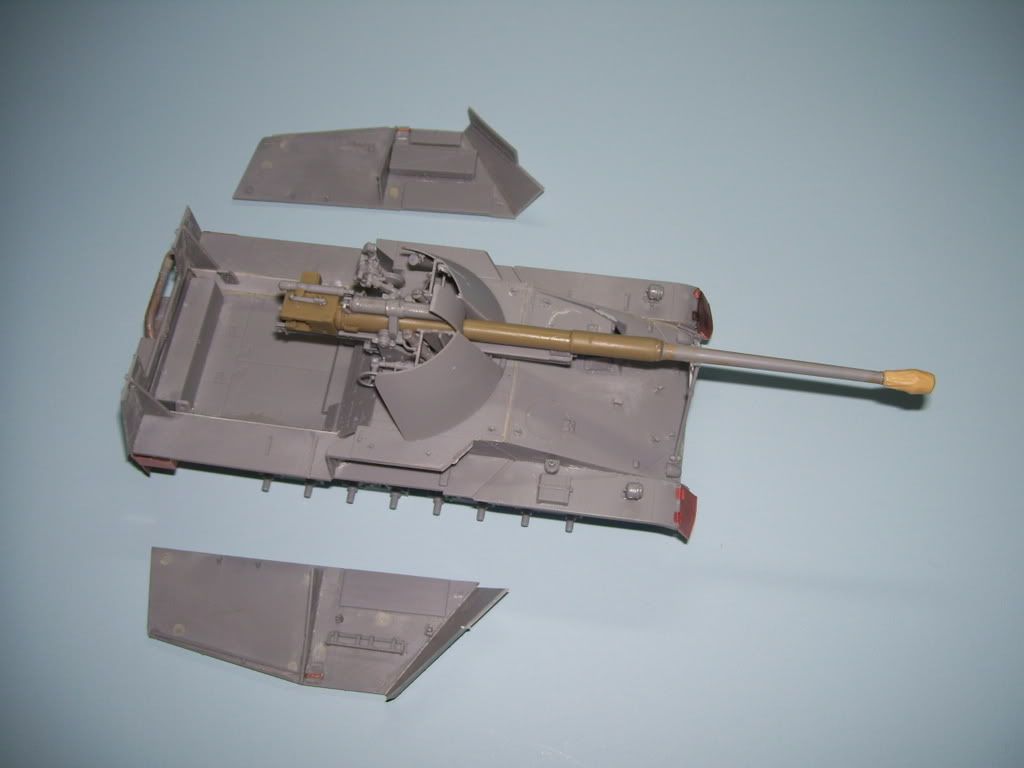
Here's the parts as I willbreak them down to paint them; the main hull, sides, gun assembly, rear doors, ammo racks, and radio. SOme small details will also be added later like MG's and crew fititings...
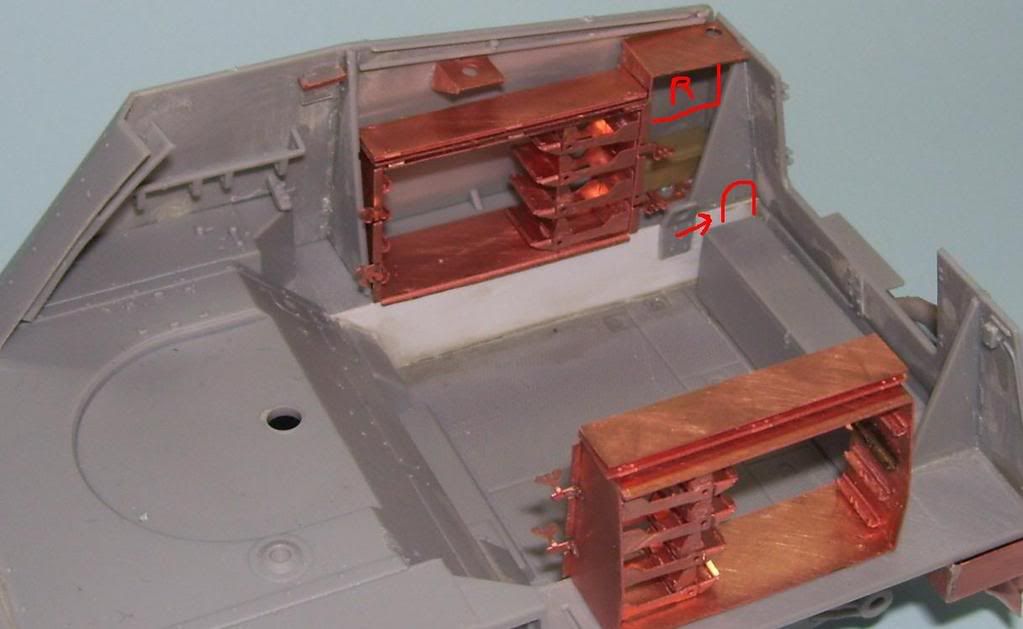
As you can see, it would be impractical to paint them in situ; you can see here where the radio would be ("R"). And here's one fix to be careful of--don't glue the hull lifting hooks against the rear bulkhead as they show--they should be in this position, NOT as indicated by the red position!
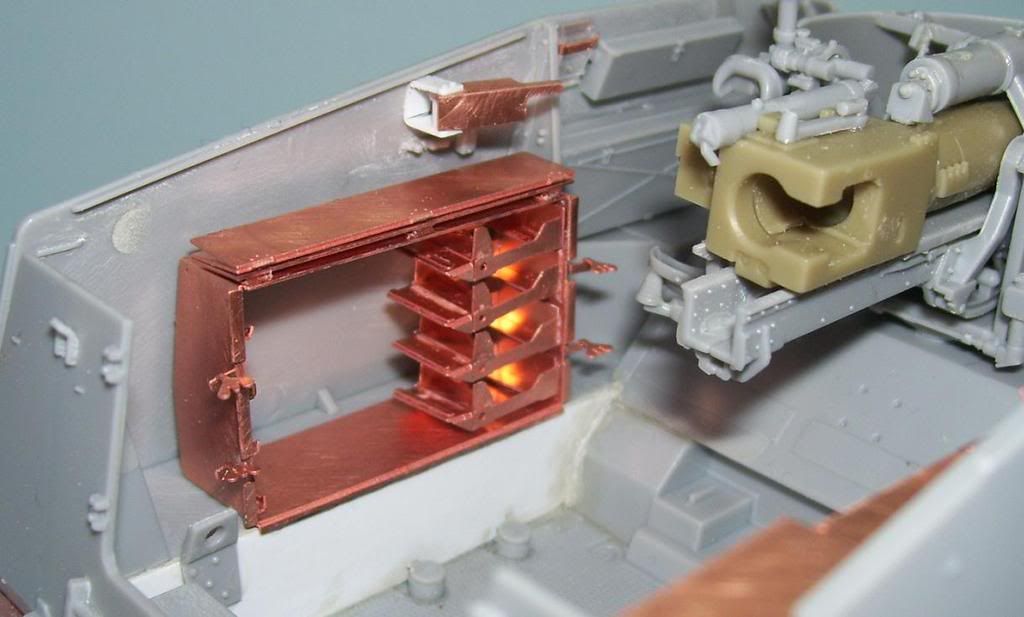
The other side. The scissors periscope mount there was scratched from plastic strip--the Verlinden set gives you a piece of PE, but it's way under-scale.
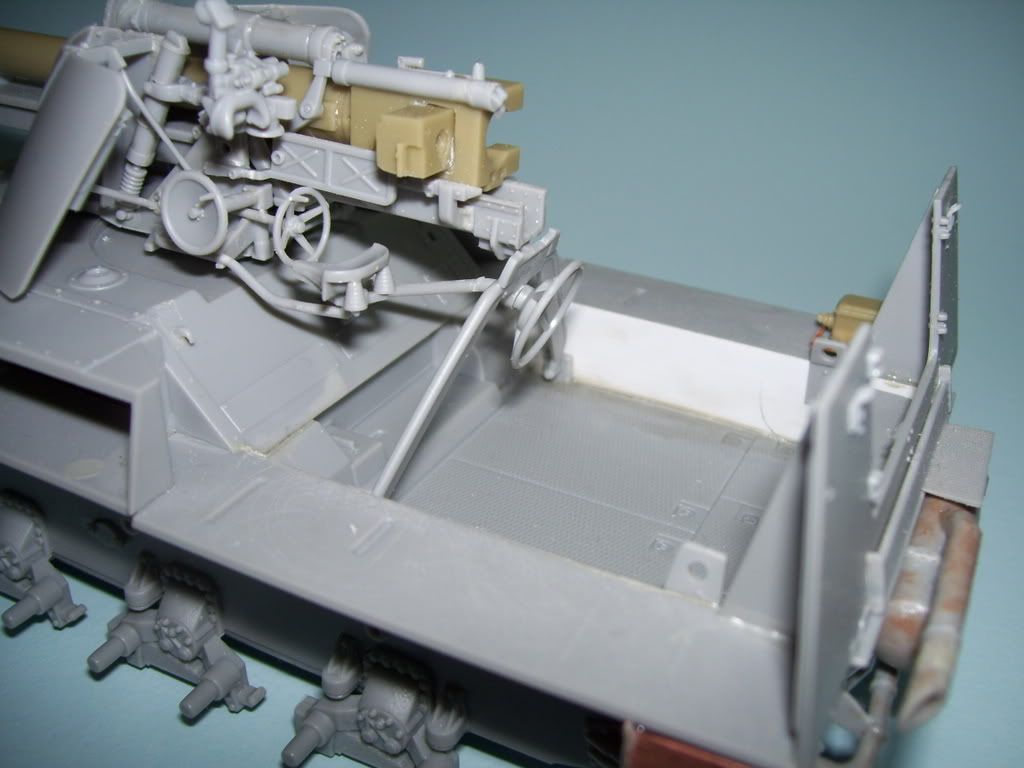
Here's also the correct position of the travel lock. It should angle backward at an angle, to connect to the rear of the gun breech travel there...I have attached it at the bottom as per those damned guides, which I saved after I pried them out and used them to pencil in the positions of the mount bases. That traversing wheel also locks into the bottom of it there.
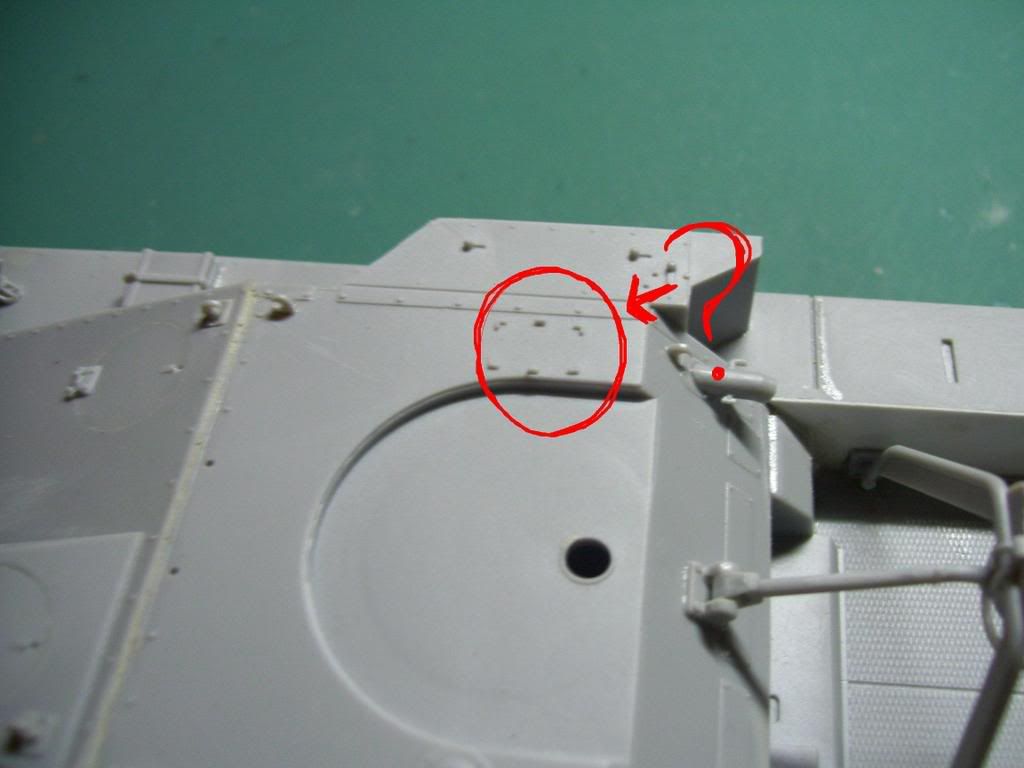
Hey, does anybody know what's supposed to go here? It looks like a bunch of locating tabs, but there's no call out for it in the direction?
Well, I'll be going on to the painting next.I'll be using a slightly darker DY shade inside, to simulate the lack of fading inside--artistic license, interpretation, call it what you want.
A question to anyone who might know--who knows what the proper colors would be for the shells of this tank? There are two different shells--anyone have any dea of the colors used to paint them? The directions say just black tiops, but ref photos show white tips on the AP shells; anyone know what the HE shells looked like?
Thanks for looking in guys! Comments and info welcomed!!! ![Big Smile [:D]](/emoticons/icon_smile_big.gif)