Shameless plug...in case you missed it over the weekend, here is my long sufffering KI-46 that gave me fits but came out ok in the end.
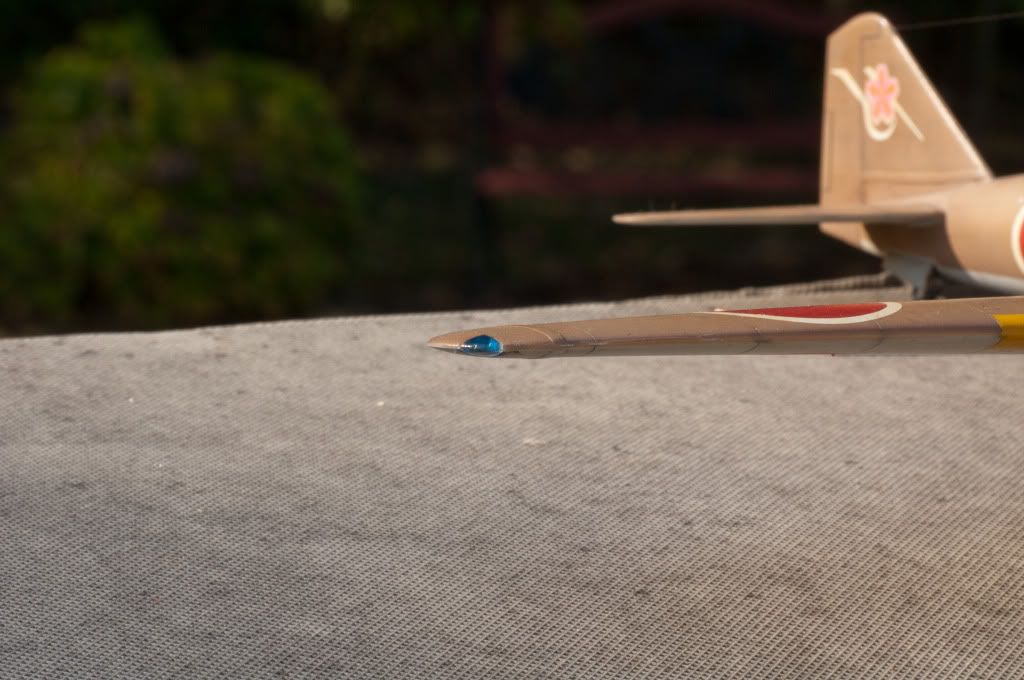
I forgot to add this picture and since I can not find the thread I started asking about how to do lights here is the result I got using Fermis suggestion of heating clear sprue and shoving it in the void then sawing,sanding and polishing the blob to make a light.