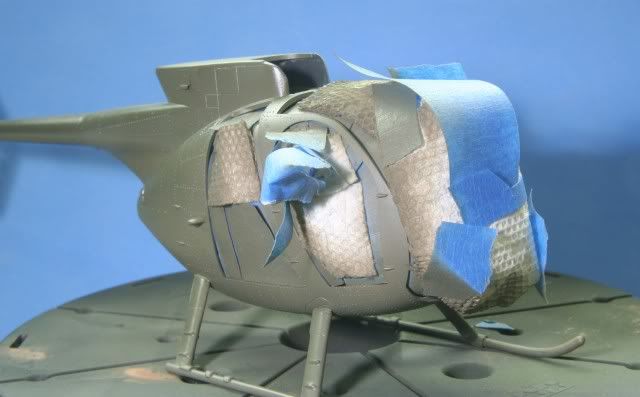
I started with the masking and painting of the main body. I decided to paint he canopy and body separate, a mistake you will see later. After masking the openings I painted the "egg" with Poly Scale OD Green. After a few light coats here is the result.
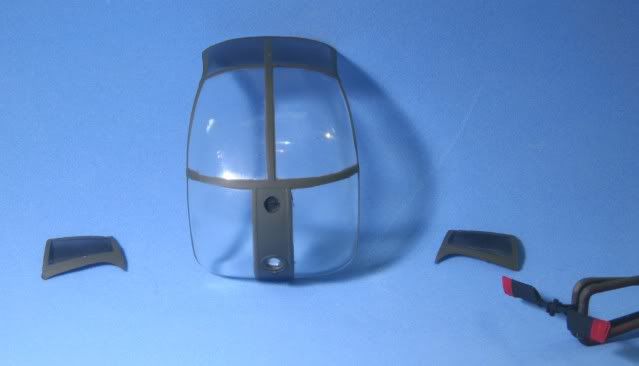
The canopy and side glasses were also masked and painted with the OD Green.
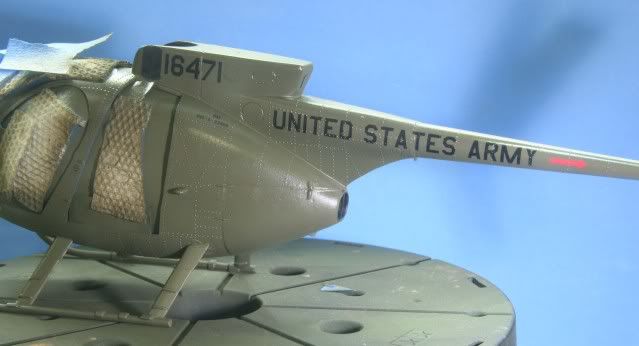
After the paint set up I coated with a thin coat of future for decaling. With all the rivets and panel lines I did not feel comfortable decaling onto flat. Allowing time for the future to set, I then applied the decals which included some custom decals for the aircraft number and the 187th patch. The aircraft number is a pure guess, just tried to make sure it was a real number. The patch was as I remember the 187th egg which had the patch forward of the number area. Here is the egg with the decals on.
Now came the nightmare....first the figures which Dragon makes for the kit are slightly too tall for the canopy to fit. The tops of their helmets had to be flattened and they were repainted. Fortunately, they sit under the tinted glass and it is almost impossible to tell they are flat heads.
Even with the figures modified, the canopy glass is a HORRIFIC fit to the body. You cannot get the bottom and top edges to line up as the canopy does not match the body shape correctly. Also the body panels are warped (which also caused a lot of the previous seem problems) which cause the body sides to be inside the canopy. After a NUMBER of hours sanding fitting etc, I gave it a shot. First I glued the top and bottom and after some set time, using 3 micro clips per side, pulled the panels out and glued them.
Even with all that, the top panel did not fit perfect and was raise slightly and required EXTENSIVE joint filling. The sides also required some filling. Sanding would cause a problem in that the warped body would pop loose of the glue and so I would go back and start again.
Without going on through this rant, here is the canopy filled and mounted.
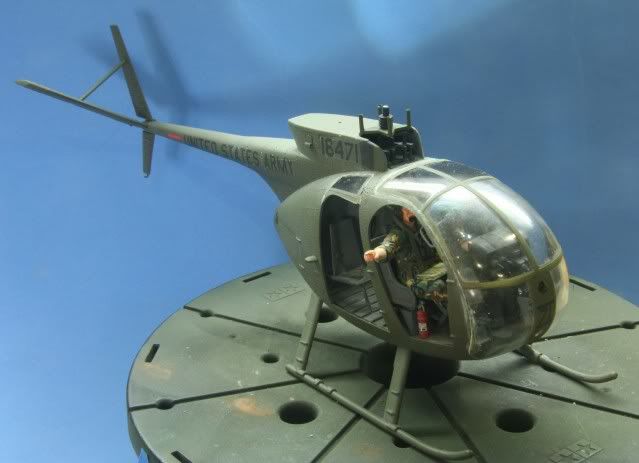
If I knew this was going to be this nightmare, I would have mounded the canopy before painting. Once everything was touched up, the final few little parts and the rotors were mounted. I then gave the egg a wash of black to highlight the body panels and rivets.
Here are the complete shots of my OH-6...egg. I have to take a mulligan on this one in the canopy top- to the body does show. I was at a point of after 8 hours of working with it....it was time to move on.
It will grace my display cabinet but is not at a standard which I would feel comfortable taking it to a show.
Be warned....if you want to build the OH-6 in 1/35, this kit is the pits. Hopefully Dragon remakes the kit, if not try another scale by another manufacturer.
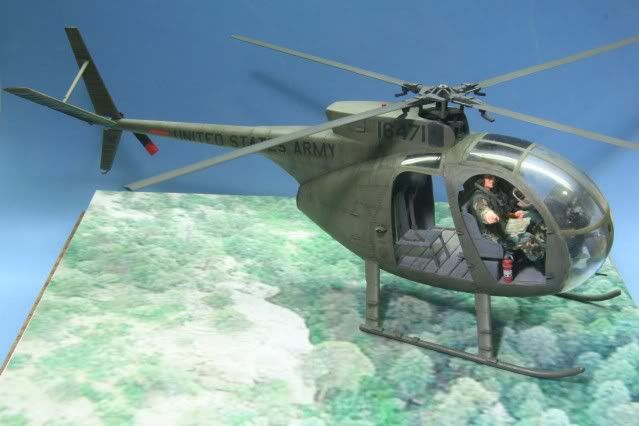
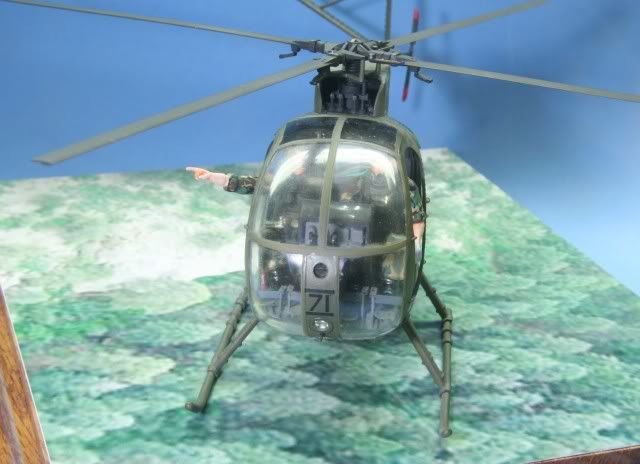
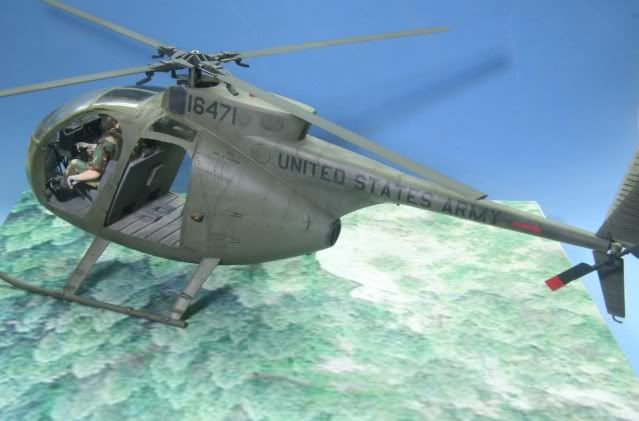
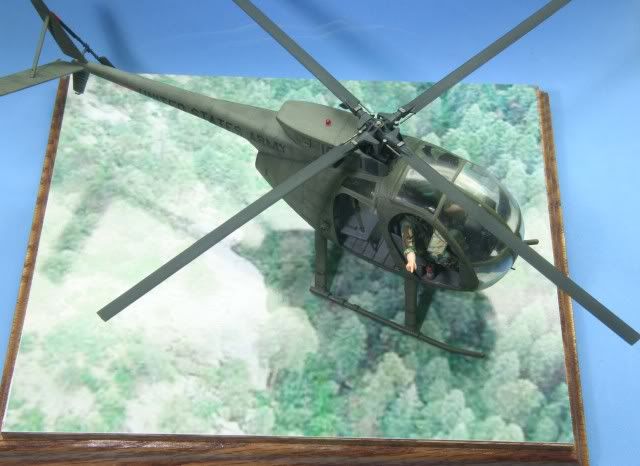
Thank you for looking and for your comments. To the regular roto-wash guys...this old redleg gave it a shot...hope I can come back again with a better kit and build in the future.
Rounds Complete!!