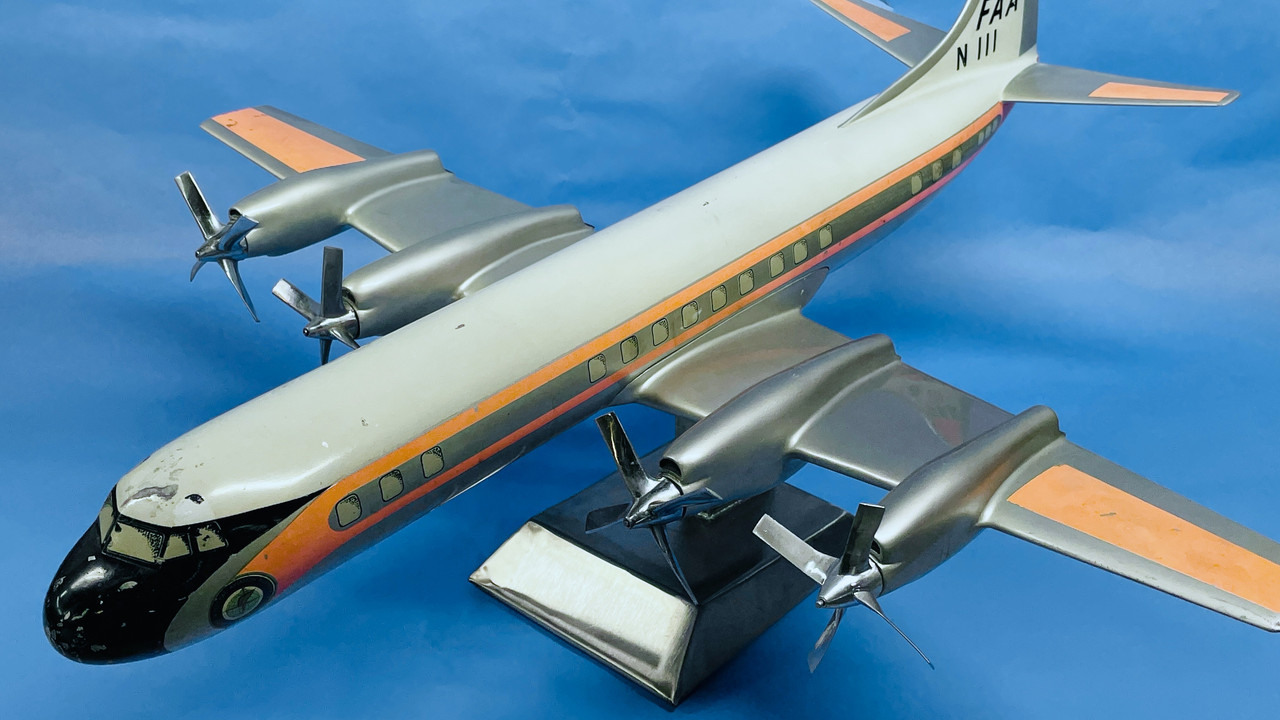
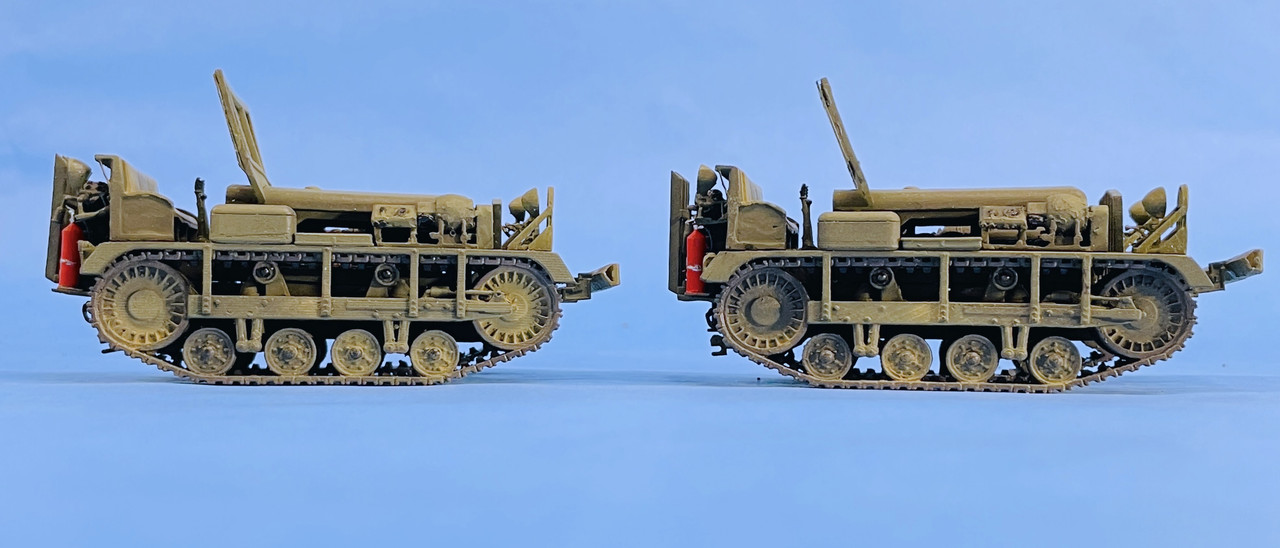
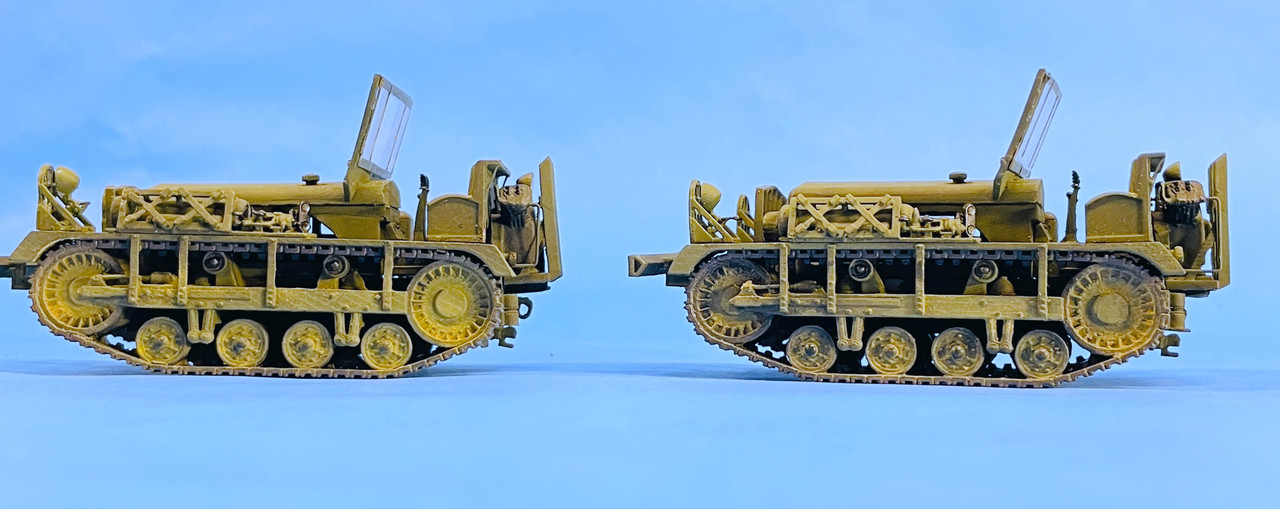
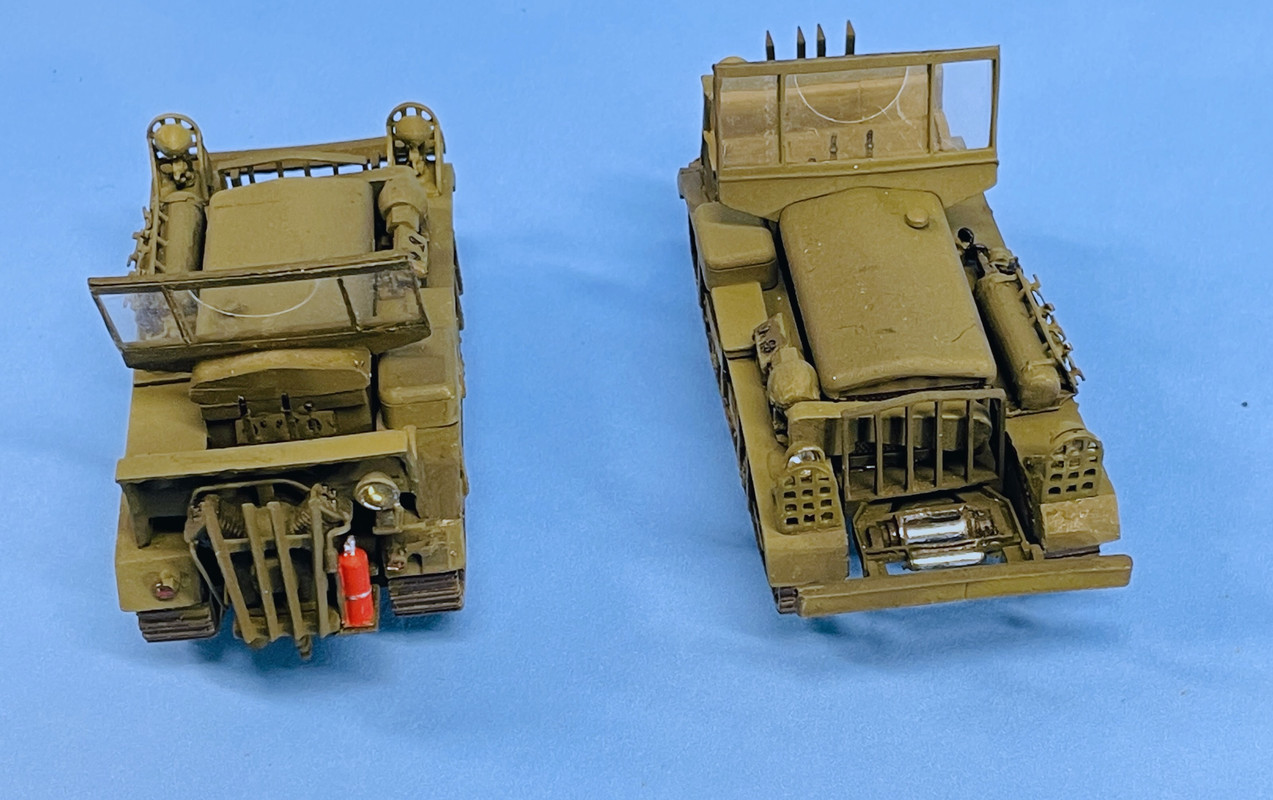
Hey Gang! I'm back. Work has officially restarted on the Seahawk. I was diverted for a few months by two commission projects: a restoration of a large metal commemorative model of a Lockheed Elektra (L-188) that was missing a propeller and stand. The second was a complete scratch-build of a Cletrac M2 High-Speed Service Tractor in 1:48.
The L-188 was bequeathed to a college student in town by his deceased grandfather who flew this plane for the FAA. I created the stand out of stainless steel sheet metal and 3D printed the propeller from my own drawings. I could have scanned one of the other props, but don't have the capability. Results were appreciated by the client.
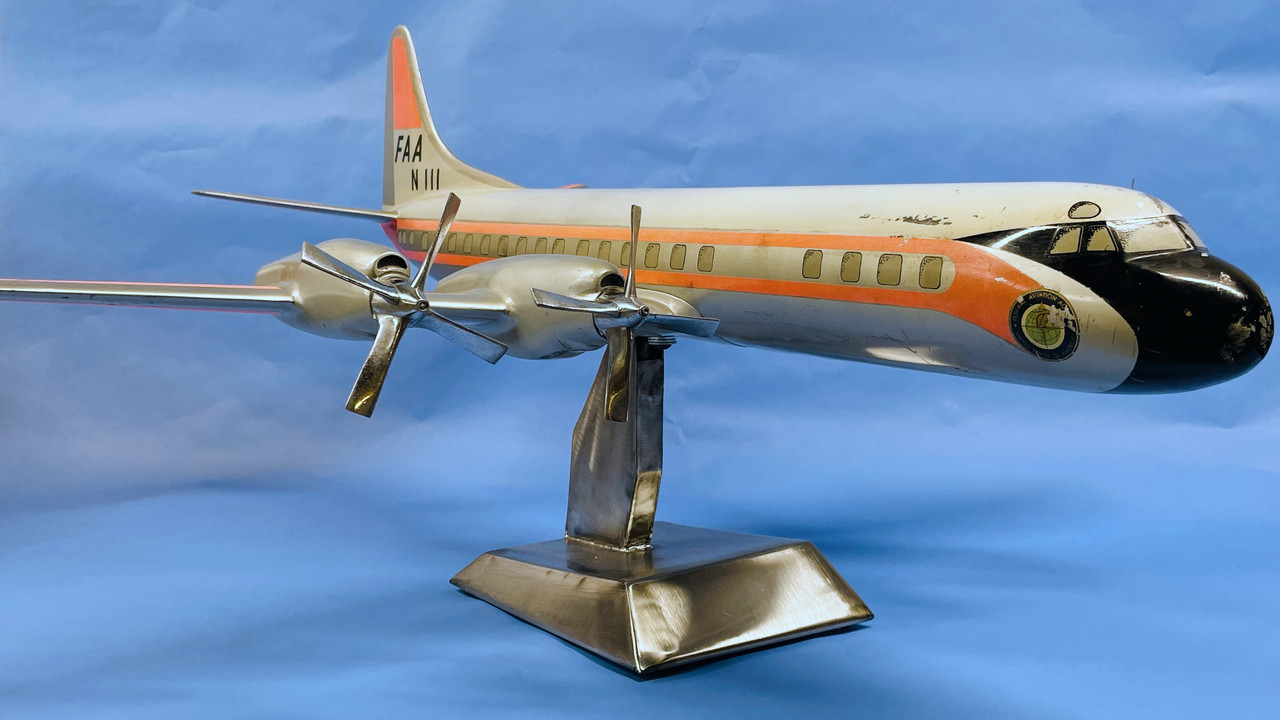
To simulate real metal on the resin prop, I decanted the liquid metallic ink in a large tip Molotow Chrome Pen and airbrushed it. It was a suggestion from the hobby shop and worked great. So great that I'm using the chrome ink as a paint instead of in a felt point pen.
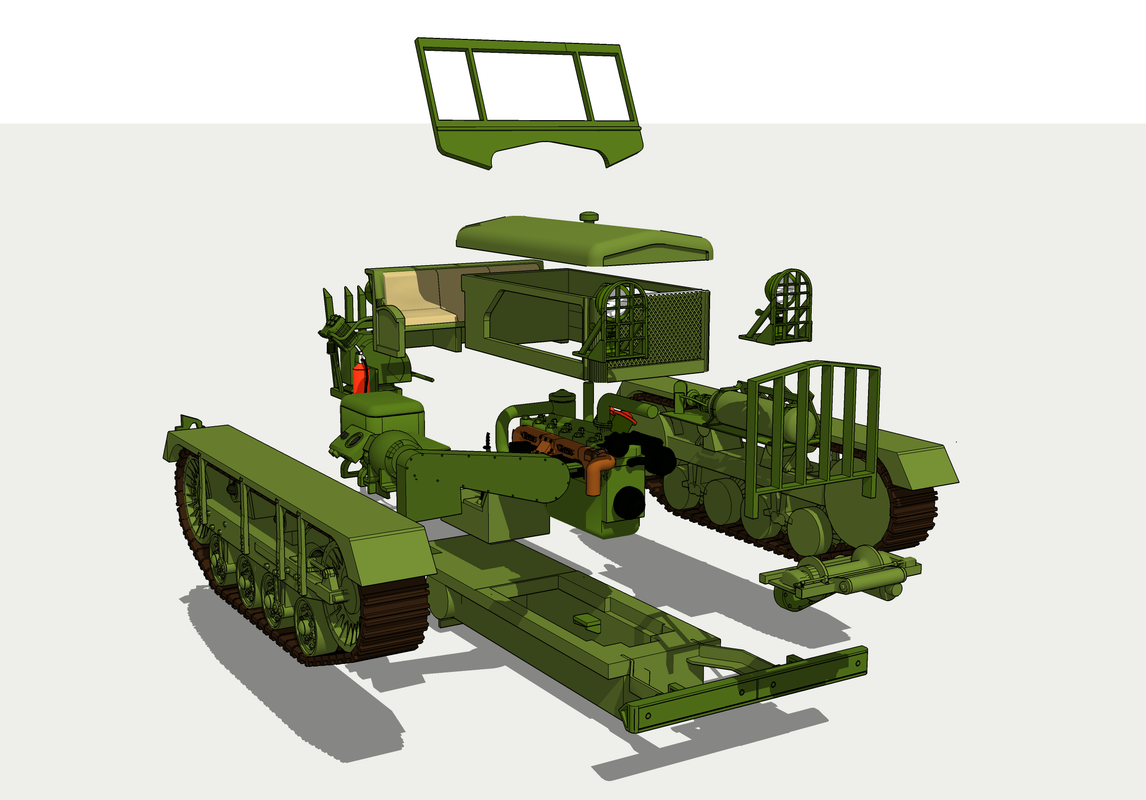
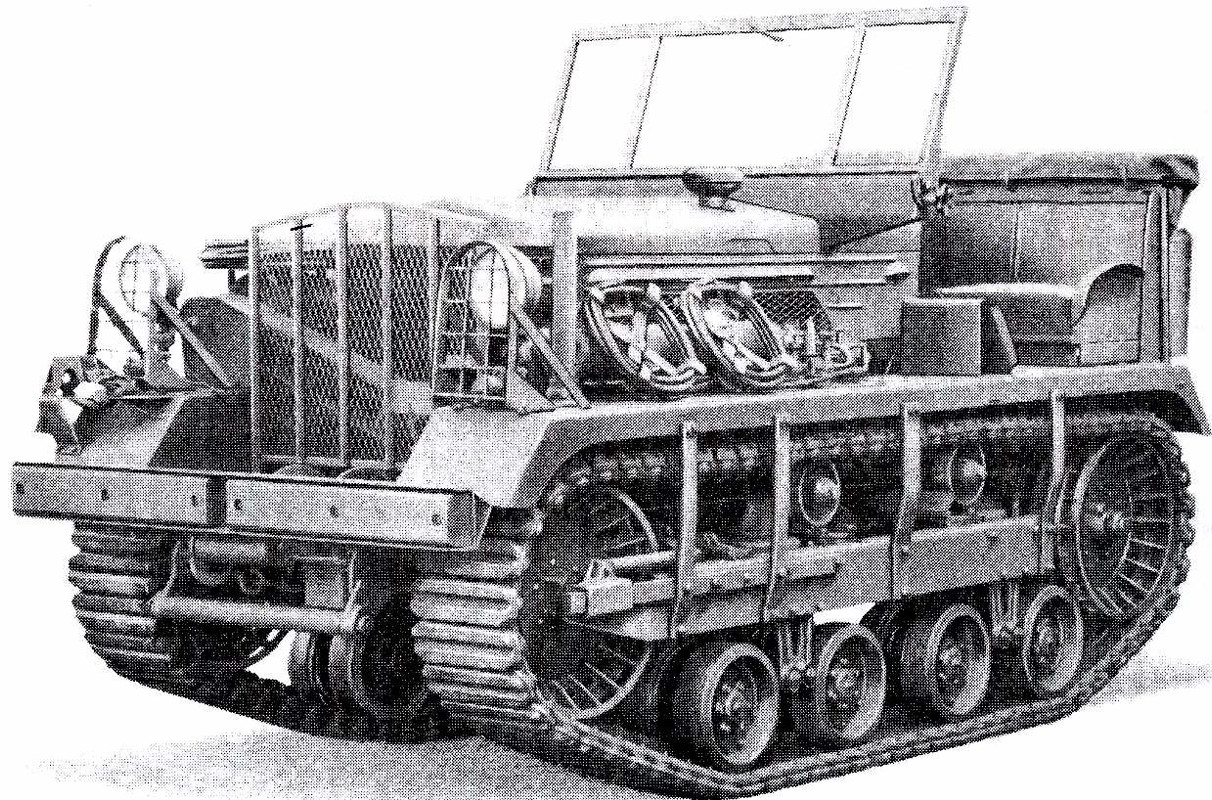
The M2 was created entirely by my drawings based on images found on a Google search. The Cletrac (Cleveland Tractor Company) M2 was used throughout airfields in WW2 to tow our bombers on un-improved air fields in Europe. I found one line drawing that has overall dimensions that helped me scale it corretly. The model parts are produced on my Elegoo Mars 3D LCD Matrix resin printer and consists of a number of sub-assemblies.
Here was the exploded drawing showing all the parts and how the.y related to each other.
And here is a prototype drawing. This was the one that I used in the SketchUp Match Photo process to draw directly over it.
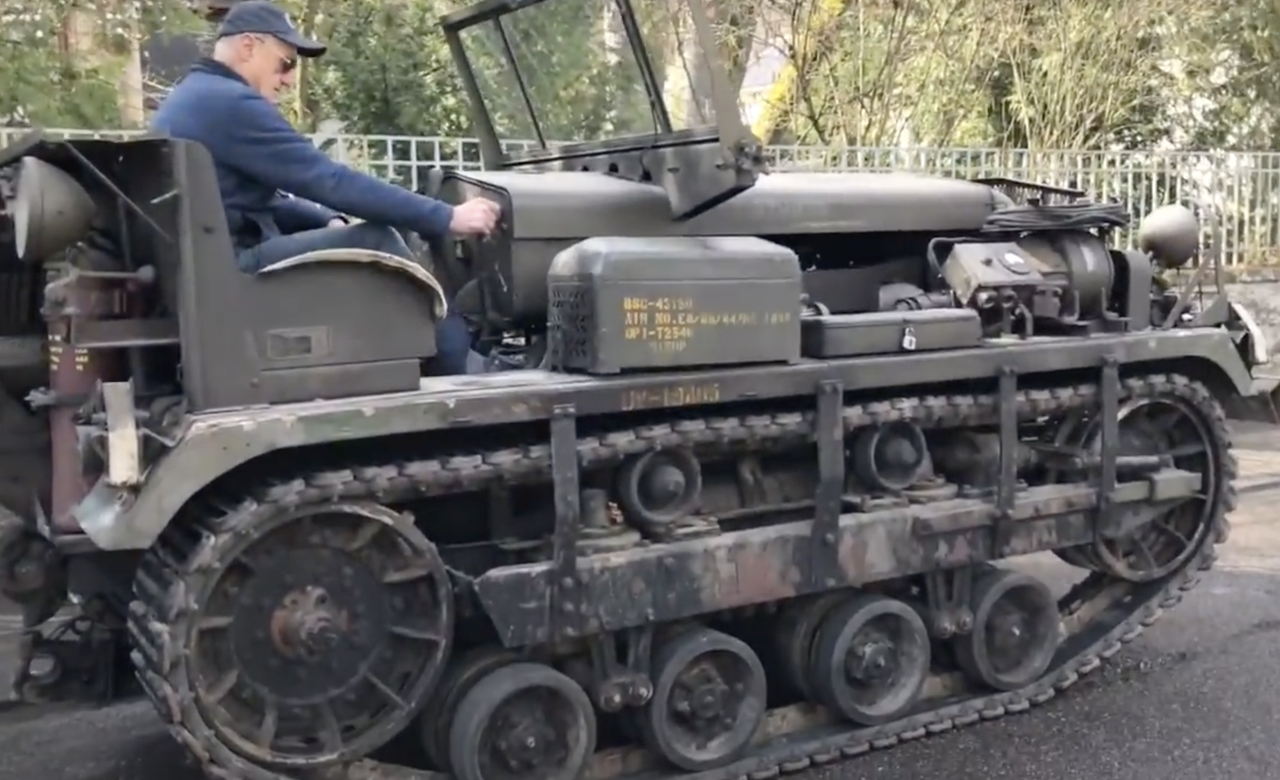
And here's the complete model. I made two. One for the owner of Scale Reproductions, Inc. (one of the best hobby shops in the USA) and one for display in the store.
Now onto the Seahawk. I firmly decided not to procede with the cut and paste method to create the correctly-facing rotor head component, sprue numebr HD33, but instead decided to attempt to scan it with my newly acquired iPhone 12Pro with the LIDAR range finder. I found a scanning app that I thought would do the job, but it really didn't work. It could focus the process down to less than a half meter, but the resolution was horrible. The resulting STL files were just a jumble of lines looking kind of like a Alexander Calder modern art creation and bore no resemblance to the actual component.
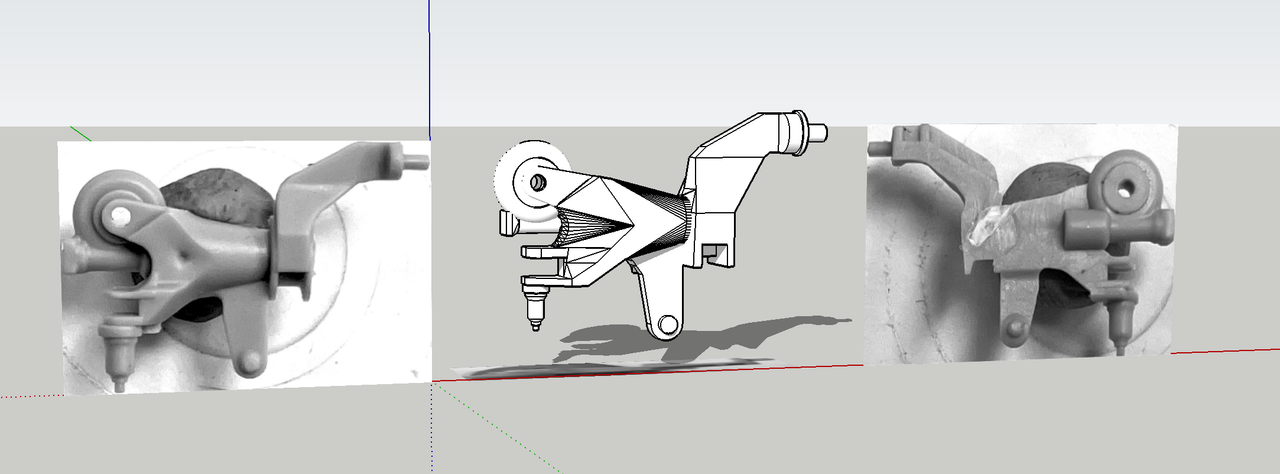
So I went to plan B. I imaged the part in three views and drew it in SketchUp. Since SU doesn't like working in tiny sizes, after measuring critical dimensions I set the scale to 100X larger. After fully drawing the object I shrank it to .01 and exported it as an STL file for the printer.
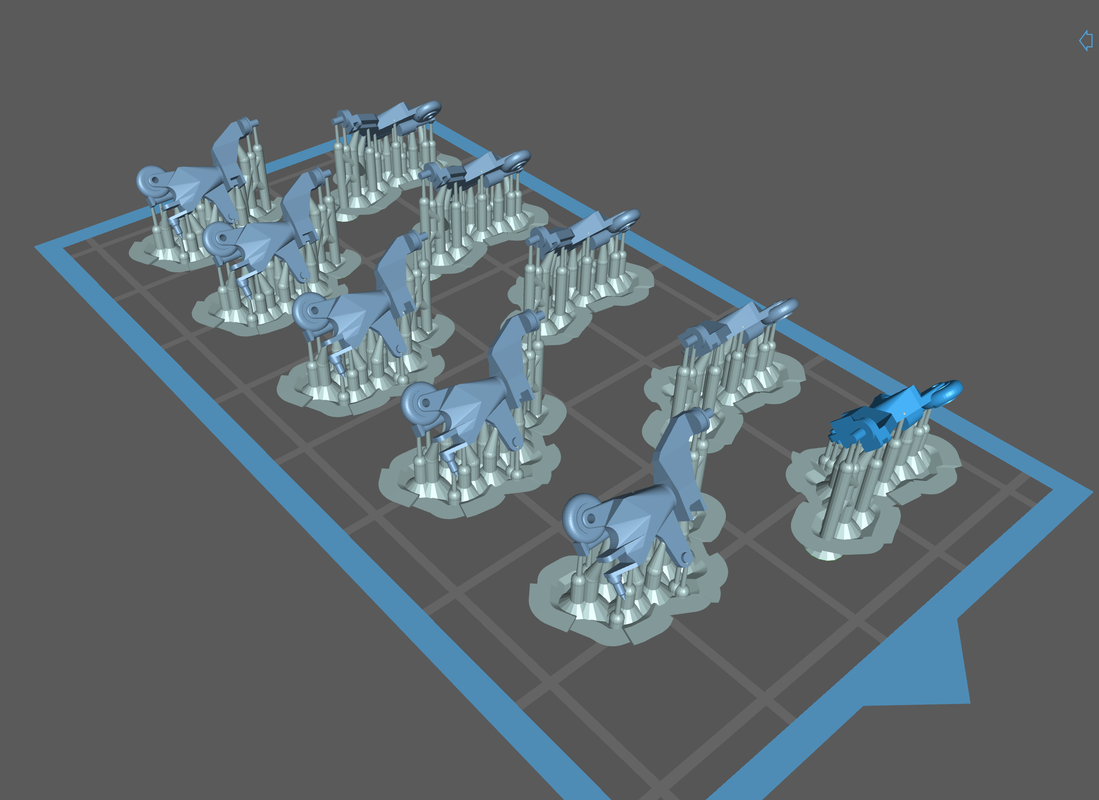
I attempted to print a bunch, as you can see in this screen shot of the printing scheme.
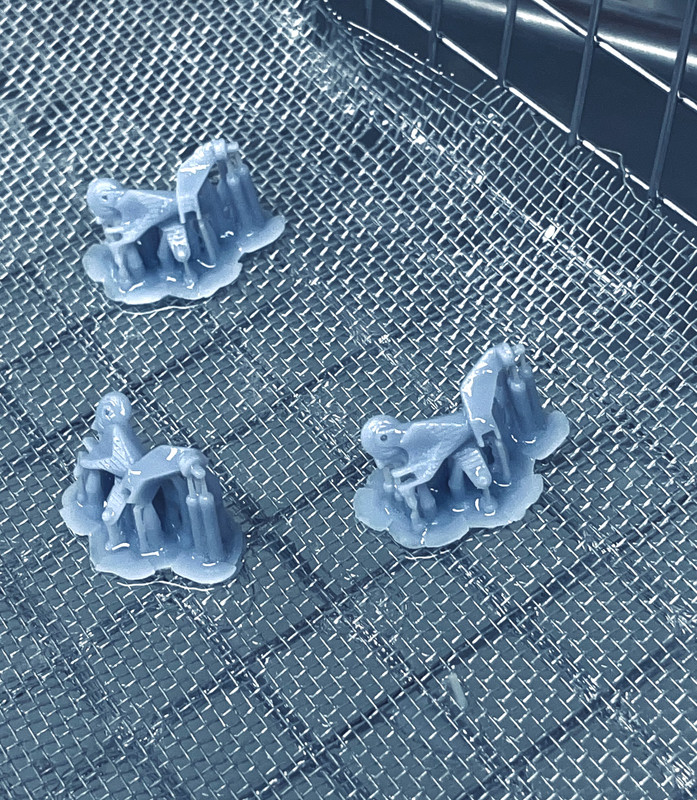
Unfortunately, only three stuck to the build plate, the remainder sticking to the Teflon at the vat's bottom. I got three good ones as seen here in the ultrasonic cleaner's basket. The little down-facing arm is very thin in cross-section and I'm not sure if it will hold up when I remove the supports. To fix that, I thickened the arm in the drawing and will try and reprint. I'm thinking of making these fixed parts available for sale.
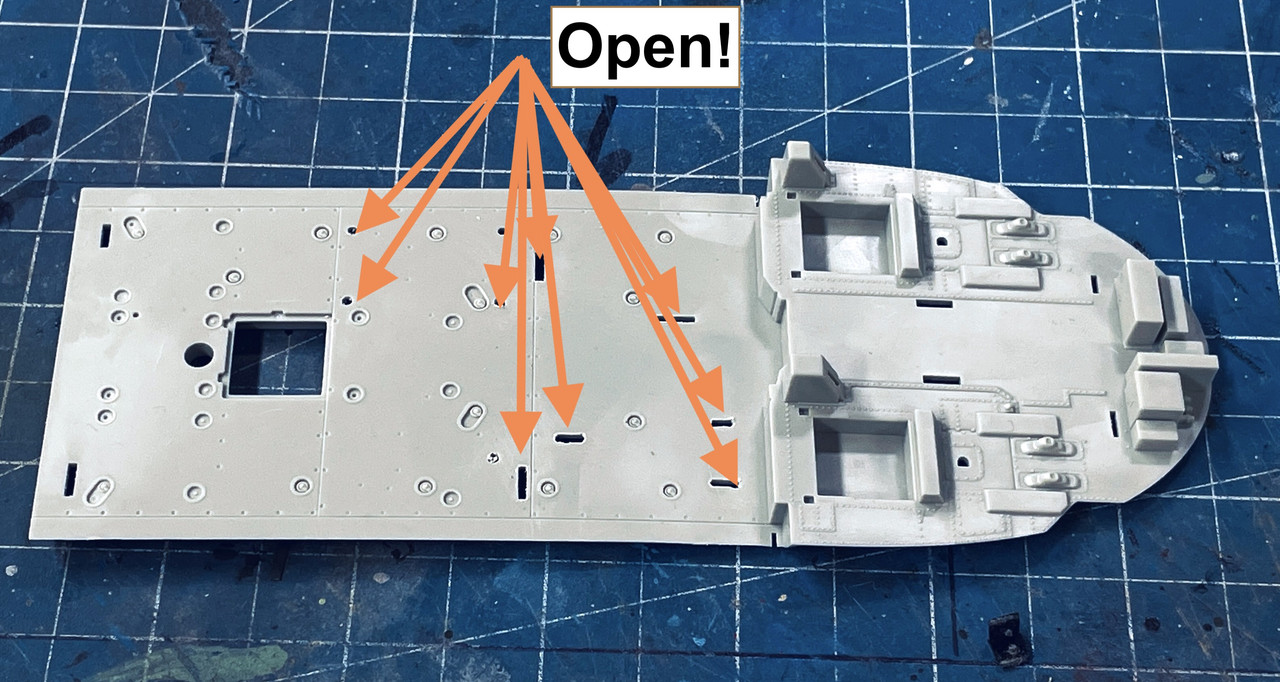
And I actually started working on the model with the preparation of the floor. You have to open up a bunch of slots and holes since this pan is also used on other versions of this helicopter incluing the army version, Black Hawk. This naval version has all kinds of anti-sub apparatus inside and these pieces needed mounting on this floor.
And point of information: what is the interior color of this ship? The instructions do not identify the basic color. They do note flat black on various parts of the interior, but not for the entire surface.
I'm going to have a lot of fun super-detailing the gas turbines that power this model. The engines do have some of the larger piping, but there's a lot more that can be added.
And due to the massive print failure, I have to change the teflon. I damaged it when trying to remove the stuck remains of the failed parts.
If any of you following this thread are going to build this model and would like a replacement HD33 rotor head part, let me know.