SEARCH FINESCALE.COM

Enter keywords or a search phrase below:

GAZ AAA

11284 views
29 replies
1 rating 2 rating 3 rating 4 rating 5 rating
  • Member since
    August 2012
GAZ AAA
Posted by mc65 on Monday, September 3, 2012 5:31 PM

hi all, 

here I show a work in progress, but almost at the end...

all started with this picture:

4699
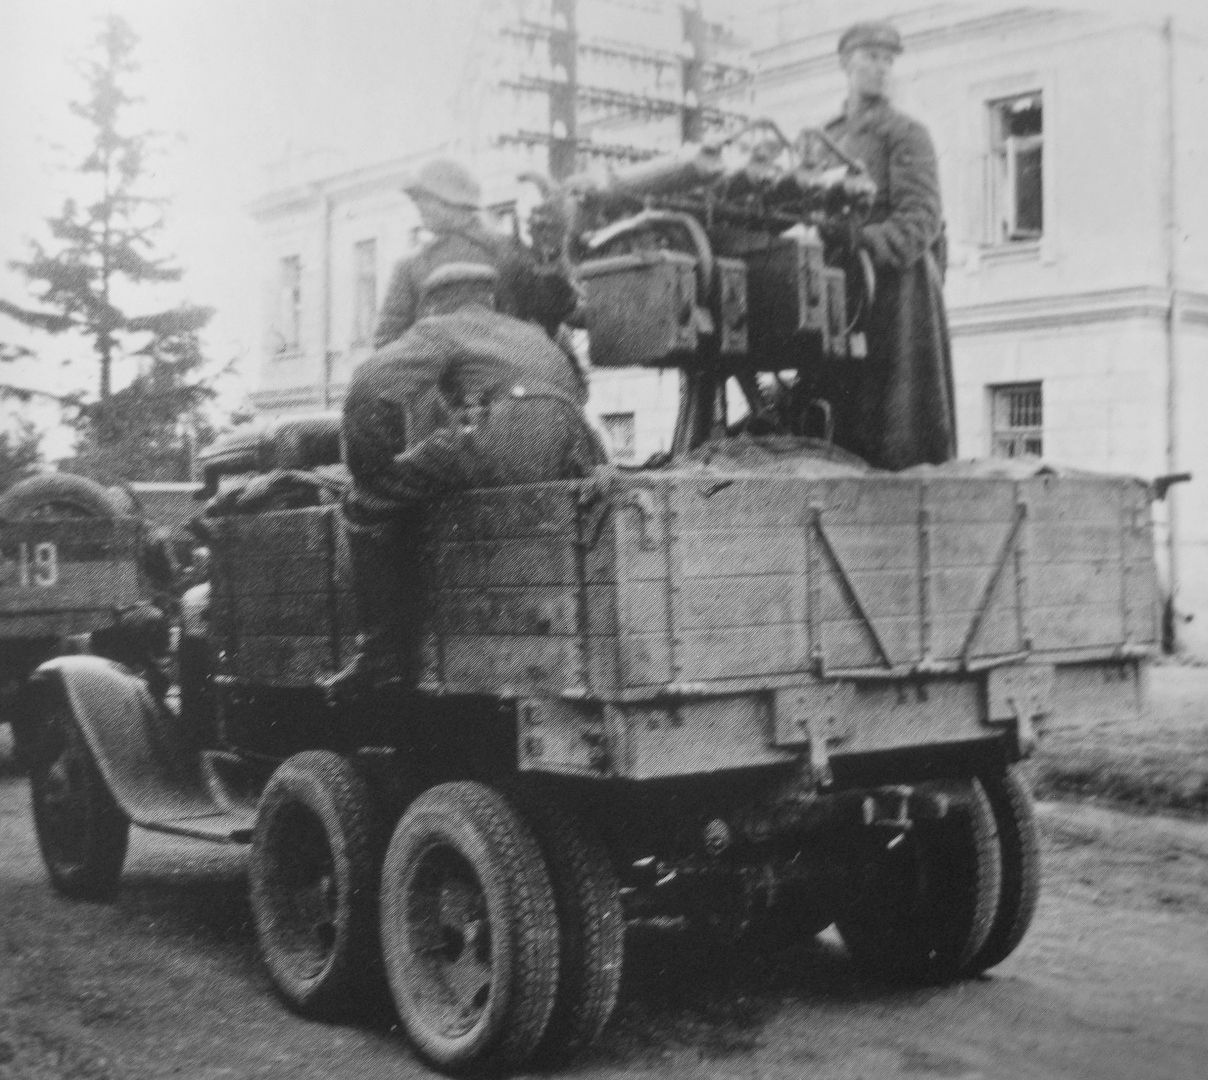
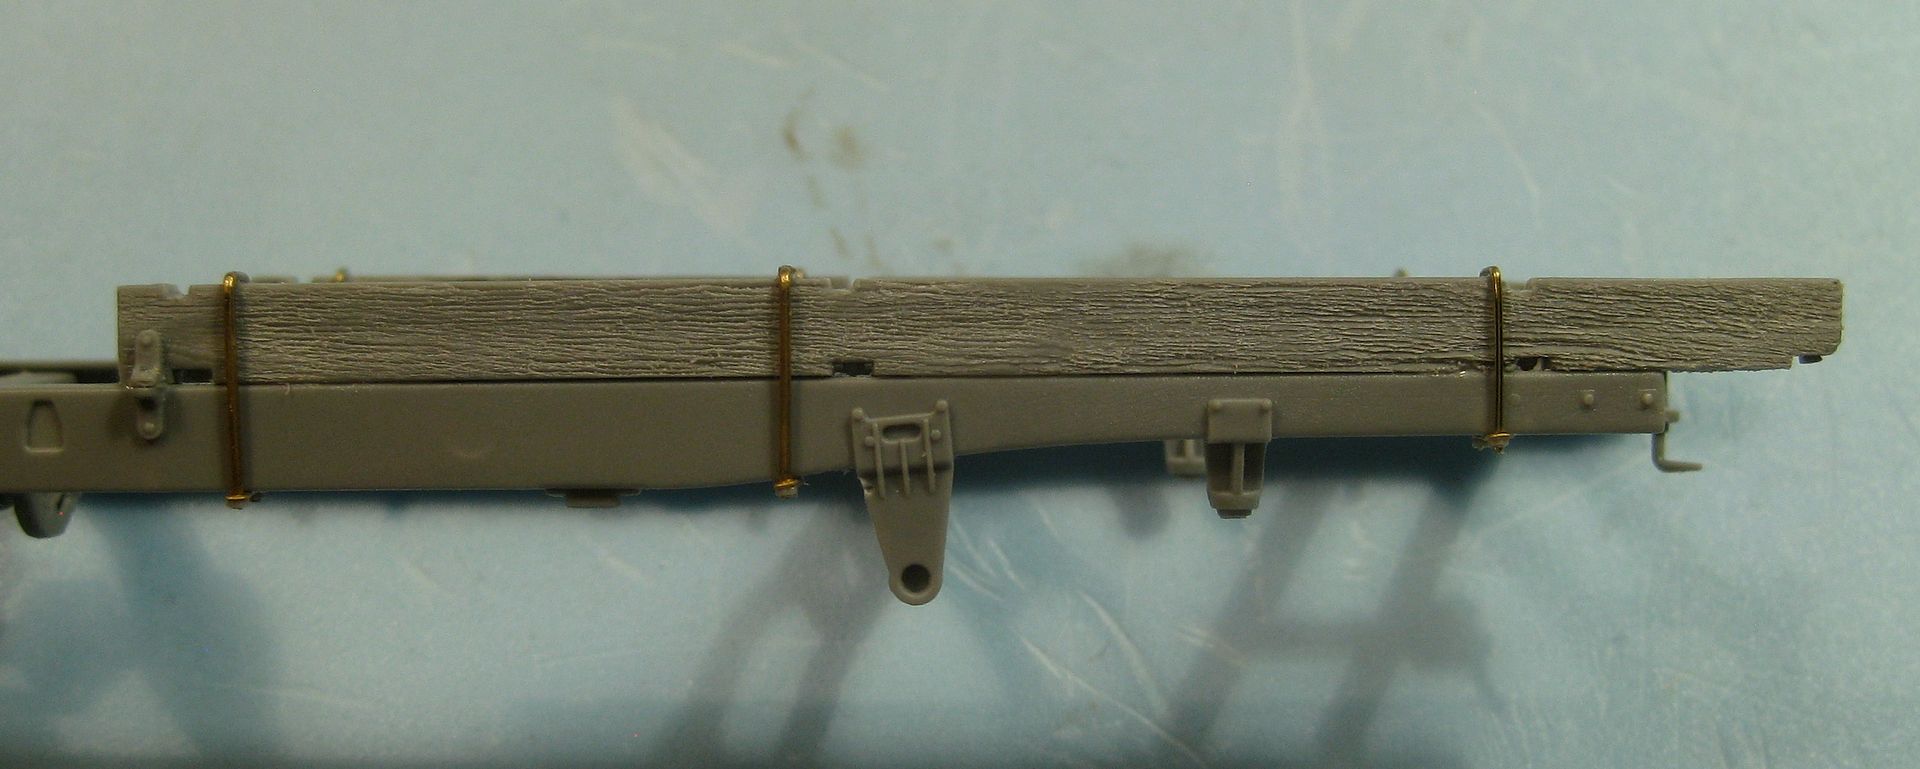
and with the miniart kit, wich it's a beauty by itself. still, it's possible to improve it a little bit:

9014
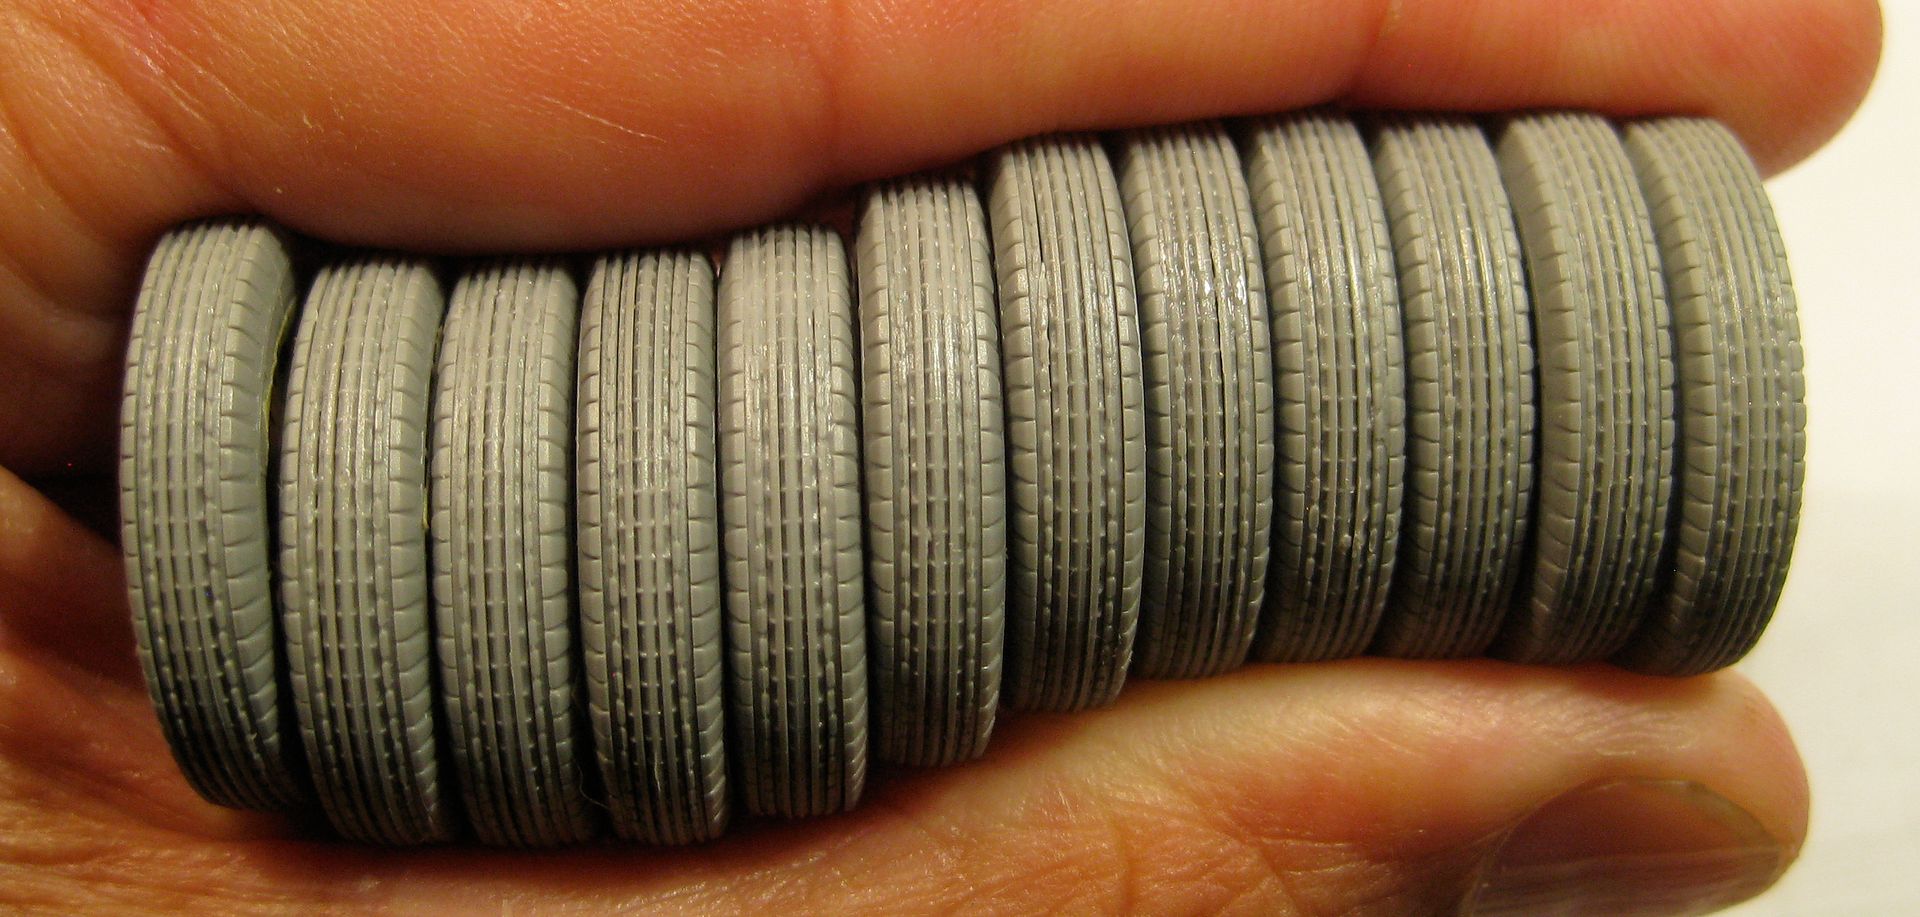
some kit's features, like the tires, are, well... tiring, but astonishing in detail..

9044
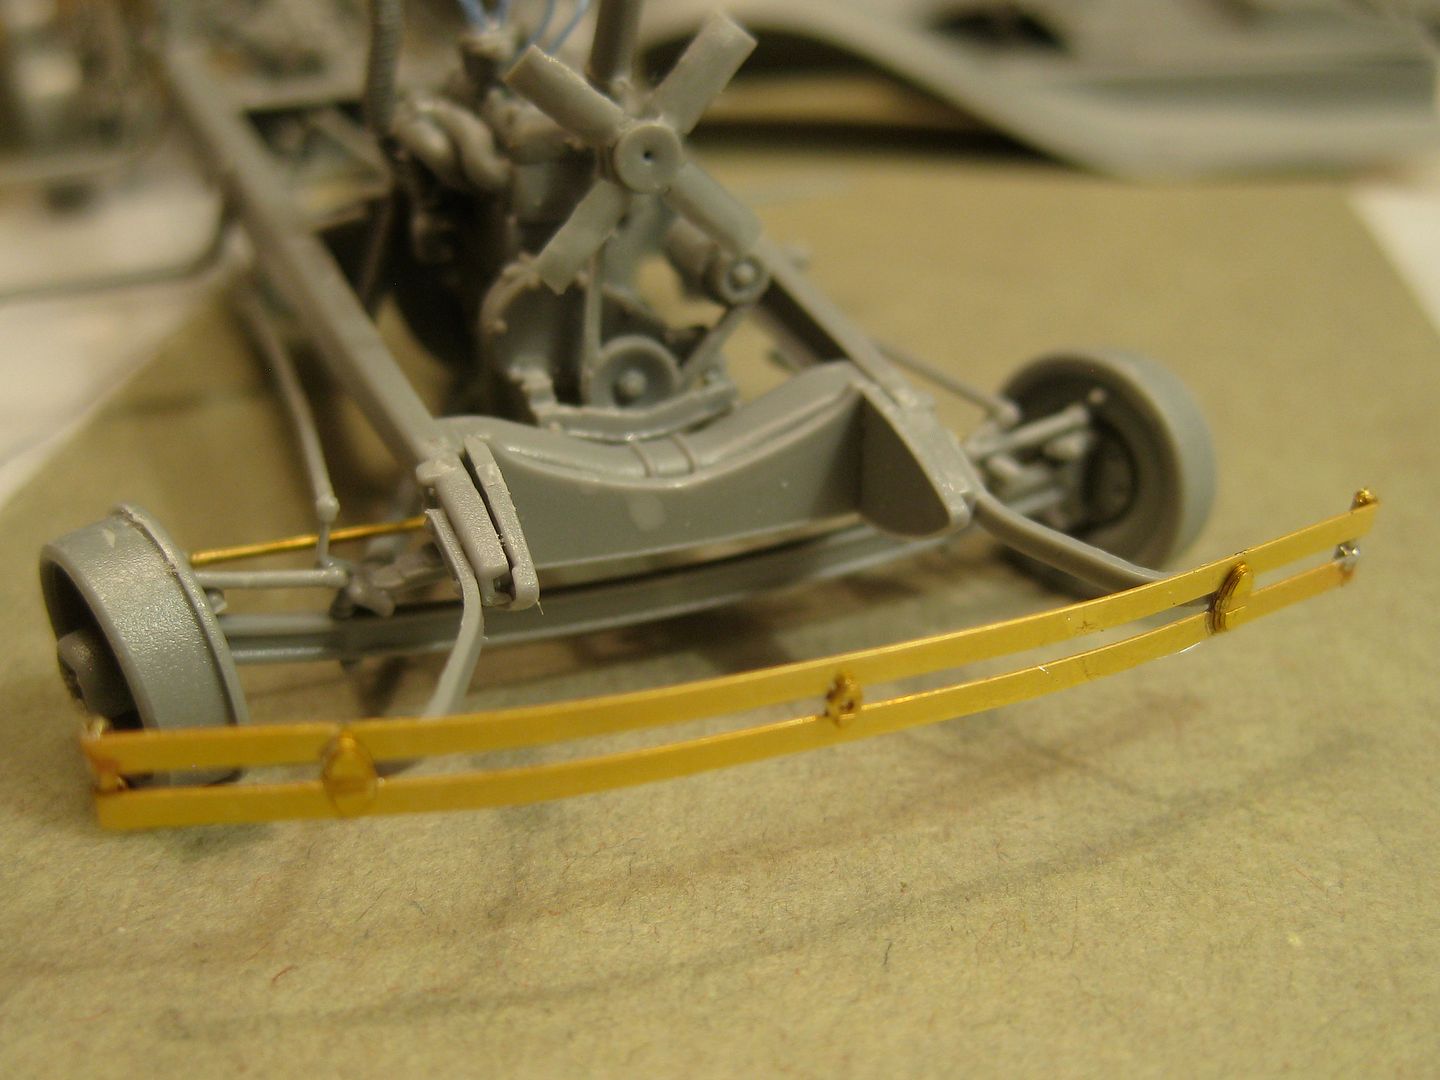
and with some PE it really takes off!

9113
9116
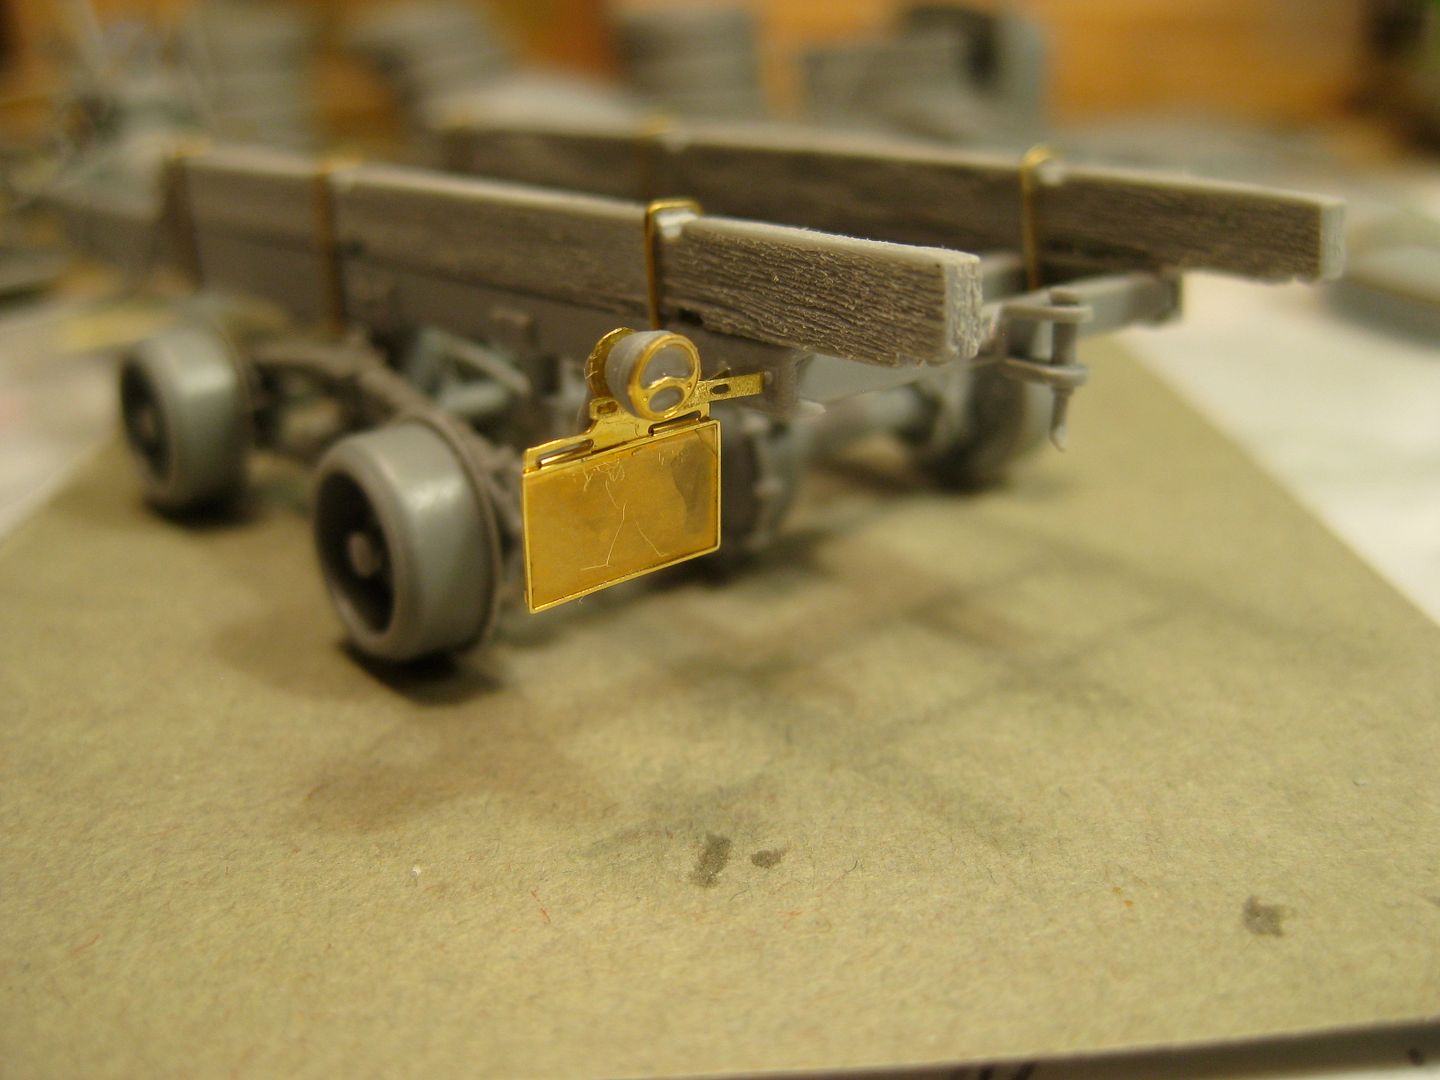
9122
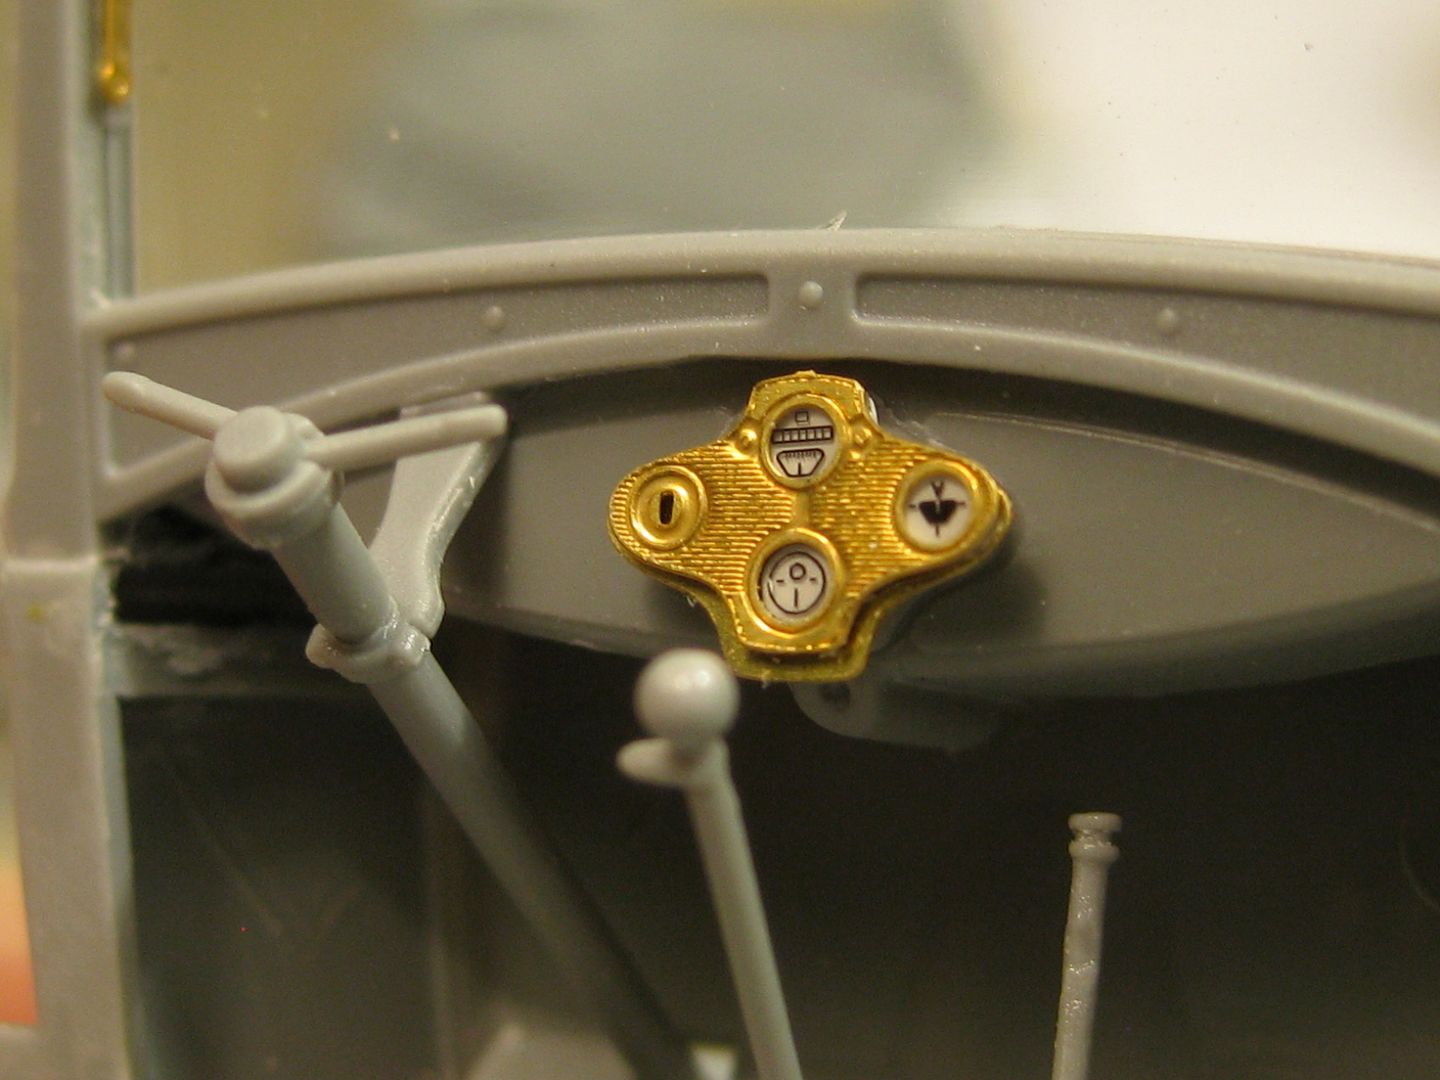
I decided to obtain a deteriorated whitewsh camo, but took advantage to do some green practice:

9254
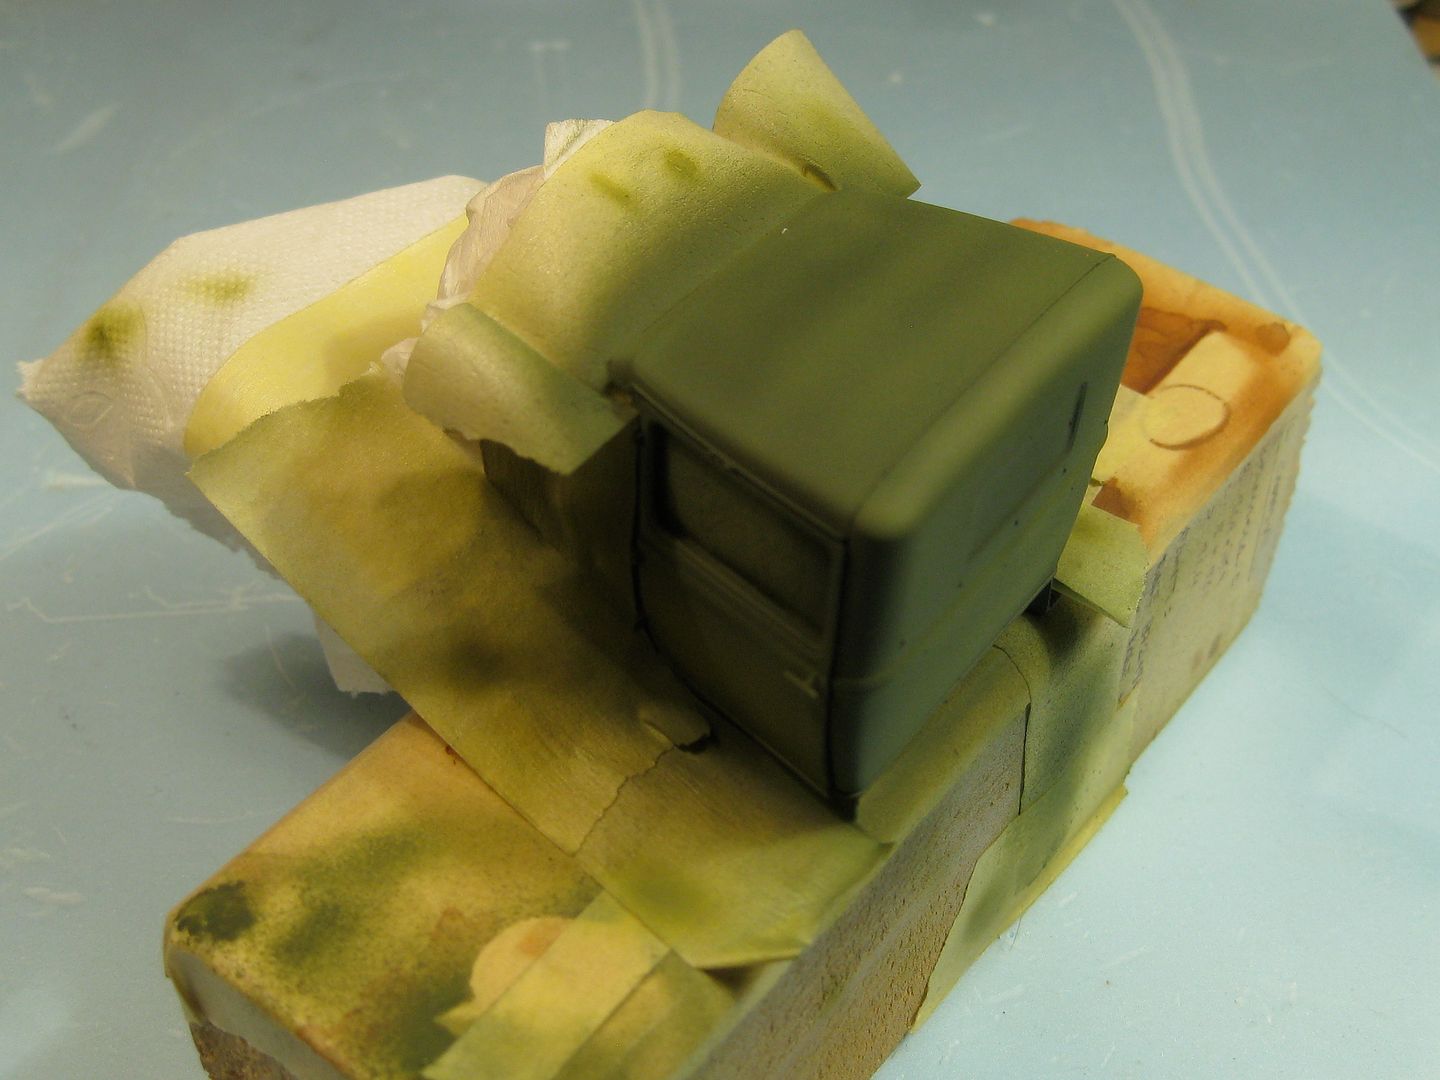
9255
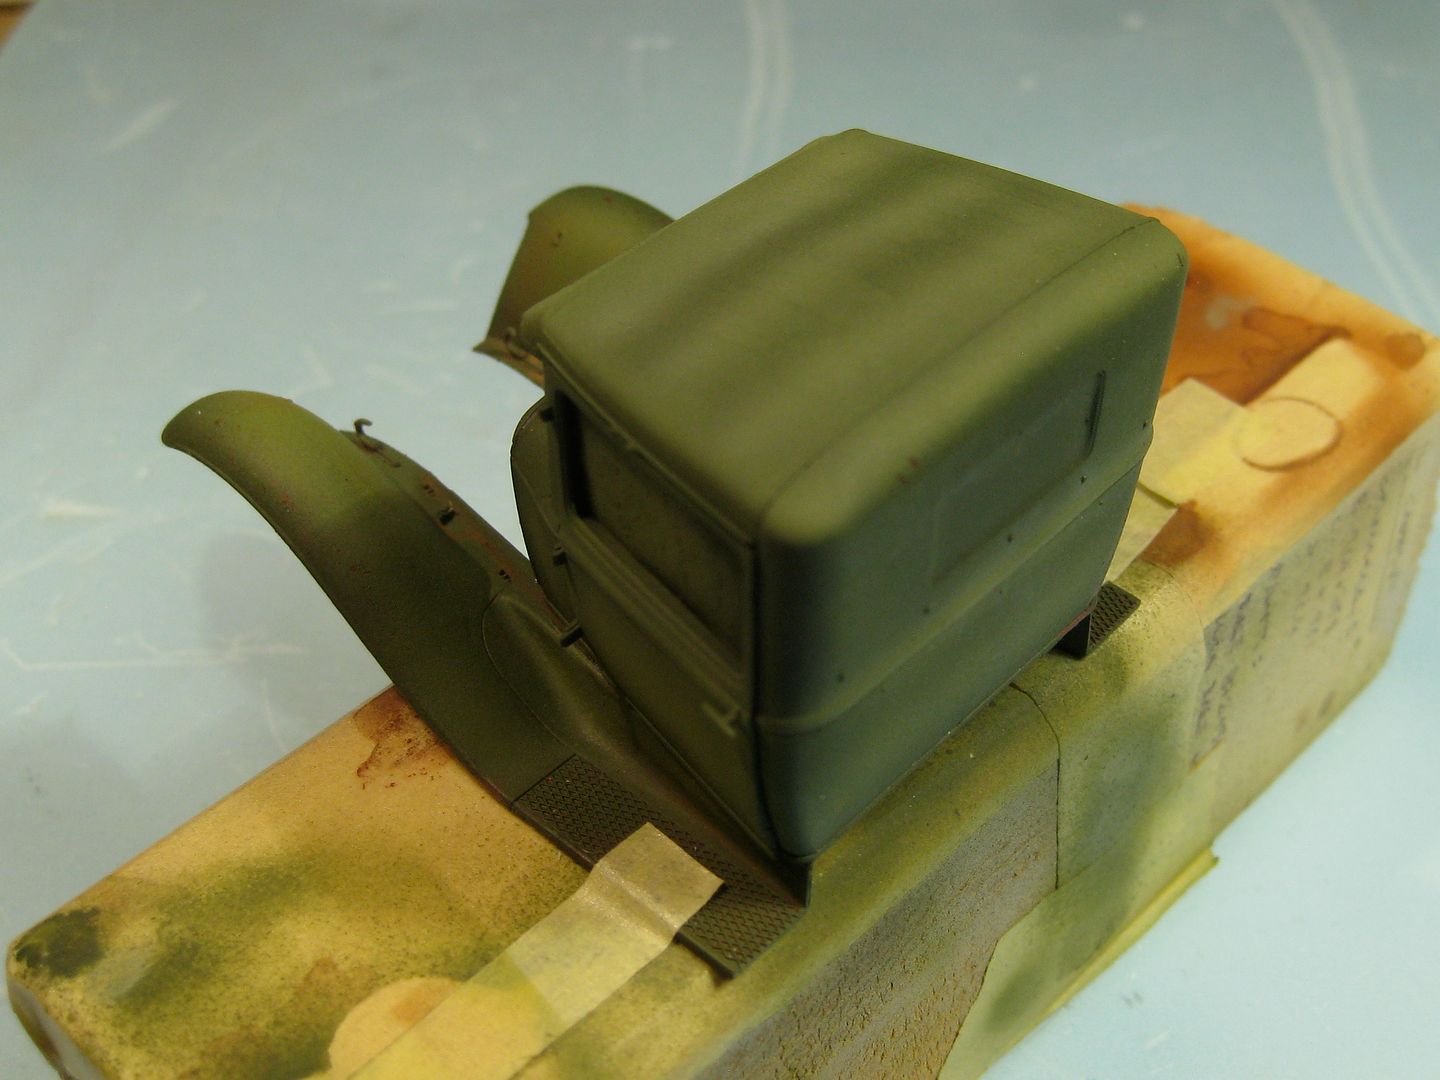
9256
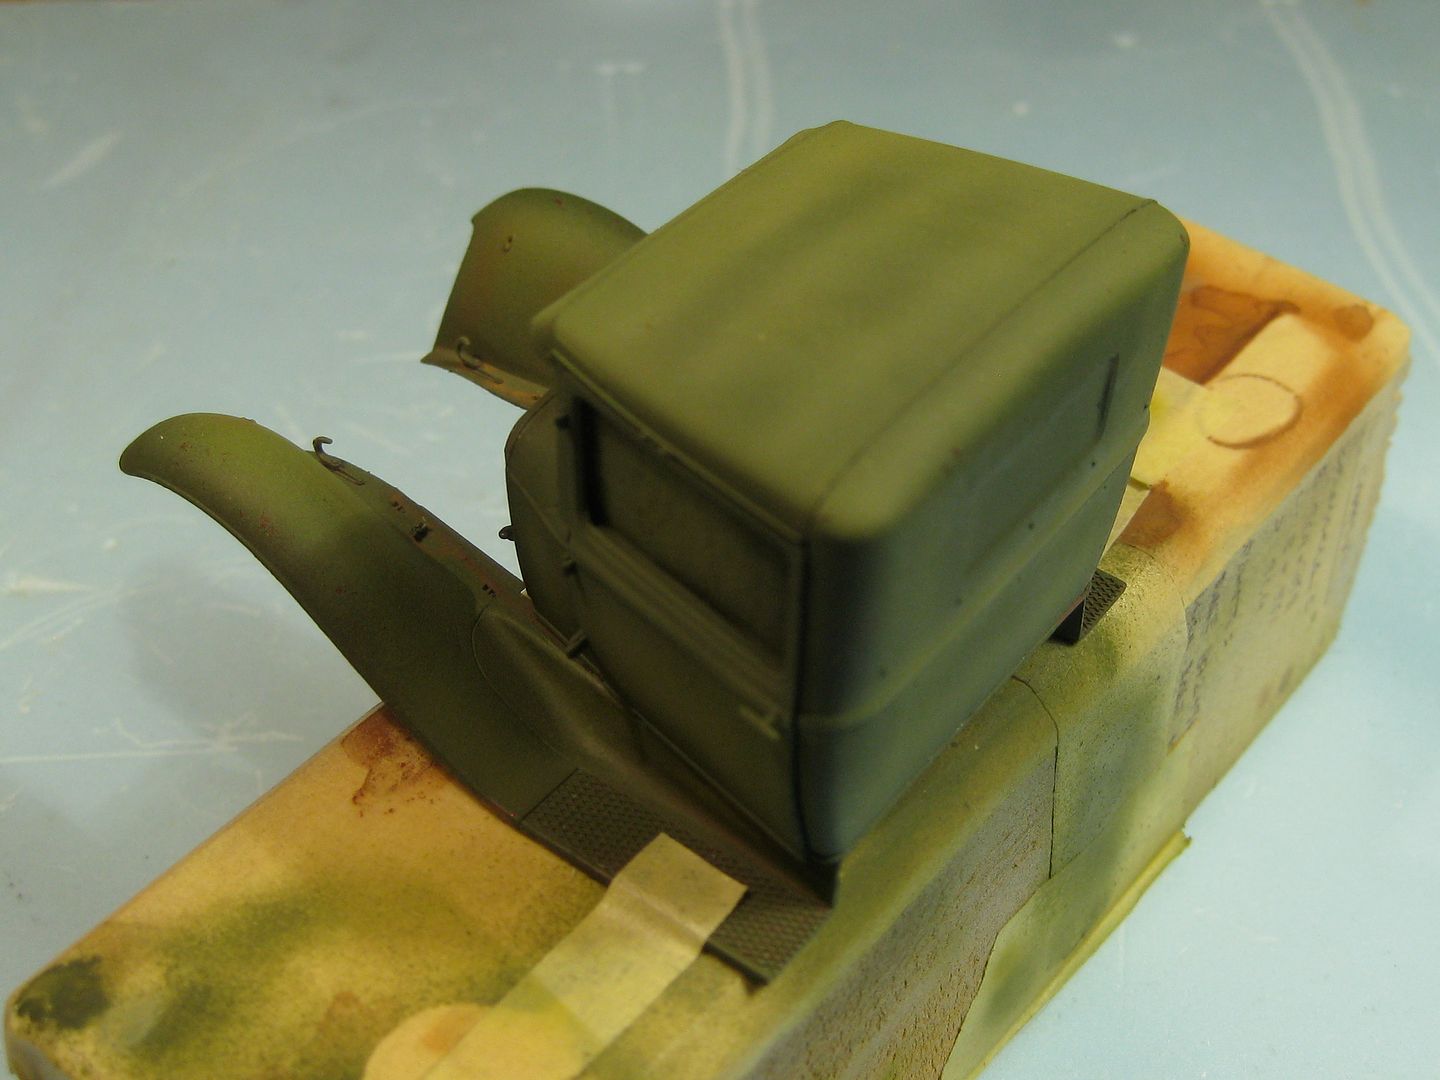
9257
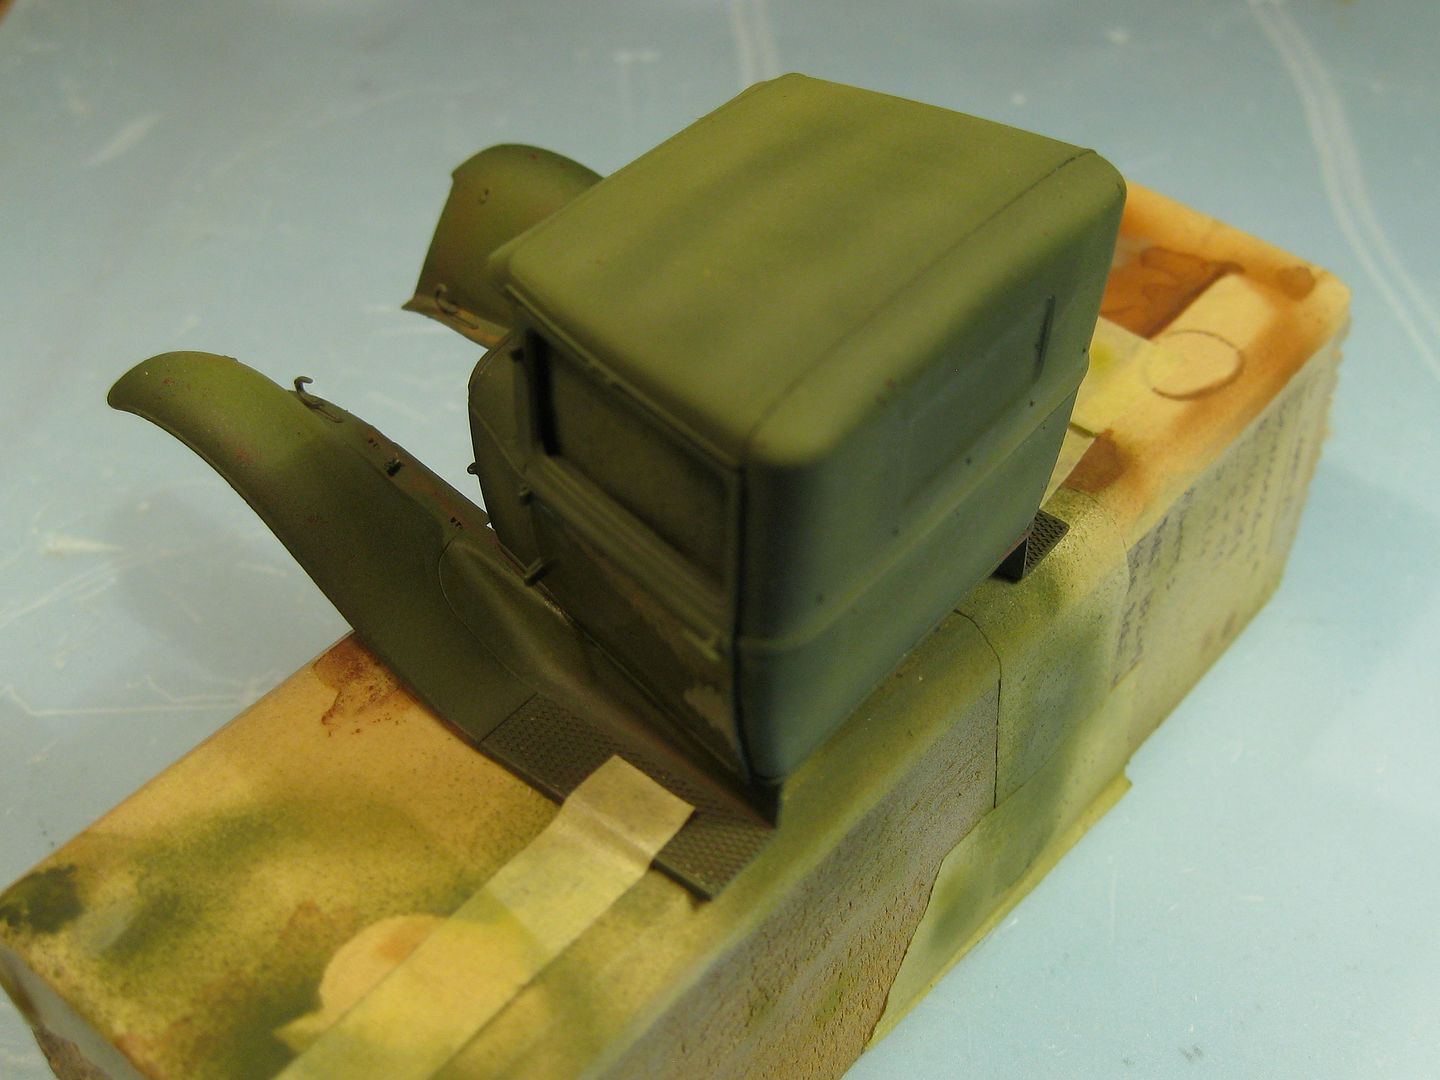
9273
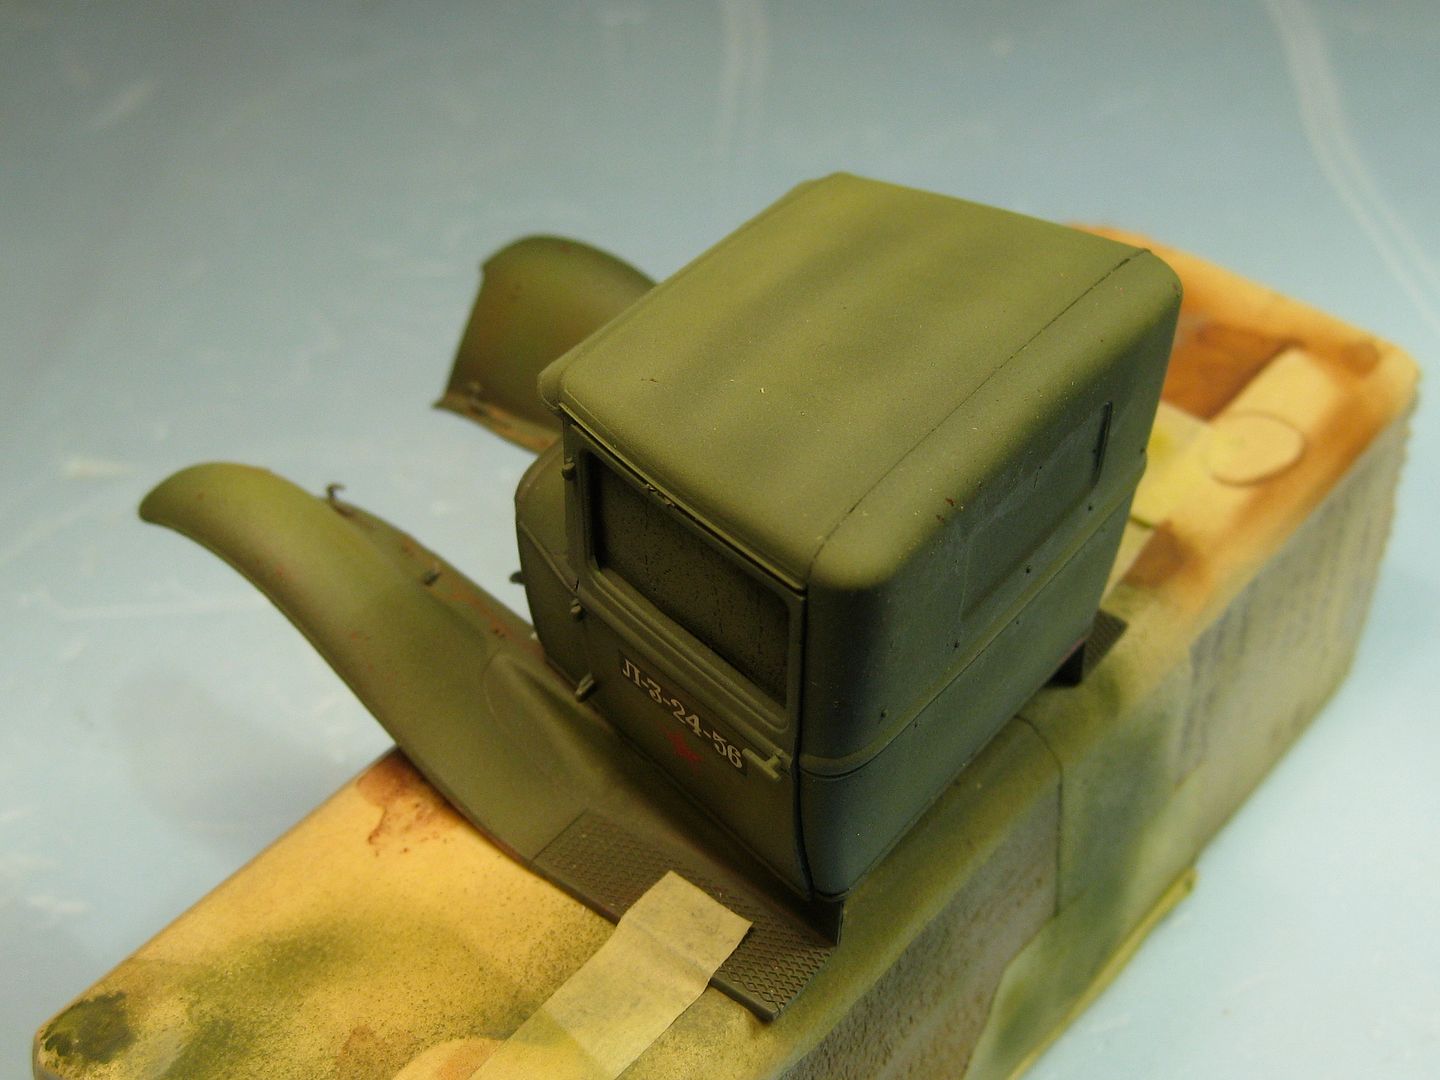
then I covered it with hairspray and acrilic white.

9277
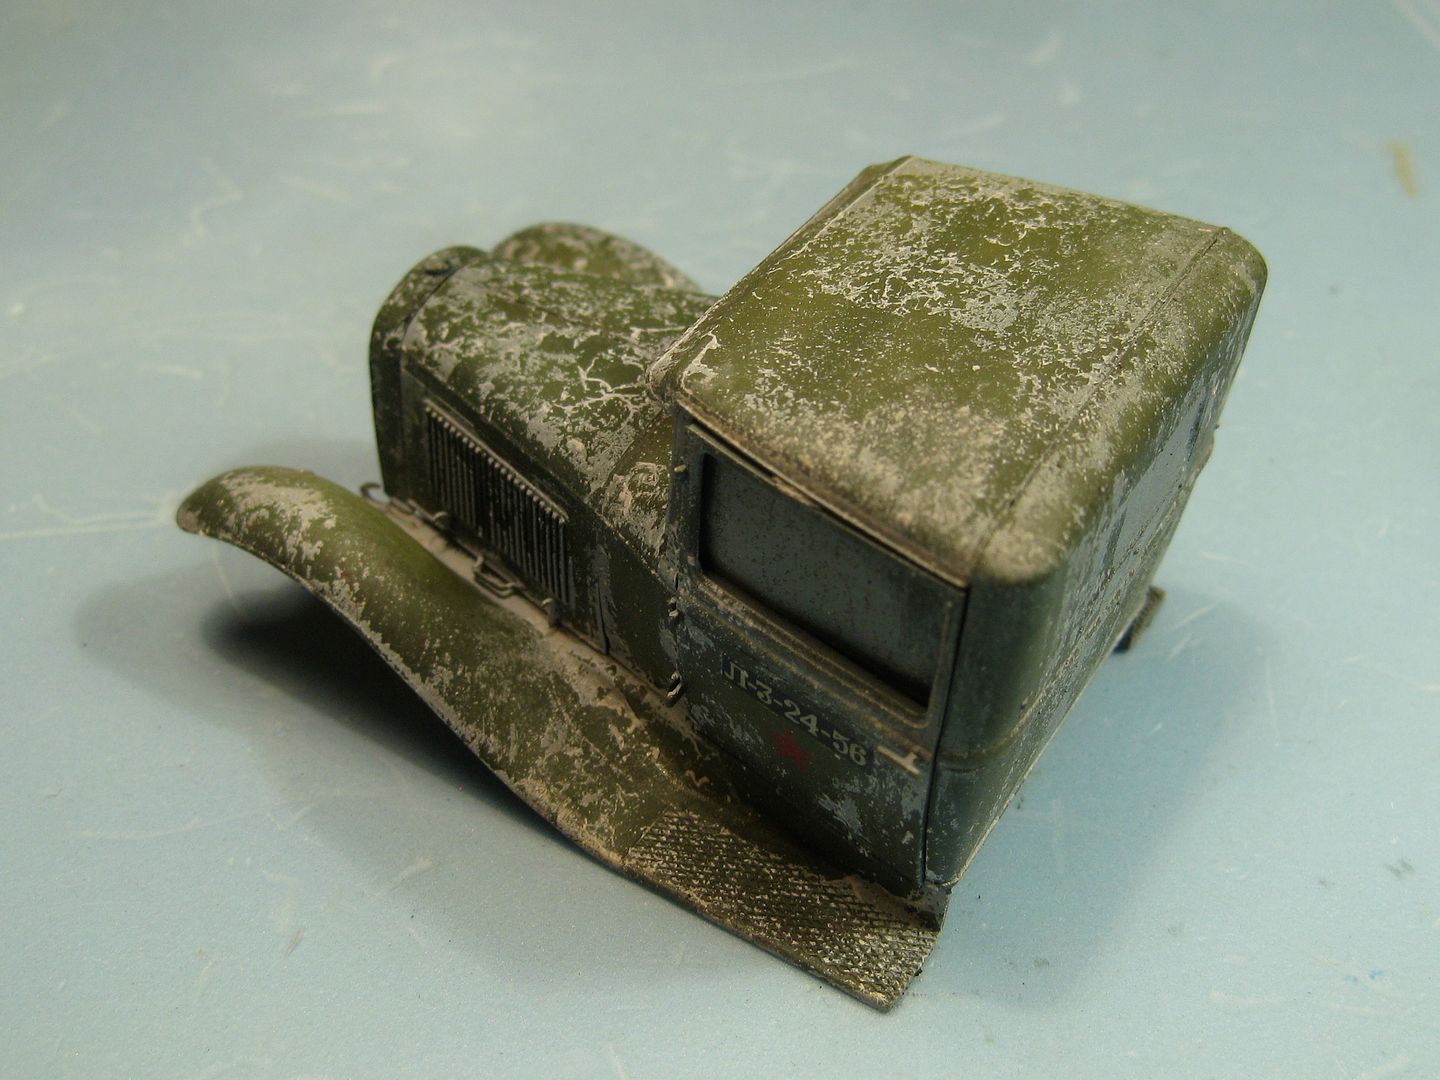
following I insisted with oils on top of surfaces.

9322
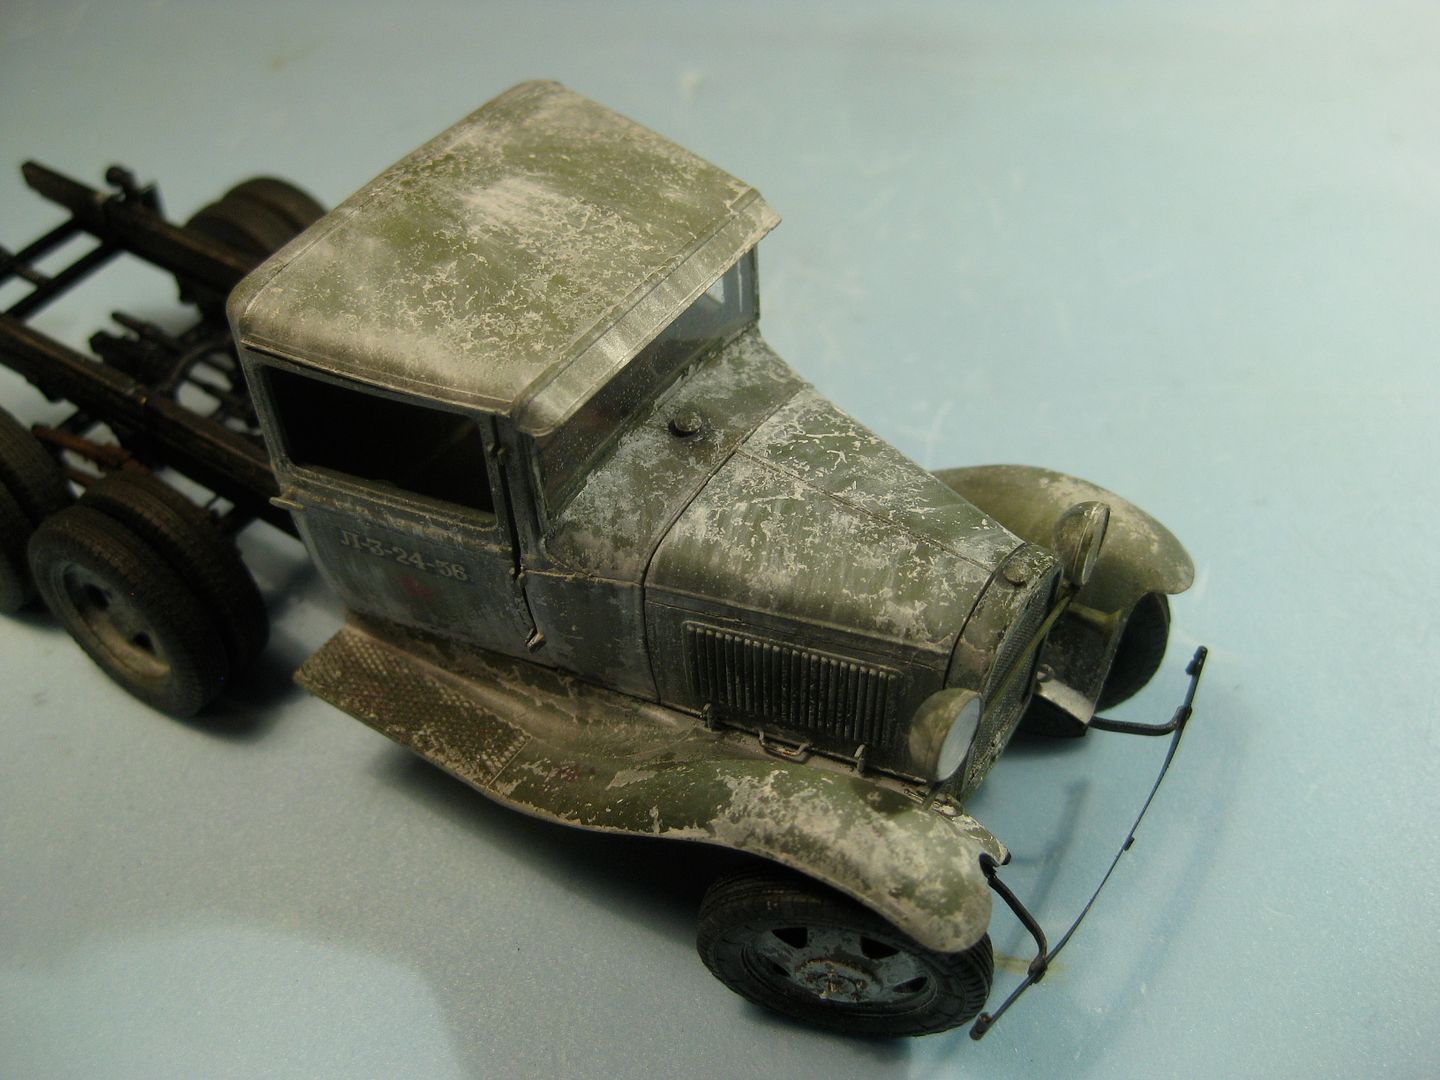
and at the same time studying a convincing scene 

9306
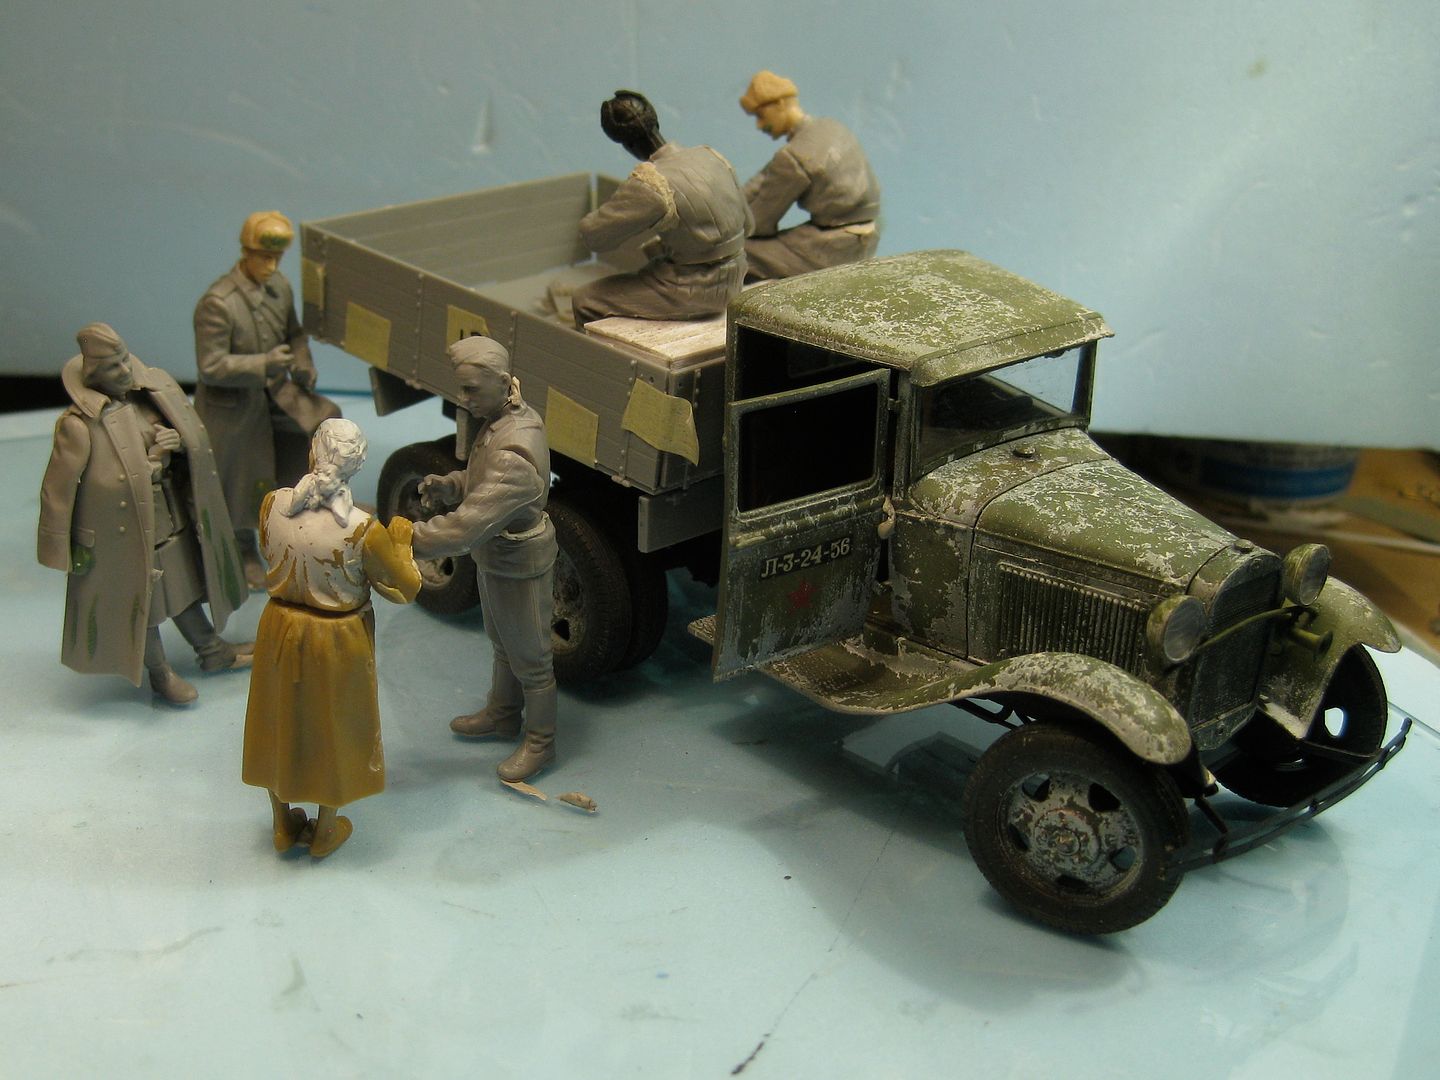
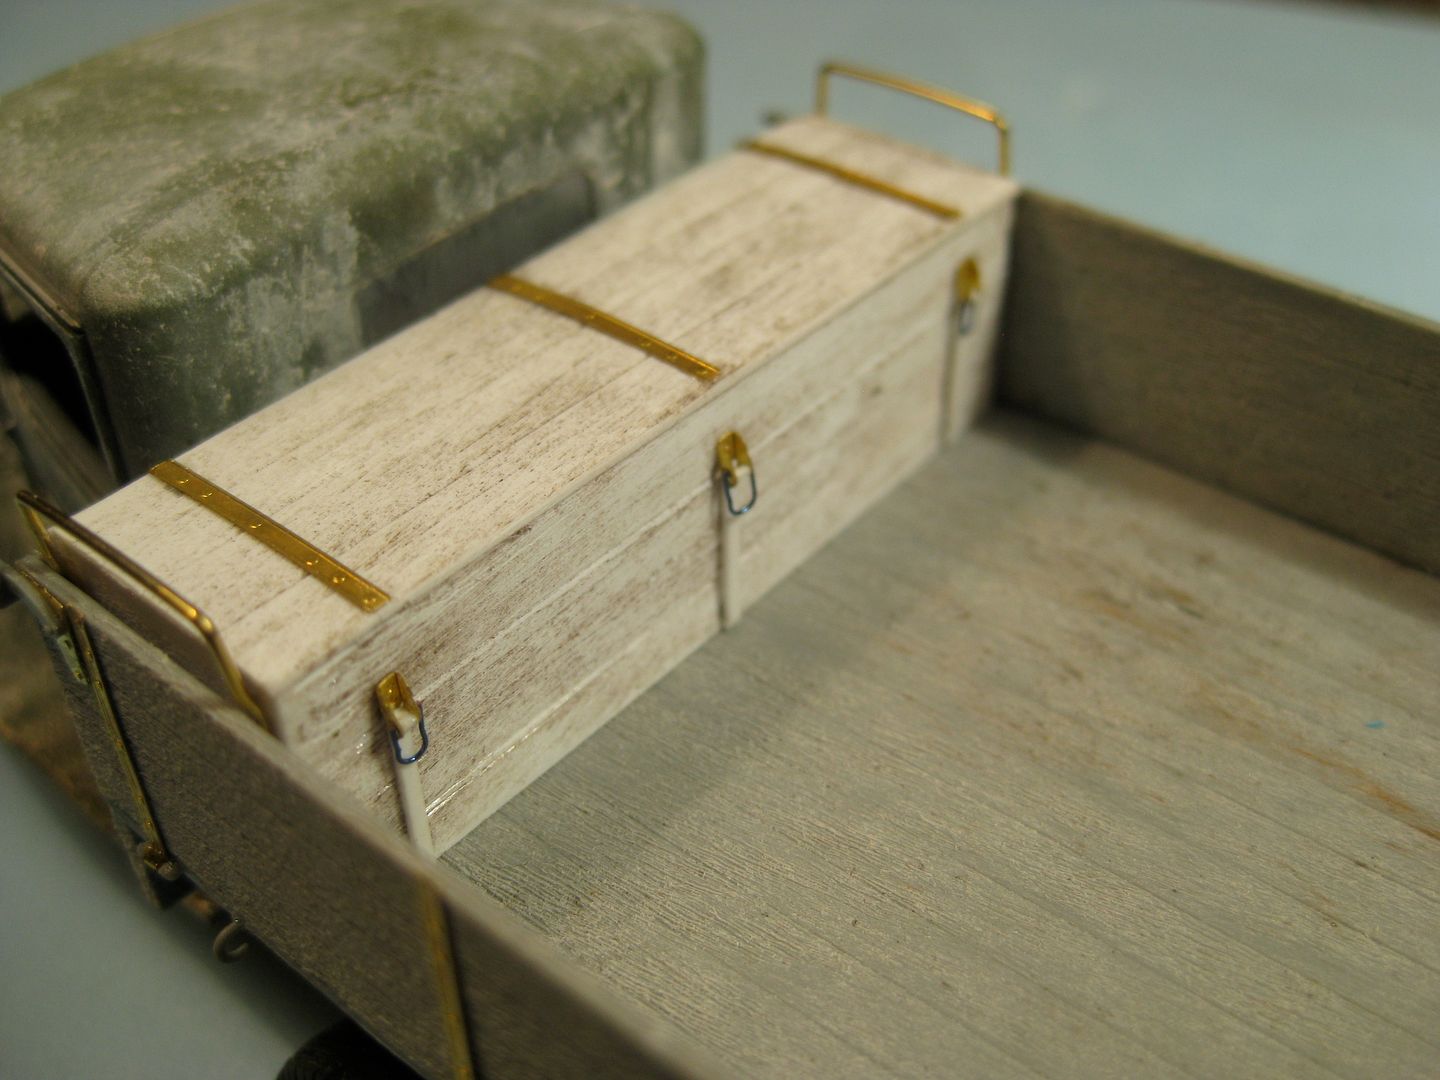
searching the WW II's photos, I found a wooden box that seems to be standardized on the AA GAZs, and I built one from scratch.

9353
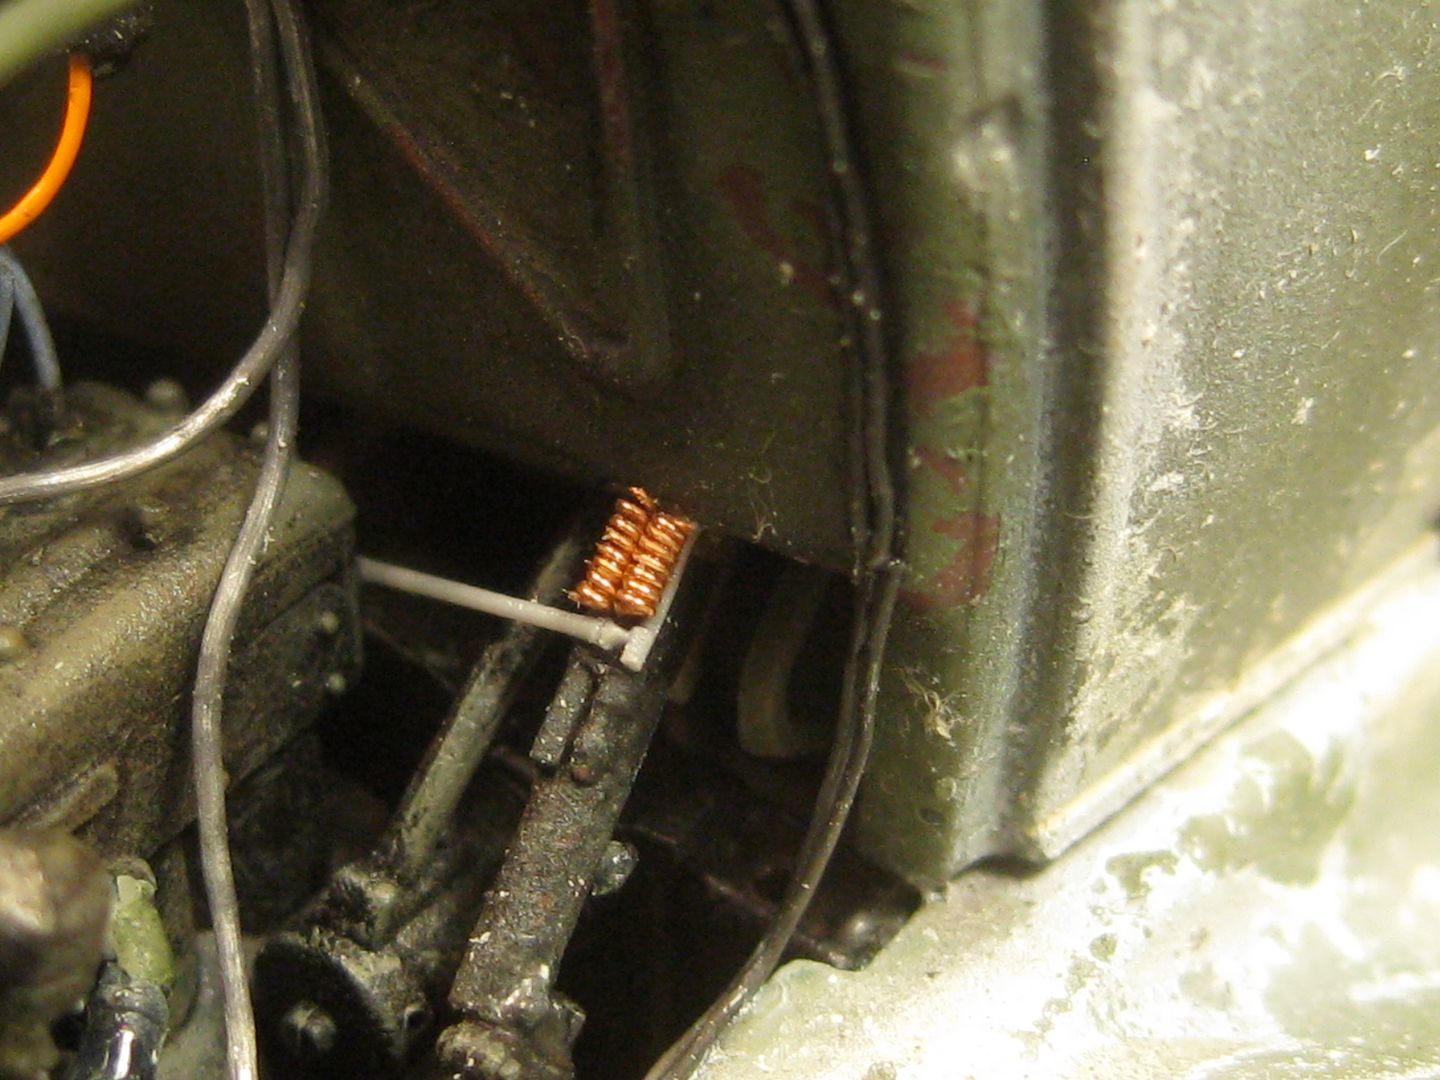
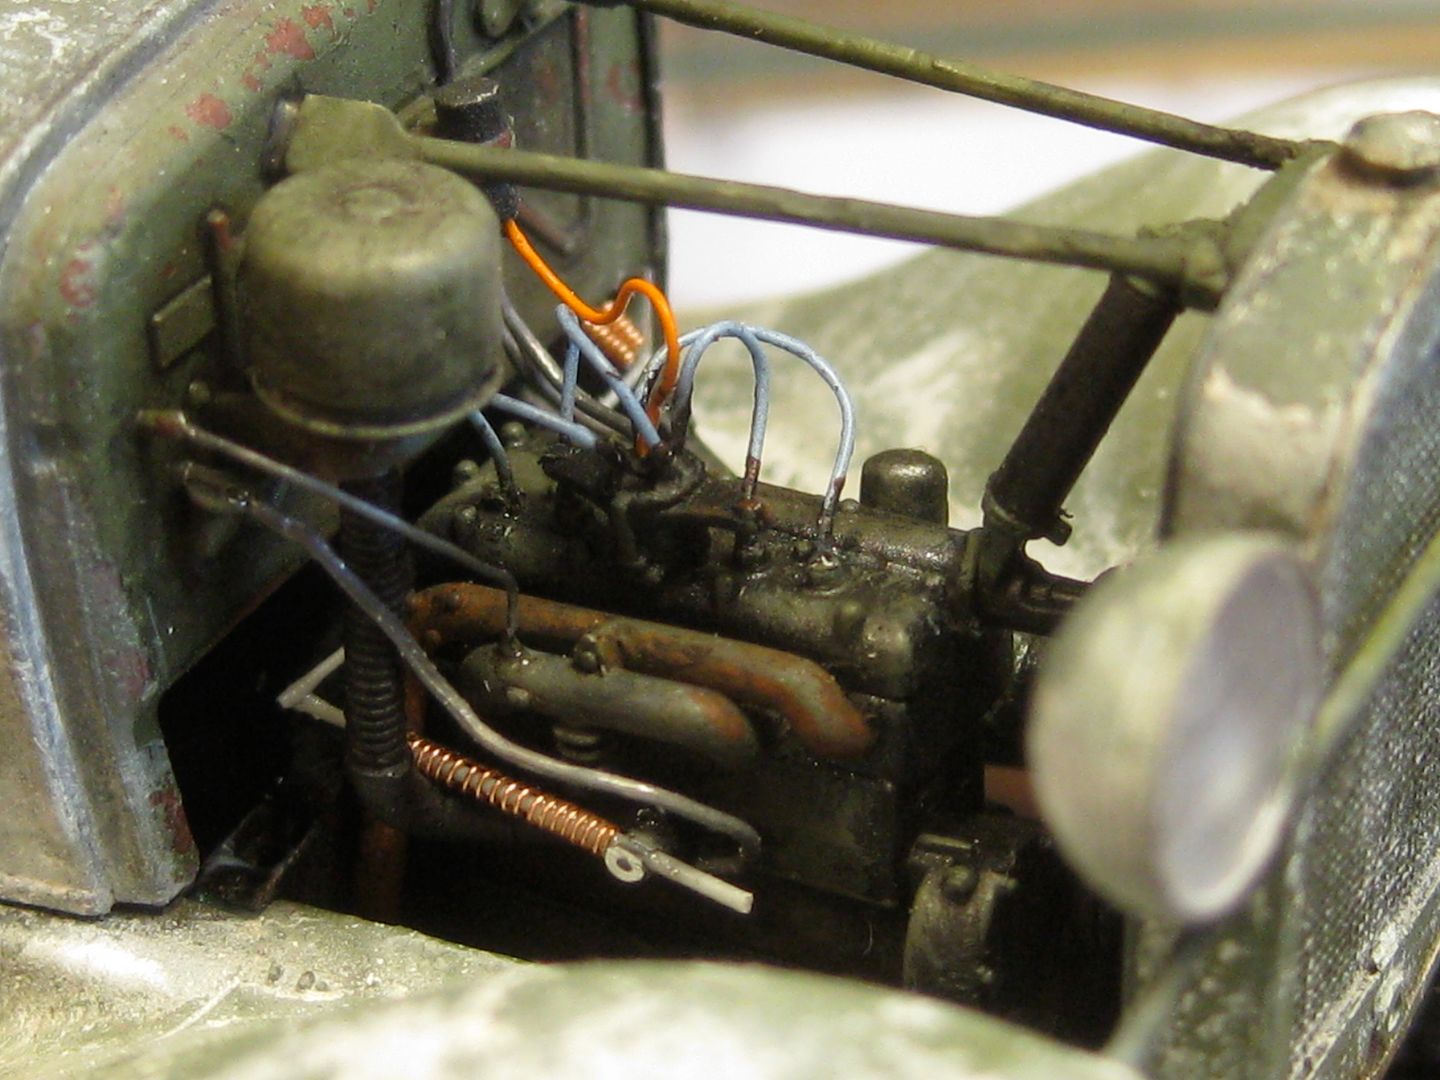
meanwhile, I decided to improve the engine, either if I elected to close the hood.

9367
9370
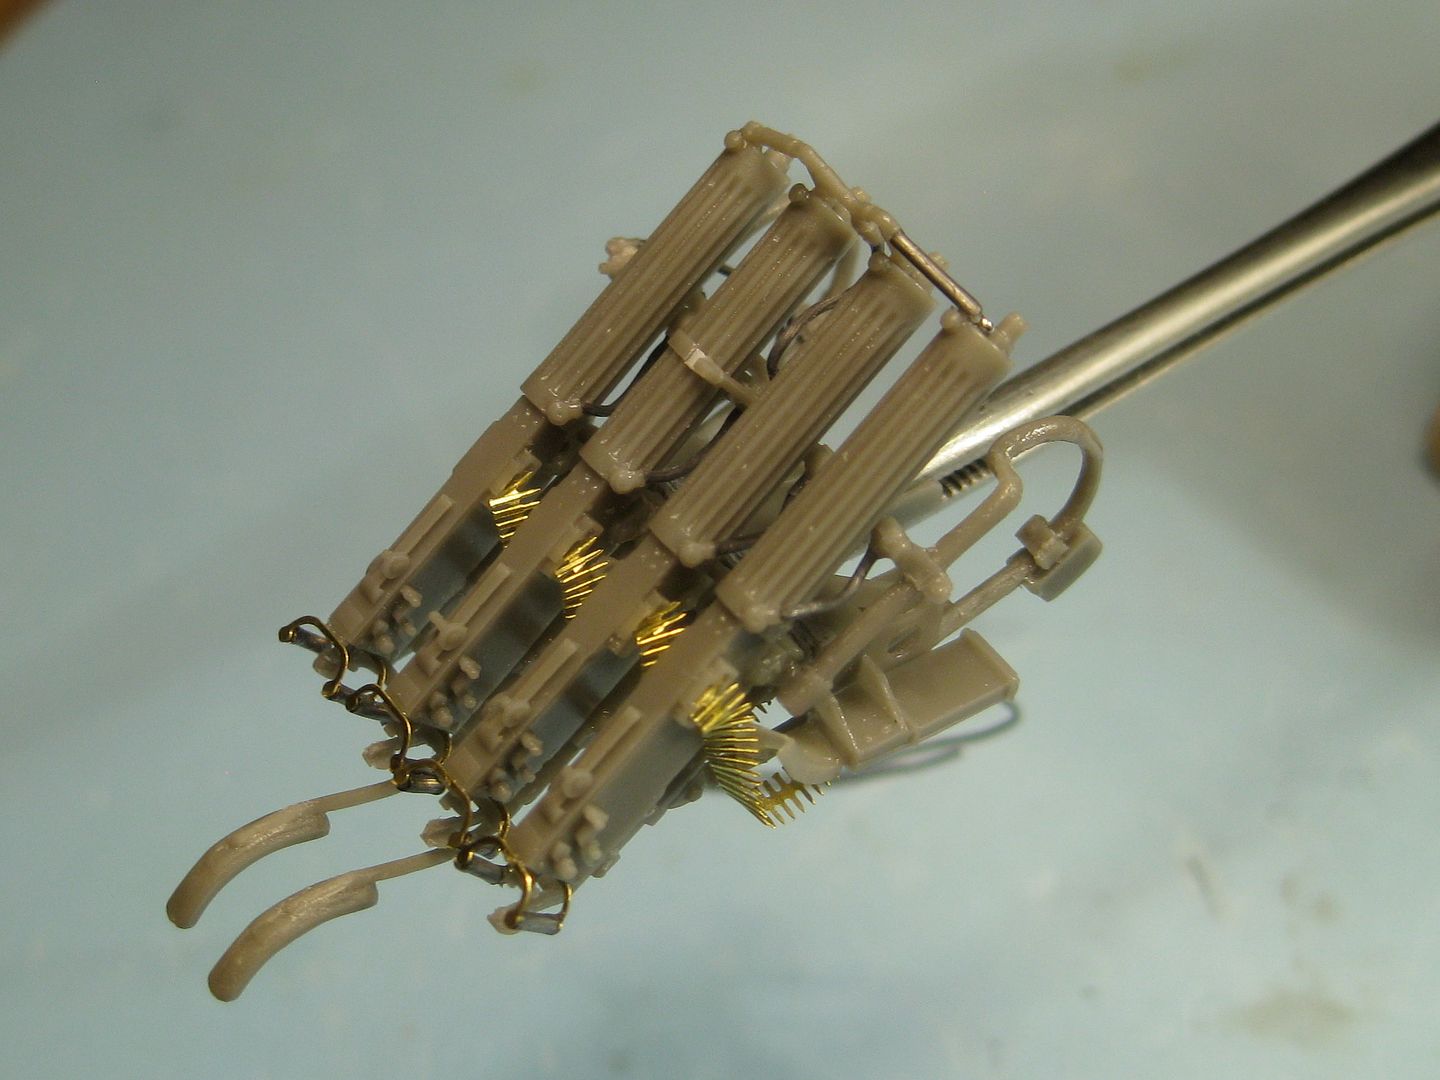
th emaxim was a kit itself, and what a kit!

9446
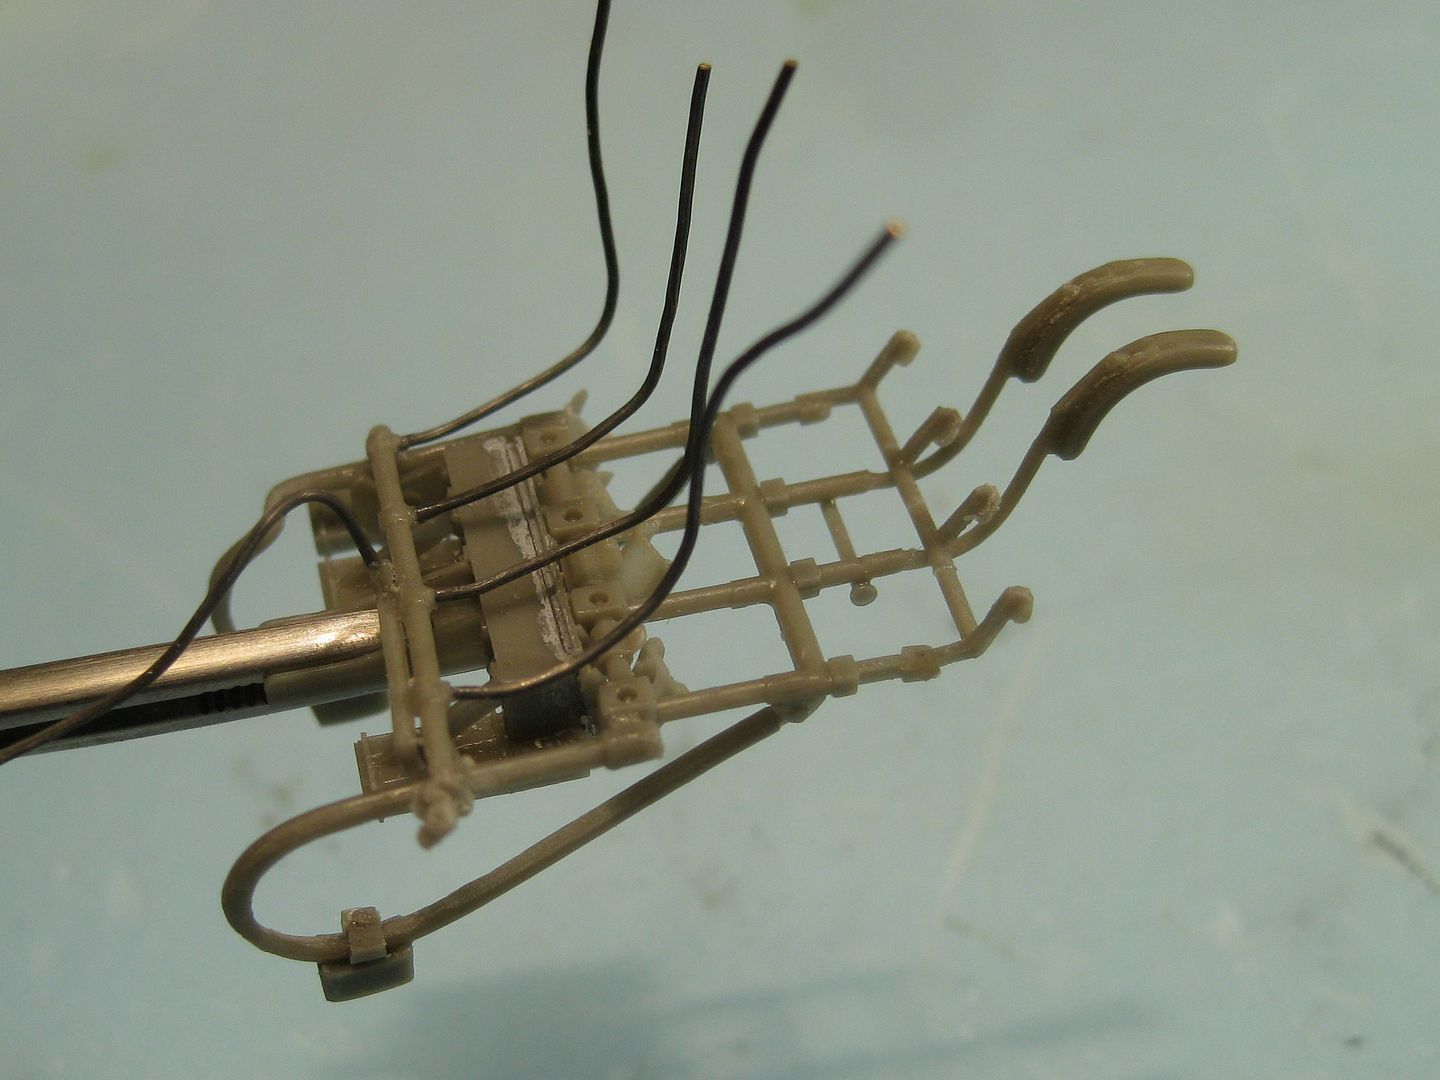
9489
but, either on this one was possible to make some improvements.. 

9511
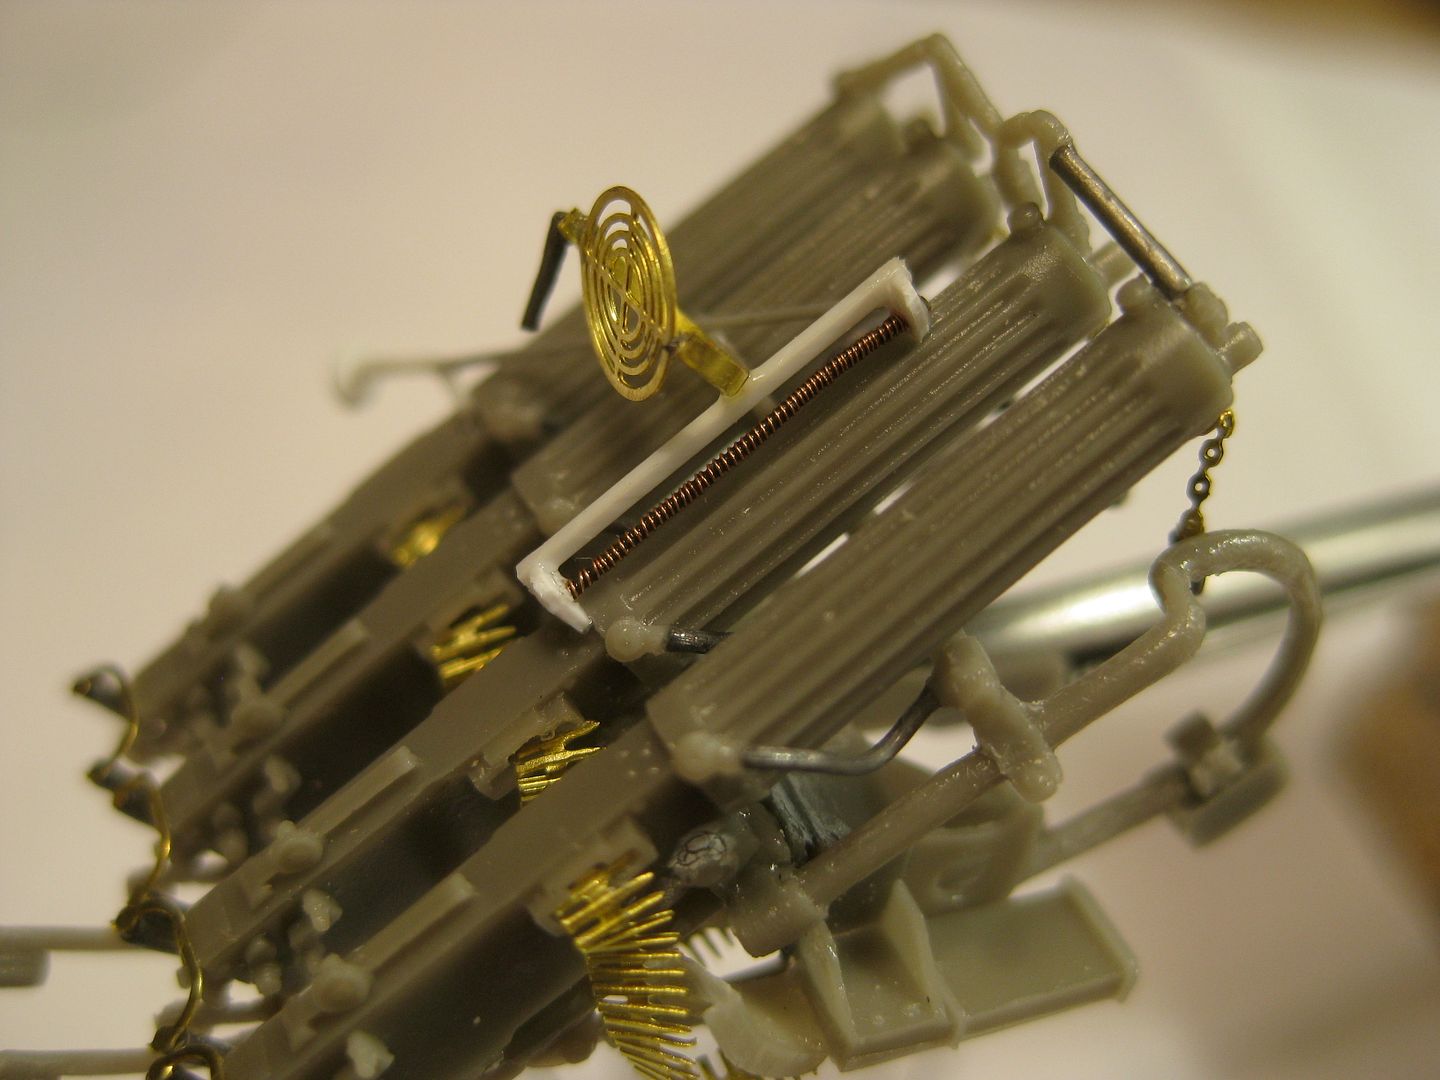
9534
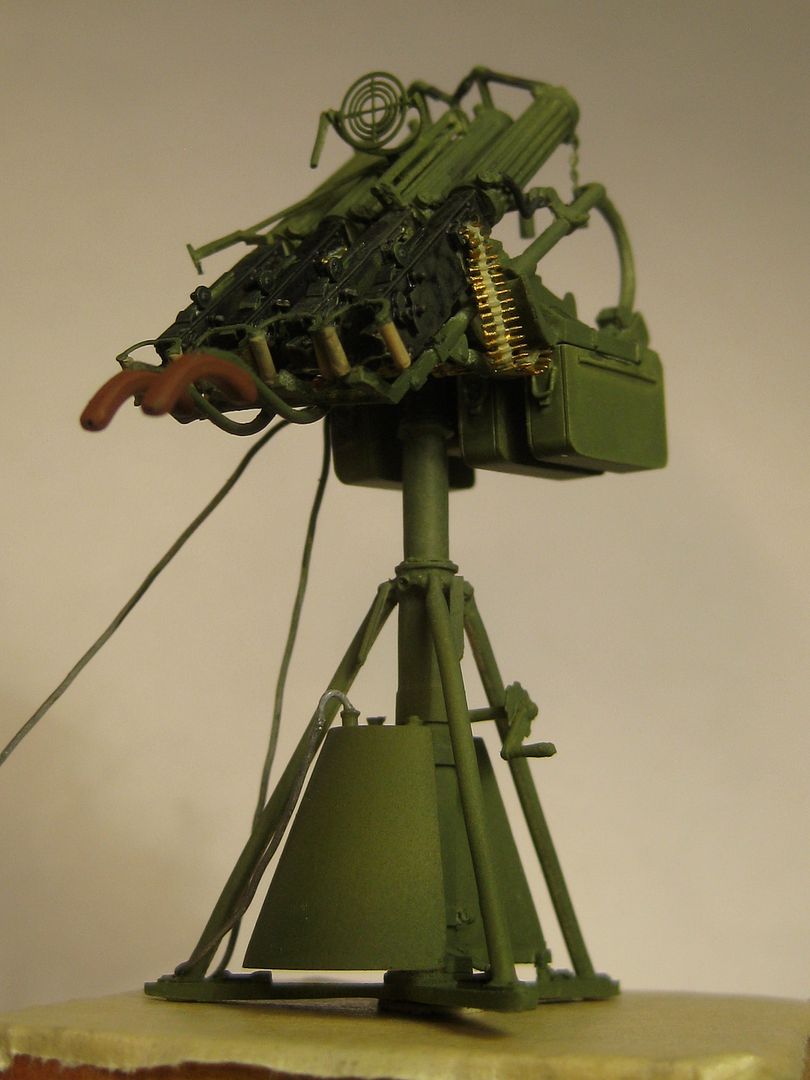
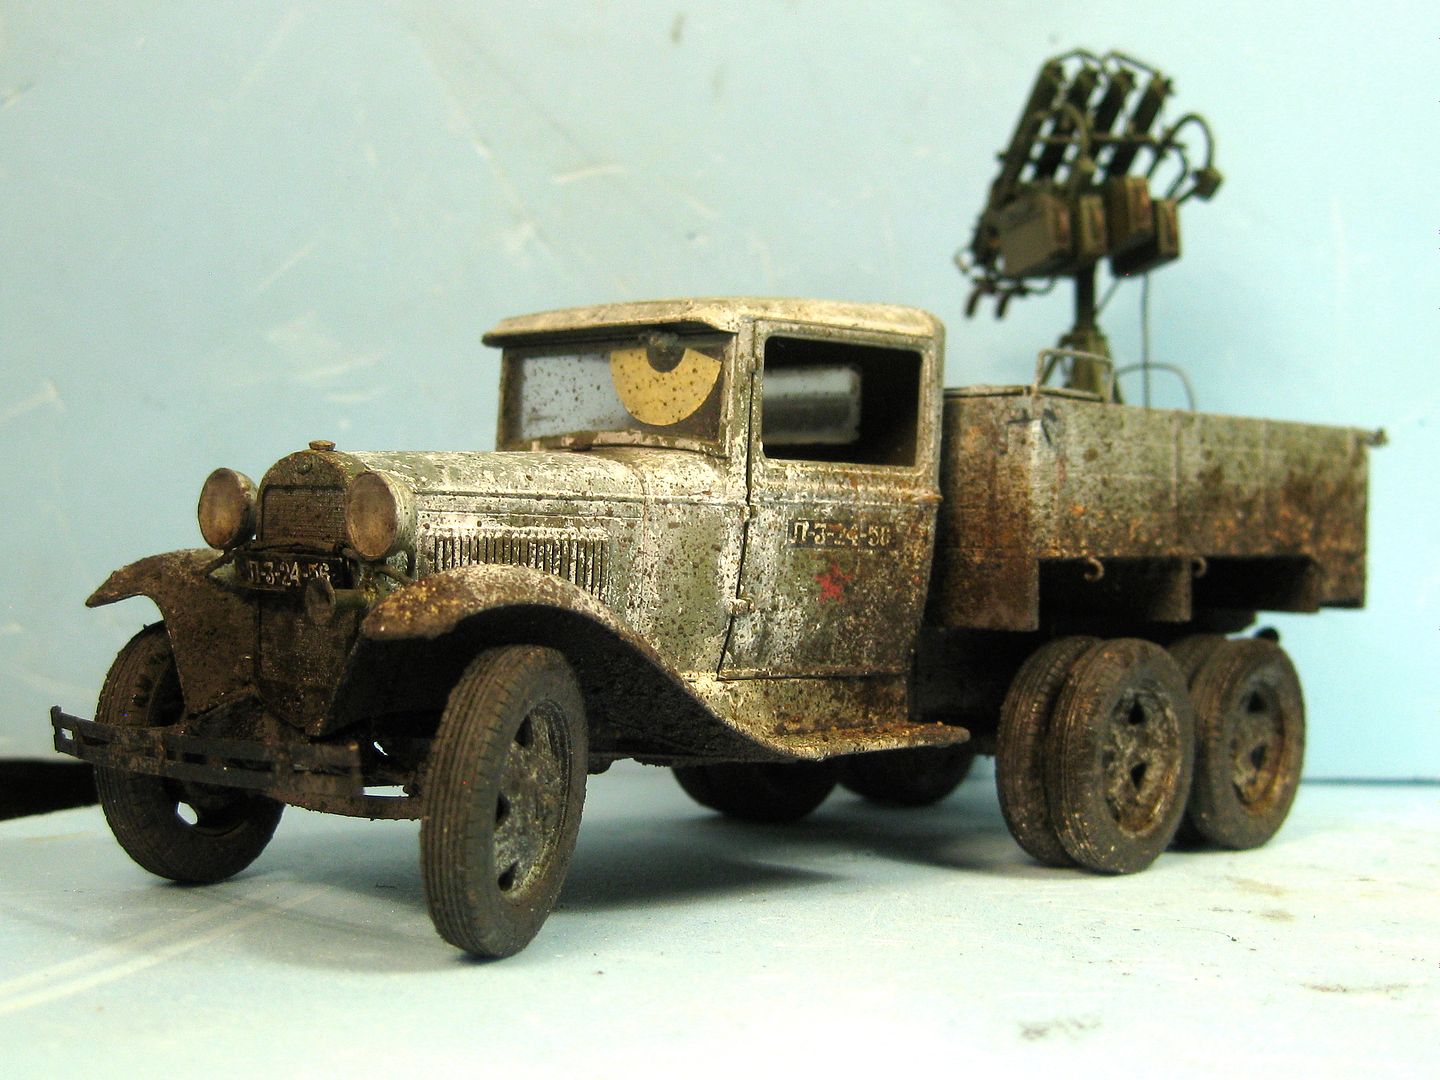
being ready with the maxim, I was able to paint the rear cabin:

9548
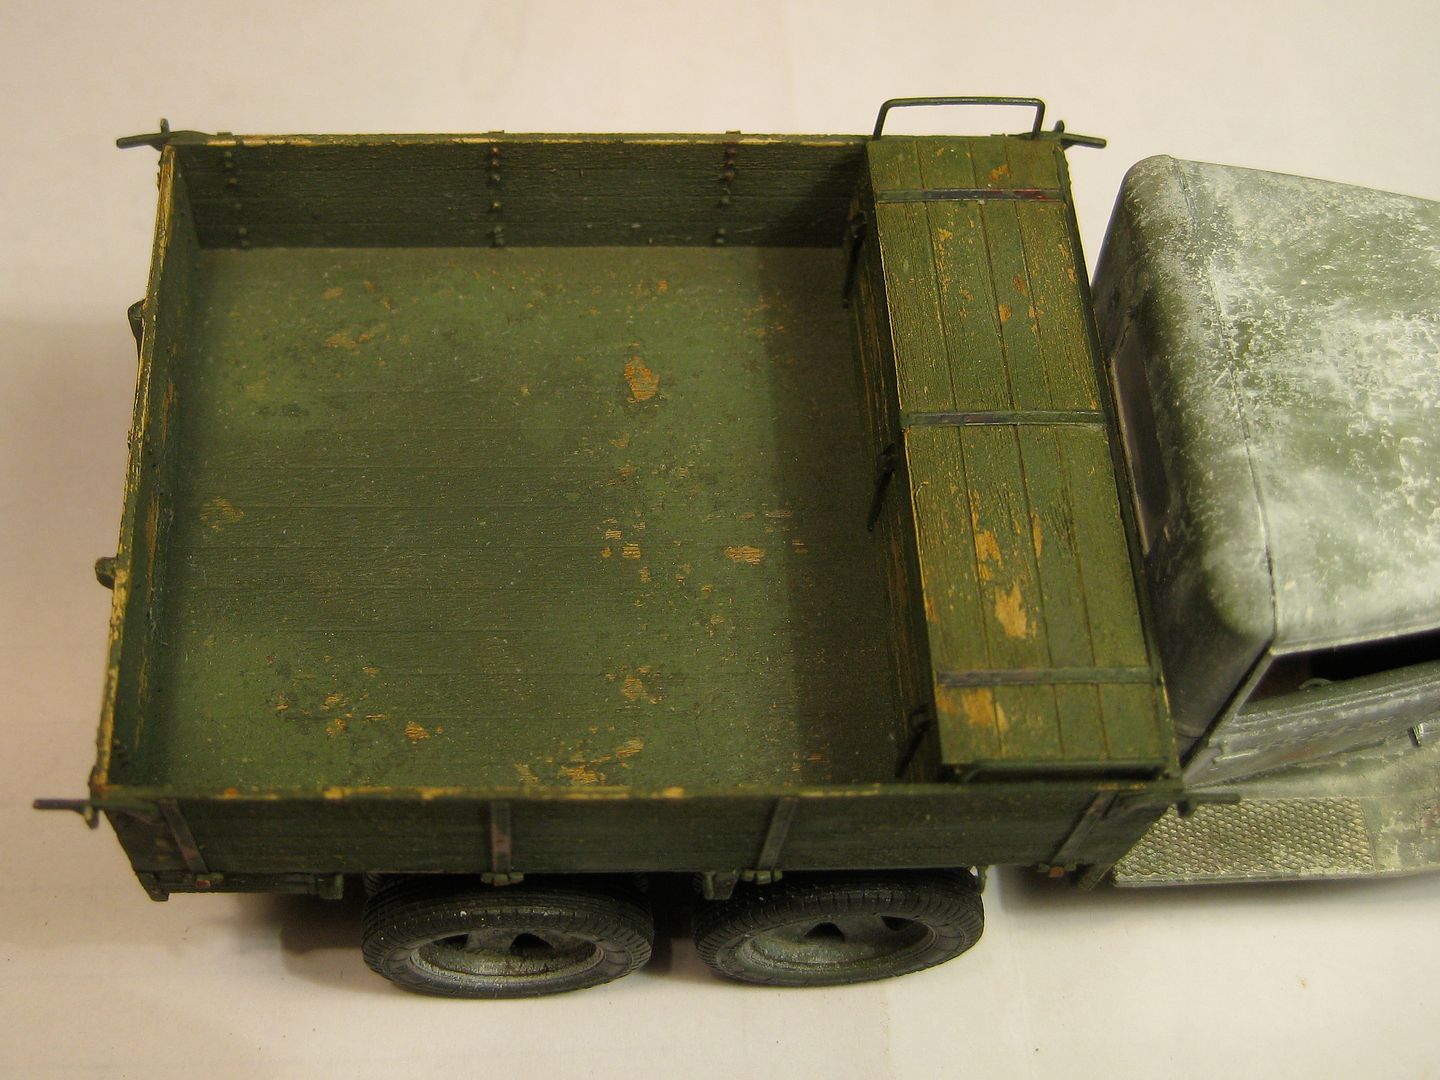
9551
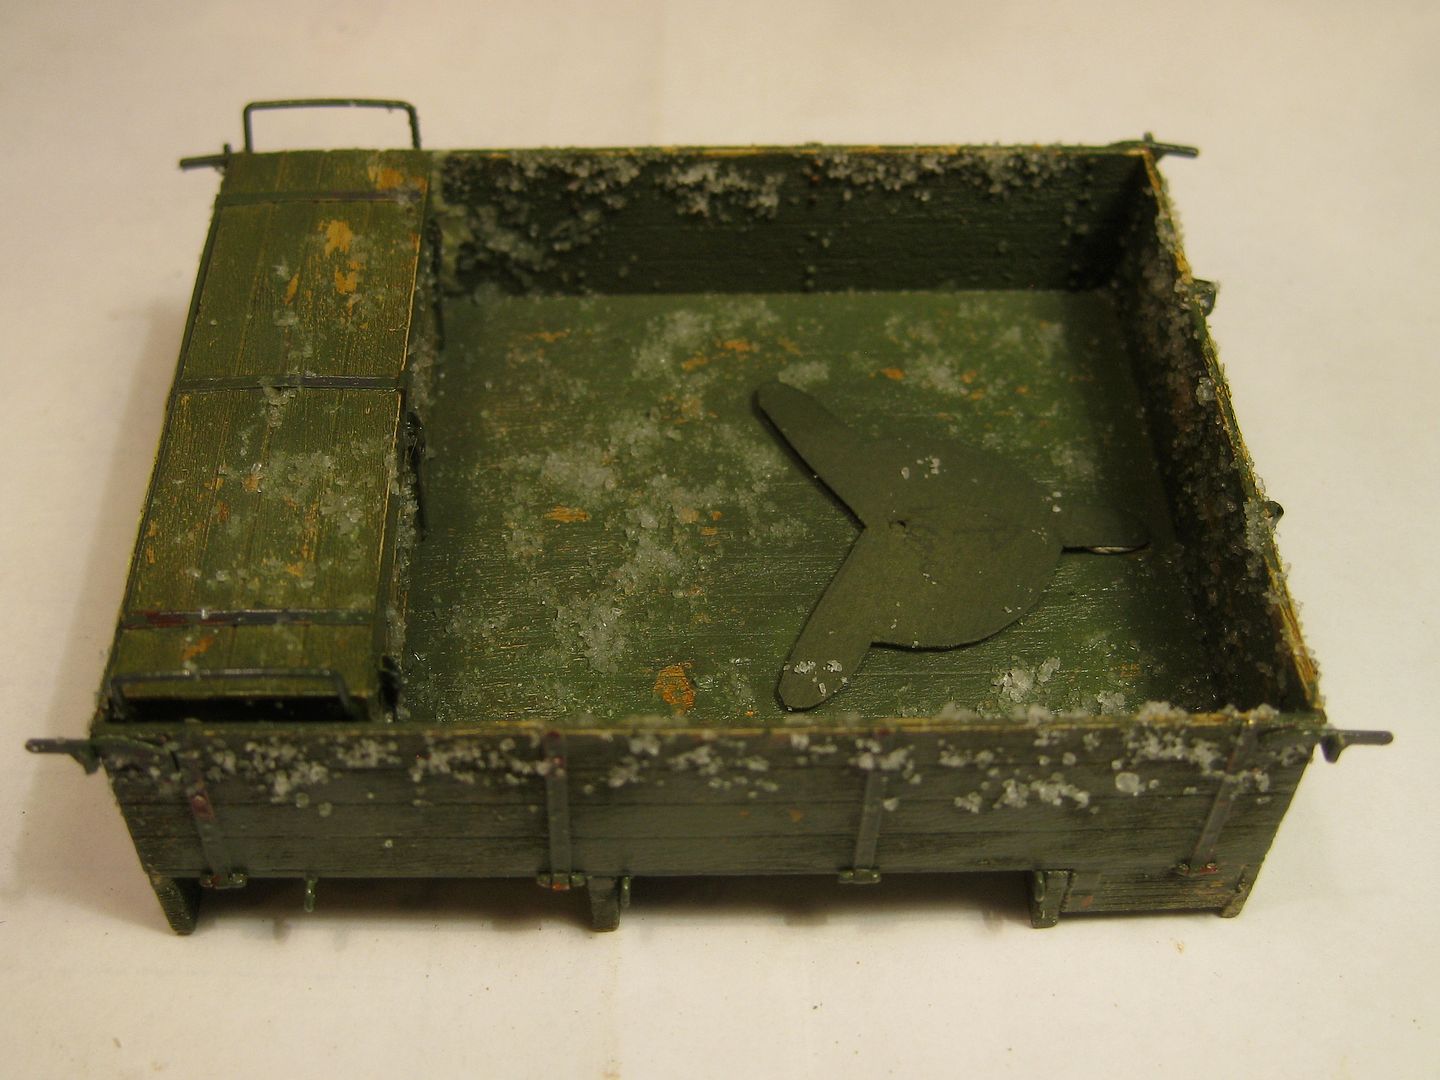
9553
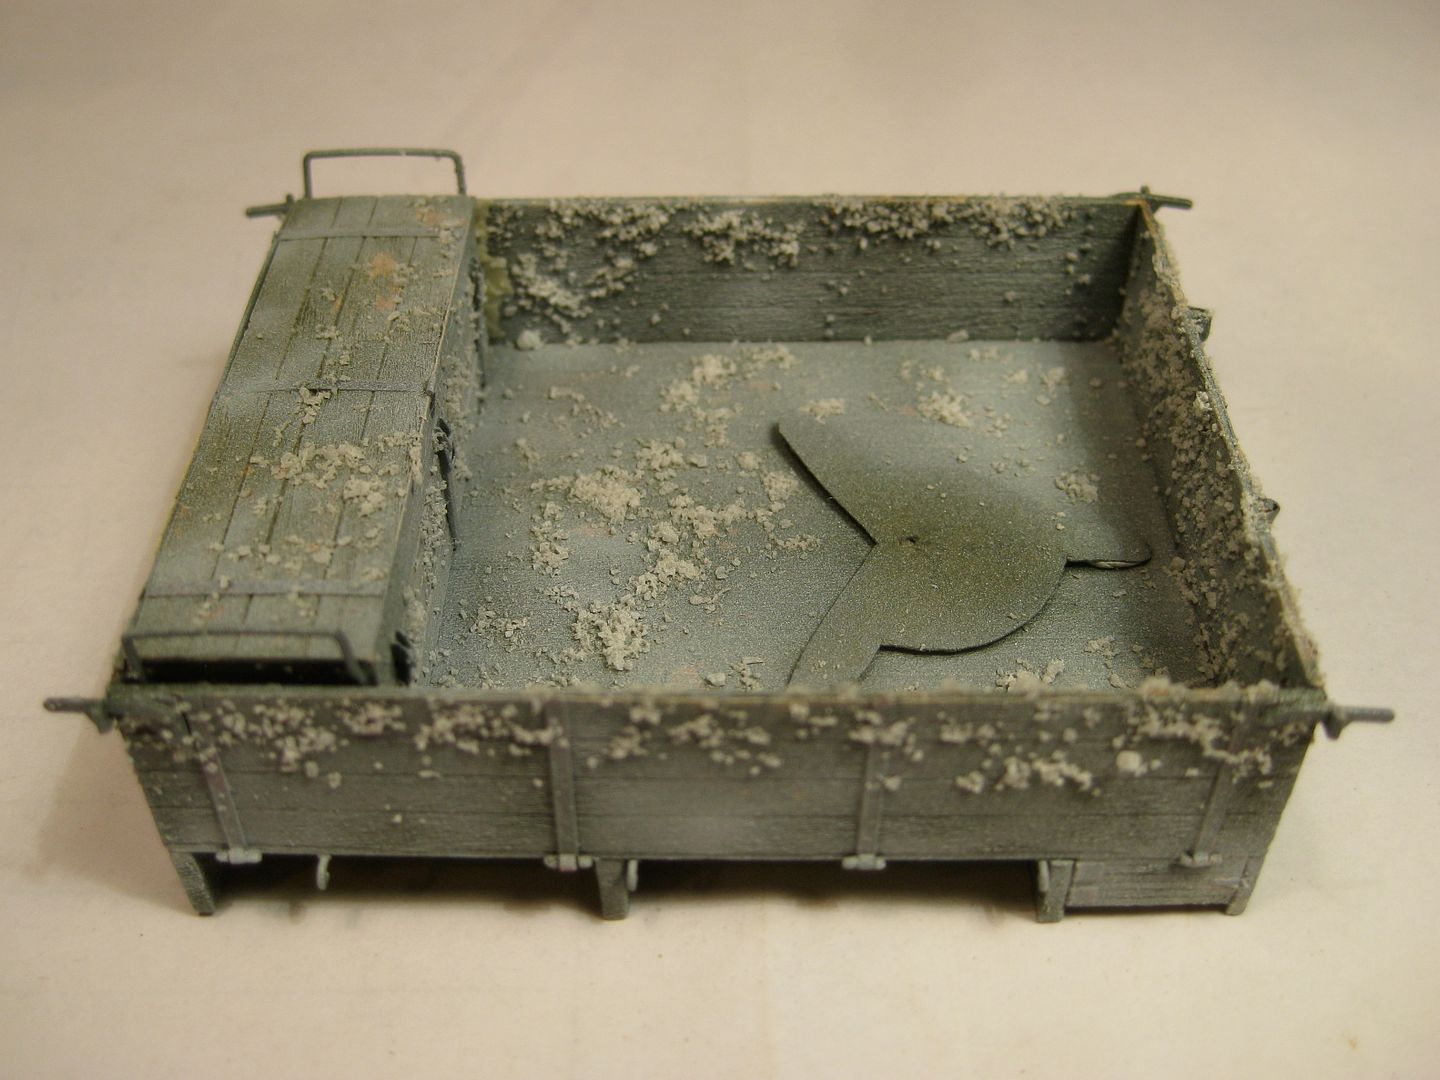
9587
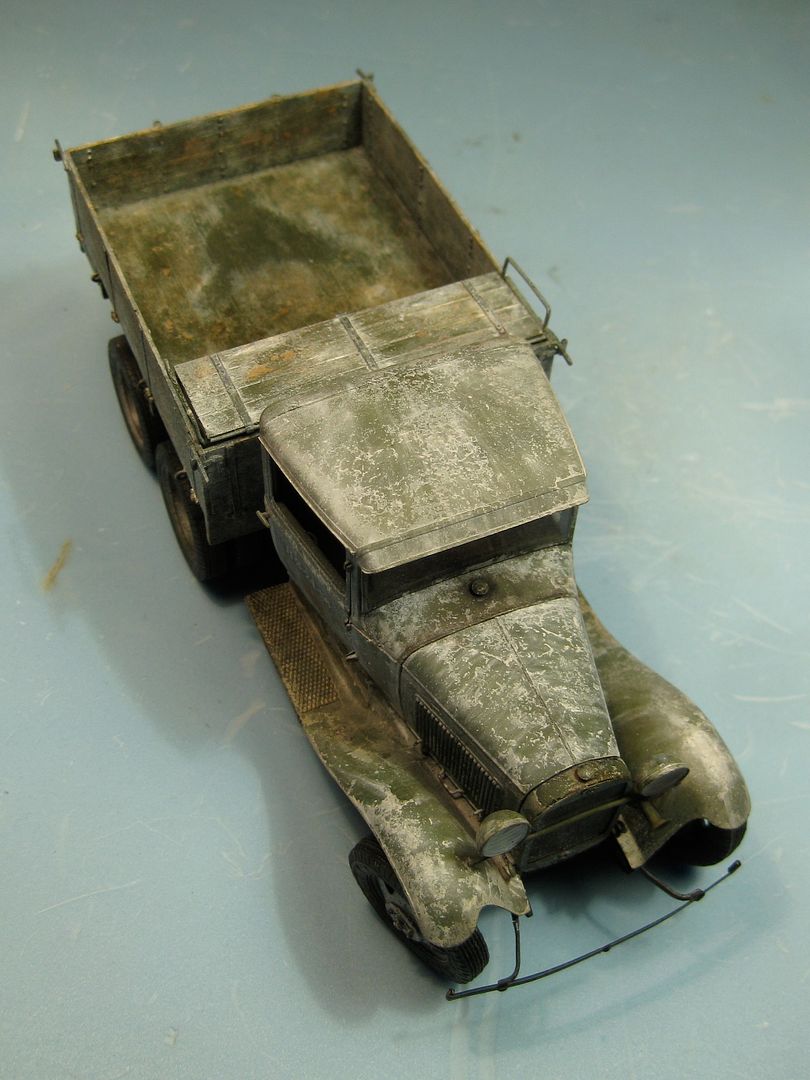
and to start with some mud..

9597
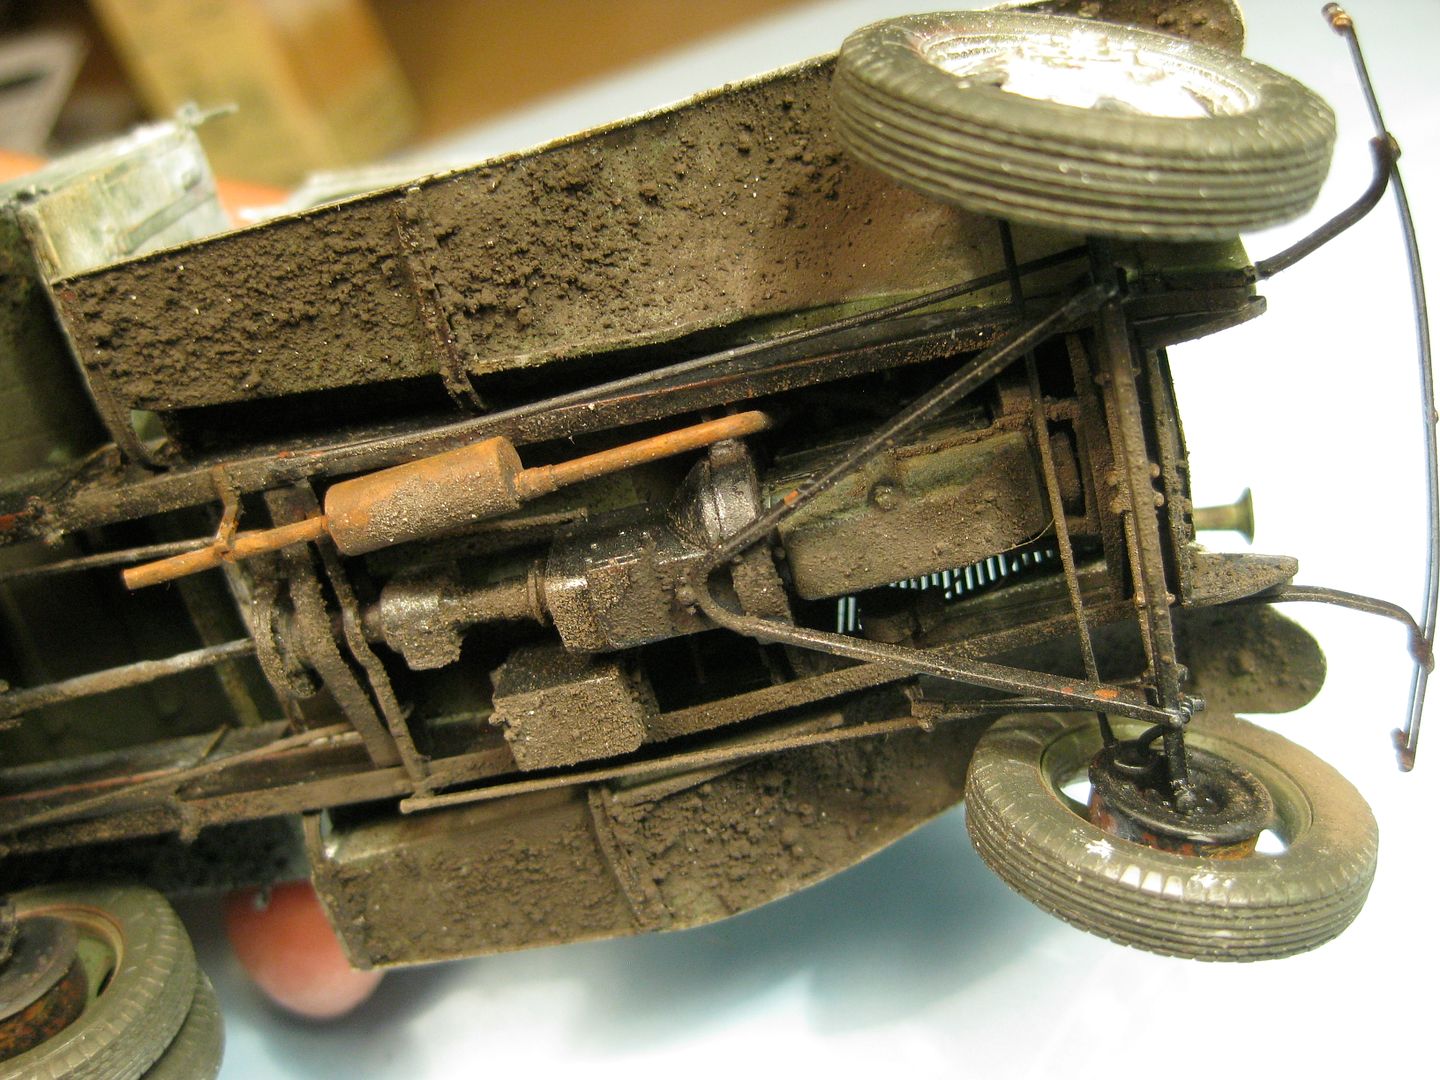
9648
finally, I arrived at the base for the dio, making some trials..
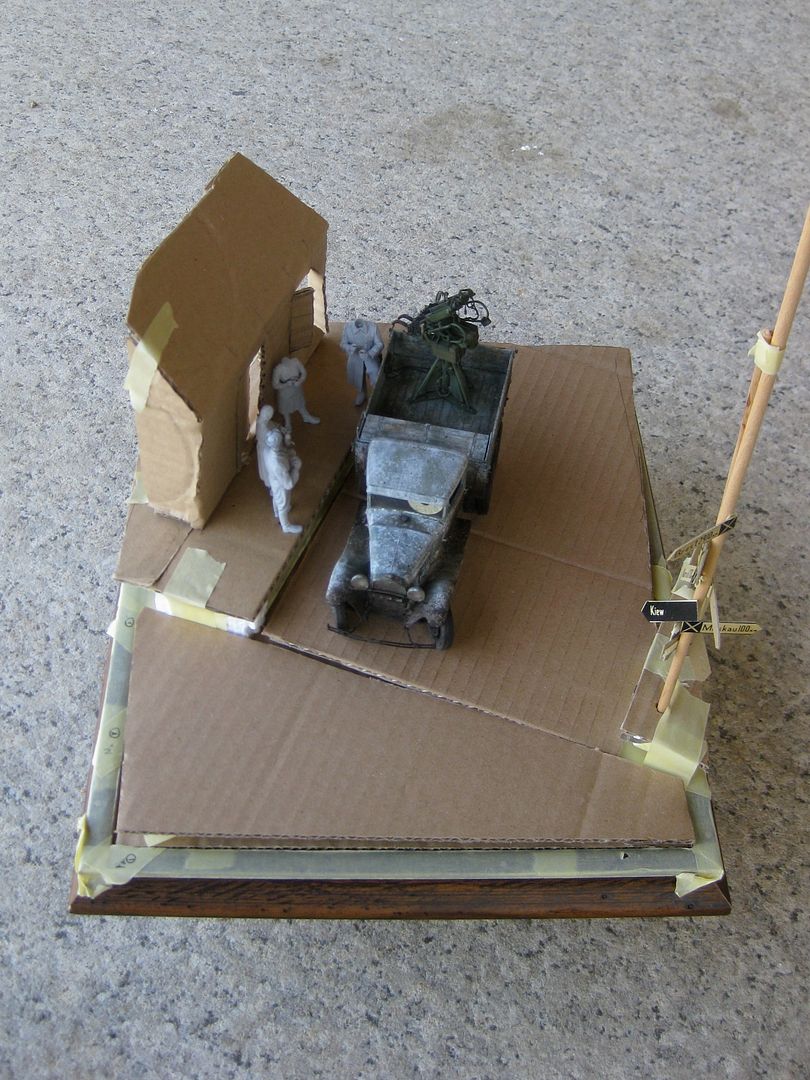
and reaching a base with some different levels and inclined planes

9971
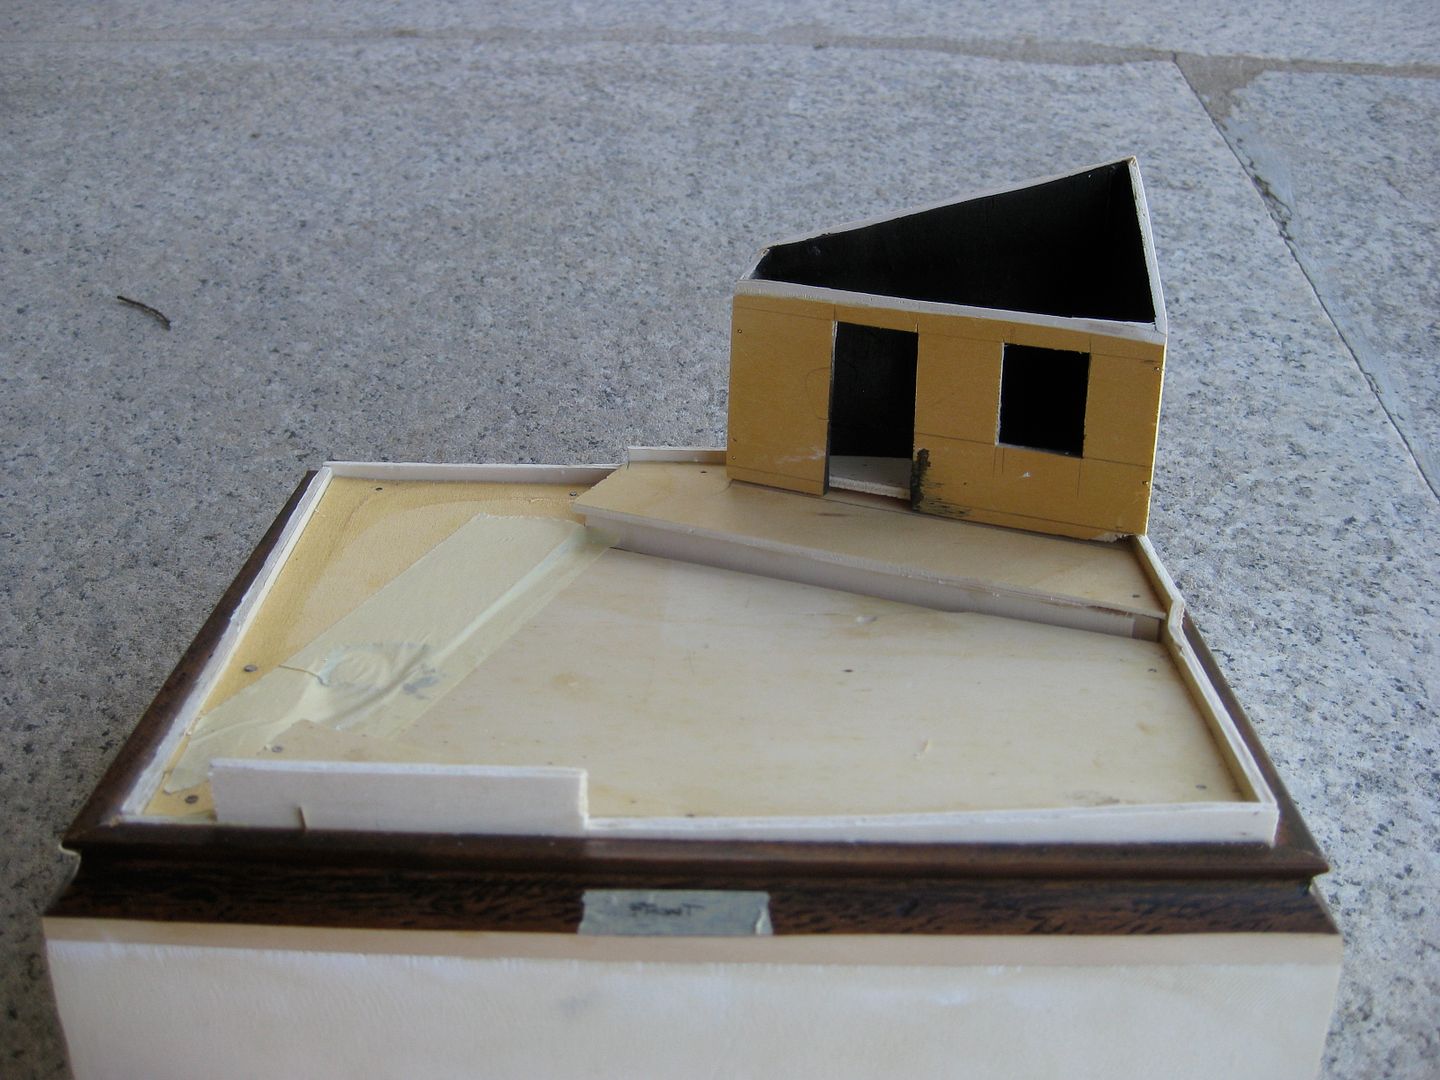
building the russian house was fun and easy,

0002

as its roof:

0006

and arriving at the final layout.

0014

and here we are tonight: a first layer of clay playng streets full of mud.

0046

in the next days I'll adjust the ground and will start to paint it, not yet being sure if put some melted snow or not...

at the next step, greetings, p.

  • Member since
    December 2011
Posted by Scratchbuilder725 on Monday, September 3, 2012 6:13 PM

That's awesome! incredible!!! amazing! cant wait to see it finished!

  • Member since
    November 2004
  • From: Cat Central, NC
Posted by Bronto on Monday, September 3, 2012 8:26 PM

Nice work, I like it

  • Member since
    June 2012
Posted by ghostt180 on Tuesday, September 4, 2012 3:15 AM

Very thorough work. Even though no-one well ever look at the underside, you still have the discipline and dedication to detail it! A job well done you really deserve all the praise you get for this awesome looking diorama

  • Member since
    August 2007
  • From: back country of SO-CAL, at the birth place of Naval Aviation
Posted by DUSTER on Friday, September 7, 2012 12:31 AM

This is a treat to see. very well done.

Steve

Building the perfect model---just not quite yet  Confused

  • Member since
    May 2009
  • From: Poland
Posted by Pawel on Friday, September 7, 2012 2:04 AM

Yeah, that's a solid piece of good work! You captured "the look of Soviet Union" very well! Good luck finishing it, have a nice day

Paweł

All comments and critique welcomed. Thanks for your honest opinions!

www.vietnam.net.pl

  • Member since
    October 2005
  • From: Warwick, RI
Posted by Kolschey on Saturday, September 8, 2012 9:43 AM

Very Impressive work, and a great documentation of your process.

Krzysztof Mathews http://www.firstgearterritories.com

  • Member since
    August 2012
Posted by mc65 on Monday, September 17, 2012 6:32 PM

thank you all...

to be honest, at present time I'm not satisfied at all with the base... knowing that mud it's a strange beast to deal with, I made a minibase to be used as test bed (the left one it's the same thing used for the sand base of the matford):

0121

after some home made mud paste and some grass, I added some vallejo still water.

0147

then I went to the snow testing. fresh snow, slush, standing and ice water, trying several techniques and stuff: woodland snow, sugar, baking soda...

0169

having now the ideas more clear (but still thinking how to improve them) I went on th ebig base with mud..

0174

but the result appears to be just a mess. the only thing that works, seems to be the mud's color, matching the pigments already under the gaz...

0176

better put it aside for a night and think at it tomorrow...

greetings, read you soon!

  • Member since
    August 2012
Posted by mc65 on Monday, September 17, 2012 6:36 PM

darn, I made some mistake with the images... why there is the codes and not directly the images??

also, I inserted two times the 0169... the right one for the big muddy mess was 0174:i818.photobucket.com/.../IMG_0174.jpg

bye, p.

  • Member since
    August 2007
  • From: back country of SO-CAL, at the birth place of Naval Aviation
Posted by DUSTER on Tuesday, September 18, 2012 12:34 AM

mc65

darn, I made some mistake with the images... why there is the codes and not directly the images??

also, I inserted two times the 0169... the right one for the big muddy mess was 0174:i818.photobucket.com/.../IMG_0174.jpg

bye, p.


mc65

1] use icon (red circle) to put your 'bucket "direct link' data in the window that opens;

your result is from copy/pasting to your compose page.

HTH

2]


p.s. the festive balloons on the walkway are a nice touch

Steve

Building the perfect model---just not quite yet  Confused

  • Member since
    August 2012
Posted by mc65 on Tuesday, September 18, 2012 5:17 AM

uh-oh!

but I don't have that screen image, when I write... how to reach it? I here have only the blue "reply" command under the window in wich I'writing now!

also would be great to have a preview before insert a post, just to check it..

I know it, I'm a little B.C. with computers...

PS the balloons are a must, it's a tea party! :-)))

  • Member since
    August 2012
Posted by mc65 on Tuesday, September 18, 2012 5:18 AM

oh dear...

what a beast I am? I didn't see the little yellow icon "edit"....

ok, let's have a try:

very well.

but the image seems to be a little oversize...

but, hey! I may now use the smiles!   Wow

but I "eated" a precedent post... mmmmhhhh... one life it's not enough, to me to learn how to use this thing.

but (the fourth) I may now correct the yesterday post!

thanks, steve!!

  • Member since
    November 2009
  • From: SW Virginia
Posted by Gamera on Tuesday, September 18, 2012 6:47 PM

Hey super job on the truck and the AA gun and mount looks fantastic!

The mud looks good to me. With a little high-lighting it should look great!

PS: And the pins with coloured heads threw me at first - I too thought they look like bright balloons - maybe the '43 Mud Festival!

"I dream in fire but work in clay." -Arthur Machen


  • Member since
    August 2007
  • From: back country of SO-CAL, at the birth place of Naval Aviation
Posted by DUSTER on Sunday, September 23, 2012 5:54 PM
mc65

uh-oh!

but I don't have that screen image, when I write... how to reach it? I here have only the blue "reply" command under the window in wich I'writing now!

also would be great to have a preview before insert a post, just to check it..

I know it, I'm a little B.C. with computers...

PS the balloons are a must, it's a tea party! :-)))

 
No fears my friend you do have the parts to answer your questions.
 
1- the blue reply button- click it and the words "Use Rich Formatting" (picture 1) will appear next to it .
2- click Rich text  and you will be taken to a screen (picture 2) where the icons are.
3- the Preview is the tab , at the top of your edit page (picture 2) and yes, it is hard to see, until you get used to it
HTH
 
picture 1
 picture 2

Steve

Building the perfect model---just not quite yet  Confused

  • Member since
    August 2012
Posted by mc65 on Monday, September 24, 2012 9:59 AM

....ah-ah!!

really, man, I am still amazed when I turn on the radio to listen broadcastings, and I'm just learning how to screw a light bulb (I actually learned, now I'm practicing about unscrew..)Toast

so, here is another little step ahead in forum's use, and modeling: more mud 

0178

unfortunately, the "real" life it's demanding, on these days, so I have no too much time to dedicate here...

thank you again, and read you soon, I hope!

  • Member since
    August 2007
  • From: back country of SO-CAL, at the birth place of Naval Aviation
Posted by DUSTER on Monday, September 24, 2012 12:38 PM

I too have get a thrill when the sound comes out of the radio and HOW do they fit all those people in that tiny TV thing?

The Diorama is looking very good, the mud has a very realistic look. The wood walk way looks very rough and ready.

Steve

Building the perfect model---just not quite yet  Confused

  • Member since
    August 2012
Posted by mc65 on Wednesday, September 26, 2012 5:48 PM

..ready for painting, but not yet to snow...

0245

I did door and window, and splashed on them some colors, but before start with mud & snow I want the people be ready and in position...

maybe in the we, who knows..

greetings, p.

  • Member since
    August 2012
Posted by mc65 on Monday, October 1, 2012 7:18 AM

yesss!

I survived the we, and managed to do something. actually, I'm deeply unsatisfied about the figures, but the sculptures ara what they are, and I'm not an artist, ultimately...

here we are:

0312

the eyes talking want to be woman-woman/man-man: "nice guy, uh?" "uh, uh, granma!" / "what?!?" "don't be rude, man!"

0314

0315

and the two onboard, wich are adding some boost to the tea:

0318

0319

well, all togheter, now!

0321

0326

0328

and that's all, now I'll go to test other stuff to render the snow, then I'll start with it.

greetings, p.

  • Member since
    November 2005
Posted by Anonymous on Monday, October 1, 2012 7:37 AM

Incredible work...just really good stuff going on in here...as a dio builder myself, mud is one of the hardest terrain features to replicate, on the ground and on vehicles---you nailed 'em both...

  • Member since
    August 2012
Posted by mc65 on Saturday, October 6, 2012 6:31 PM

thank you... 

oh, the mud isn't so terrible, the snow is!!!

some advancing...

I started with snowing on the building,

0347

0447

well, for tonight it's enough, to me... see you next, bye, p.

  • Member since
    August 2007
  • From: back country of SO-CAL, at the birth place of Naval Aviation
Posted by DUSTER on Tuesday, October 23, 2012 7:31 PM

Whats happened  to the diorama?

  is it too cold to work?

do you have to wait for the spring?

just checking in to see if everything is OK

Steve

Building the perfect model---just not quite yet  Confused

  • Member since
    April 2012
  • From: USA
Posted by Striker8241 on Wednesday, October 24, 2012 2:10 AM

Fantastic work! Incredible weathering!! Can't wait to see it finished!

Russ


  • Member since
    August 2012
Posted by mc65 on Wednesday, October 24, 2012 6:31 AM

hi guys!

unfortunately I inserted the order for the RB materials I need for the electrical pole with other nice little things to be used with other projects to come.... and I'm still waiting that the shop assemble all the stuff in a single parcel. :-((((

patience is the key of modeler...

I just finished the frame, and fool around with other works waiting for the postman!

"see" you soon, I hope! 

  • Member since
    December 2008
  • From: Northern Va
Posted by psstoff995's lbro on Friday, October 26, 2012 10:15 PM

THAT IS AWESOME!

Great work, that looks sick!

-Will young modeler Test fit master
  • Member since
    November 2008
  • From: Central Florida
Posted by plasticjunkie on Monday, October 29, 2012 9:29 AM

That is trully awesome work, from the weathering on the truck, the scratchbuilding of the structure, the figures and terrain. That is for sure a show winner!! Toast

 GIFMaker.org_jy_Ayj_O


Too many models to build, not enough time in a lifetime!!

  • Member since
    August 2012
Posted by mc65 on Wednesday, December 19, 2012 7:07 PM

well, I waited A LOT of time, but here they come!!

ladies & gentlemen, the RB insulators:

it takes some time, to assemble them, especially if you are so insane (like, well... me) to solder, instead of gluing all...

and, of course, if you decide to screw on all the nuts, bolts and washers that you DON'T have...

phew.

another little madness: I put in the final ends a pair of nails, and in the holes of the dio a couple of magnets. so I can pull it out if I want to move the dio, without have a very bog box to comply with.

and here we are now... it needs paint, wires hanging, and a lot of signs in the lower part, but for this night it's enough.

see you nextly, p.Toast

  • Member since
    August 2012
Posted by mc65 on Monday, May 27, 2013 3:29 PM

whoops, how much time!

al least, I finished up this work.
where we were..

yes, the pole...just a few signs on:

and paint on the insulators..

and that's it.

just some changes on the goat, and the final details on the gaz. 

and, of course, some water, mud and slush on the road...

finished!

now I hope to find the time and inspiration to finish some other stuff that's waiting just few touches to came to the end...

greetings, p.

  • Member since
    May 2009
  • From: Poland
Posted by Pawel on Monday, May 27, 2013 3:54 PM

Hello!

It's been a long time, huh? But a good model needs time. And this is definitely a good model! Congratulations!

Paweł

All comments and critique welcomed. Thanks for your honest opinions!

www.vietnam.net.pl

  • Member since
    August 2007
  • From: back country of SO-CAL, at the birth place of Naval Aviation
Posted by DUSTER on Monday, May 27, 2013 7:08 PM

  now that is a great diorama !

Outstanding work, I especially like the mud and  water  on the road- very effective.

Steve

Building the perfect model---just not quite yet  Confused

  • Member since
    May 2013
Posted by Blairy on Monday, May 27, 2013 7:32 PM
If this isnt inspiration, then i dont know what is! . Great work. I hope to replicate your perfection one day.

Eli
JOIN OUR COMMUNITY!

Our community is FREE to join. To participate you must either login or register for an account.

SEARCH FORUMS
FREE NEWSLETTER
By signing up you may also receive reader surveys and occasional special offers. We do not sell, rent or trade our email lists. View our Privacy Policy.