Monogram Promodeler SB2C Helldiver Intro
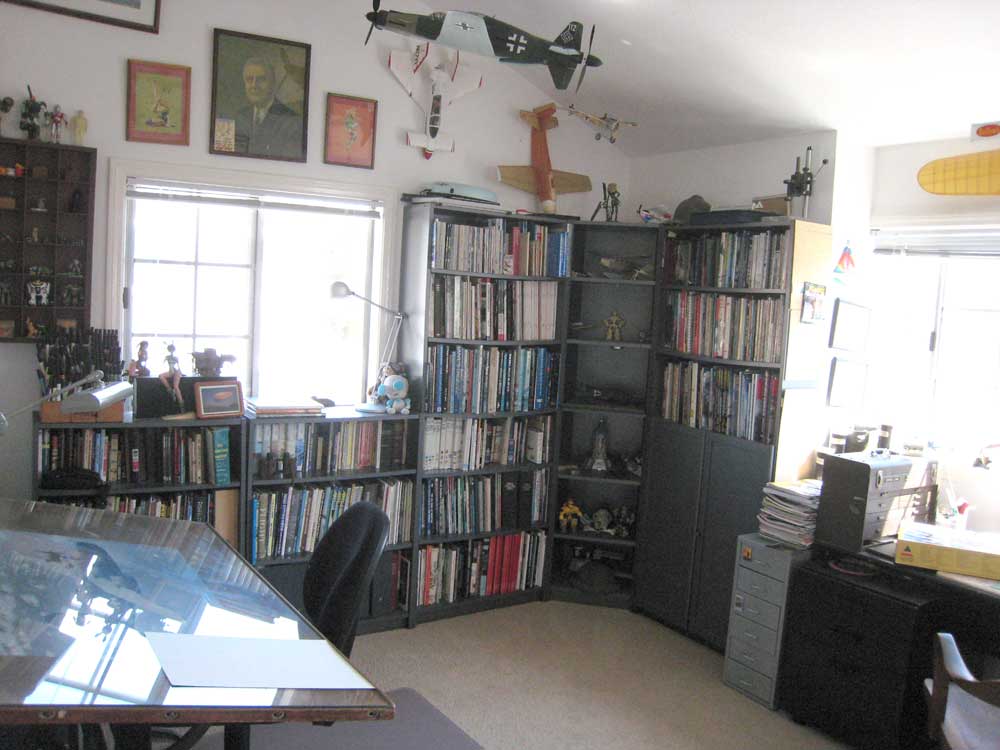
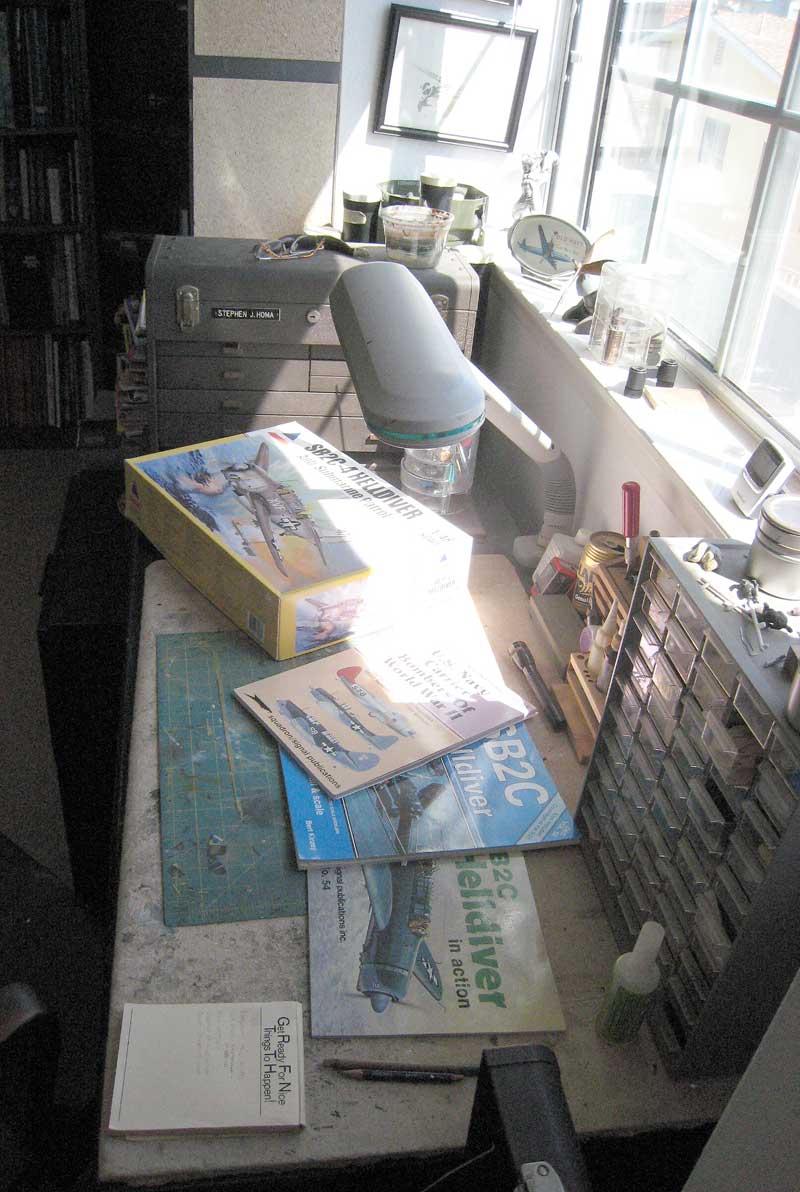
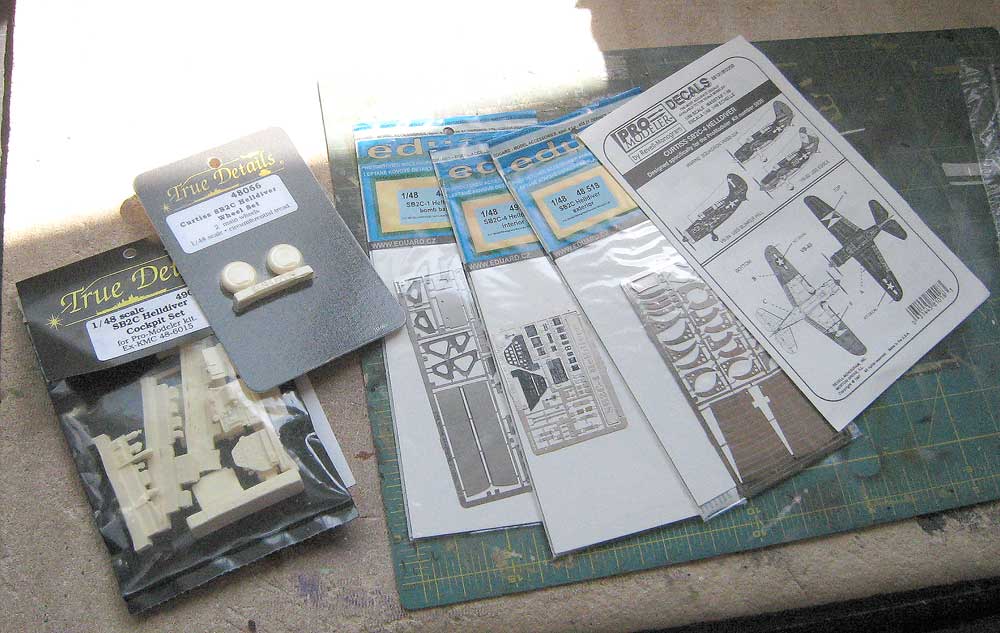
I was really glad when Accurate Miniatures re-released the Monogram ProModeler SB2C kit as the -4 variant. I had missed it the first time around, having spent many years in the stick-and-tissue world of Free-Flight Scale modeling. I collected reference and some choice aftermarket goodies, and have cleared my bench to start a comprehensive build. Here's my Chamber of Models:
The Tail Wheel
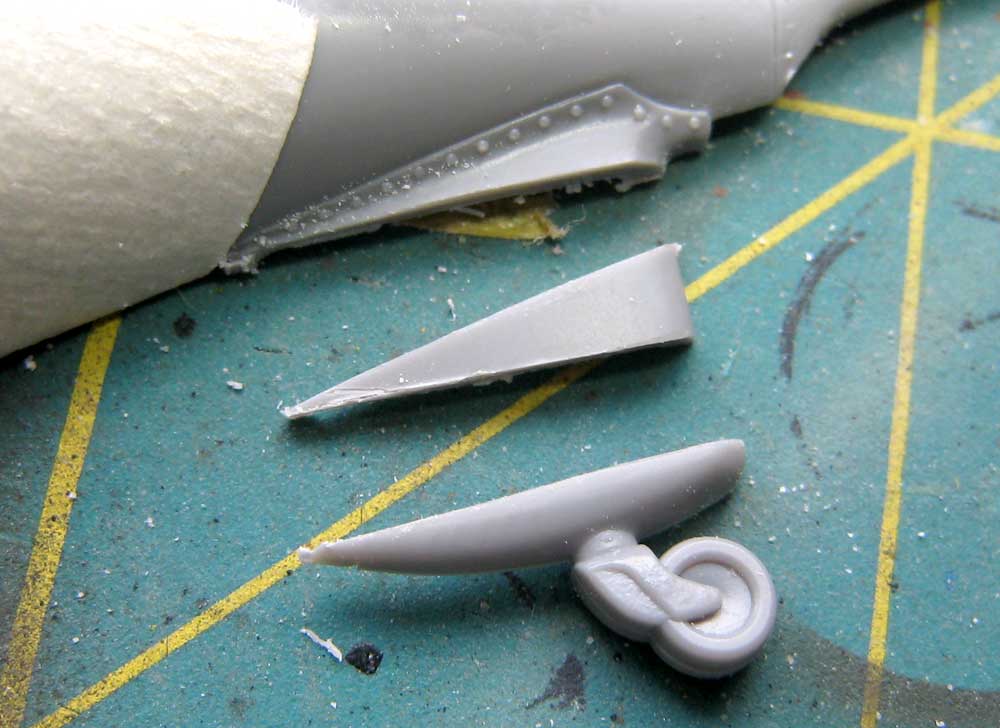
I thought I'd start at the tailwheel, just like everybody else. The tailwheel fairing telescoped as it compressed, and while on the deck, especially when loaded, she compressed all the way. The kit is properly molded for an in-flight posture.
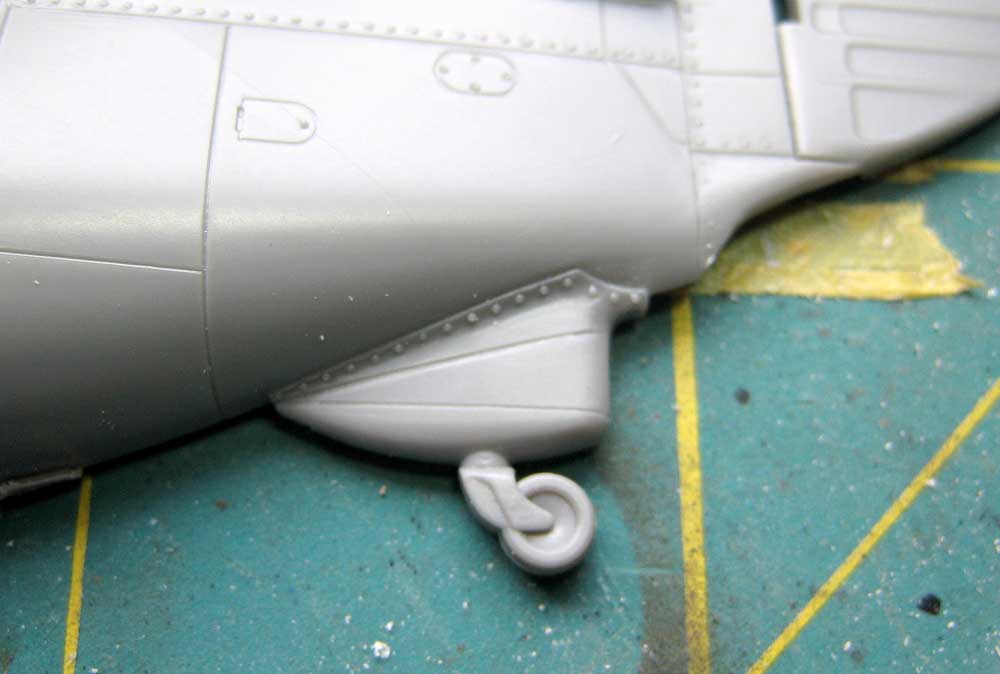
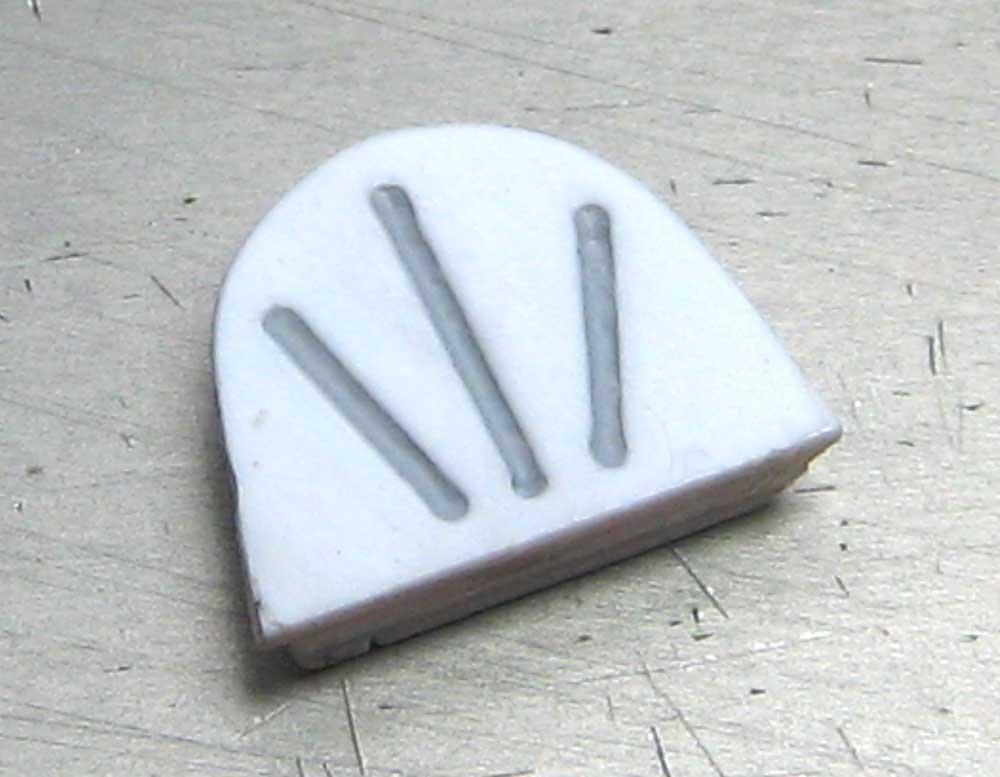
That wedge in the middle need to come out!
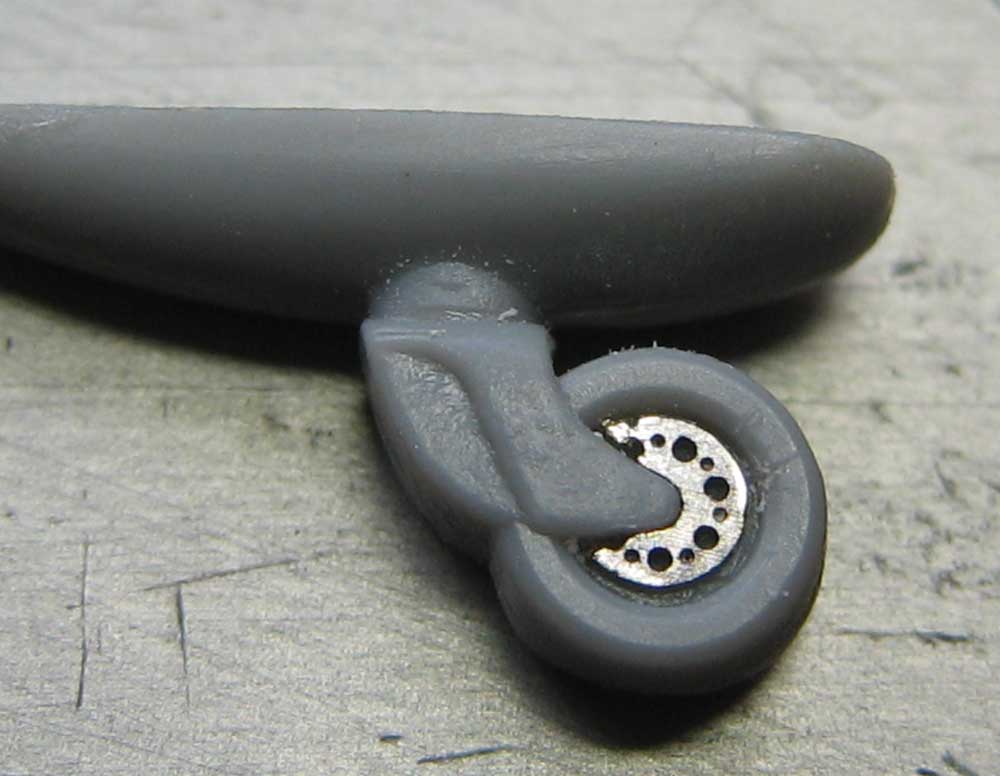
Since that hub is plain to the point of being offensive, the etchmasters at Eduard have come to the rescue: Blinging Rims!!
Since I'm starting out by chopping stuff up, I thought it prudent to move to the bomb bay.
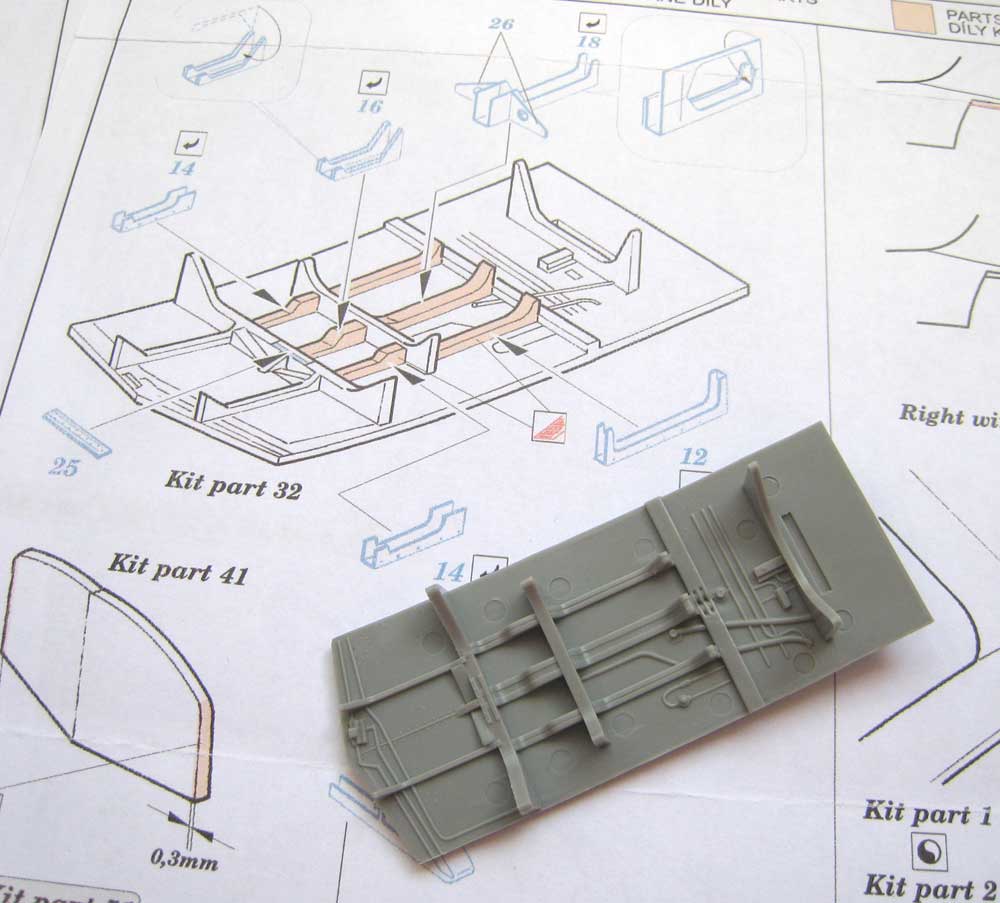
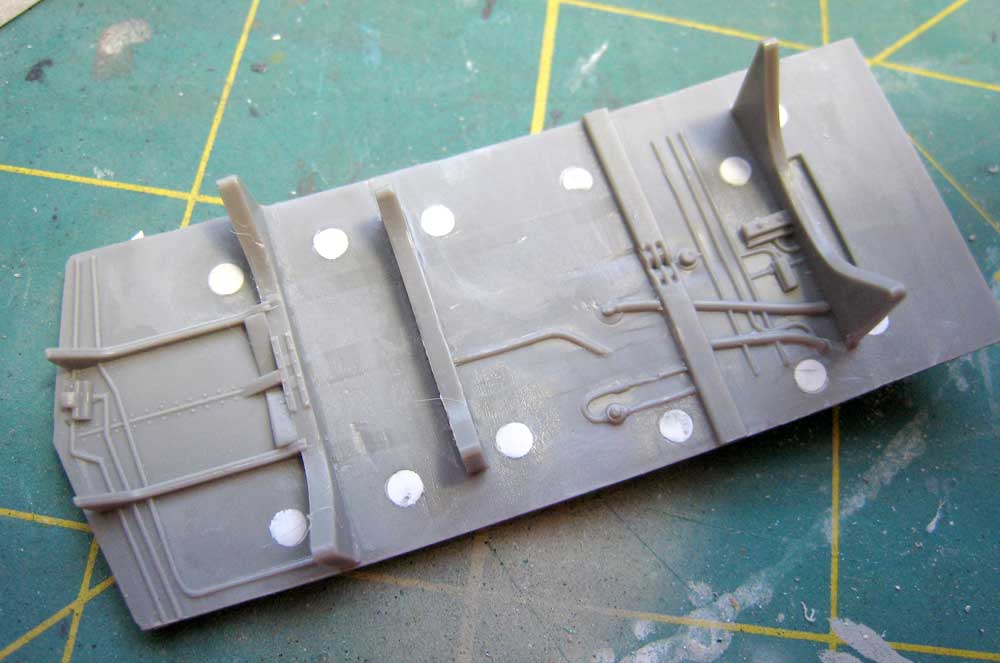
A lot of those structures had to go, so I whipped out mt Micro-Chisel from Mission Models and let fly. Note that I've also filled in the verdamt ejector pin marks with plastic discs.
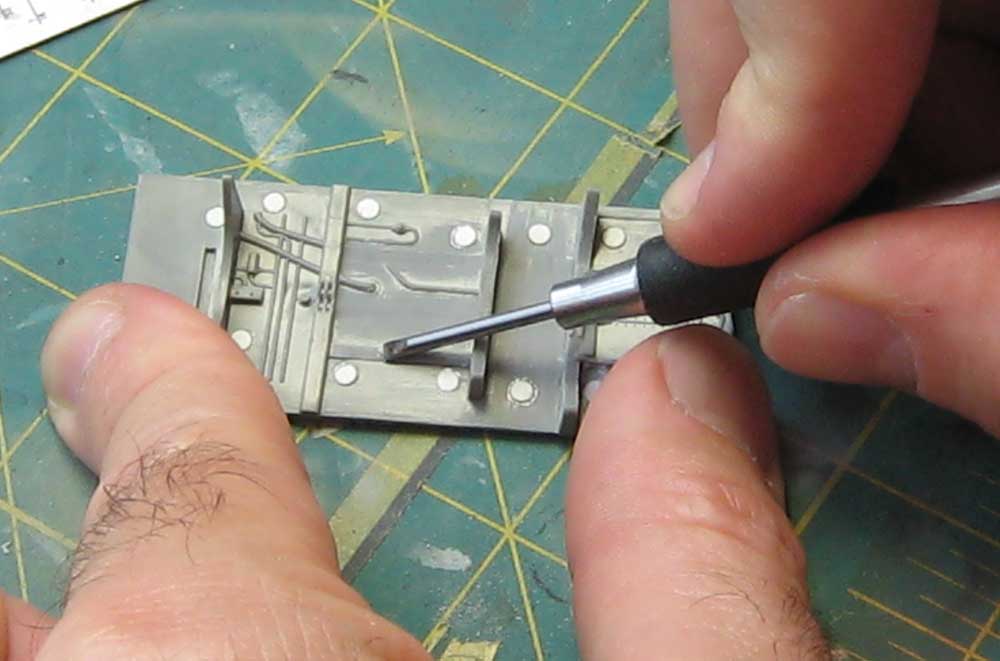
Is smooth like butt of baby!
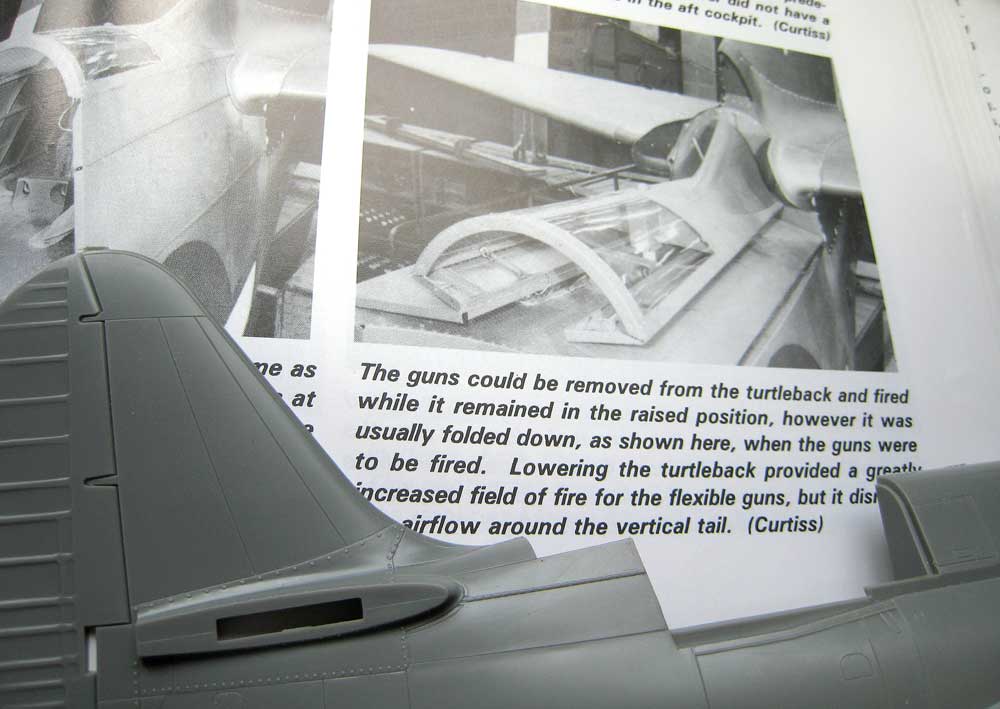
Being of unsound mind I decided to lower the turtleback. Here's the kit, and reference photo that will haunt my dreams. Thanks, Detail and Scale!
I'm using one of those European razor-sawblades- excellent!
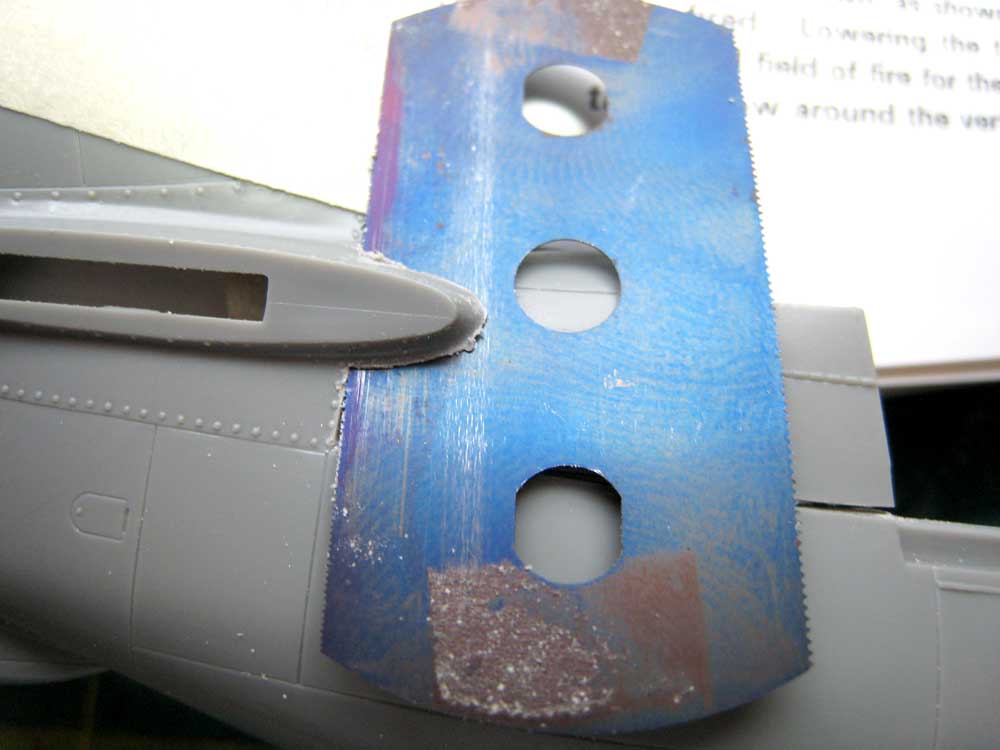
Result: a very different silhouette.
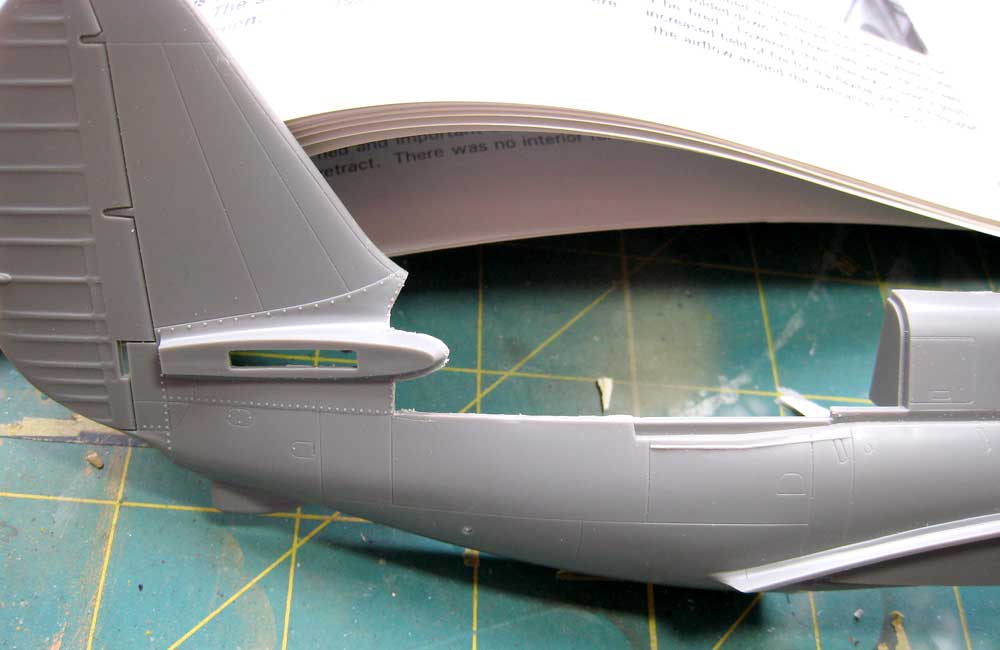
Here's the cut part:
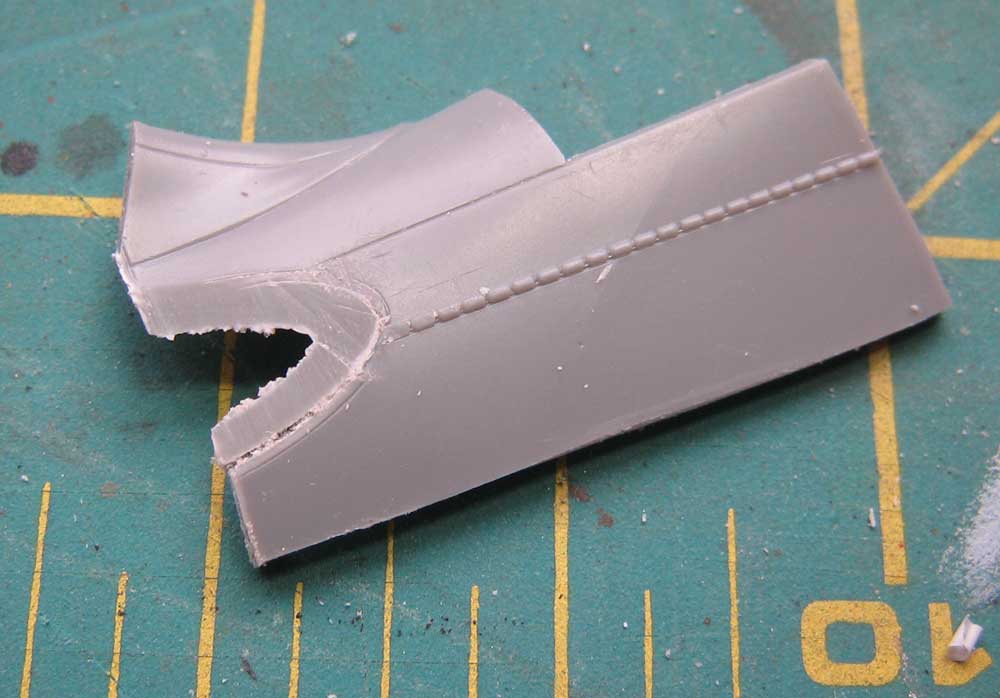
Some styrene is glued over the scab- modeling first aid! The doors themselves will be replaced with styrene copies- only the top fairing needs to be fixed up.
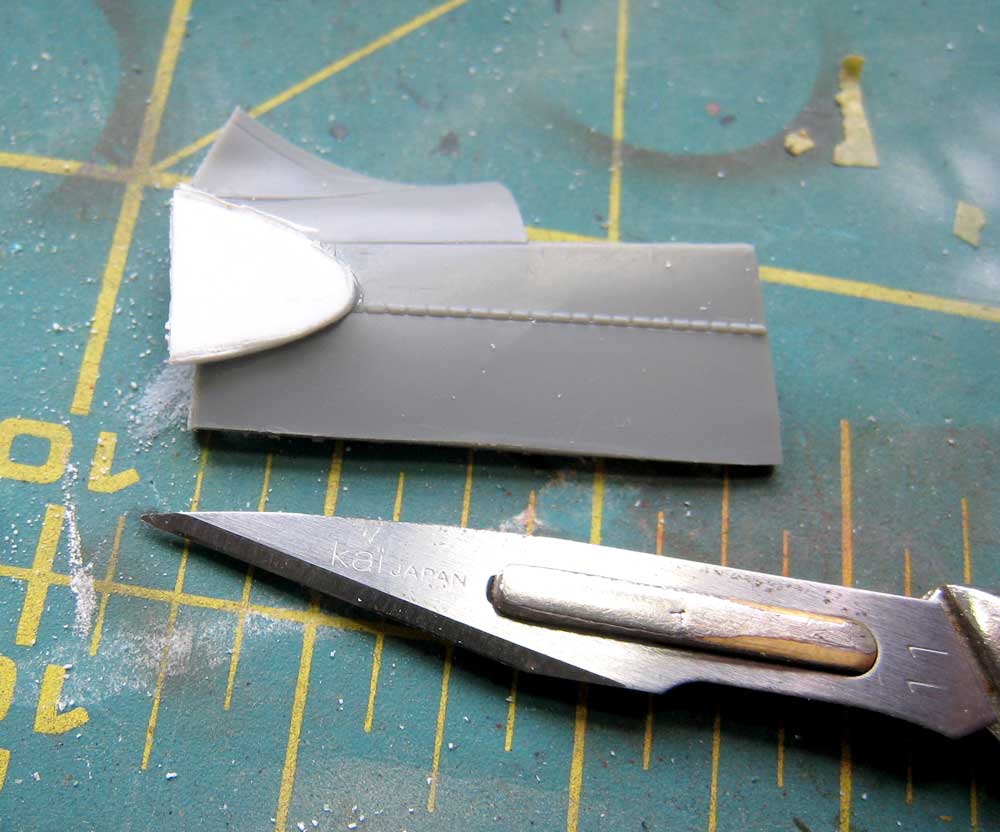
Well, now comes the fun part- you need to cut away the rear bulkhead on kit part, extend the floor and make a properly sized bulkhead. But... look at the gap! Whatever shall I do?? Stay tuned, bold readers!
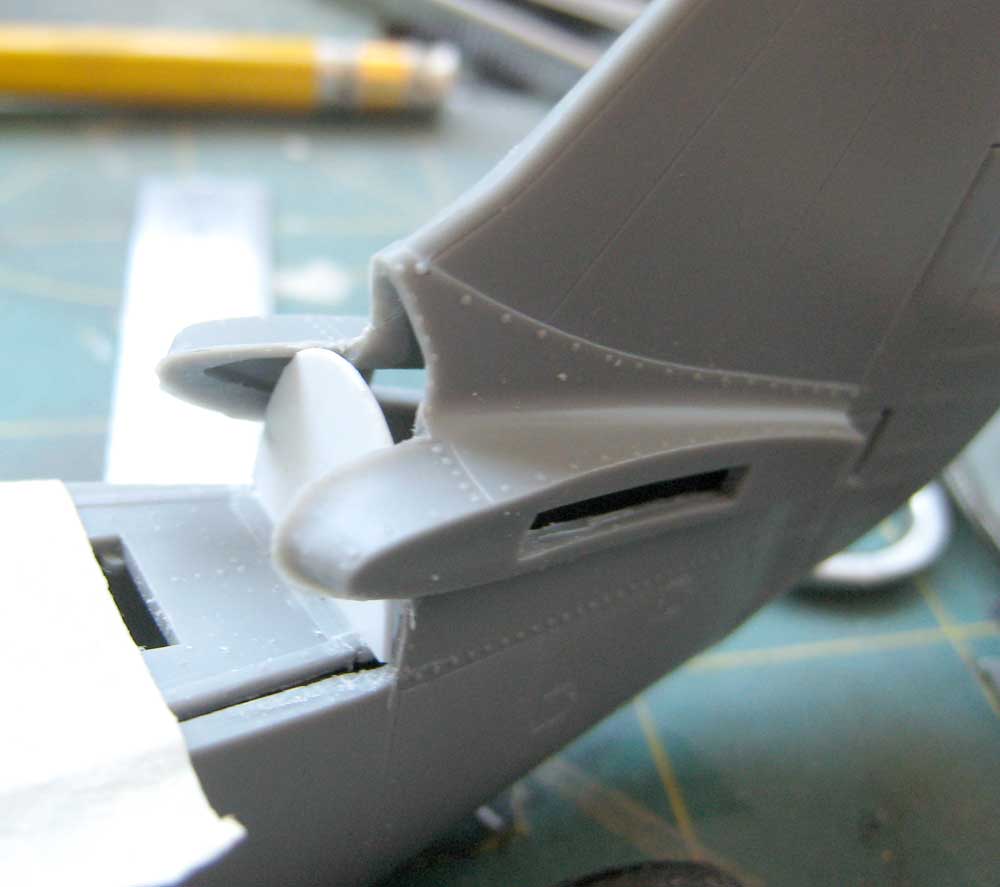
The Bulkhead and Turtledeck
Here's that rear bulkhead, with stiffening grooves and rear laminations cut out:
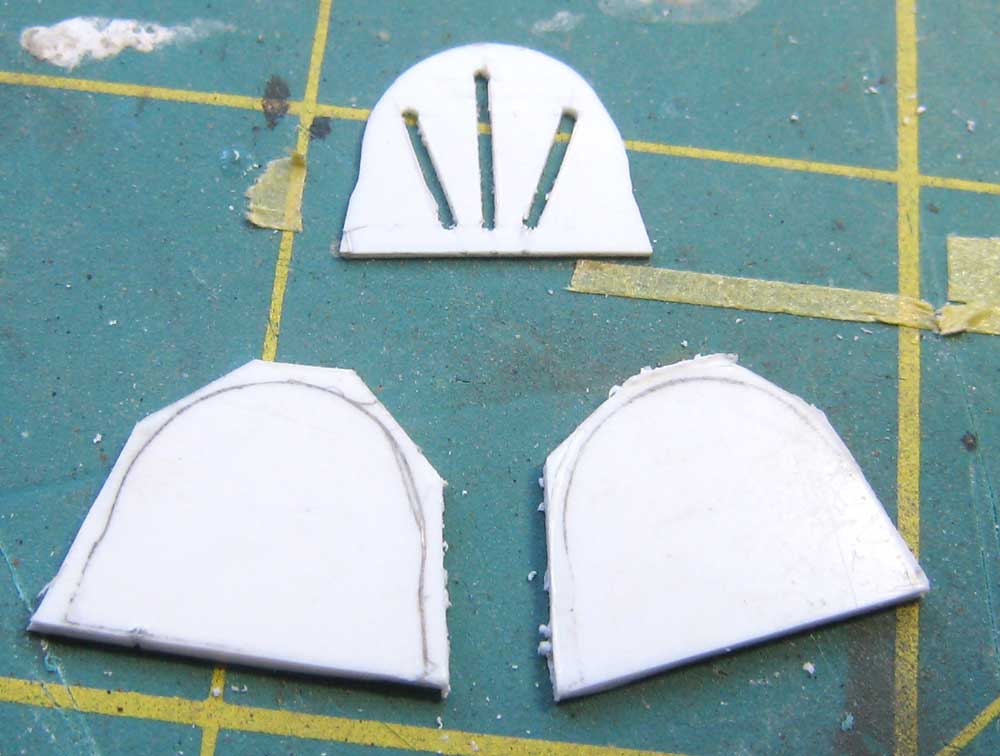
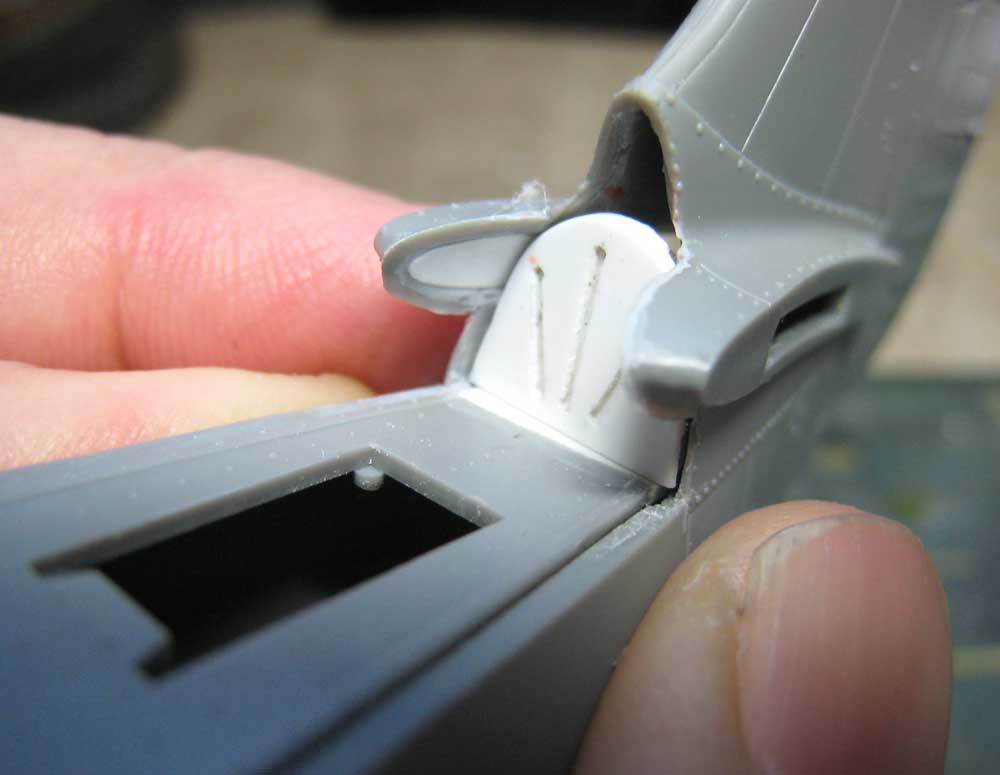
...glued, shaped and in the process of test-fitting. Photographic proof that I am all thumbs!
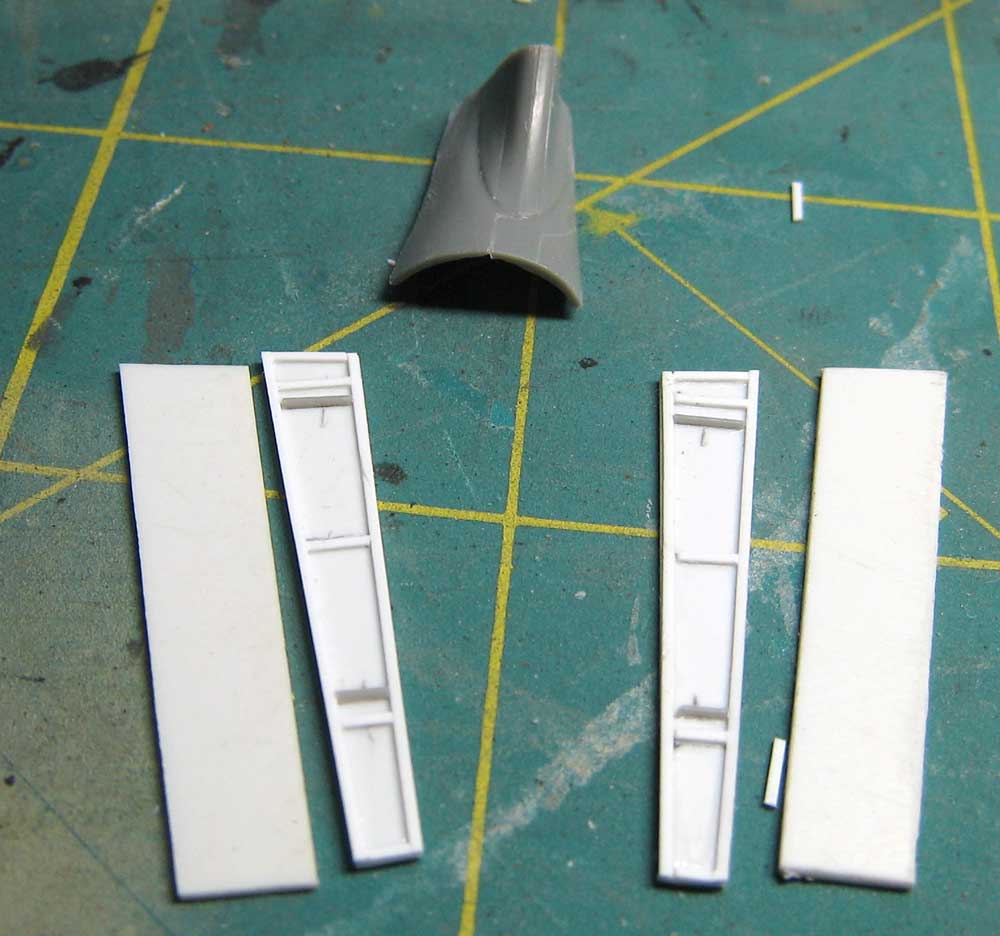
Here are the new folding panels, from styrene, stretched sprue and Evergreen strip, plus the tail fillet. Note the rudder offset- that's not making fitting the bulkhead any easier!
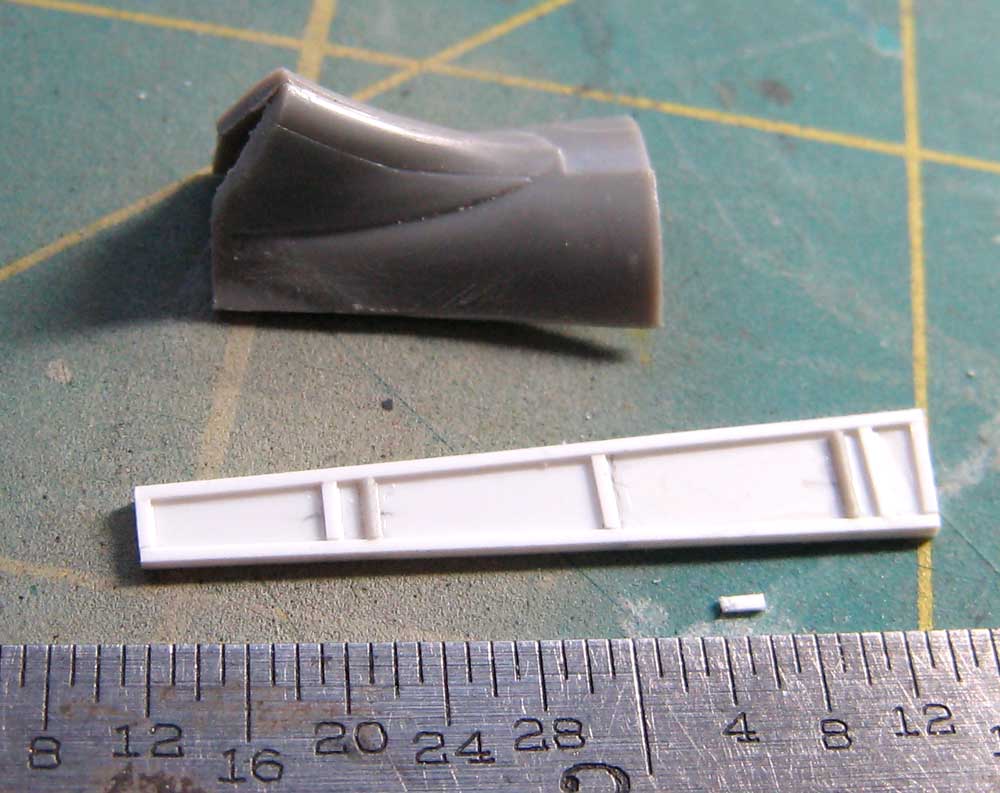
Here's a detail short- this is one of the second set of upper panels. The first set was ruined when I tried give them a mild bend using hot water to better match the ones cut from the kit. Careful examination of photos of the rear turtledeck doesn't really show any curvature. I think I'll leave 'em flat.
That's it for now, True Believers!
Bomb Bay and more Turtledeck
I laid the photo-etch in the bomb bay- starting to look busy! The fit of all the little widgets is excellent- good job, Uncle Eduard! 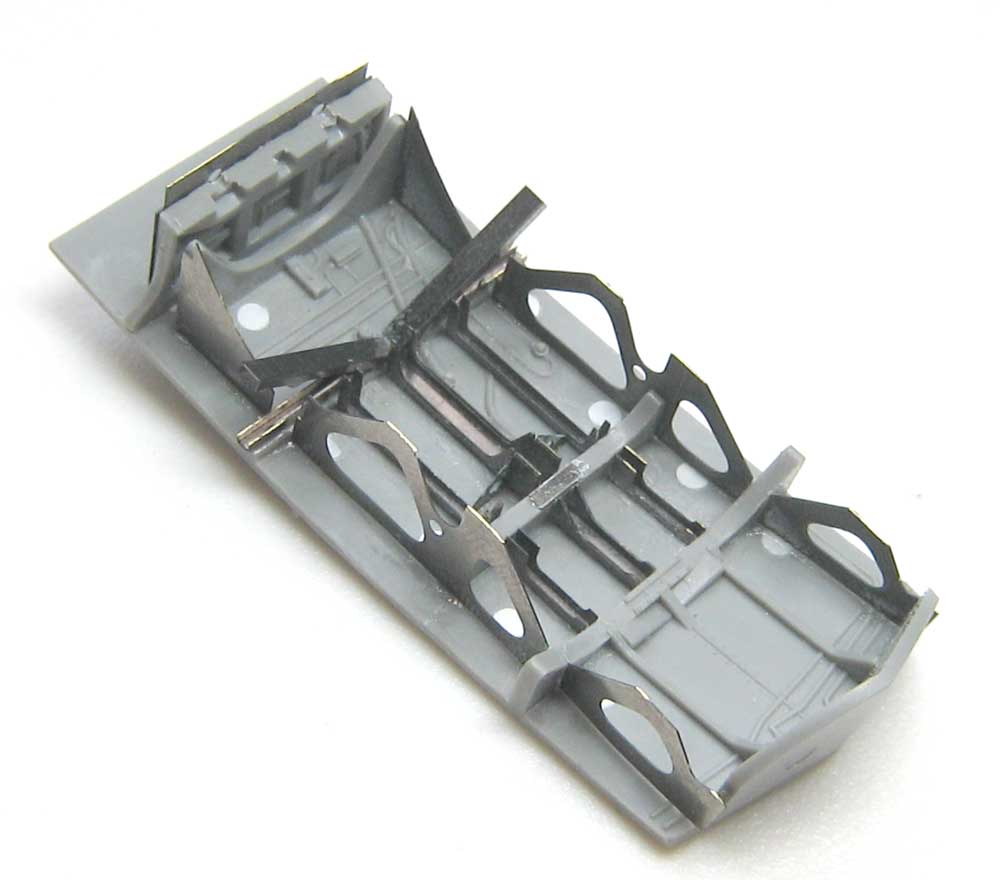 The trusses sport some excellent detail.
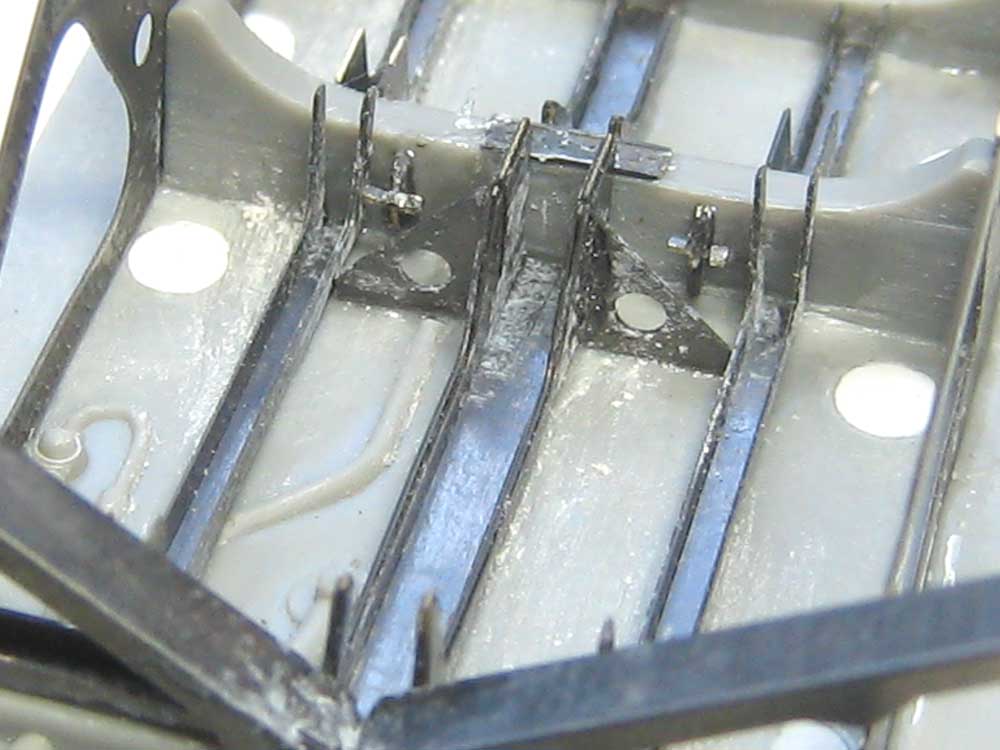
 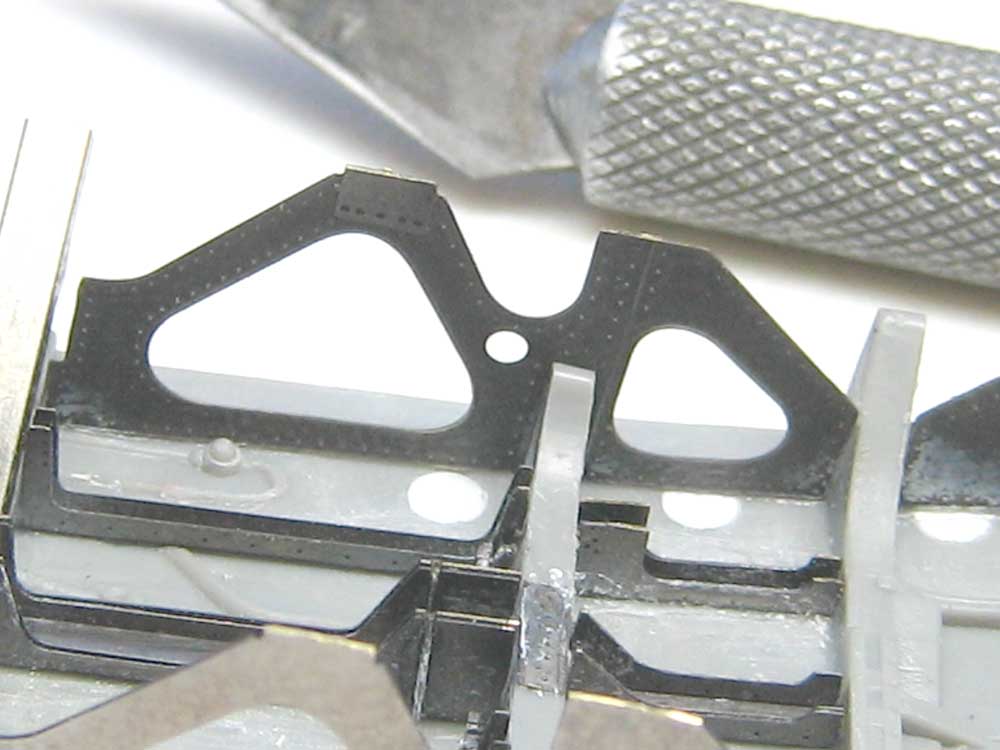 Uh-oh! Lots of CYA "frost"- not to worry- this will disappear under a coat of primer. Lots of plumbing to be added as well!
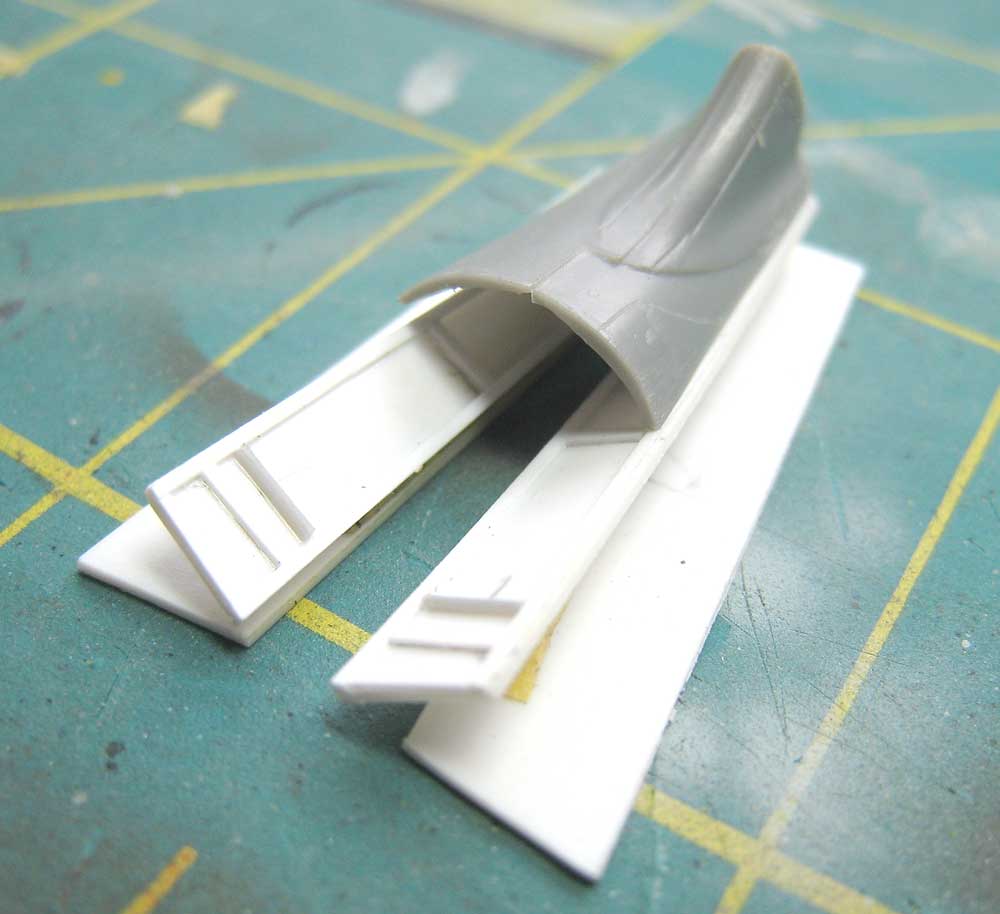
  I'm still fussing with the turtledeck bits- here's the deck temporarily hinged with masking tape. I think it's gonna work. B)
  I did figure out a way to make those pressed stiffening ribs look less like these simple cutouts...
 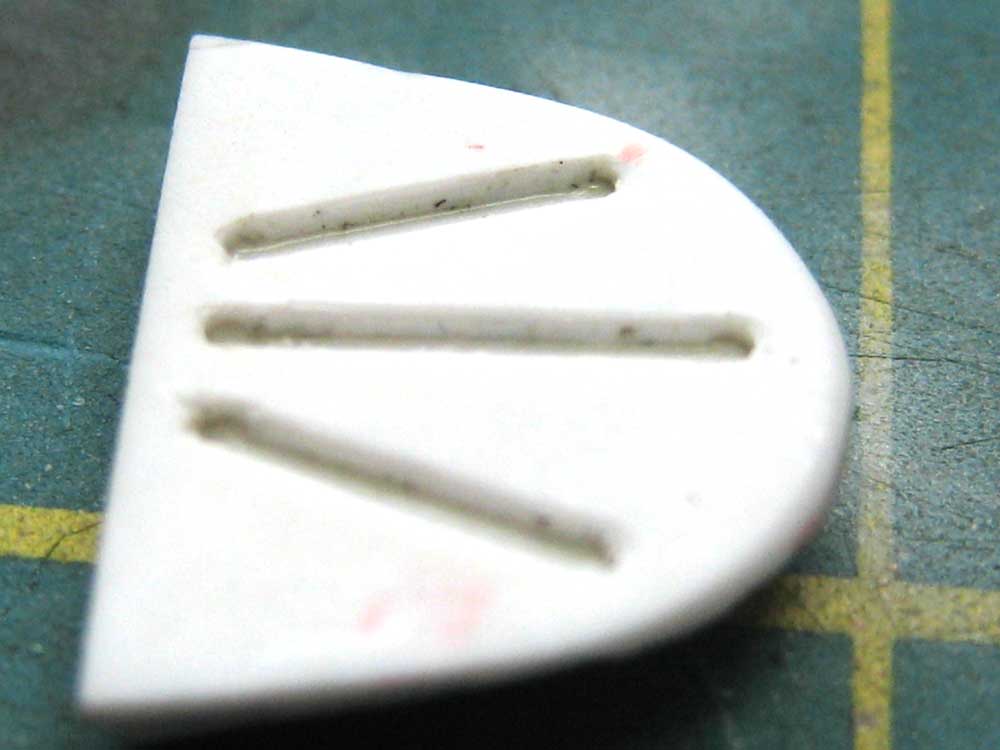 ..just brush on a little Mr. Surfacer and let dry for 30 minutes or so. Then wipe away the excess with a q-tip dampened with laquer thinner- presto! Rounded grooves!