SEARCH FINESCALE.COM

Enter keywords or a search phrase below:

1/48 Eduard YAK-3 WIP

19050 views
46 replies
1 rating 2 rating 3 rating 4 rating 5 rating
  • Member since
    January 2009
  • From: hamburg michigan
Posted by fermis on Monday, March 22, 2010 7:53 AM

This is coming along beautifully!!!!   I'm diggin it!!

  • Member since
    March 2009
  • From: Wirral. UK
Posted by Spike190 on Monday, March 22, 2010 6:53 AM

FastEagle I really like your painting style, really does make the detail pop, it's a little bit "Spanish style" which I like Yes.

Cant wait for more.

Cheers.... 

Mike  Toast


  • Member since
    February 2006
  • From: Smithers, BC, Canada
Posted by ruddratt on Sunday, March 21, 2010 7:48 PM

I'm very impressed with your weathering techniques, as well as your attention to detail. They really compliment each other nicely. You got me anxious for more progress pics. Keep us posted. Yes

Mike

 "We have our own ammunition. It's filled with paint. When we fire it, it makes pretty pictures....scares the hell outta people."


  • Member since
    December 2009
  • From: Fort Worth, Texas
Posted by FastEagle1 on Sunday, March 21, 2010 5:17 PM

We ushered in the first weekend of Spring with a dusting of snow here in North Texas, so rather than pull weeds in the freezing, windy outdoors, I dedicated my time to a more important cause - the modeling desk.  On the agenda this weekend is the landing gear and related structures:

Here is the group of parts to be painted (As I pointed out earlier, Eduard has done a great job keeping mold lines to an absolute minimum).


A close-up of the right-side main landing gear with added details.  The brake line is thin copper wire and the retaining straps are made using the foil from a bottle of wine, cut int thin strips and wrapped around the strut. 

Close up of the right-side main gear doors and retraction leg prior to painting. 

And here are the finished products:

Finally, the last few cockpit details ready for installation:

Stay warm and thanks for stopping by.

  • Member since
    December 2009
  • From: Fort Worth, Texas
Posted by FastEagle1 on Wednesday, March 10, 2010 8:37 PM

Thank you Rick,

I appreciate the comment!

  • Member since
    November 2008
  • From: Crawfordsville, Indiana
Posted by Wabashwheels on Wednesday, March 10, 2010 10:23 AM

Great, clean, crisp cockpit.  Shading looks great.  You're right.  Eduard does have it going on.  But the craftsman still brings it out.  Rick.


  • Member since
    December 2009
  • From: Fort Worth, Texas
Posted by FastEagle1 on Tuesday, March 9, 2010 6:30 PM

Good day everyone,

Another update from the yard...the weeds are back.  Meanwhile on the bench, progress continues apace on the Yak:

Things are starting to come together in the front office.  The seat harness was fashioned from 3M blue masking tape and painted with Vallejo acrylics.

A view of the finished instrument panel from the pilot's left side:


The instrument panel once again:

Finally, a view of the aft deck.  The raised details on the radio are made with Evergreen rod and strip and painted with Vallejo acrylics.


We'll button-up the fuselage and attach the wings over the next week or so.  

That's it for today.  Thanks once again for stopping by.  

Cheers! Beer

  • Member since
    December 2009
  • From: Fort Worth, Texas
Posted by FastEagle1 on Saturday, March 6, 2010 9:01 AM

Gentlemen,

I am grateful for the kind words.  Credit must go to this kit, which is so well engineered and molded.  There really is very little clean-up involved and this lets me focus on assembly and painting.  

Nachtflieger -  Great avatar.  Eddie looks good in a cockpit for sure.

RadMax8 - I agree with you regarding just how green the XF-22 looks.  This is more a function of my lousy lighting than it is the paint.  When I compare the photo's to the pieces sitting on my desk, they look more gray than green.  I'm a complete greenhorn when it comes to photography and am still learning the trade.  

Next up, I'll fashion the harness out of masking tape and button-up the fuselage.  More to follow.

Many thanks again for the feedback.

  • Member since
    January 2003
  • From: 40 klicks east of the Gateway
Posted by yardbird78 on Friday, March 5, 2010 11:03 PM

Excellent progress,  I like the enhanced detail.

Darwin, O.F.  Alien

 ,,

The B-52 and me, we have grown old, gray and overweight together.

  • Member since
    February 2005
  • From: Cleveland, OH
Posted by RadMax8 on Friday, March 5, 2010 11:02 PM

That XF-22 looks so green!

That's the difference between your builds and mine: This one looks so fantastic on the inside! The shading looks super sharp!

I like your builds, you do some good work, FastEagle!

  • Member since
    September 2003
  • From: South Central Wisconsin
Posted by Daywalker on Friday, March 5, 2010 10:41 PM

I really like your method of bringing out the details in the office.  Shading, highlighting, etc look VERY good indeed!

Frank 


  • Member since
    February 2006
  • From: Smithers, BC, Canada
Posted by ruddratt on Friday, March 5, 2010 9:20 PM

Wow! That's some really impressive stuff! Nice weathering techniques, too. Really makes the detail pop! I'm going to have to keep my eyes on this one.  Yes

Mike

 "We have our own ammunition. It's filled with paint. When we fire it, it makes pretty pictures....scares the hell outta people."


  • Member since
    December 2009
  • From: Fort Worth, Texas
Posted by FastEagle1 on Friday, March 5, 2010 8:52 PM

Happy Friday everyone,

Another update from the hanger.. and we are lovin' Eduard!  Progress continues on the good ol' Yak; the front office has been painted and is ready for assembly.  

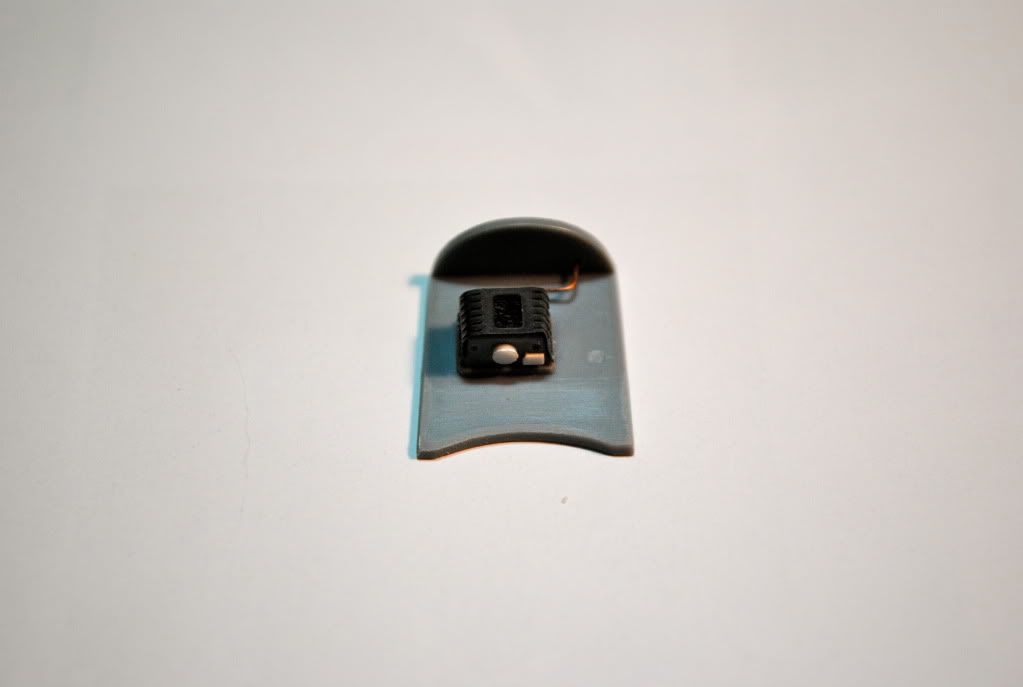
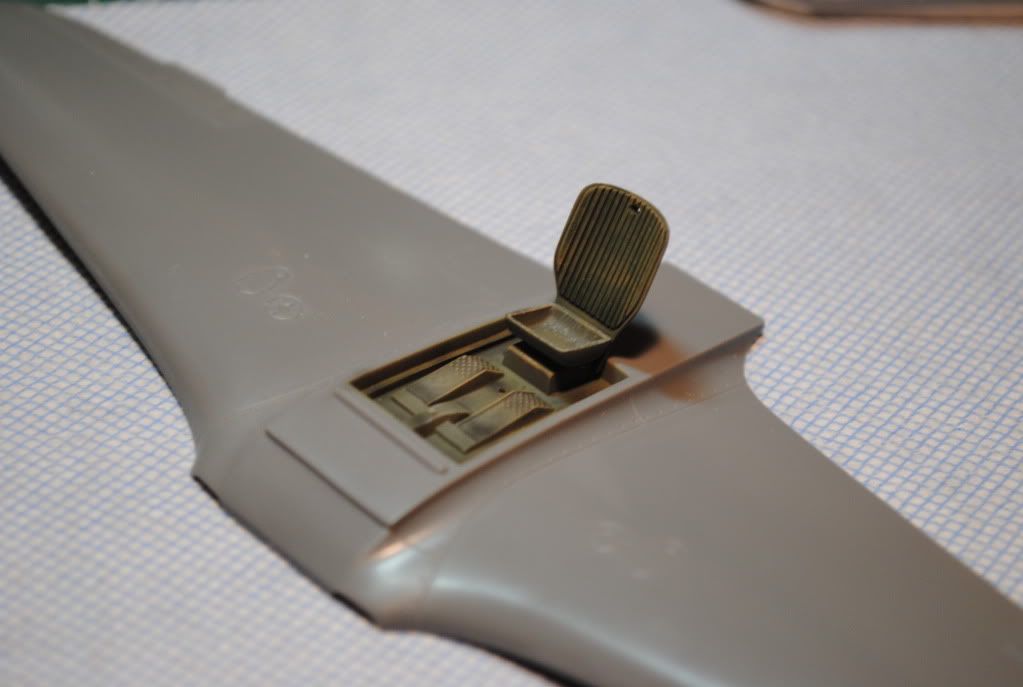
A few details added to the radio deck.  I've elected to use the PE sparingly and will pick out more of the molded-in details with paint.

Next up is the cockpit interior - airbrushed with Tamiya XF-22 per the instructions (and I thought RLM colors were a subject of debate.  Info on the exact colors of this particular vintage is quite scarce.):

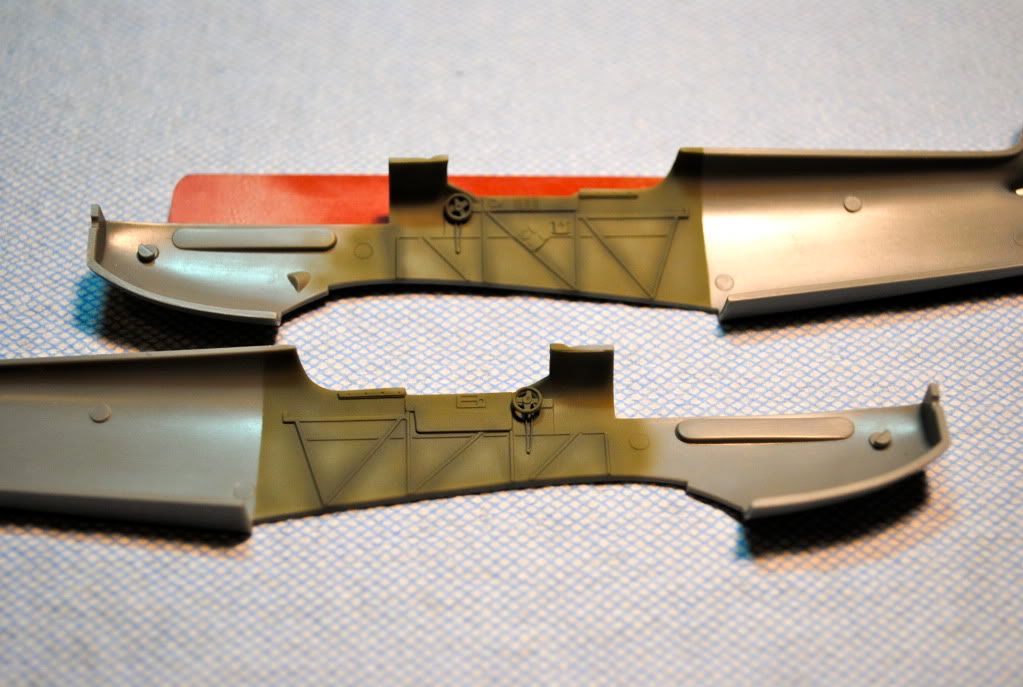
And with the details painted:

The instrument panel and completed radio deck:

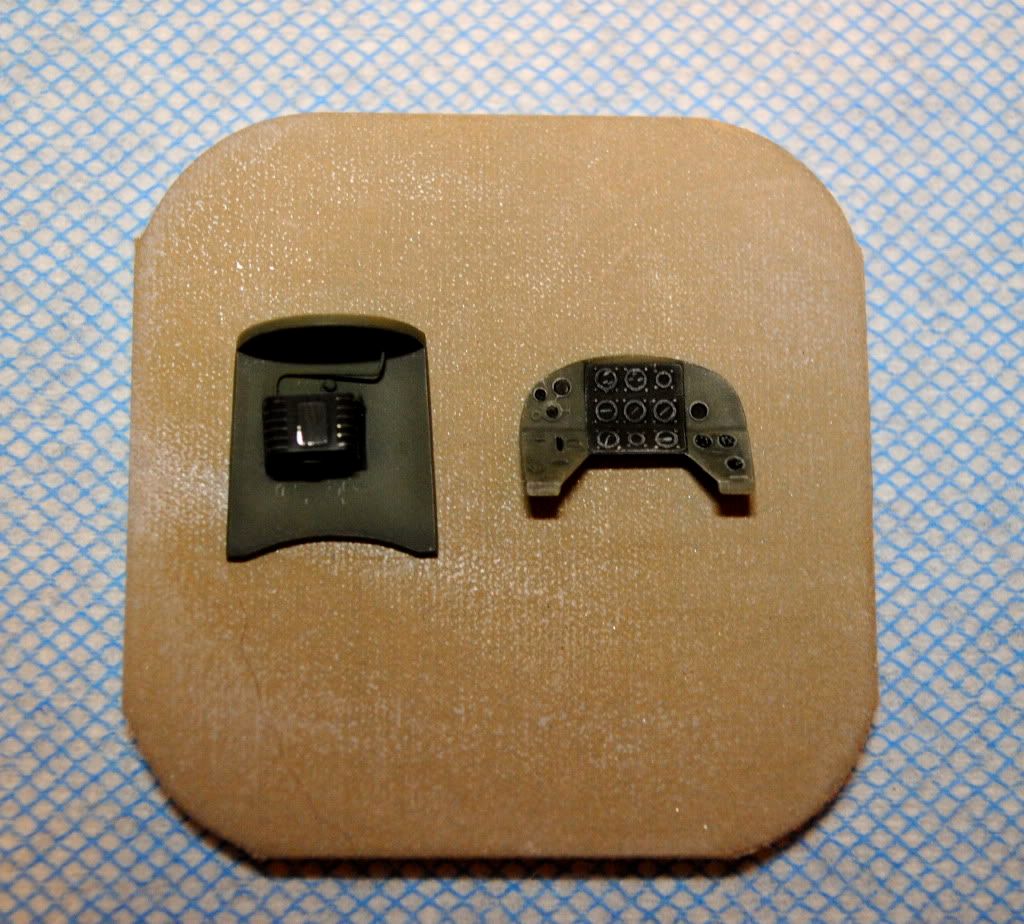
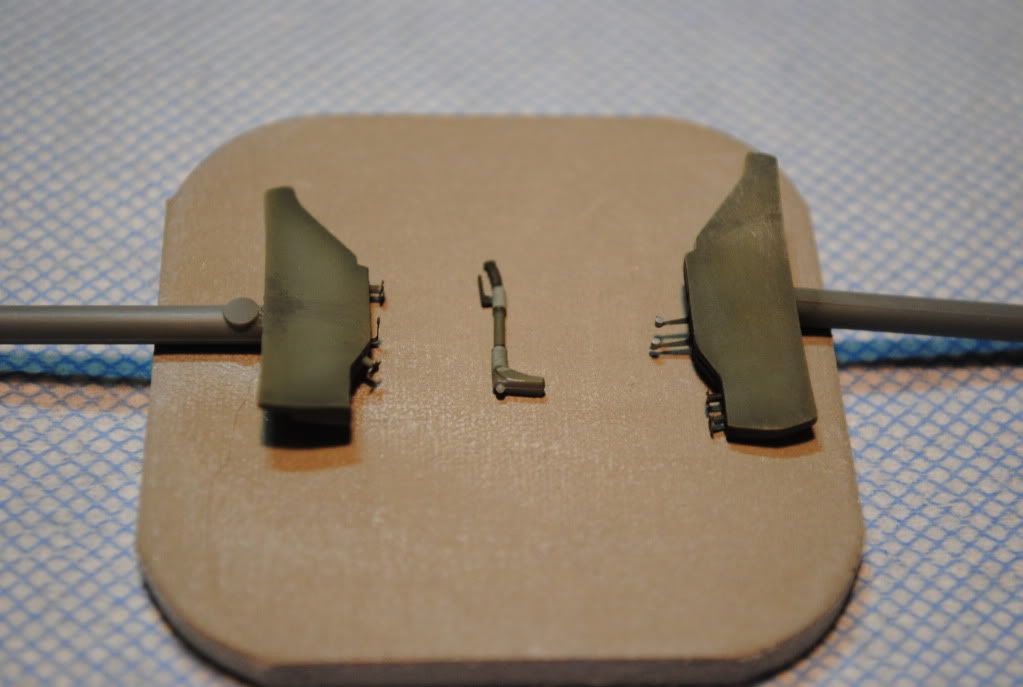
Lounge chair and matching ottoman:

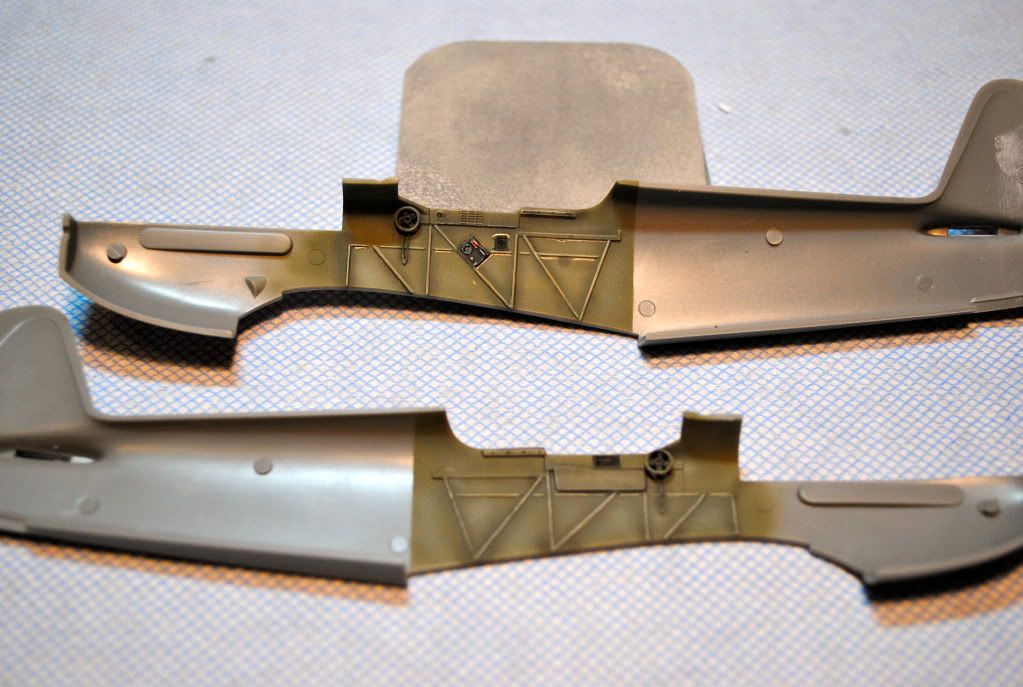
Control column and side panels:

And finally, a few of the finished components dry fitted:

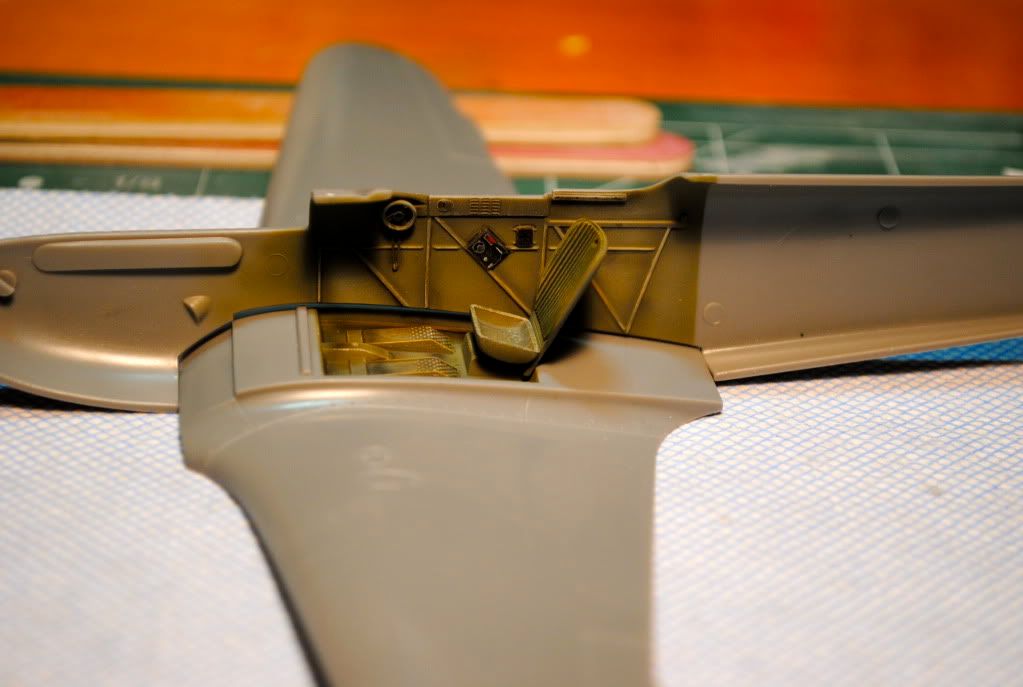
As stated above, I used Tamiya XF-22 straight up and with various tints and tones to pick out the highlights and reliefs.  Vallejo acrylics were used for all hand brushing and dry brushing.  

Thanks for checking us out!  

  • Member since
    January 2003
  • From: 40 klicks east of the Gateway
Posted by yardbird78 on Monday, March 1, 2010 5:00 PM

The test fit looks like things will go fairly well.  Keep us posted on your progress.

Darwin, O.F.  Alien


 ,,

The B-52 and me, we have grown old, gray and overweight together.

  • Member since
    July 2004
  • From: Northern KY
Posted by mucker on Monday, March 1, 2010 8:16 AM

You picked a great kit and are off to a great start. Keep the WIP pics coming.

  • Member since
    August 2003
  • From: Connecticut, USA
Posted by Nachtflieger on Sunday, February 28, 2010 10:56 PM

I'll be watching this one with interest.Smile

Nate


  • Member since
    February 2003
  • From: A Spartan in the Wolverine State
Posted by rjkplasticmod on Sunday, February 28, 2010 8:52 PM

You picked a very nice Eduard kit.  Keep us posted as you progress.

Regards,  Rick

RICK At My Age, I've Seen It All, Done It All, But I Don't Remember It All...
  • Member since
    December 2009
  • From: Fort Worth, Texas
1/48 Eduard YAK-3 WIP
Posted by FastEagle1 on Sunday, February 28, 2010 12:45 PM

Good day everyone,

This is Eduard's fine YAK-3 in 48th scale.  I plan on keeping this build relatively straightforward with the only additions being minor details to the exterior and (perhaps) the gear wells.  This is my first experience with a kit by Eduard and my first impression is, not surprisingly, positive.   I've read may posts on the forum about their kits and decided to give it a go.  Unless the spirit guides me to do otherwise I'll finish this one out in the markings of Red 12 flown by S.W. Nosov, Hero of the Soviet Union, of 150 Guard Fighter regiment in late 1944.  This should be fun.

Onward to the photo evidence:

In the beginning...

Dry fitting the major components shows no gaps or other turbulence.  

The mold makers have cleverly set the wing-to-fusulage joint to coincide at the wing-root panel terminations on the fuselage.  A very nice touch, indeed.  Bravo Eduard!!!!

More posts to follow.

Thanks for checking it out.

JOIN OUR COMMUNITY!

Our community is FREE to join. To participate you must either login or register for an account.

SEARCH FORUMS
FREE NEWSLETTER
By signing up you may also receive reader surveys and occasional special offers. We do not sell, rent or trade our email lists. View our Privacy Policy.