- Member since
April 2015
- From: New Hampshire, USA
|
Tamiya 1/48 Mitsubishi A6M2 Zero (Zeke) (x2)
Posted by UKguyInUSA
on Sunday, May 24, 2015 5:43 PM
Tamiya 1/48 Mitsubishi A6M2 Zero (Zeke) (x2) "Build Update #1"
Hello Guys,
This is my latest build that I started a couple of weeks ago, but haven't had the time to jump on here and post my build progress, until now. So, here goes....
I've decided to build two A6M2's at the same time, so that I can model one in the Aircraft carrier based all over Japanese Navy Grey/Green color and one in the ground based Japanese Navy Green upper and the Japanese Navy Grey lower. The Grey/Green version will have little chipping, but the Green version will have heavy chipping. The chipping will be done by using the "hairspray" technique.
These will be my 18th and 19th model builds since starting modeling in January 2014, and, they will be my first ever attempts at Japanese WWII aircraft, so, I've been looking forward to doing these.
Anyway, that's enough of the introduction, let's get on with the build.....
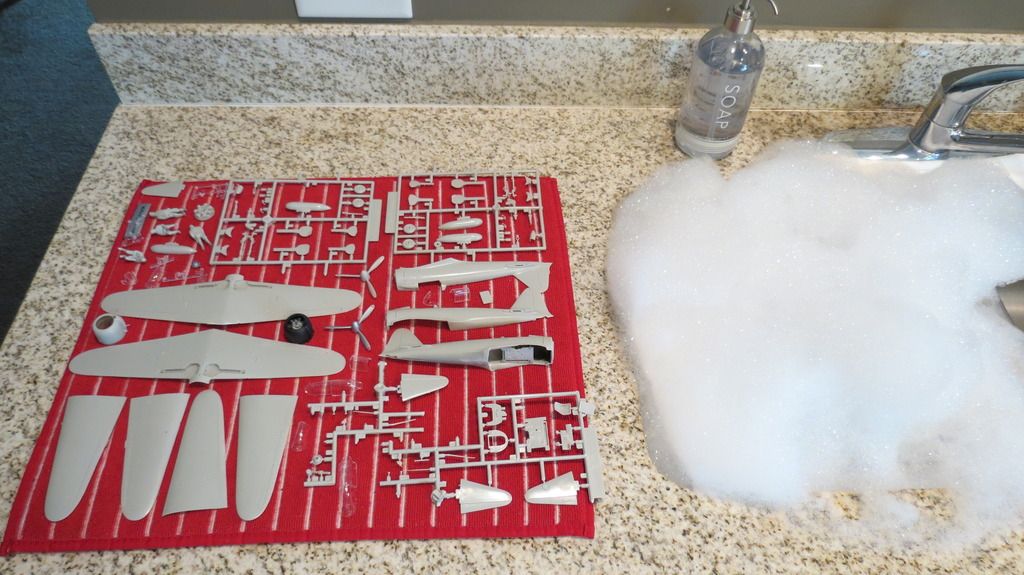
As always, I start my builds by washing the sprues in warm soapy water...
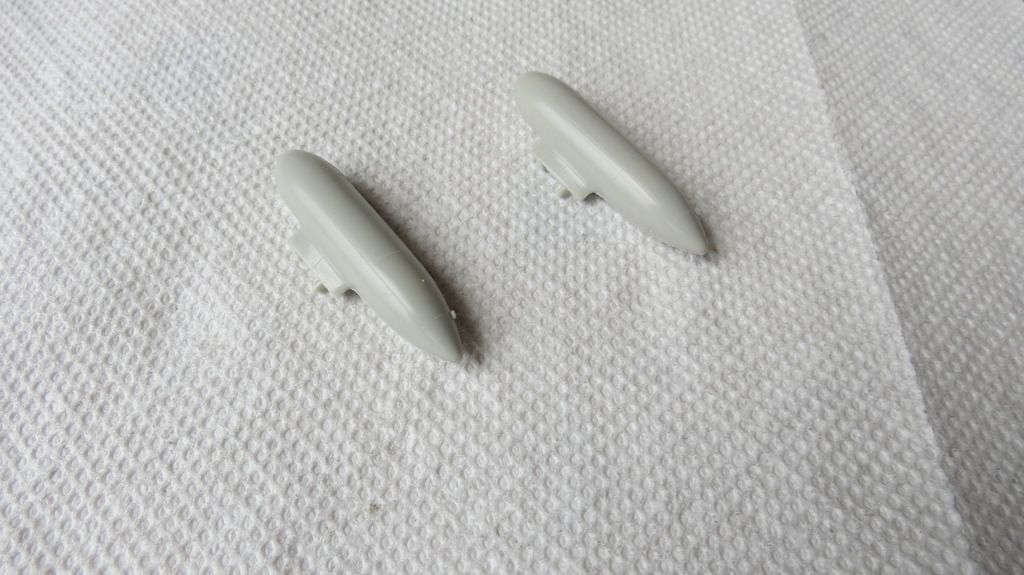
 Next, I assembled both drop tanks, one for each plane...
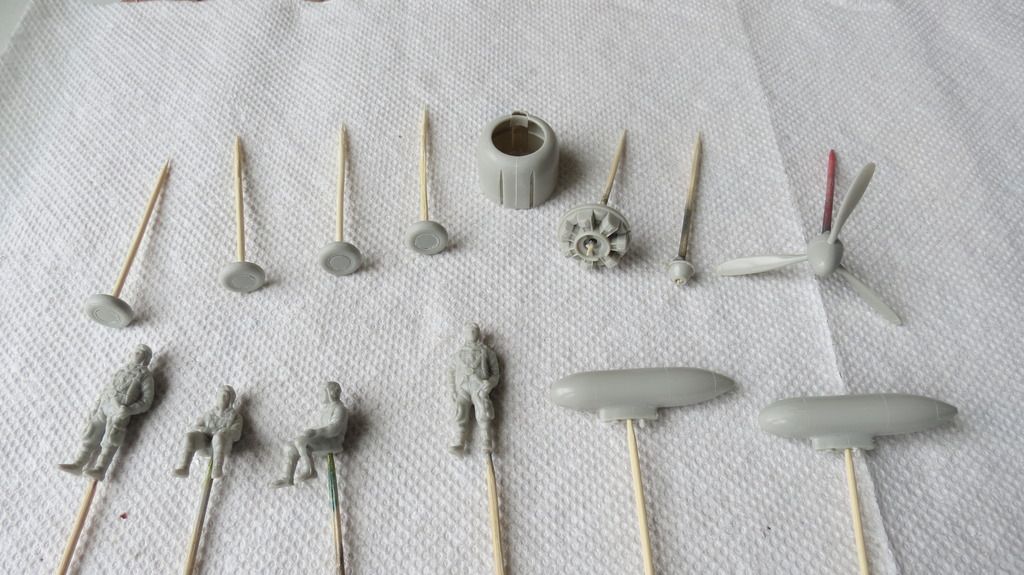
 I then put all the small parts onto cocktail sticks in preparation for painting...
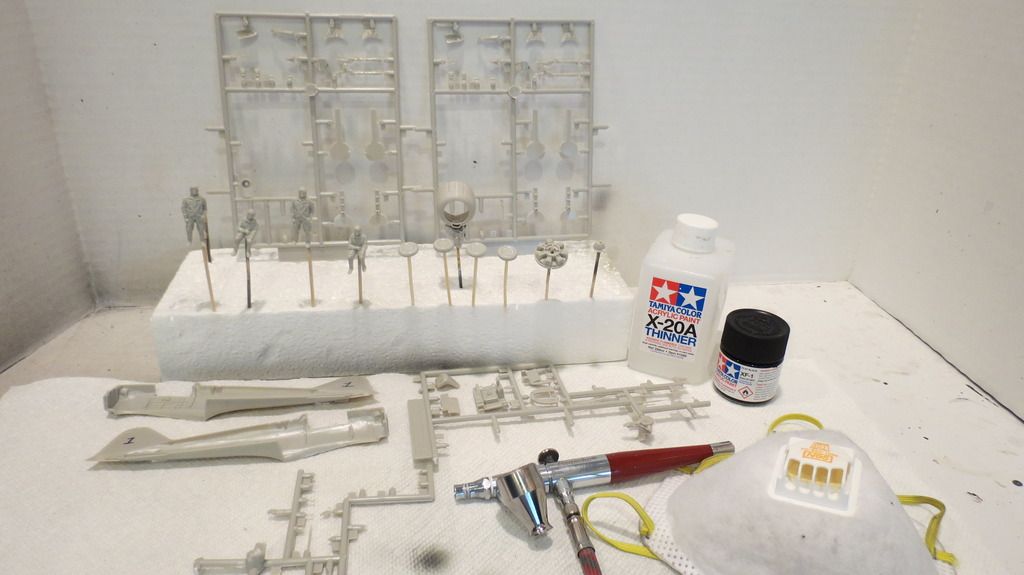
 All parts were then taken to the spray booth for airbrushing a black base coat onto....
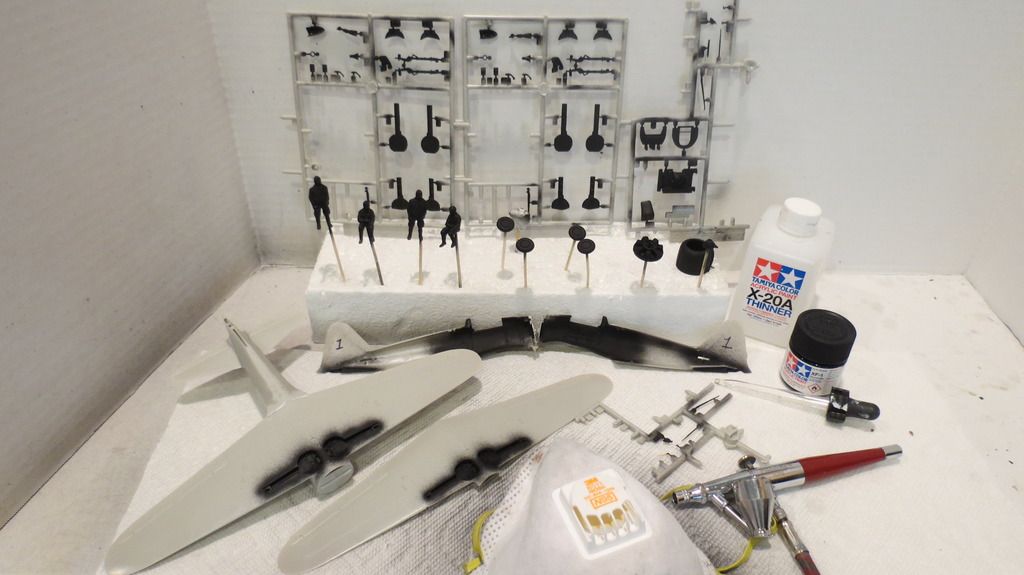
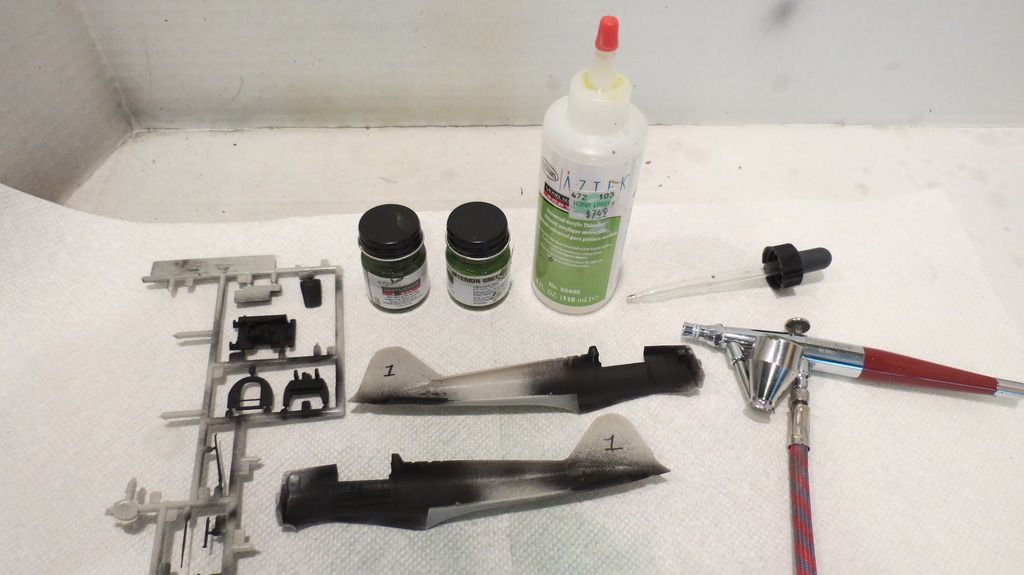 When the black base coat was dry, I then airbrushed Cockpit Interior Green onto the fuselage interiors and onto the cockpit tub parts....
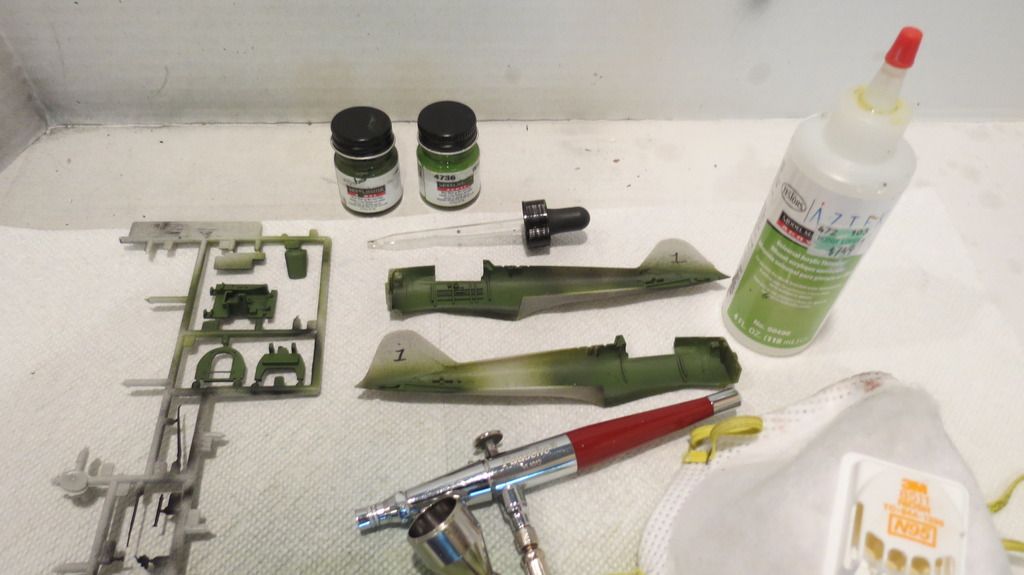
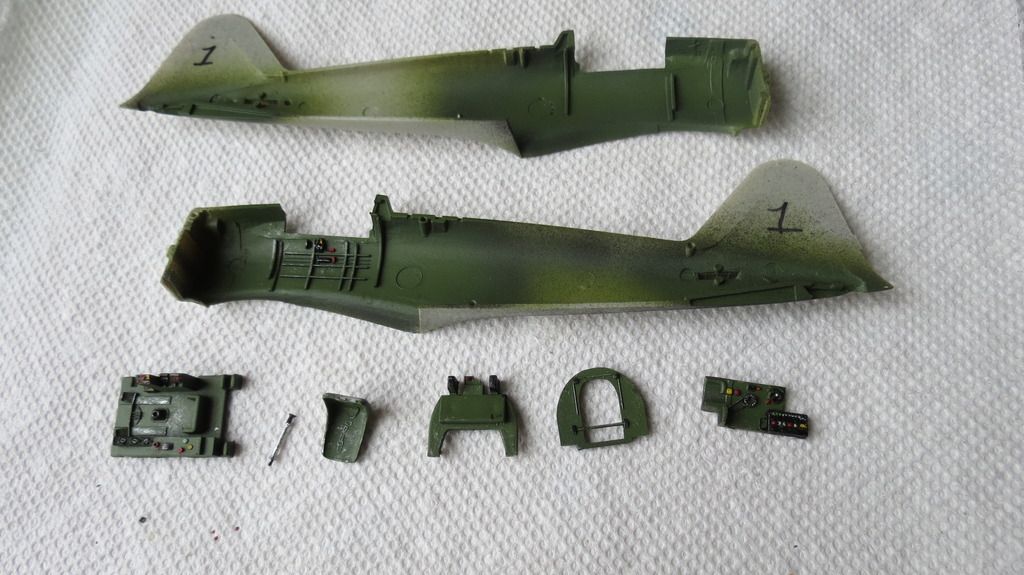 I then made a start on detailing the cockpit tub and added the instrument panel decals, then assembled the separate parts to form the tub....
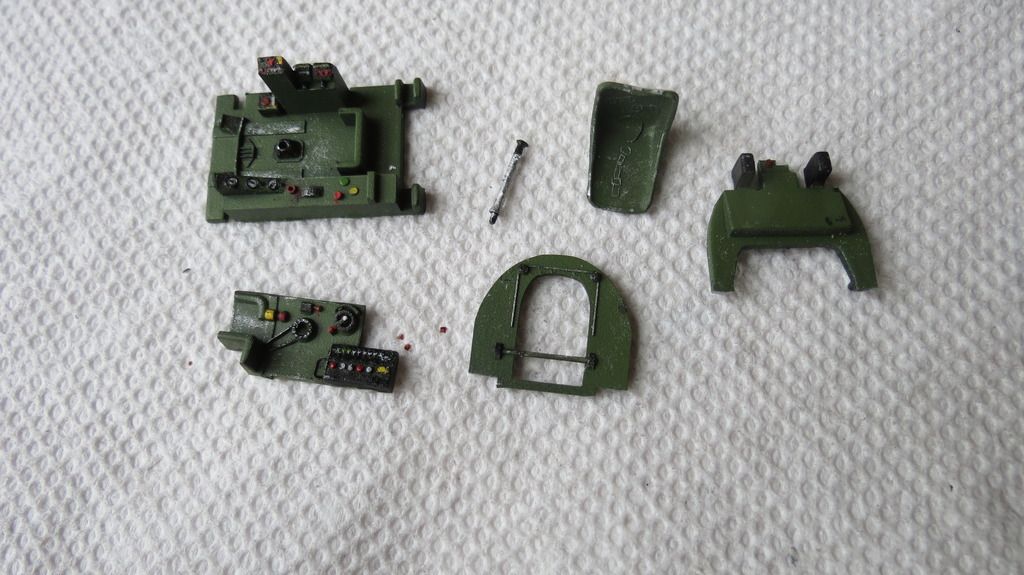
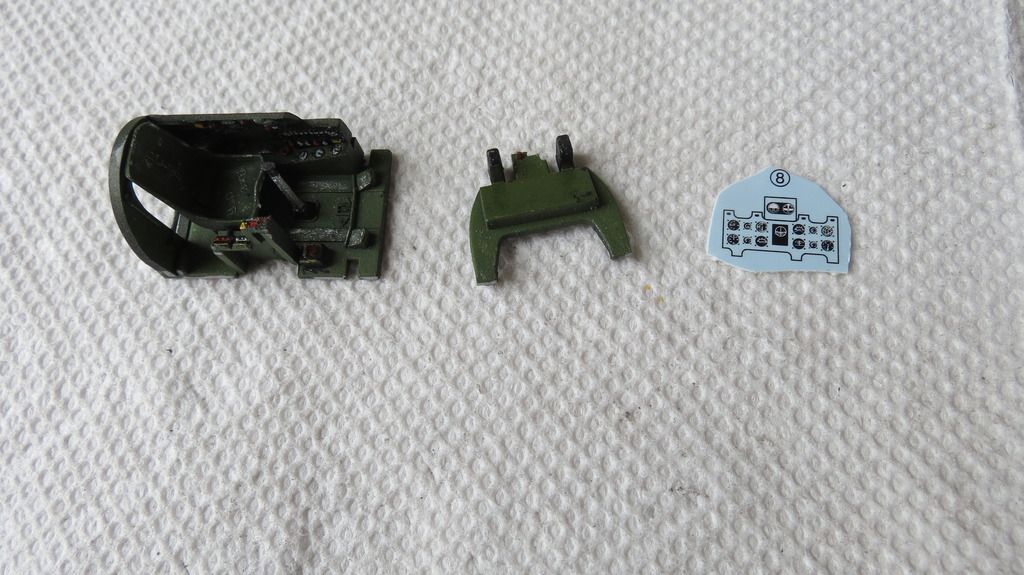
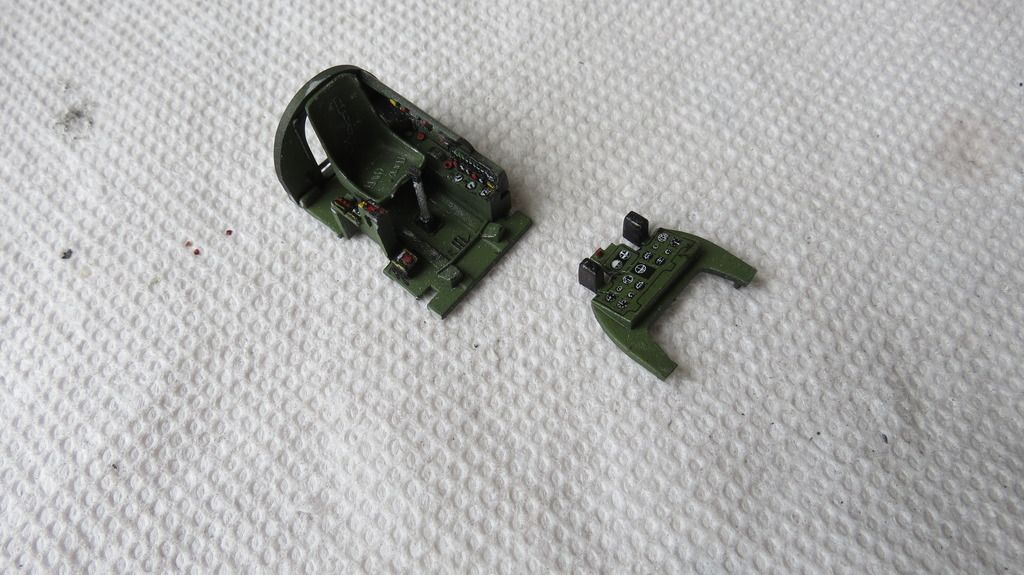
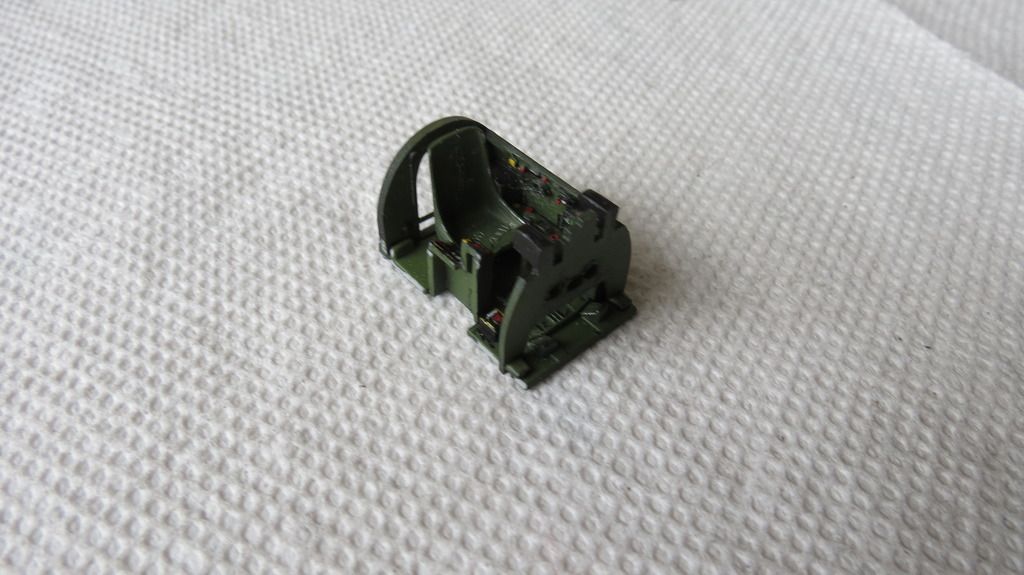
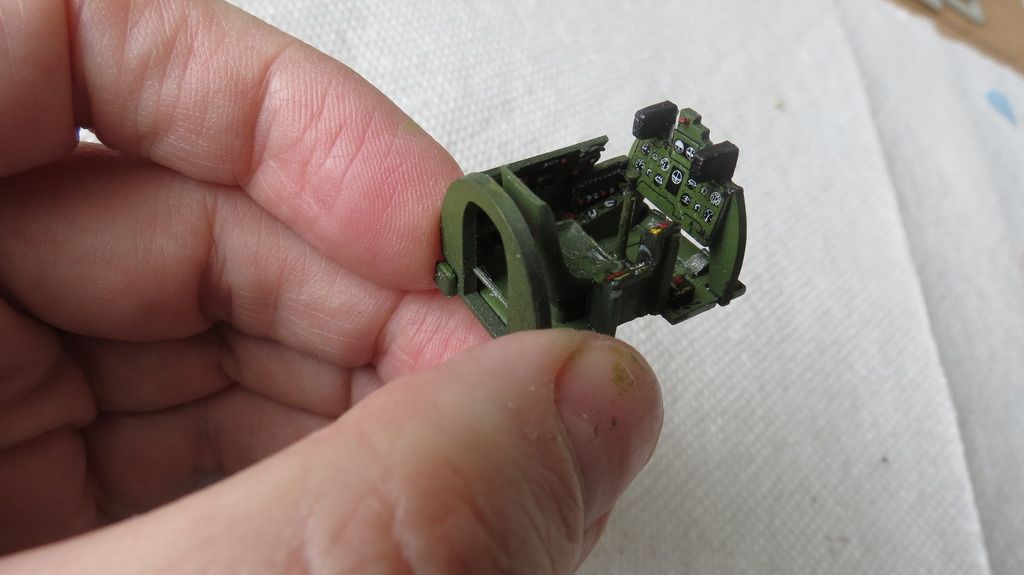
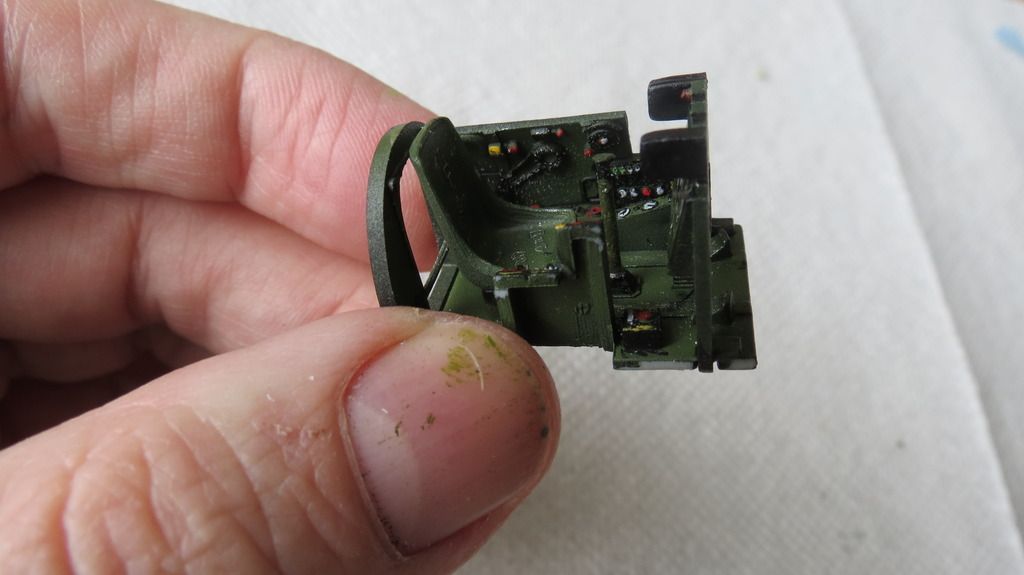 I then started on the radial engine parts and cowlings, and assembled them when the paint was dry...
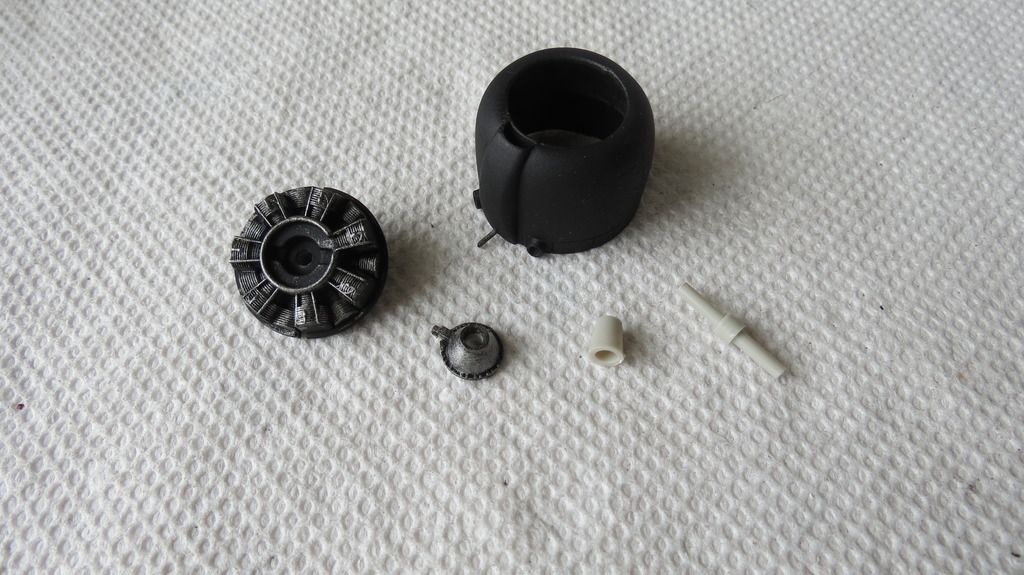
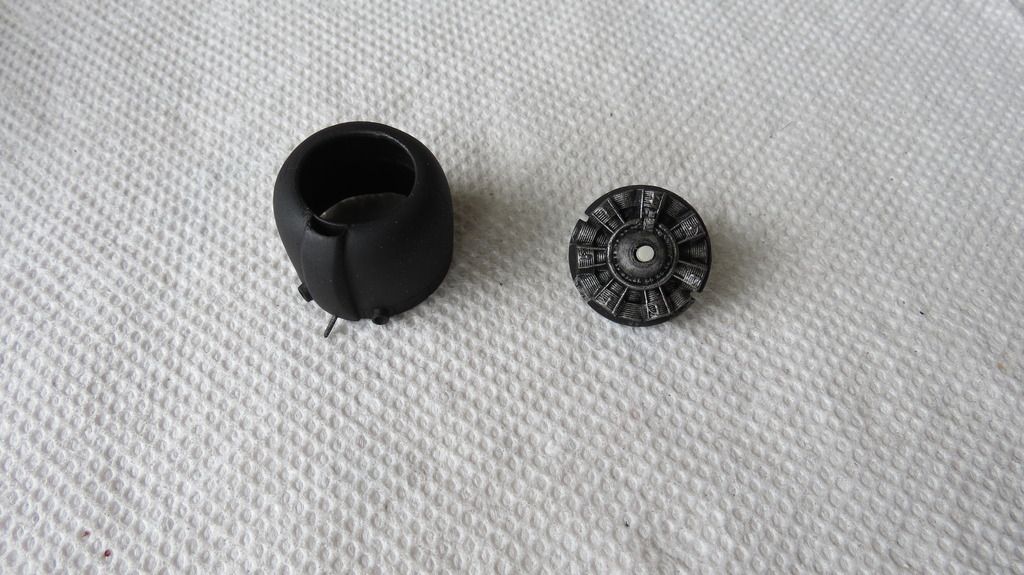
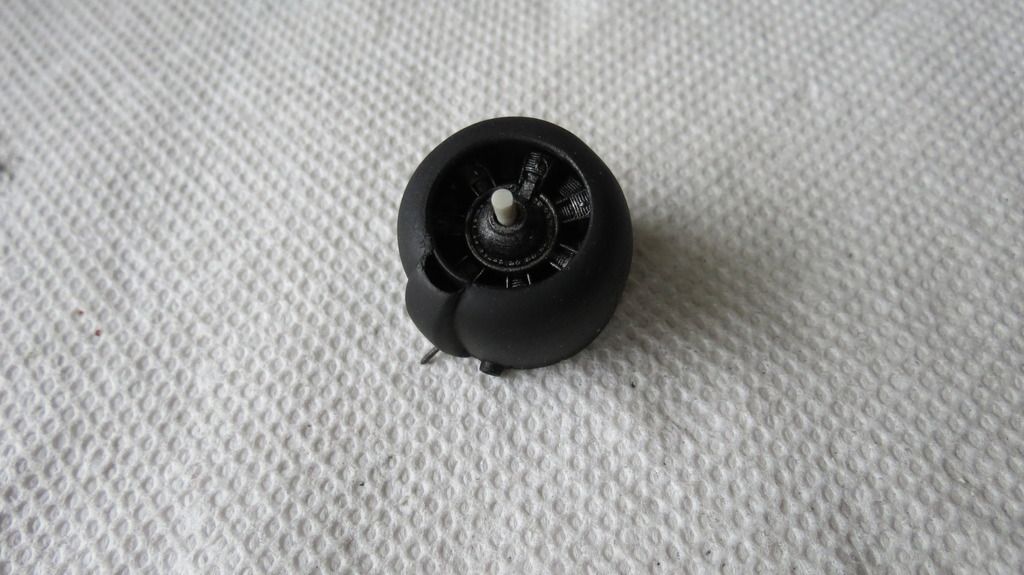 It was now time to assemble the cockpit tubs into the starboard side fuselage halves and then assemble the portside fuselage halves onto the starboard side...
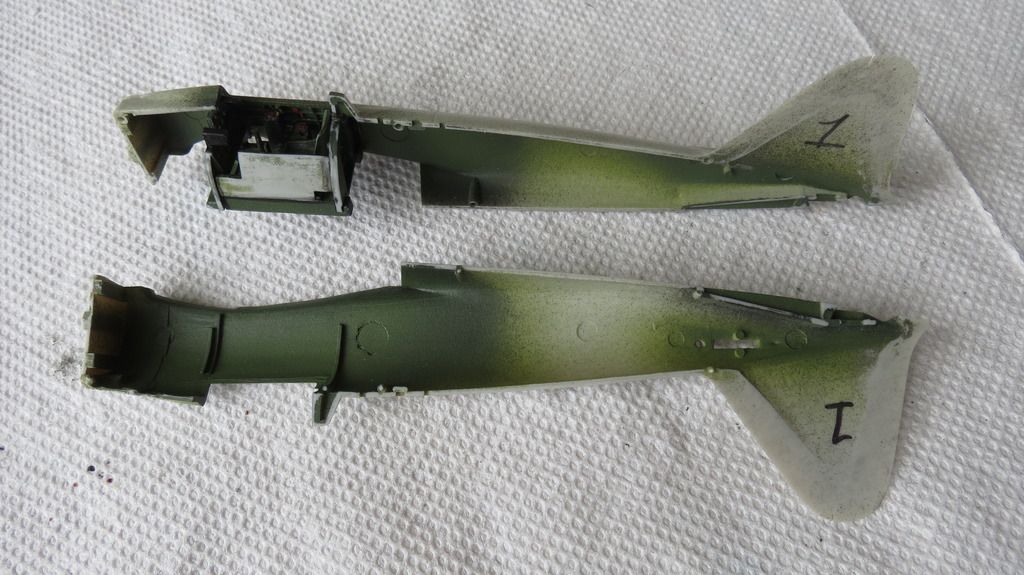
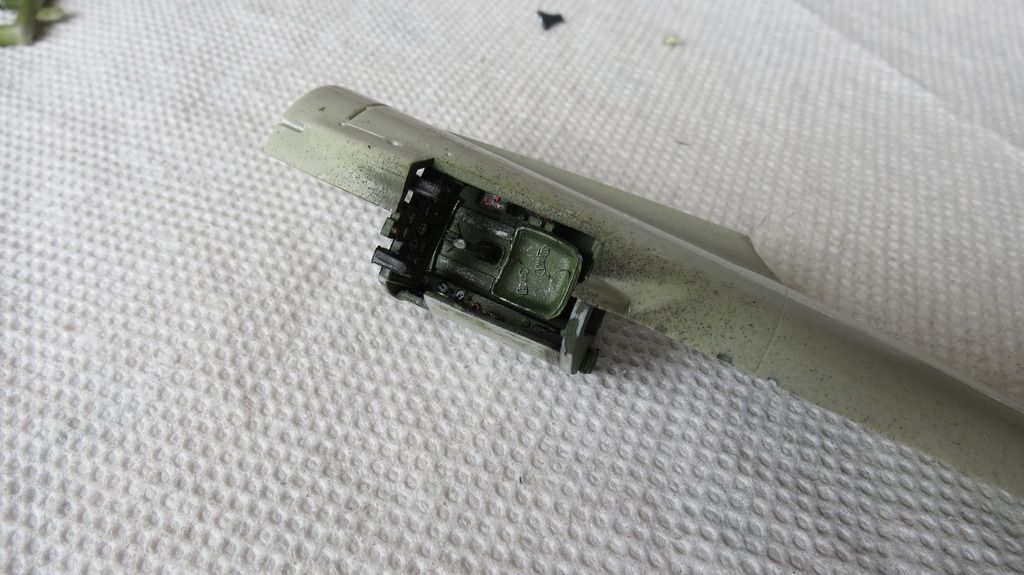
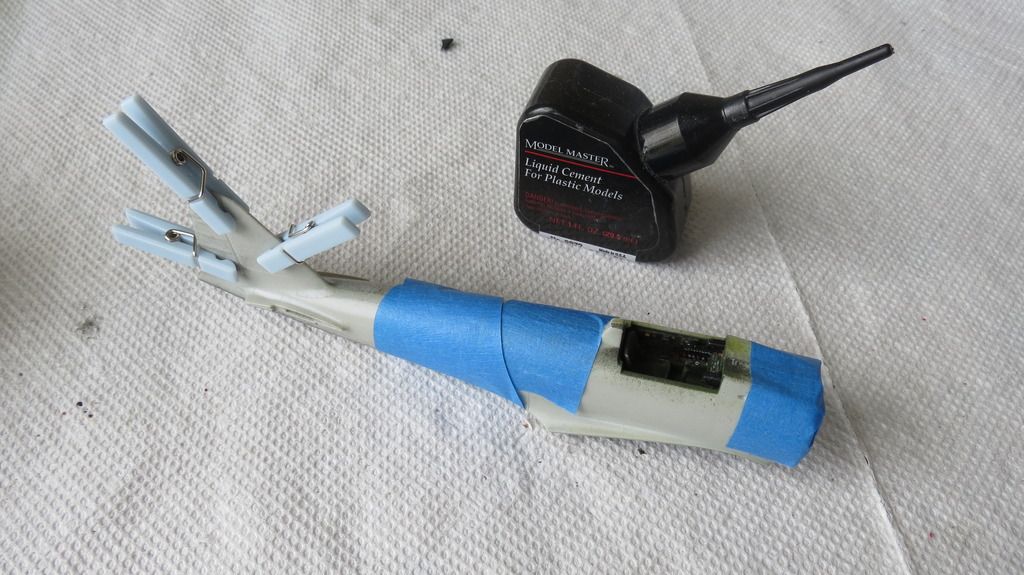 It was now time to assemble the wings and horizontal stabilizers onto both planes...
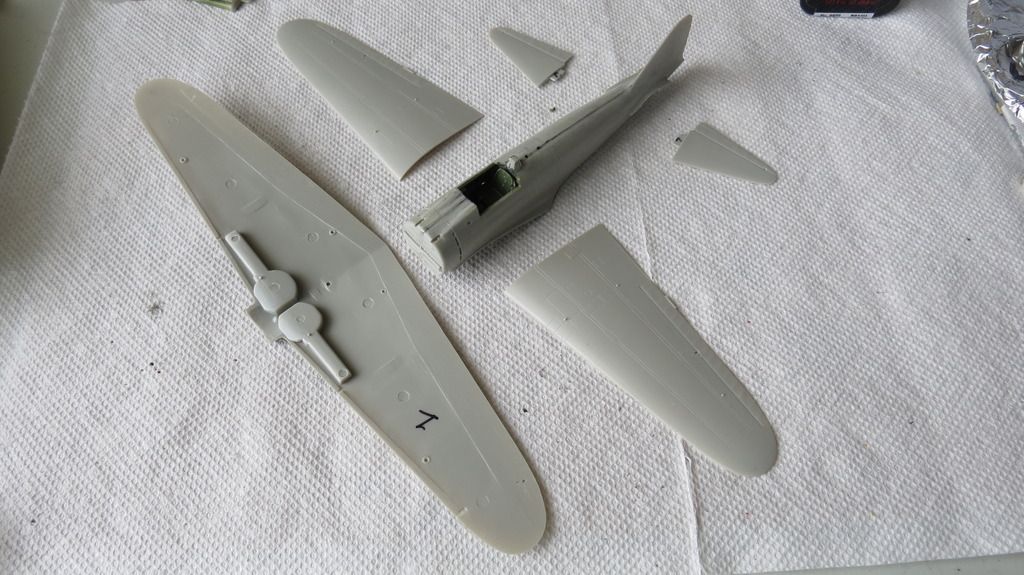 Followed by assembling the starboard side upper wing sections, then the portside upper wing sections, taping the wings to set the dihedral and to hold them in place whilst the glue set. I then glued the horizontal stabilizers into position...
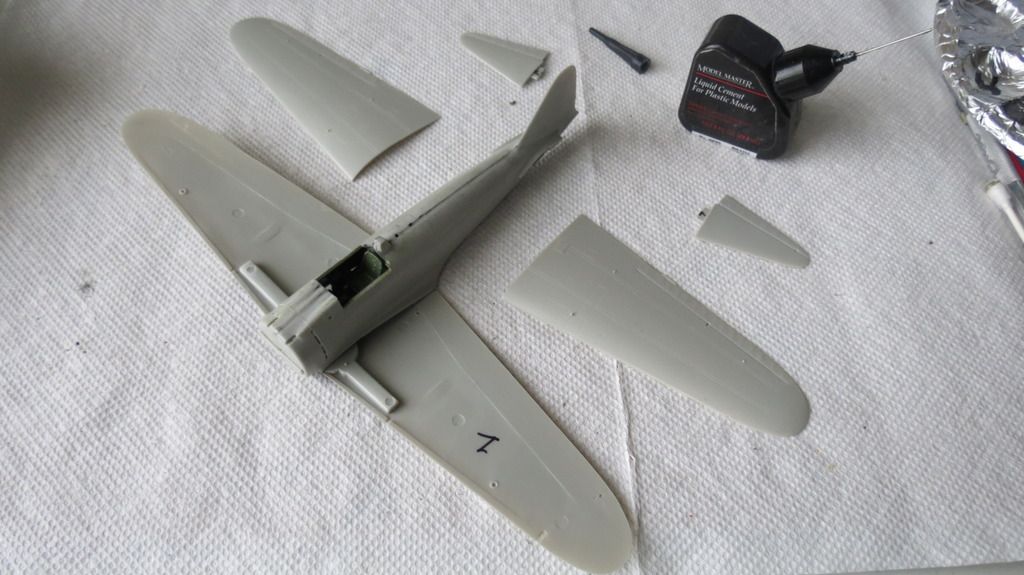
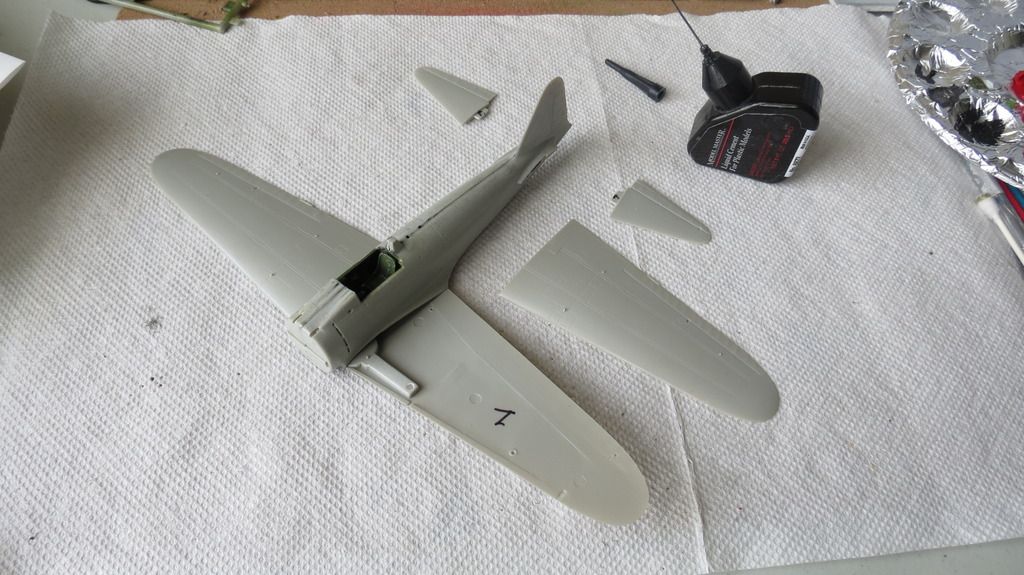
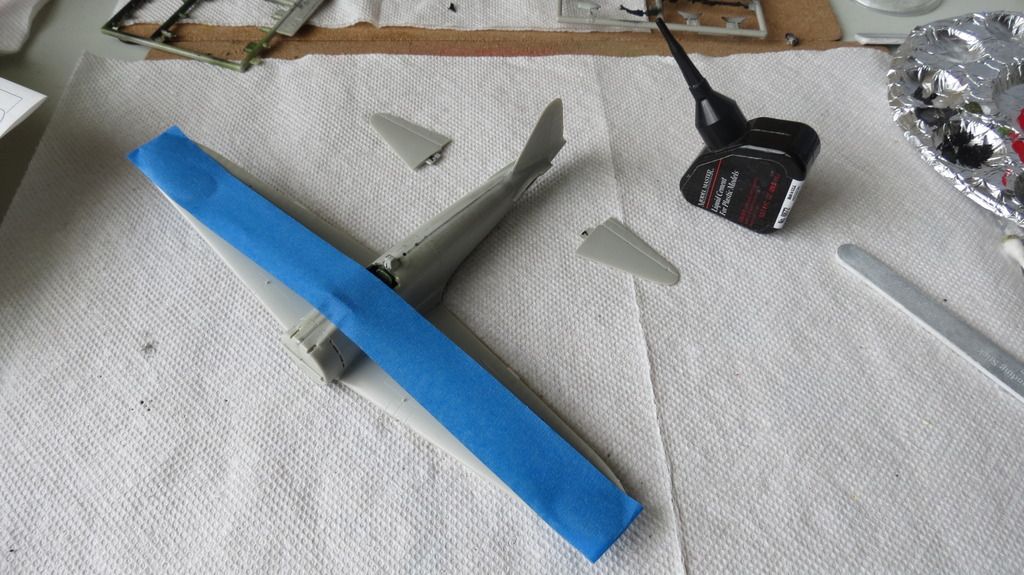
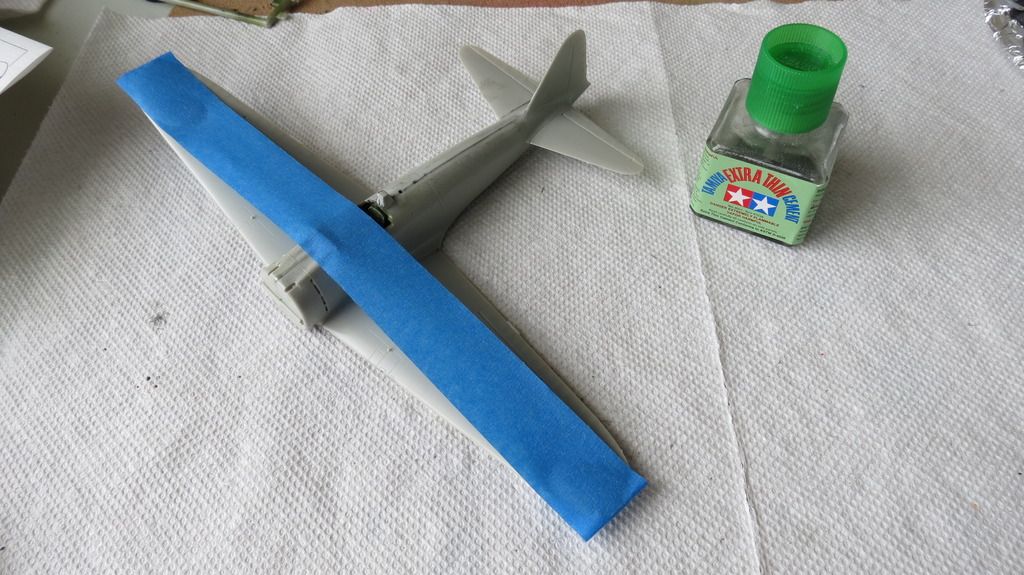 When the glue had set, I removed the tape and checked both planes to see how they looked so far...
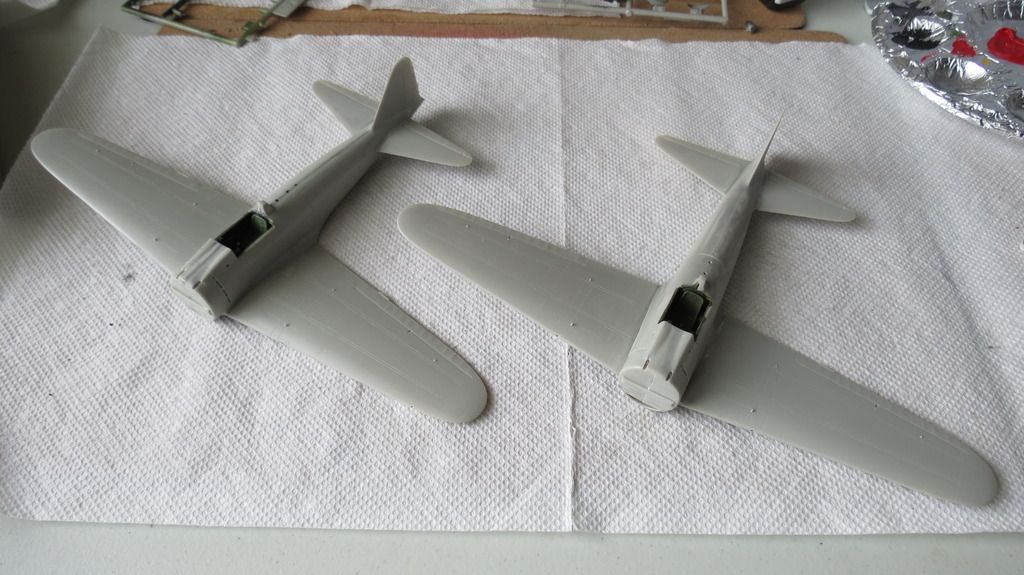 Well, that's it for the first update. Next, I will prepare the planes for priming and applying paint.
Thanks in advance for taking a look and commenting, much appreciated and in the meantime, if you'd like to watch my "Build Update #1" video on YouTube, here is the link for that:
[youtube]PBuSMyQB9bY[/youtube]
Cheers, :cheers2:
Martin :)
|