Tammy's 1/48 - Whole lotta Zero going on here.
Hello Everybody,
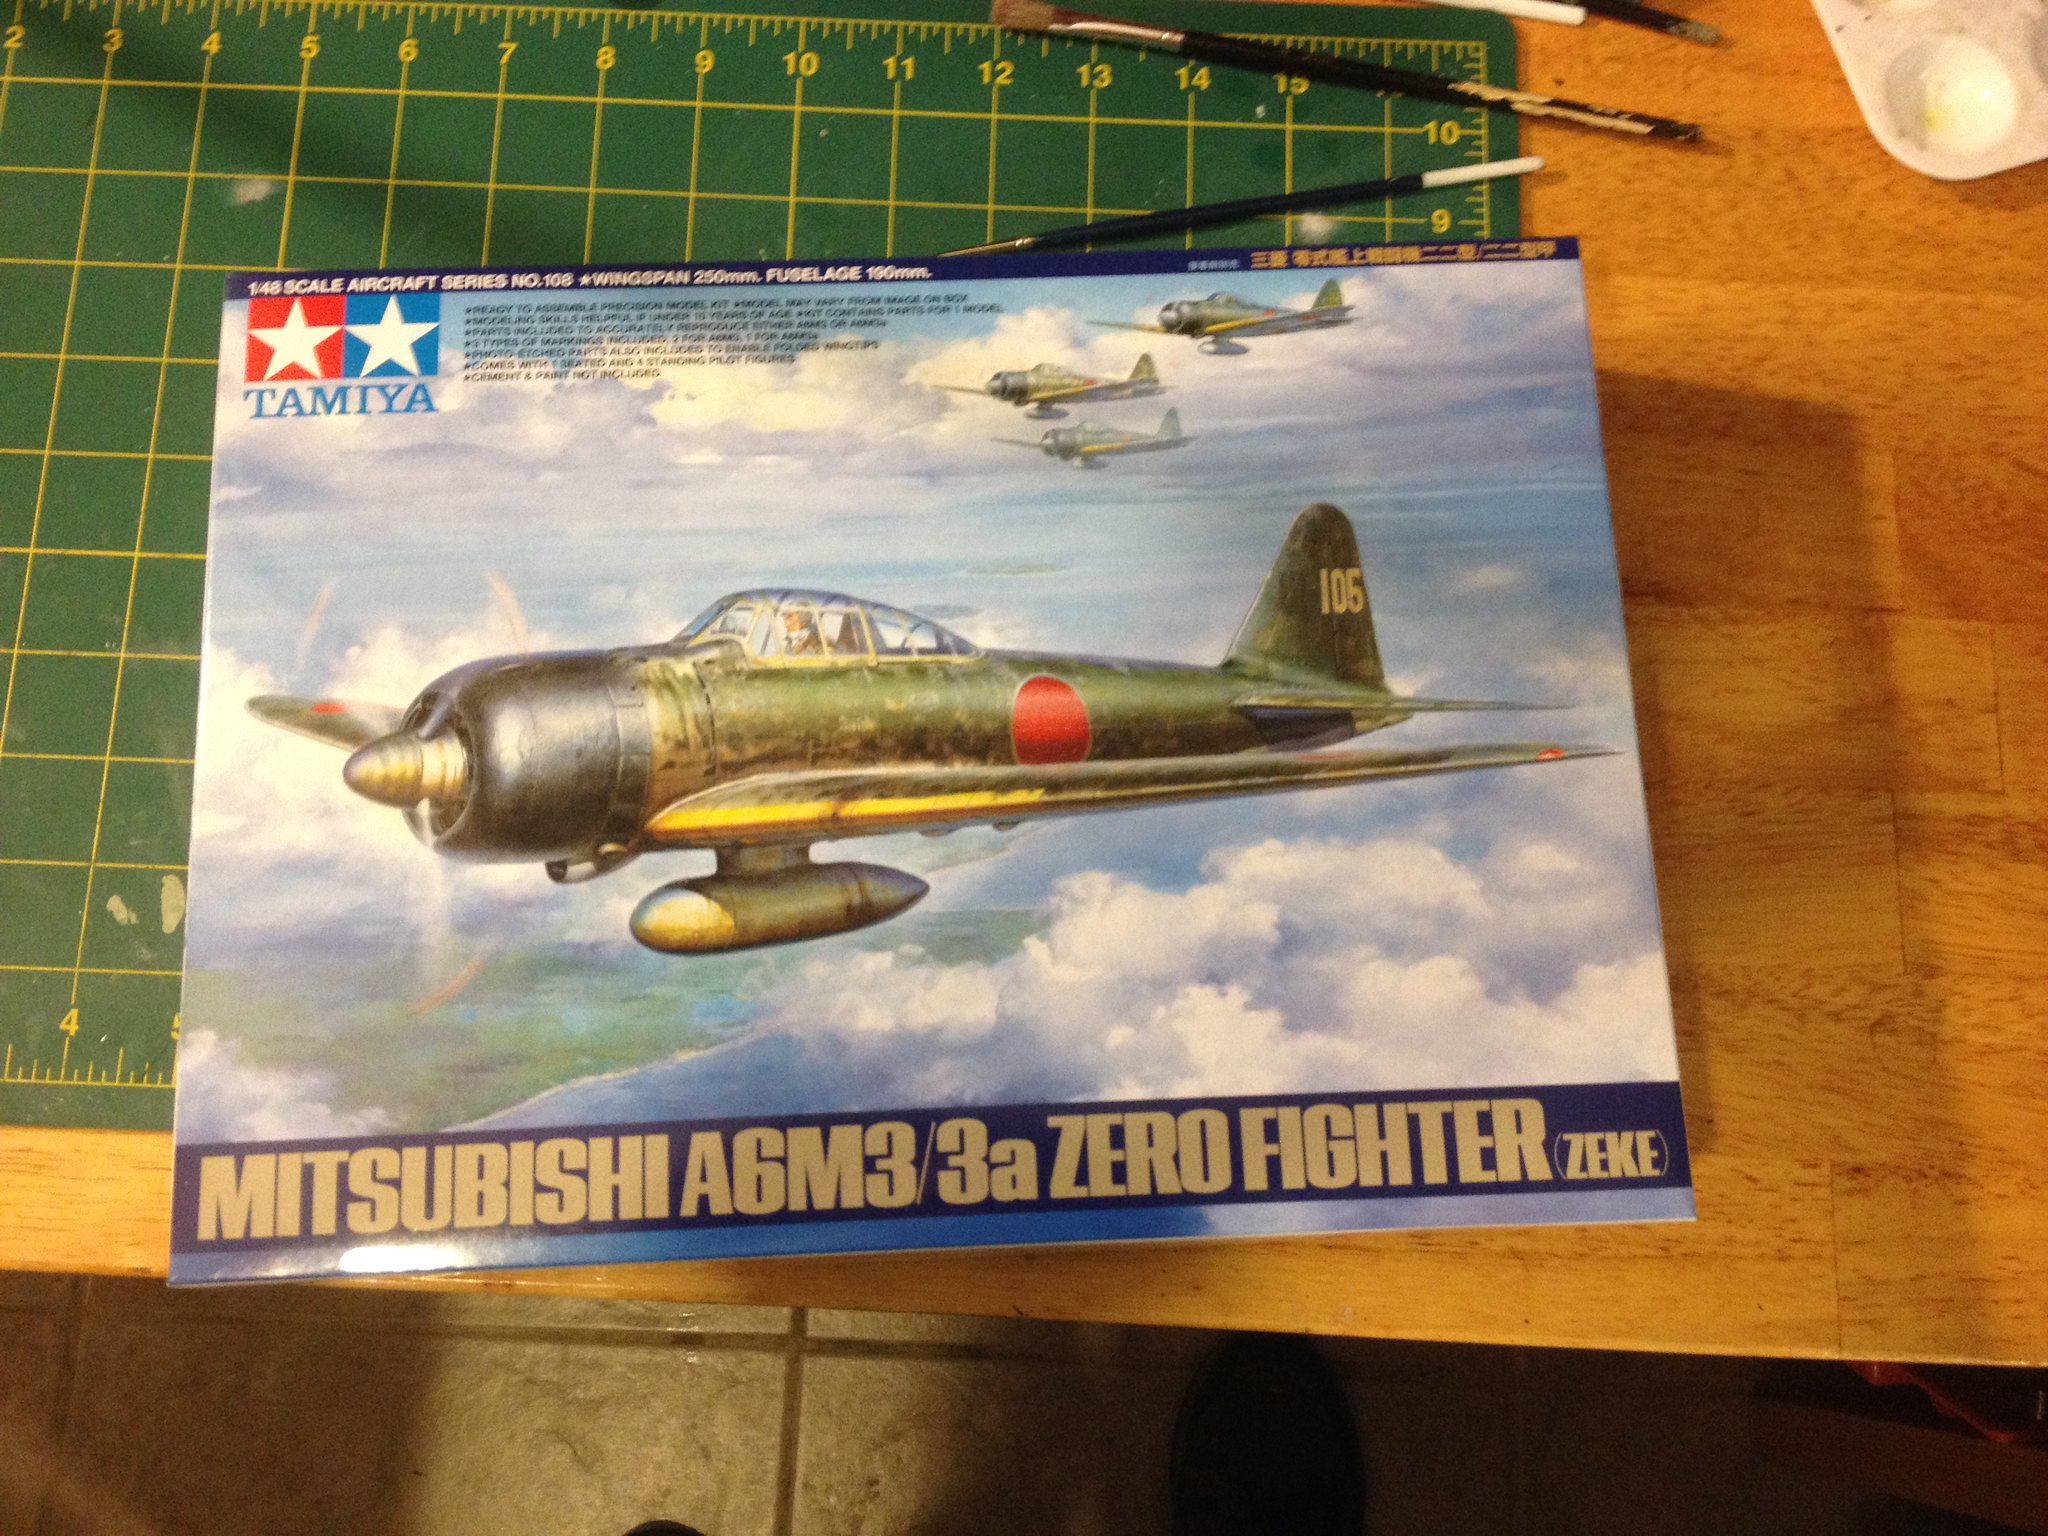
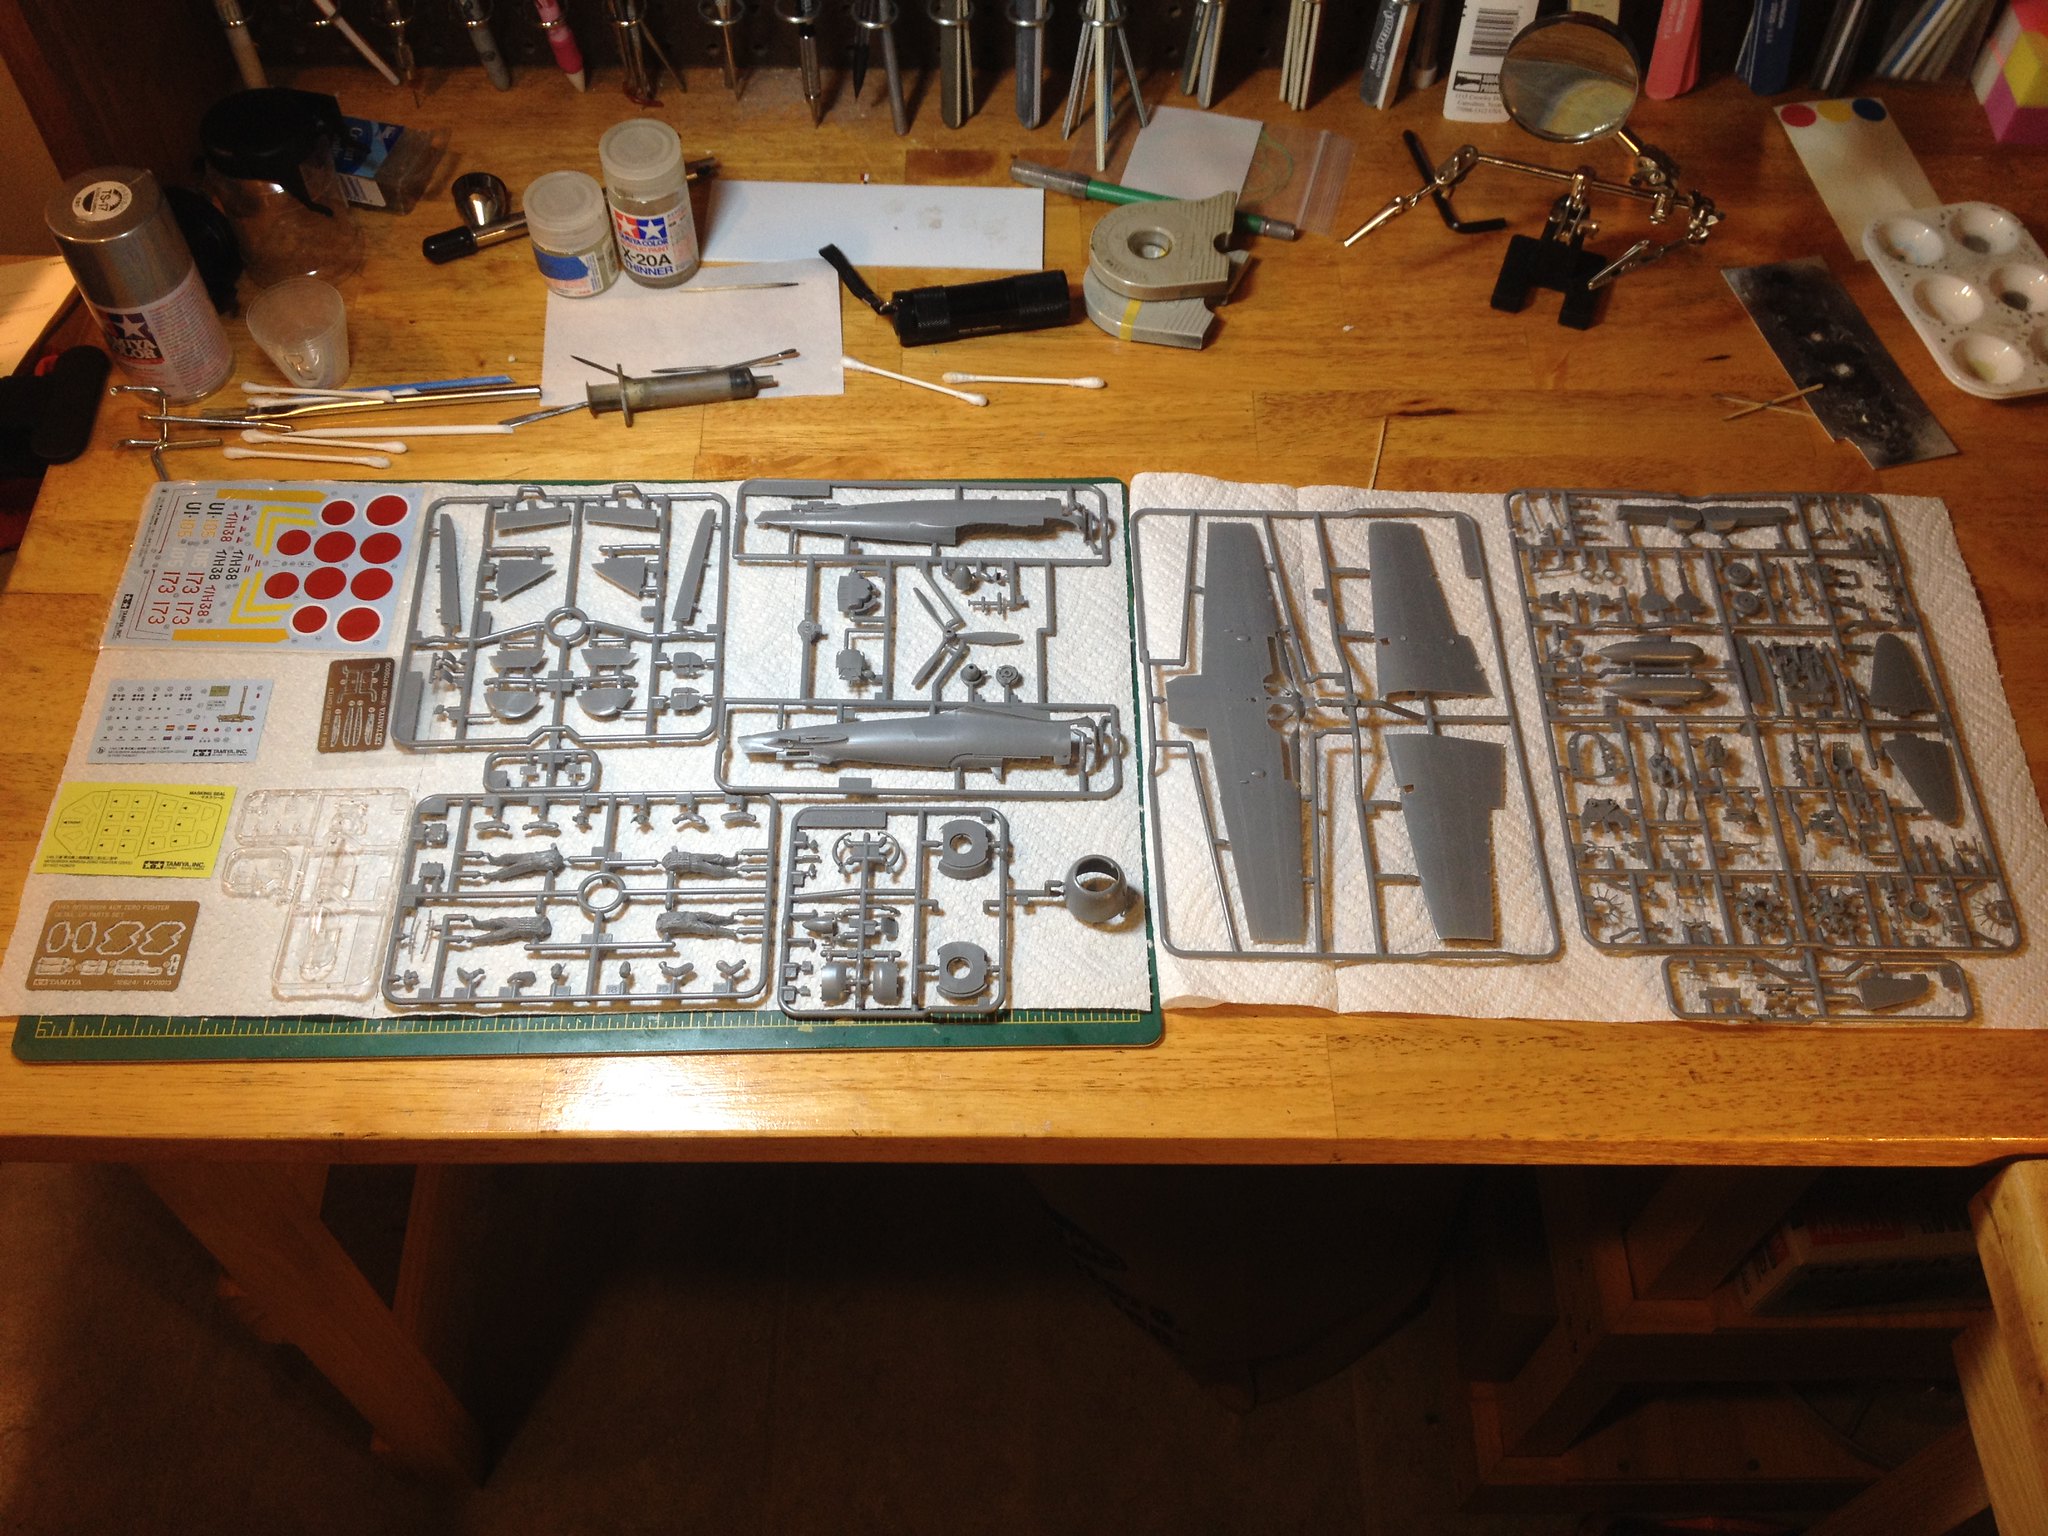
I've decided to add to my recent Pacific Theater builds with an adversary. It's Tamiya's 1/48 A6M3/3a Zero. I usually don't keep banging away at a single topic stream, but this will be my 4th Pacific War subject in a row. However, this one is different, because I usually build US subjects. It's a great kit. I've really only run across one horrific dud from Tamiya, and it had tracks. I bought Tamiya's Detail Up Parts Set (Item 12624). I wanted the seatbelts, but they are steel photo-etch. Steel PE is stiffer than I like. I also purchased Montex masks for the canopy (SM 48332) and Maketar masks for the Hinomarus (MM 48005). I also bought a circle cutter from amazon to help with the Hinomarus if needed.
 IMG_2118 by Christopher Ridle, on Flickr
 IMG_2120 by Christopher Ridle, on Flickr
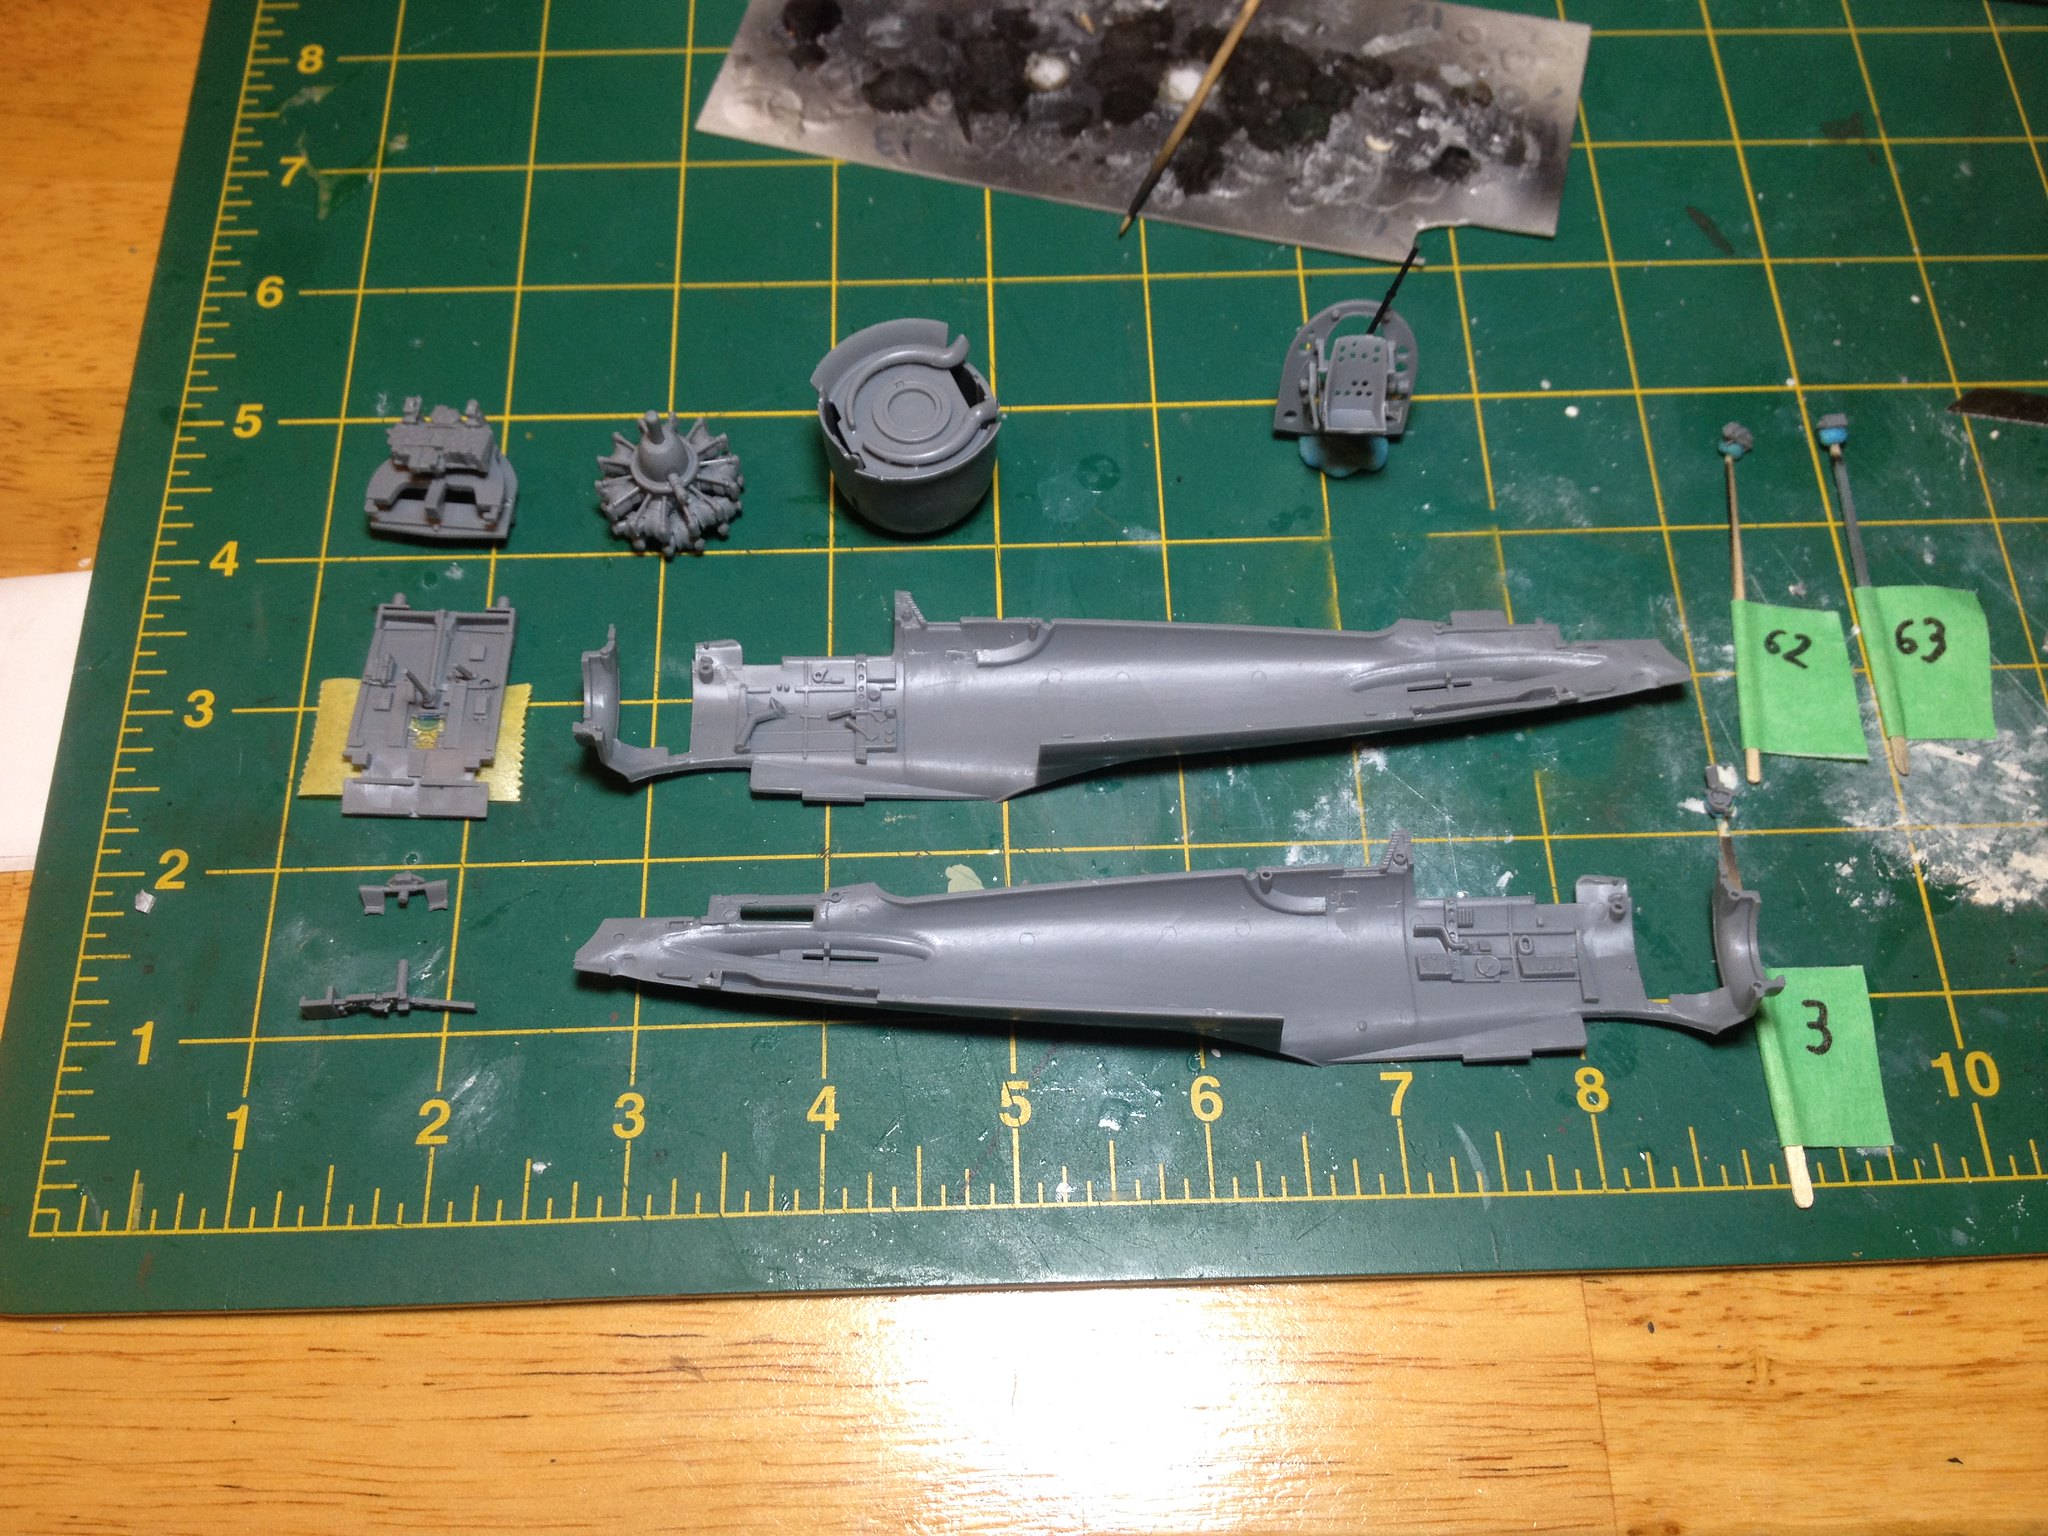
The sub assemblies slide together.
 IMG_2124 by Christopher Ridle, on Flickr
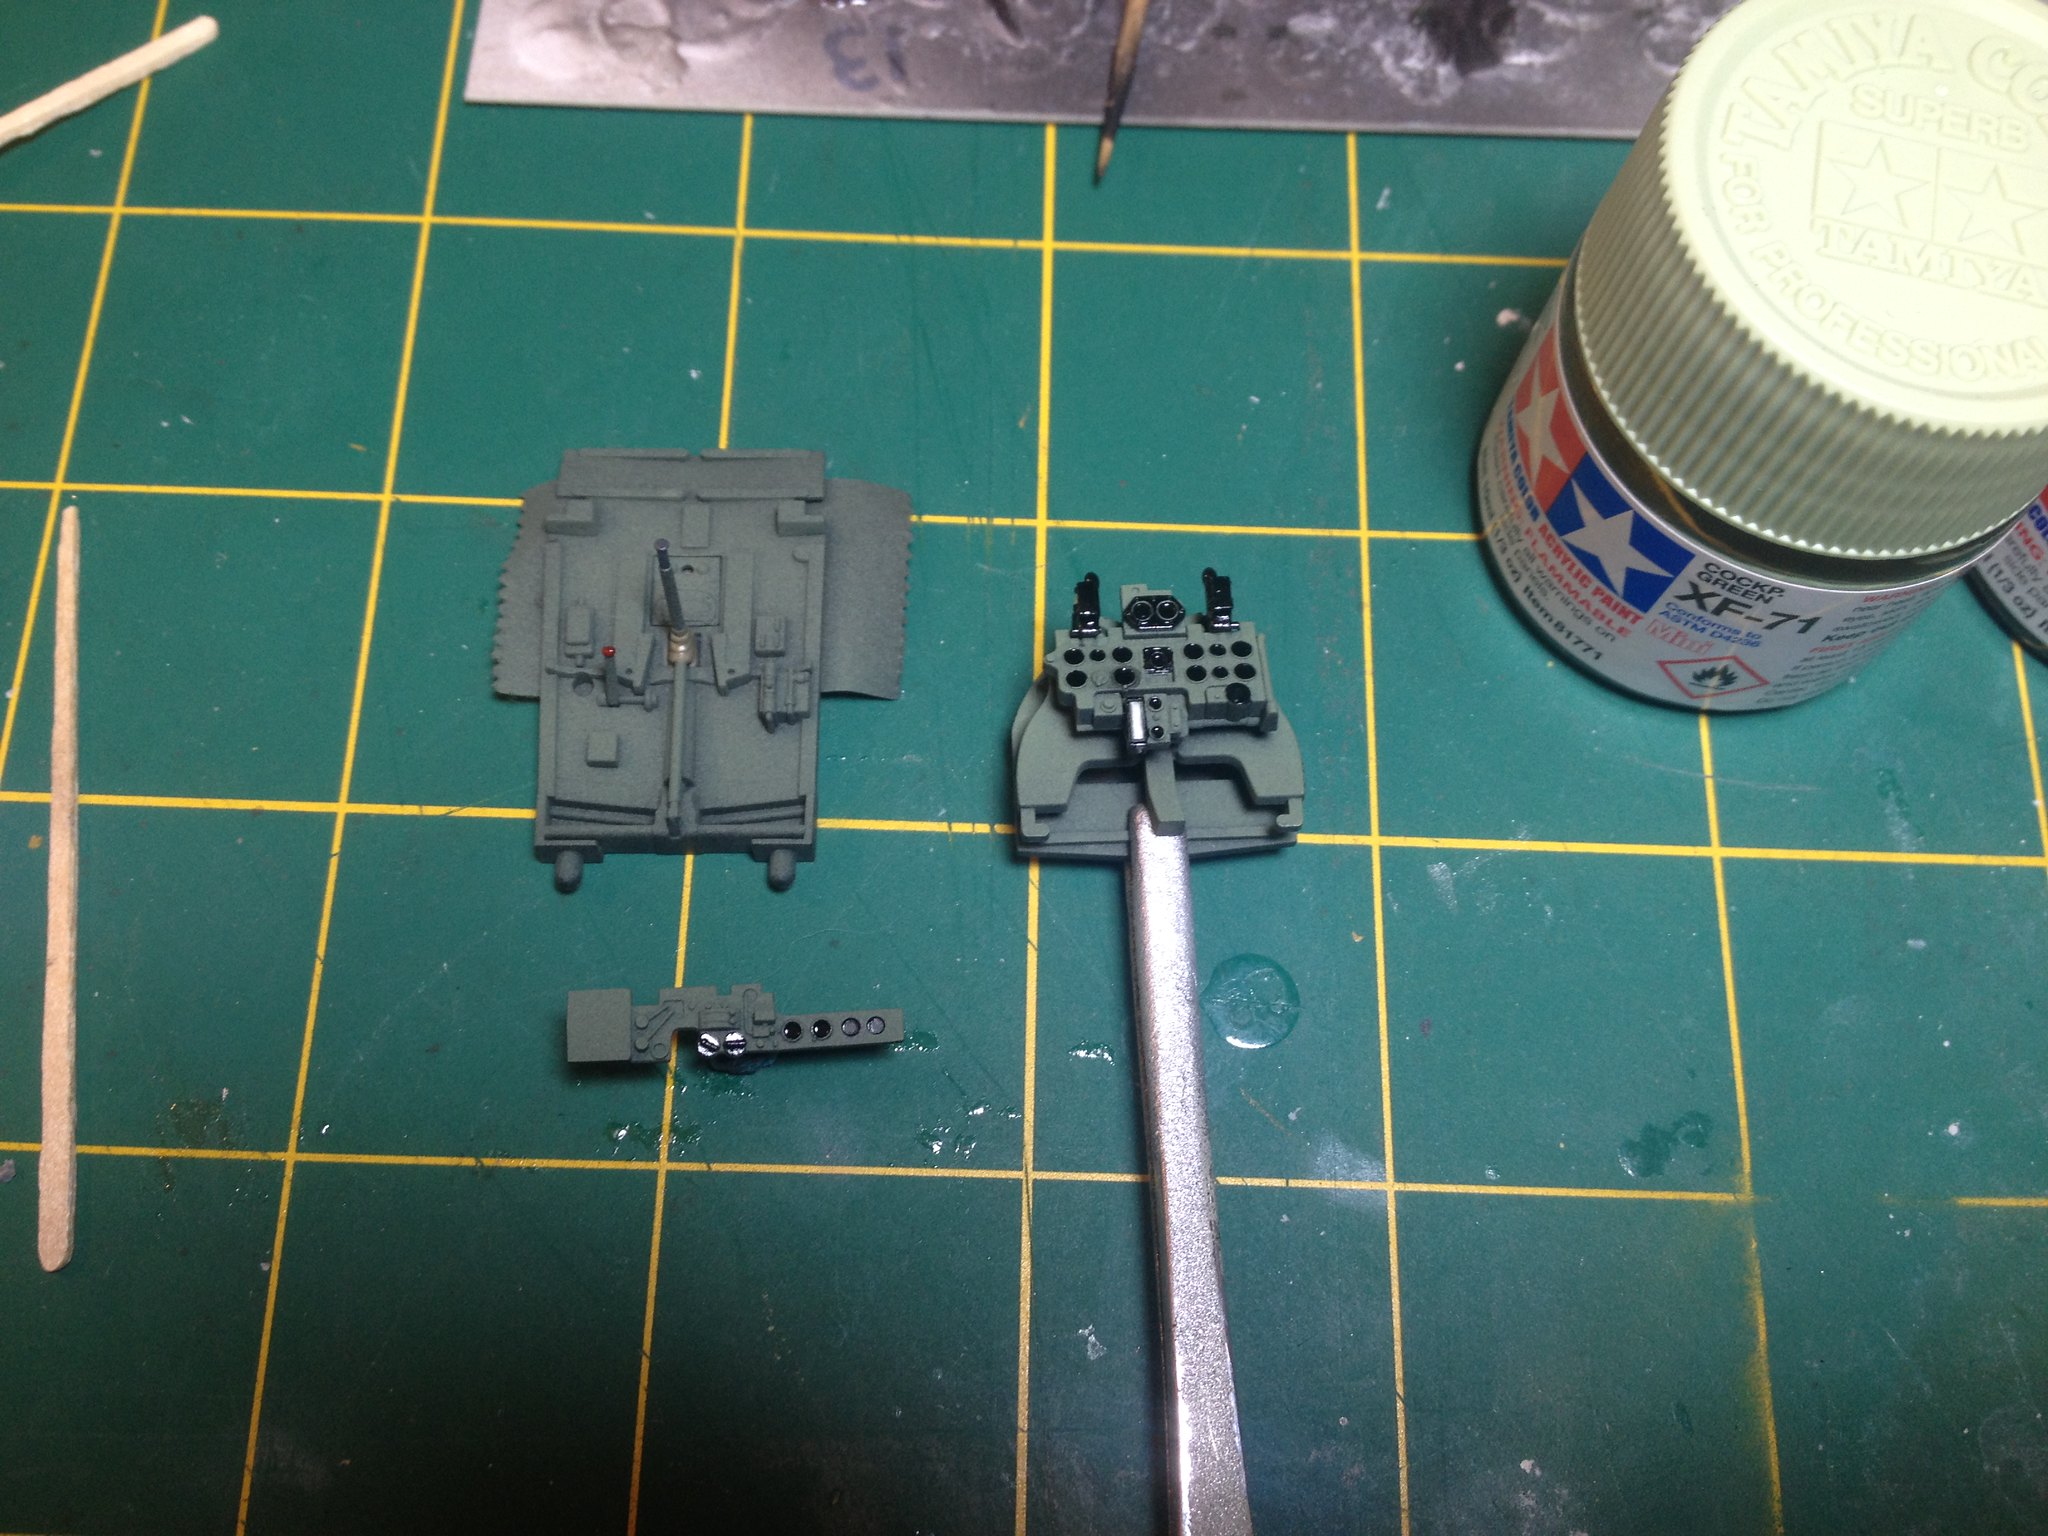
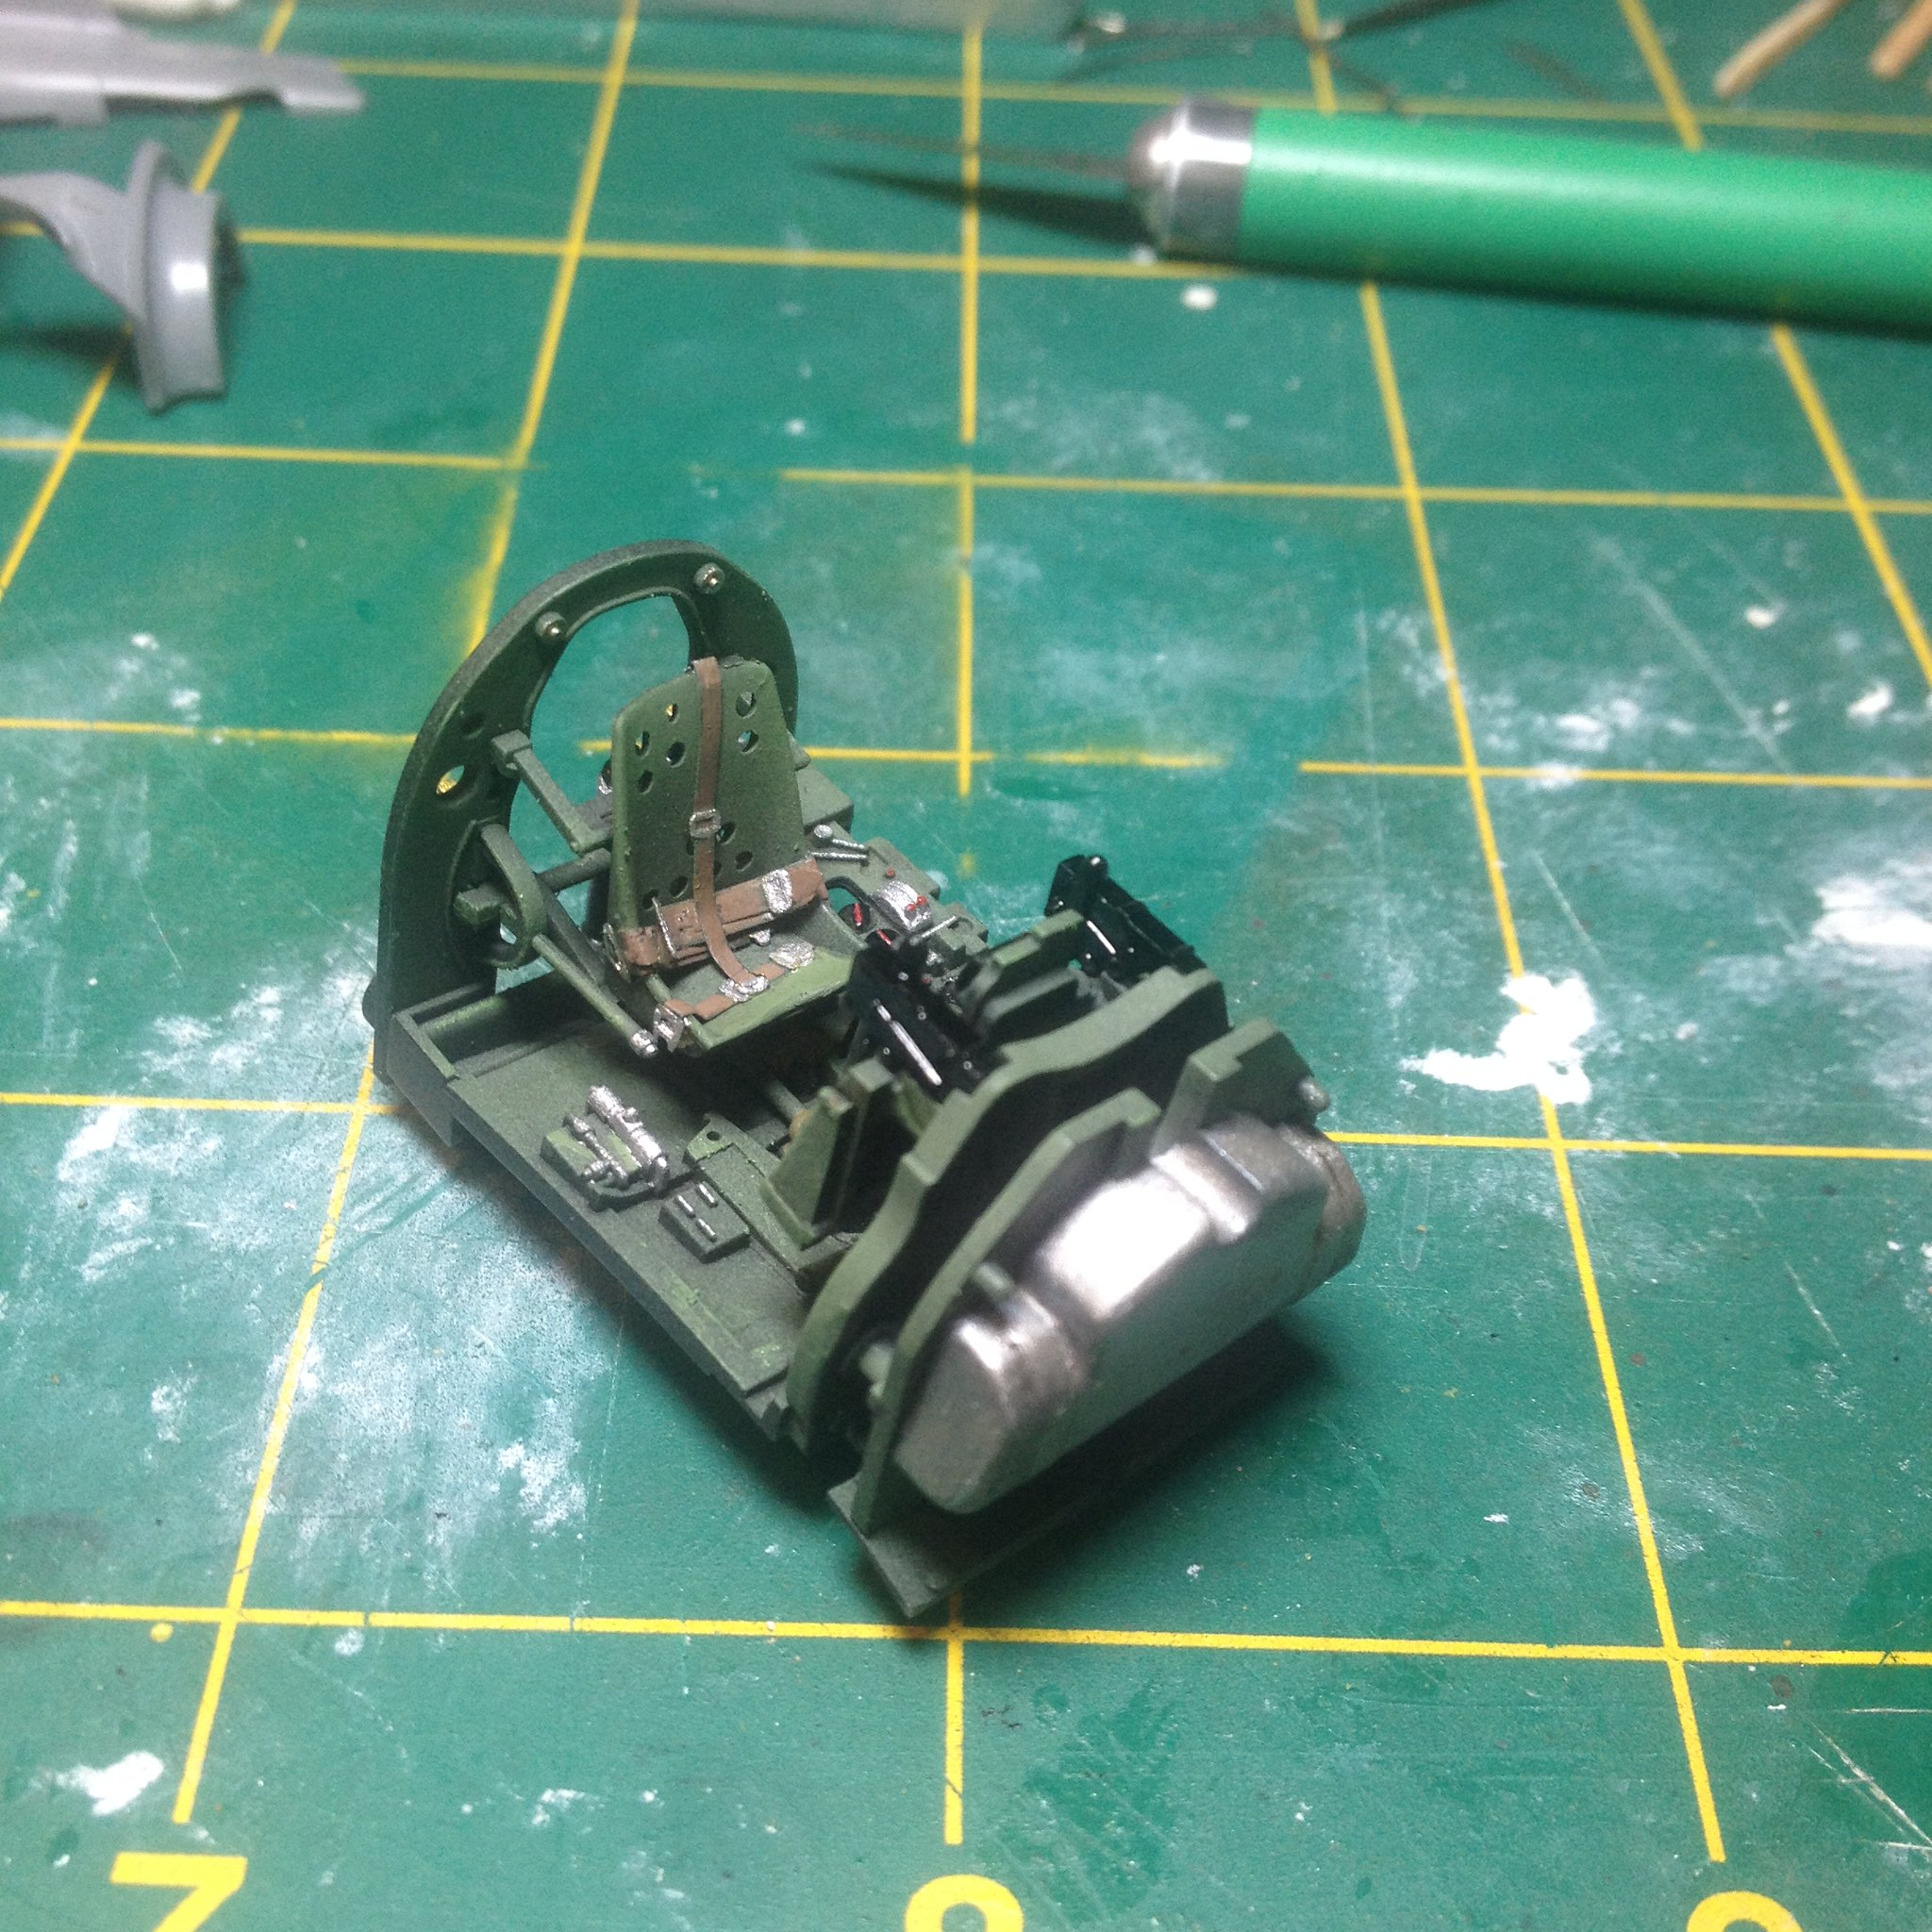
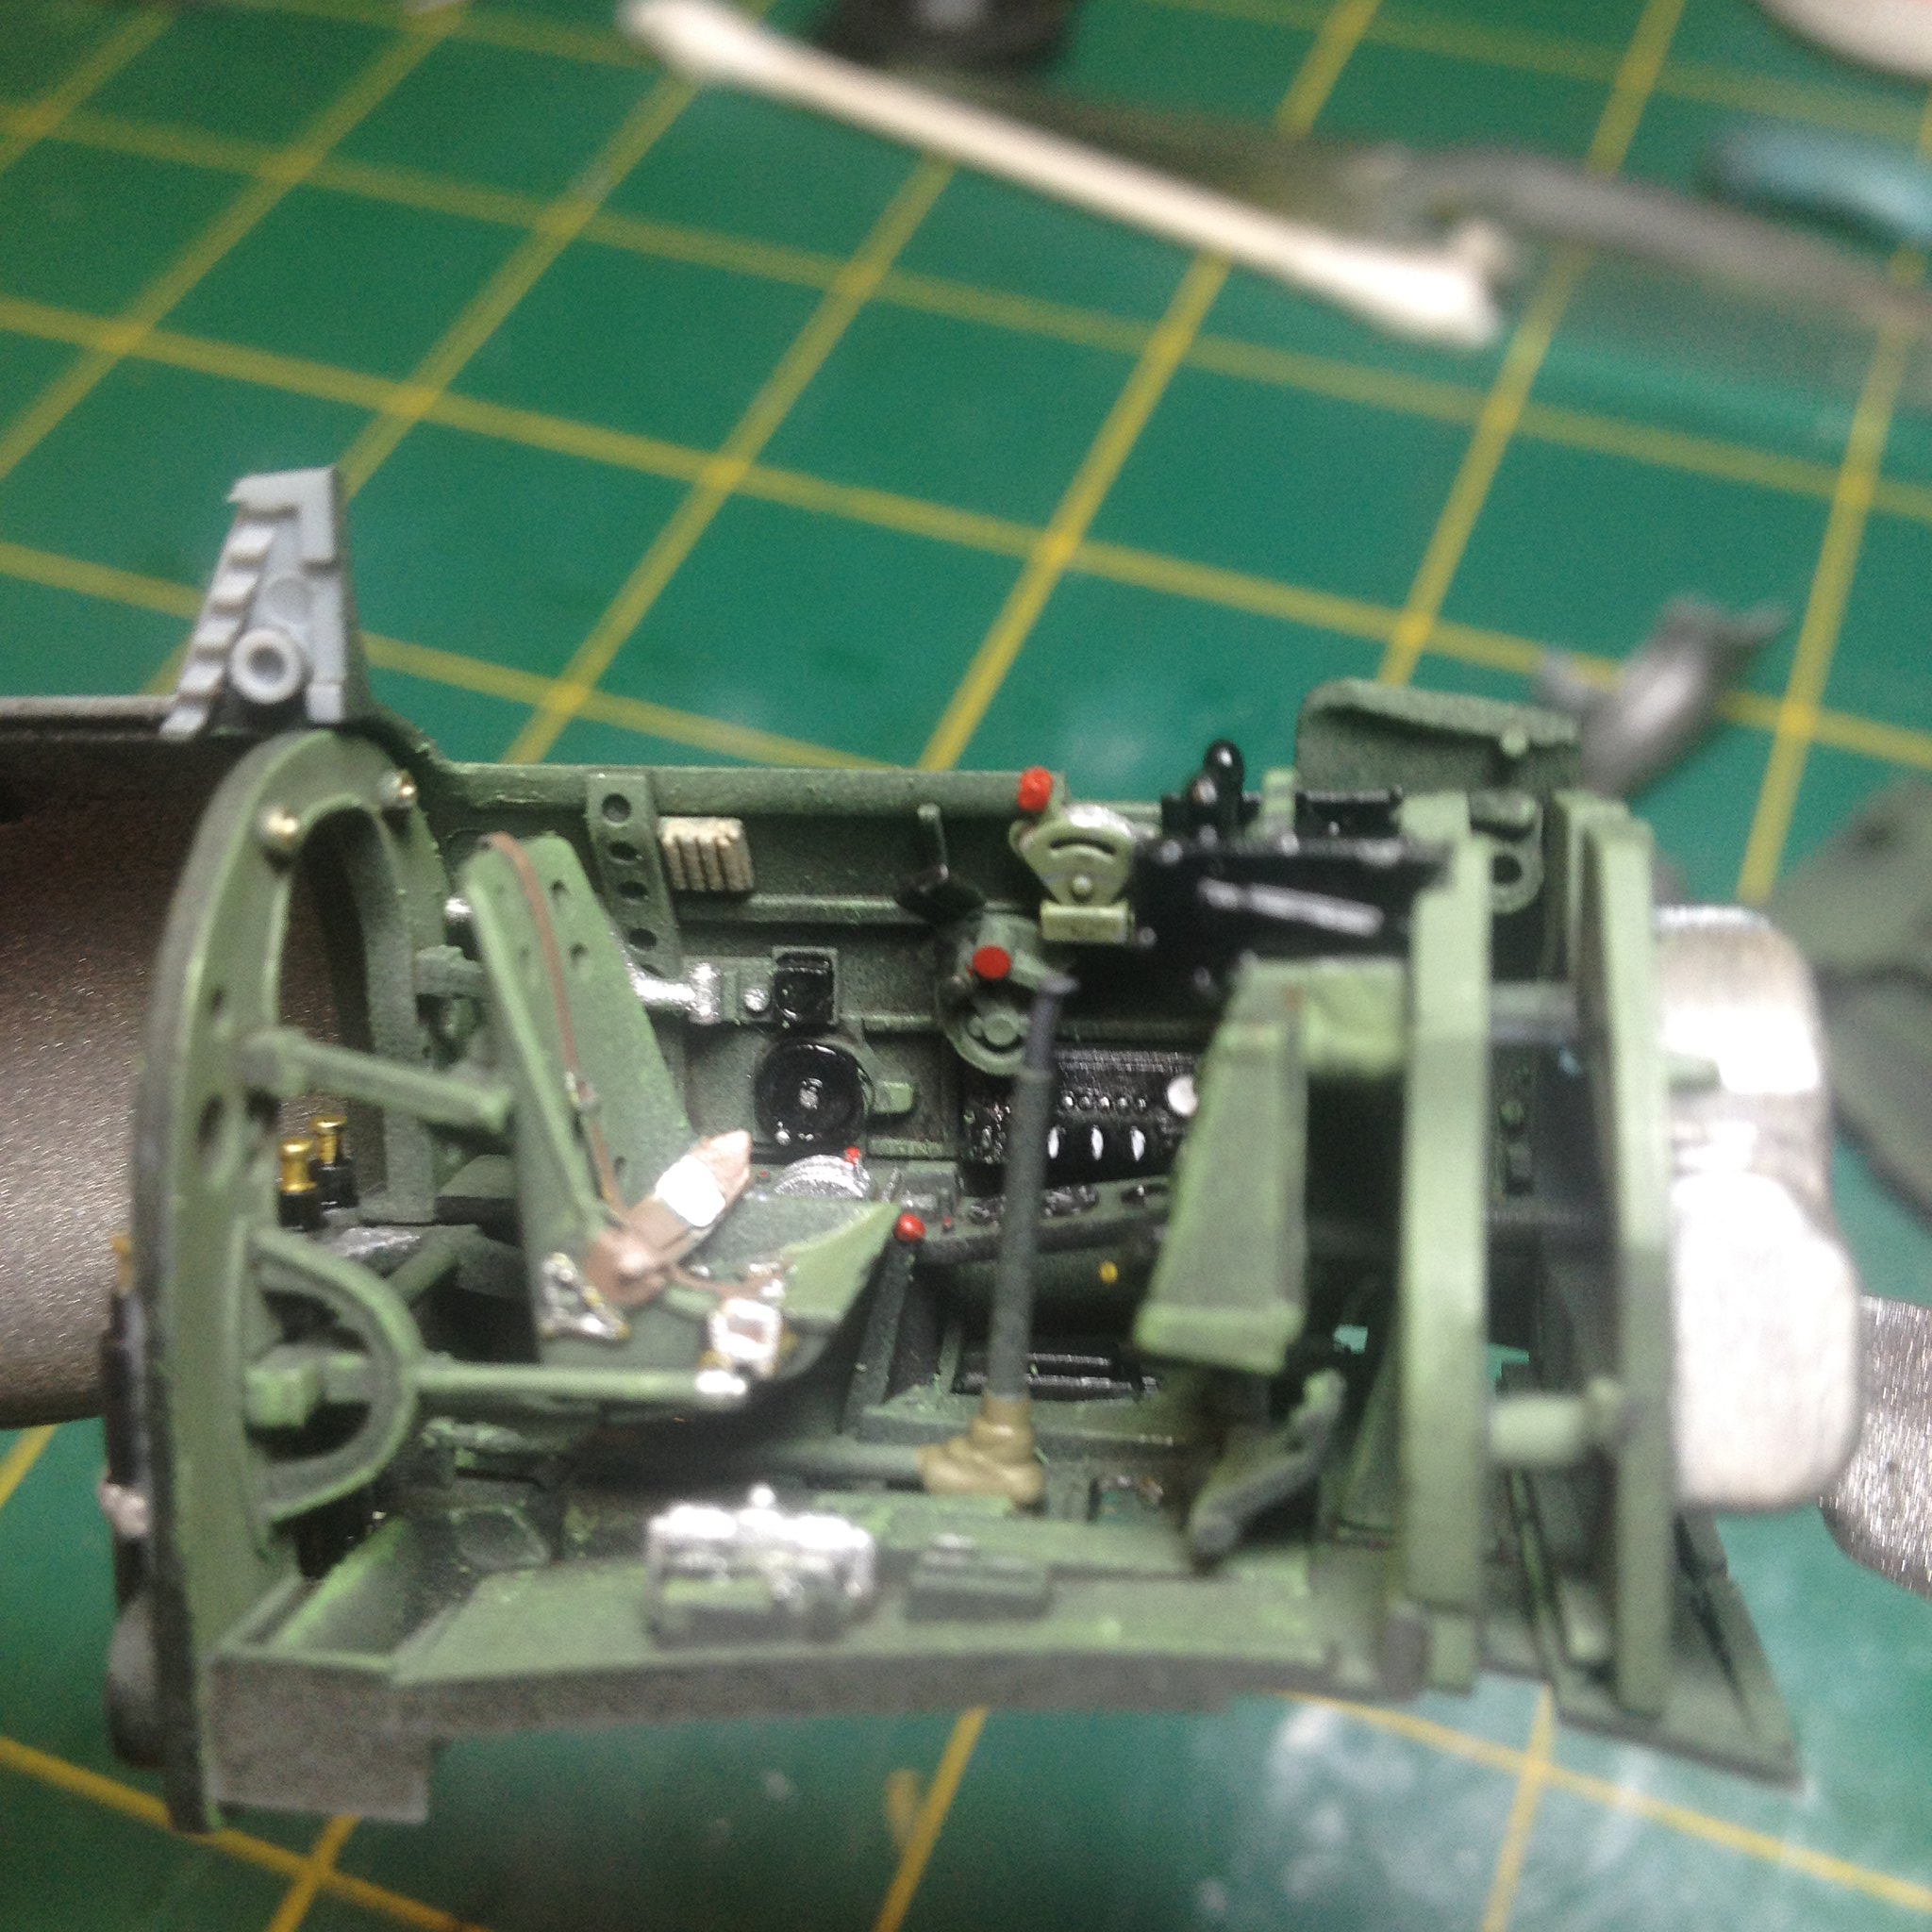
I black-based the interior, and used Tamiya Cockpit Green (XF-71) to add color to the interior parts. The dials got gloss black (X-1).
 IMG_2129 by Christopher Ridle, on Flickr
The seatbelts were from the Tamiya Detail Up set, and they were a real pain. I'm used to brass PE. Why steel? Steel PE stinks. It's too stiff and too hard to form. I'm going to try to avoid steel PE from now on.
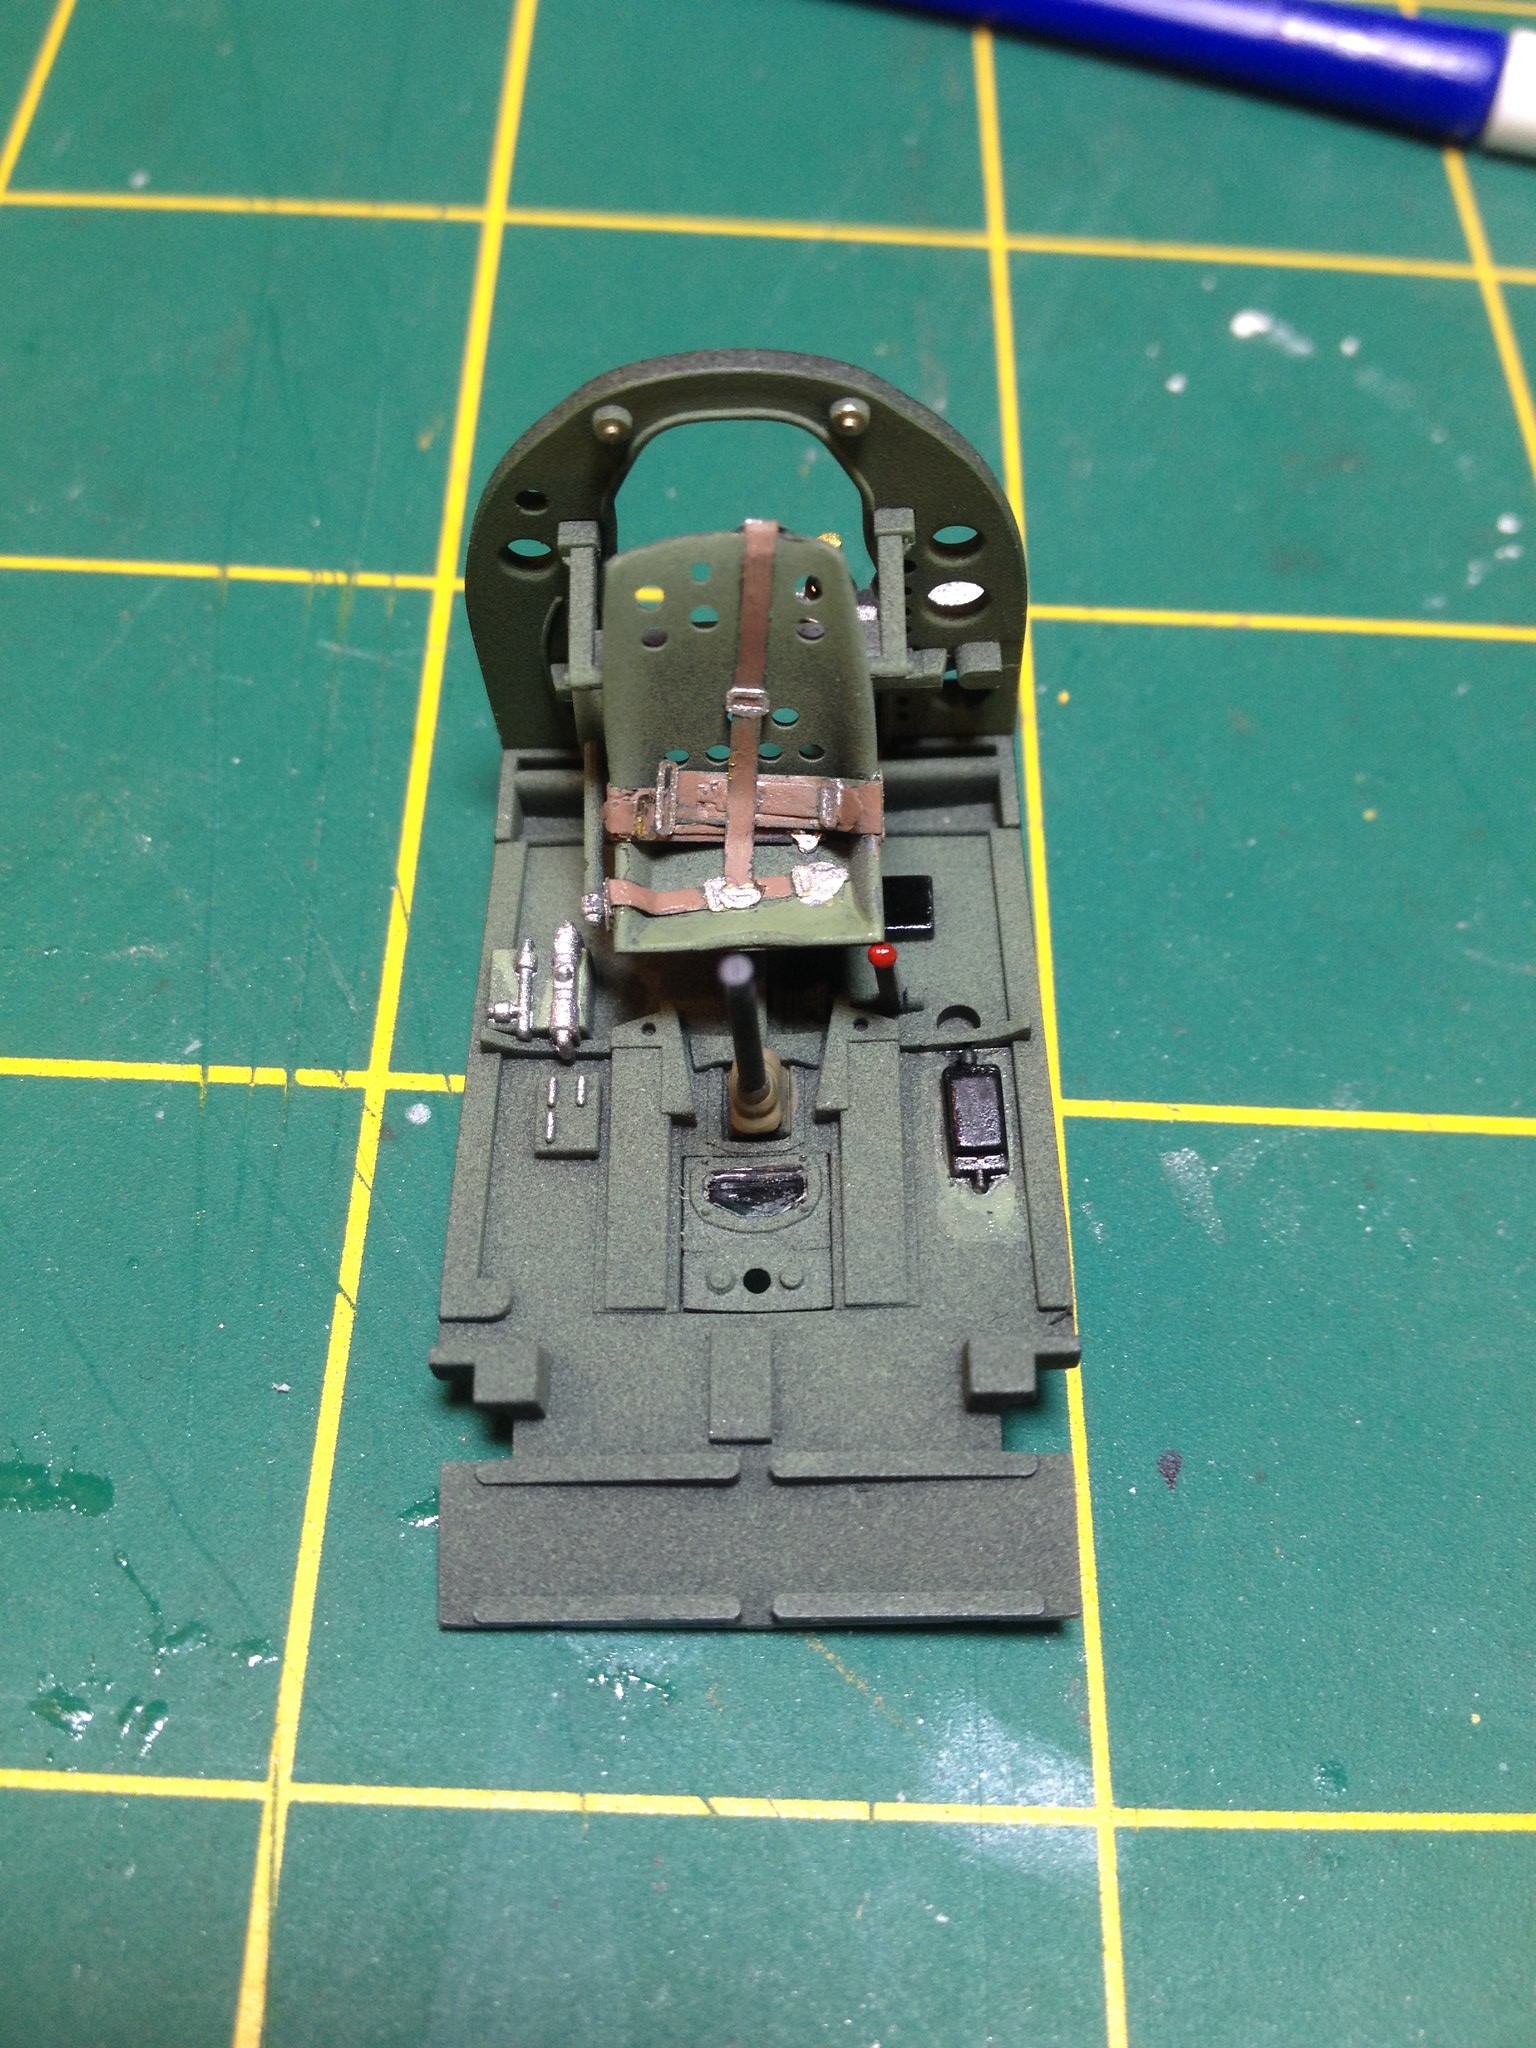 IMG_2135 by Christopher Ridle, on Flickr
I decided to turn 4 small decals into 15 tiny decals, and I applied each gage decal individually. Some got a little mangled, but I'm happy with the final result.
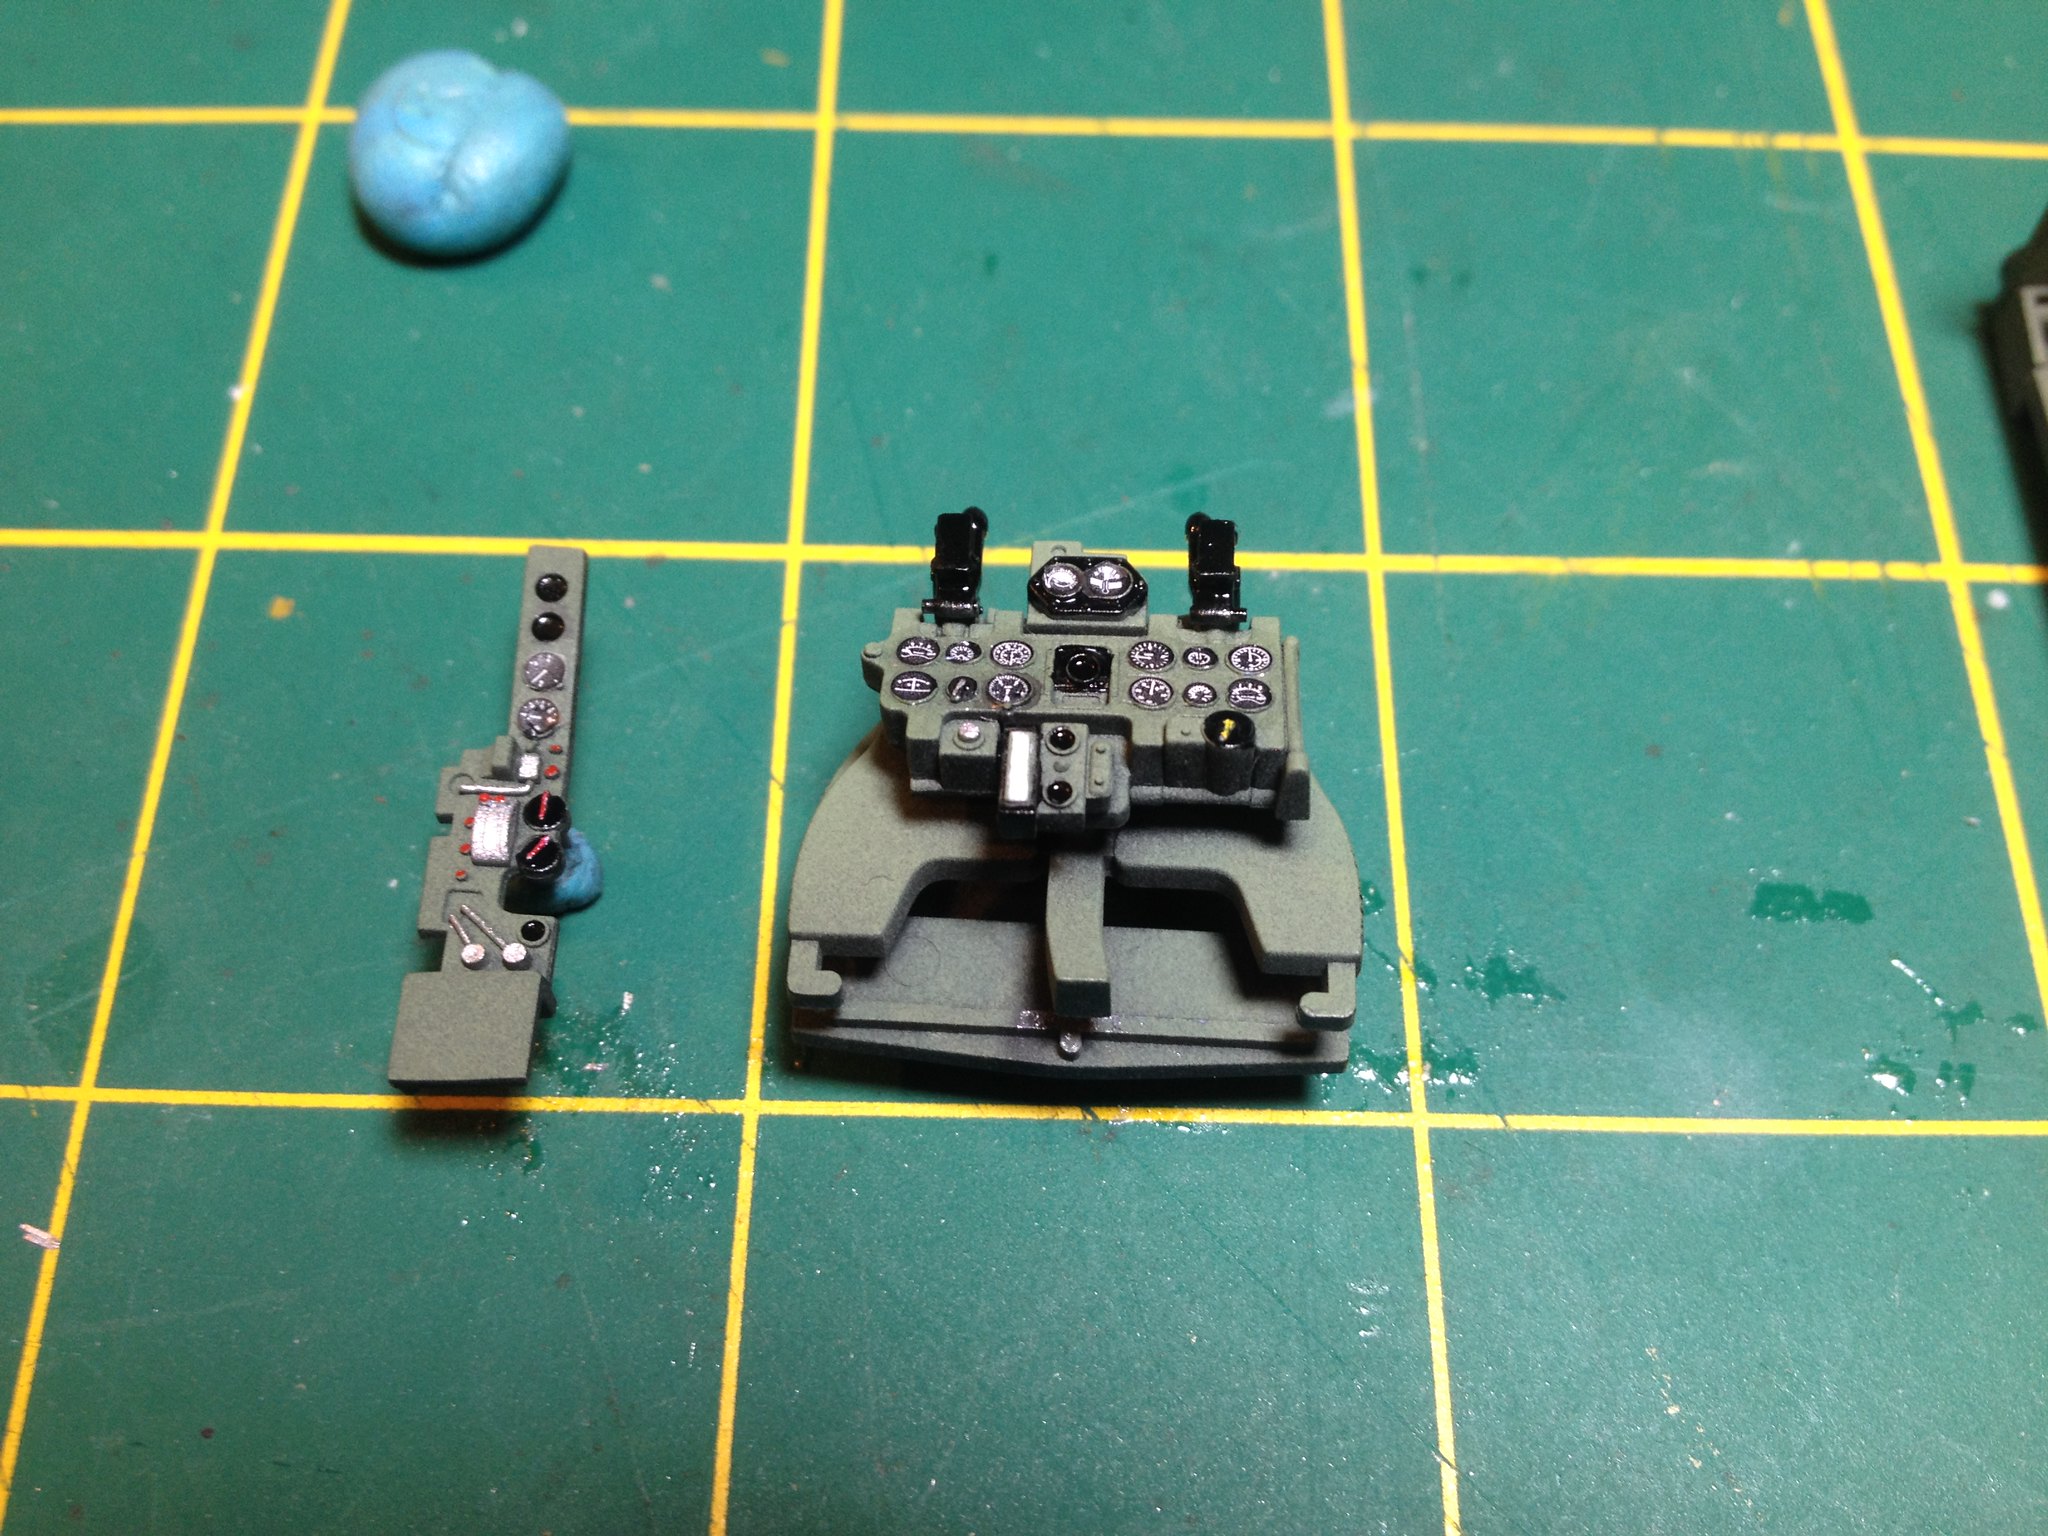 IMG_2136 by Christopher Ridle, on Flickr
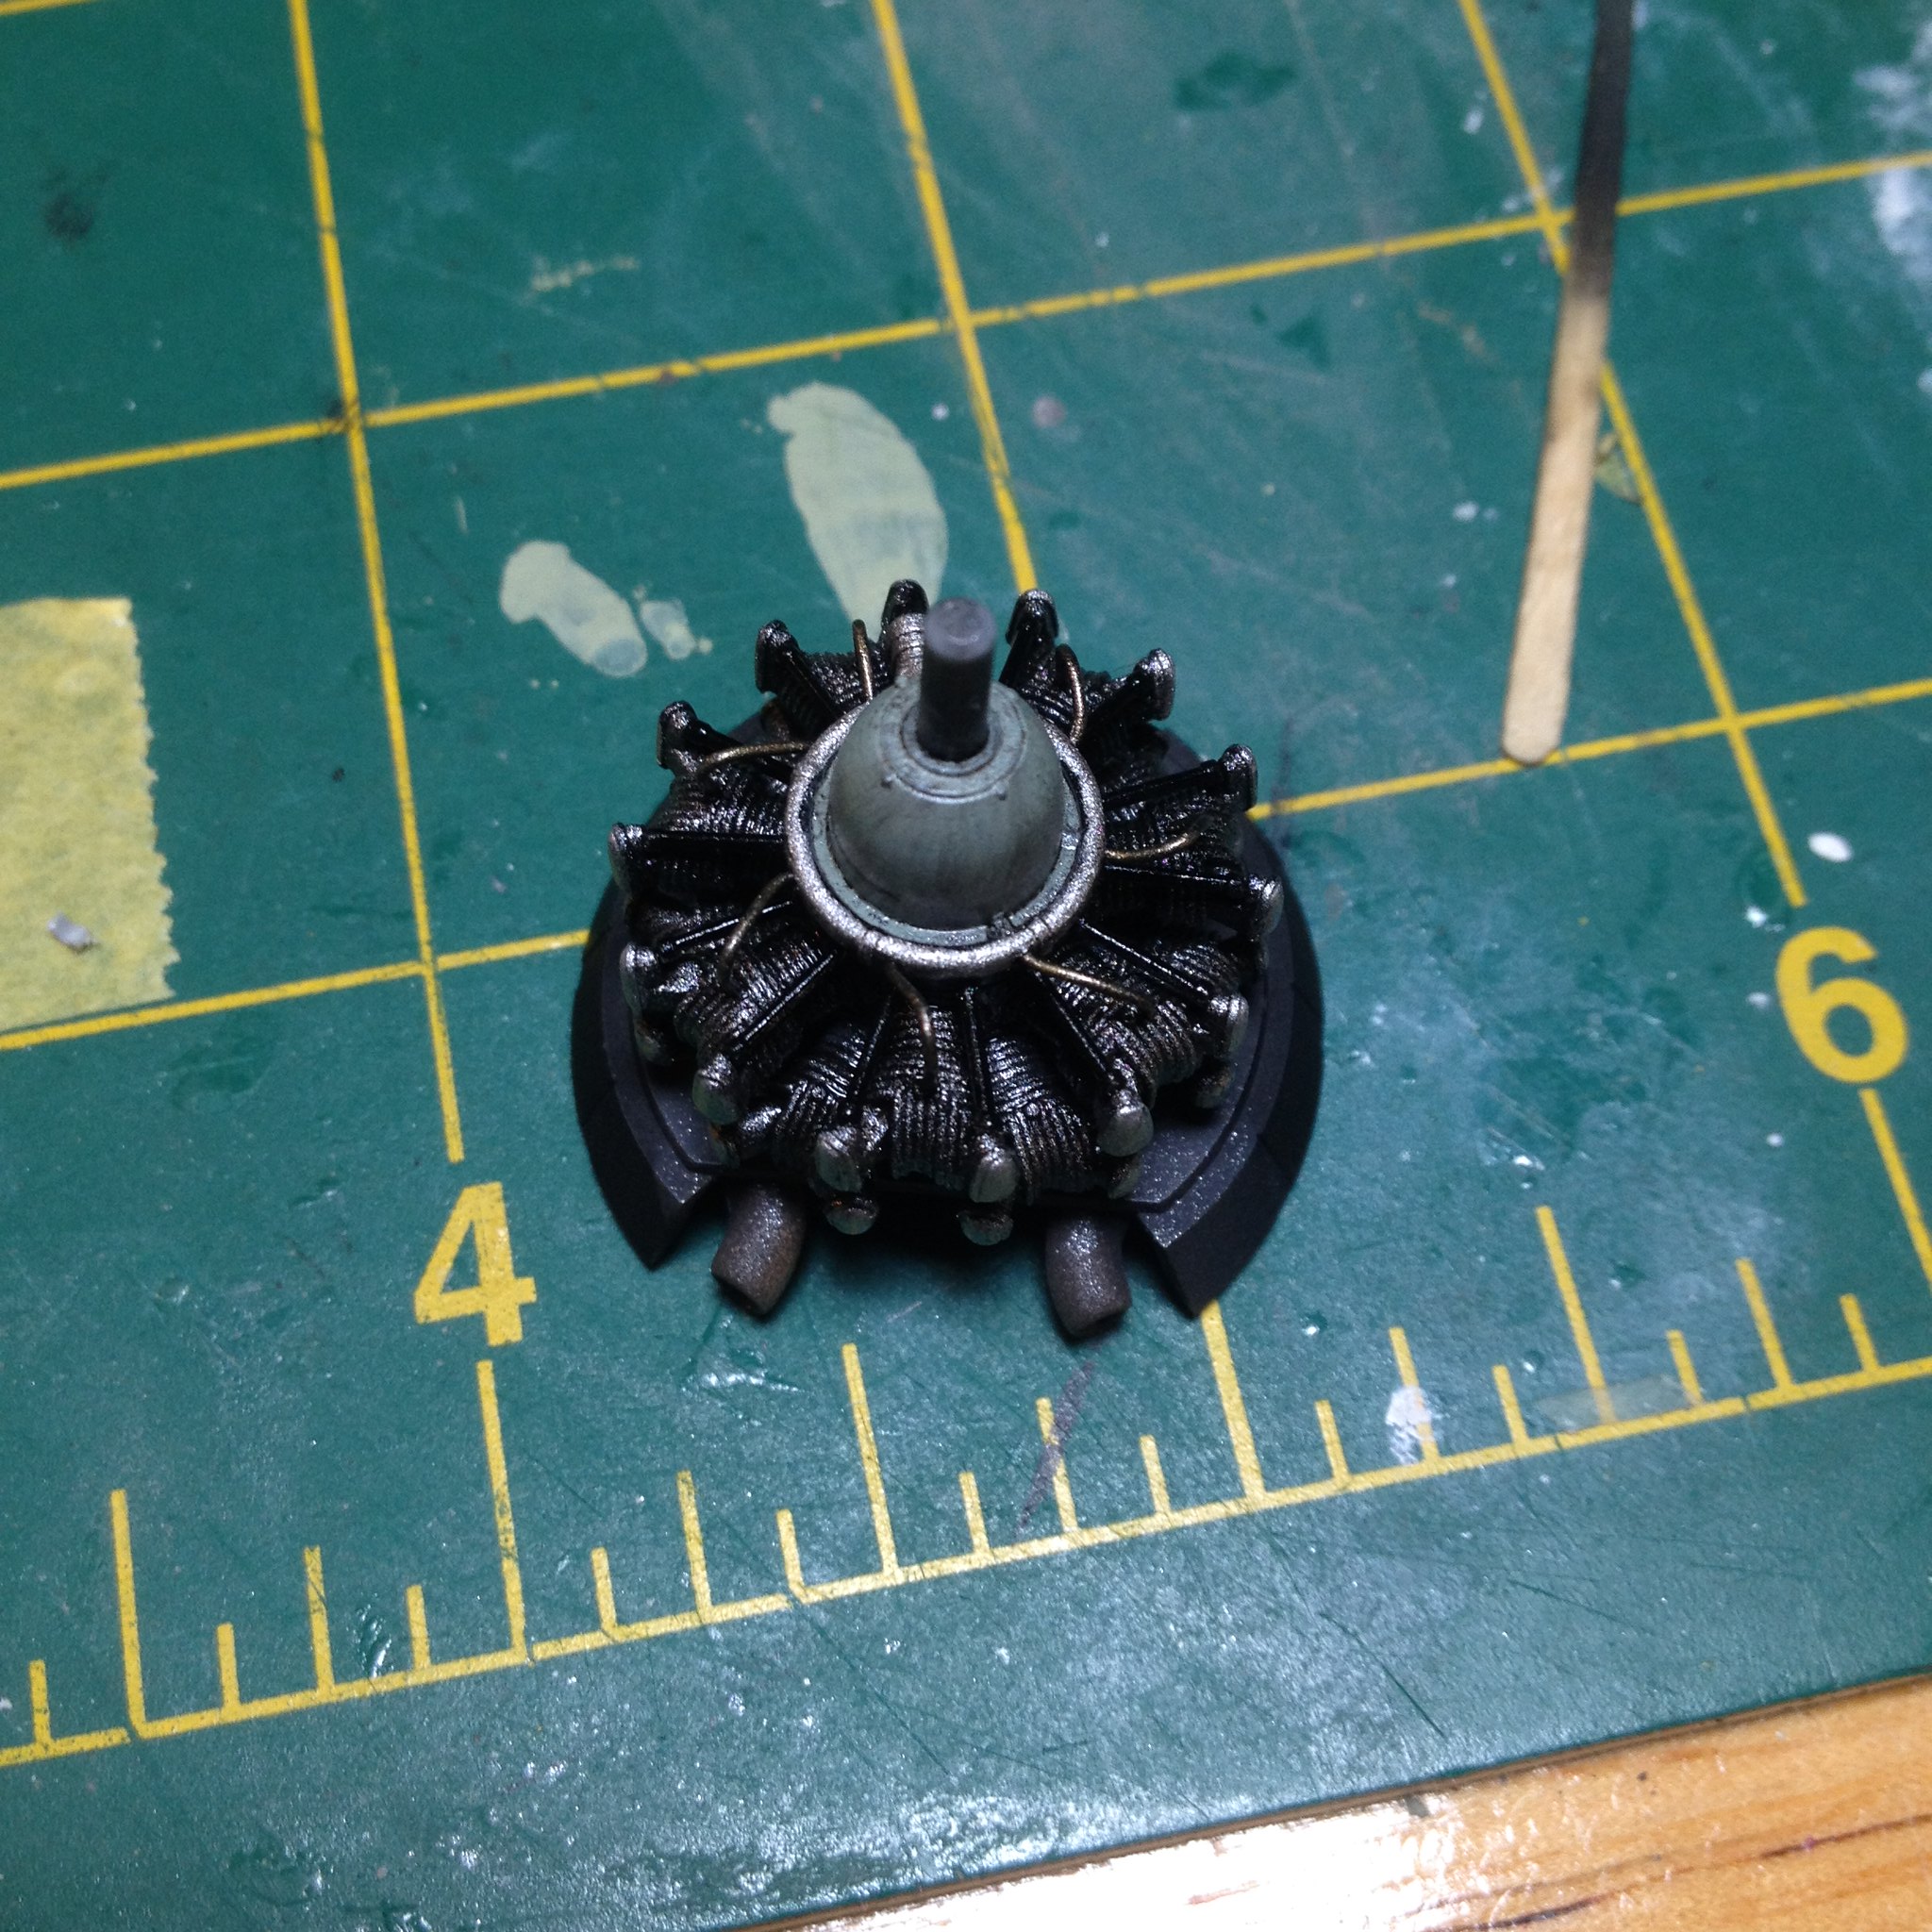
The engine got some 0.015-inch solder ignition wires. I only did the front row ignition wires, because the rear row wires follow the front row wires. I don't think that adding rear row wires would add much to the model. Just my opinion.
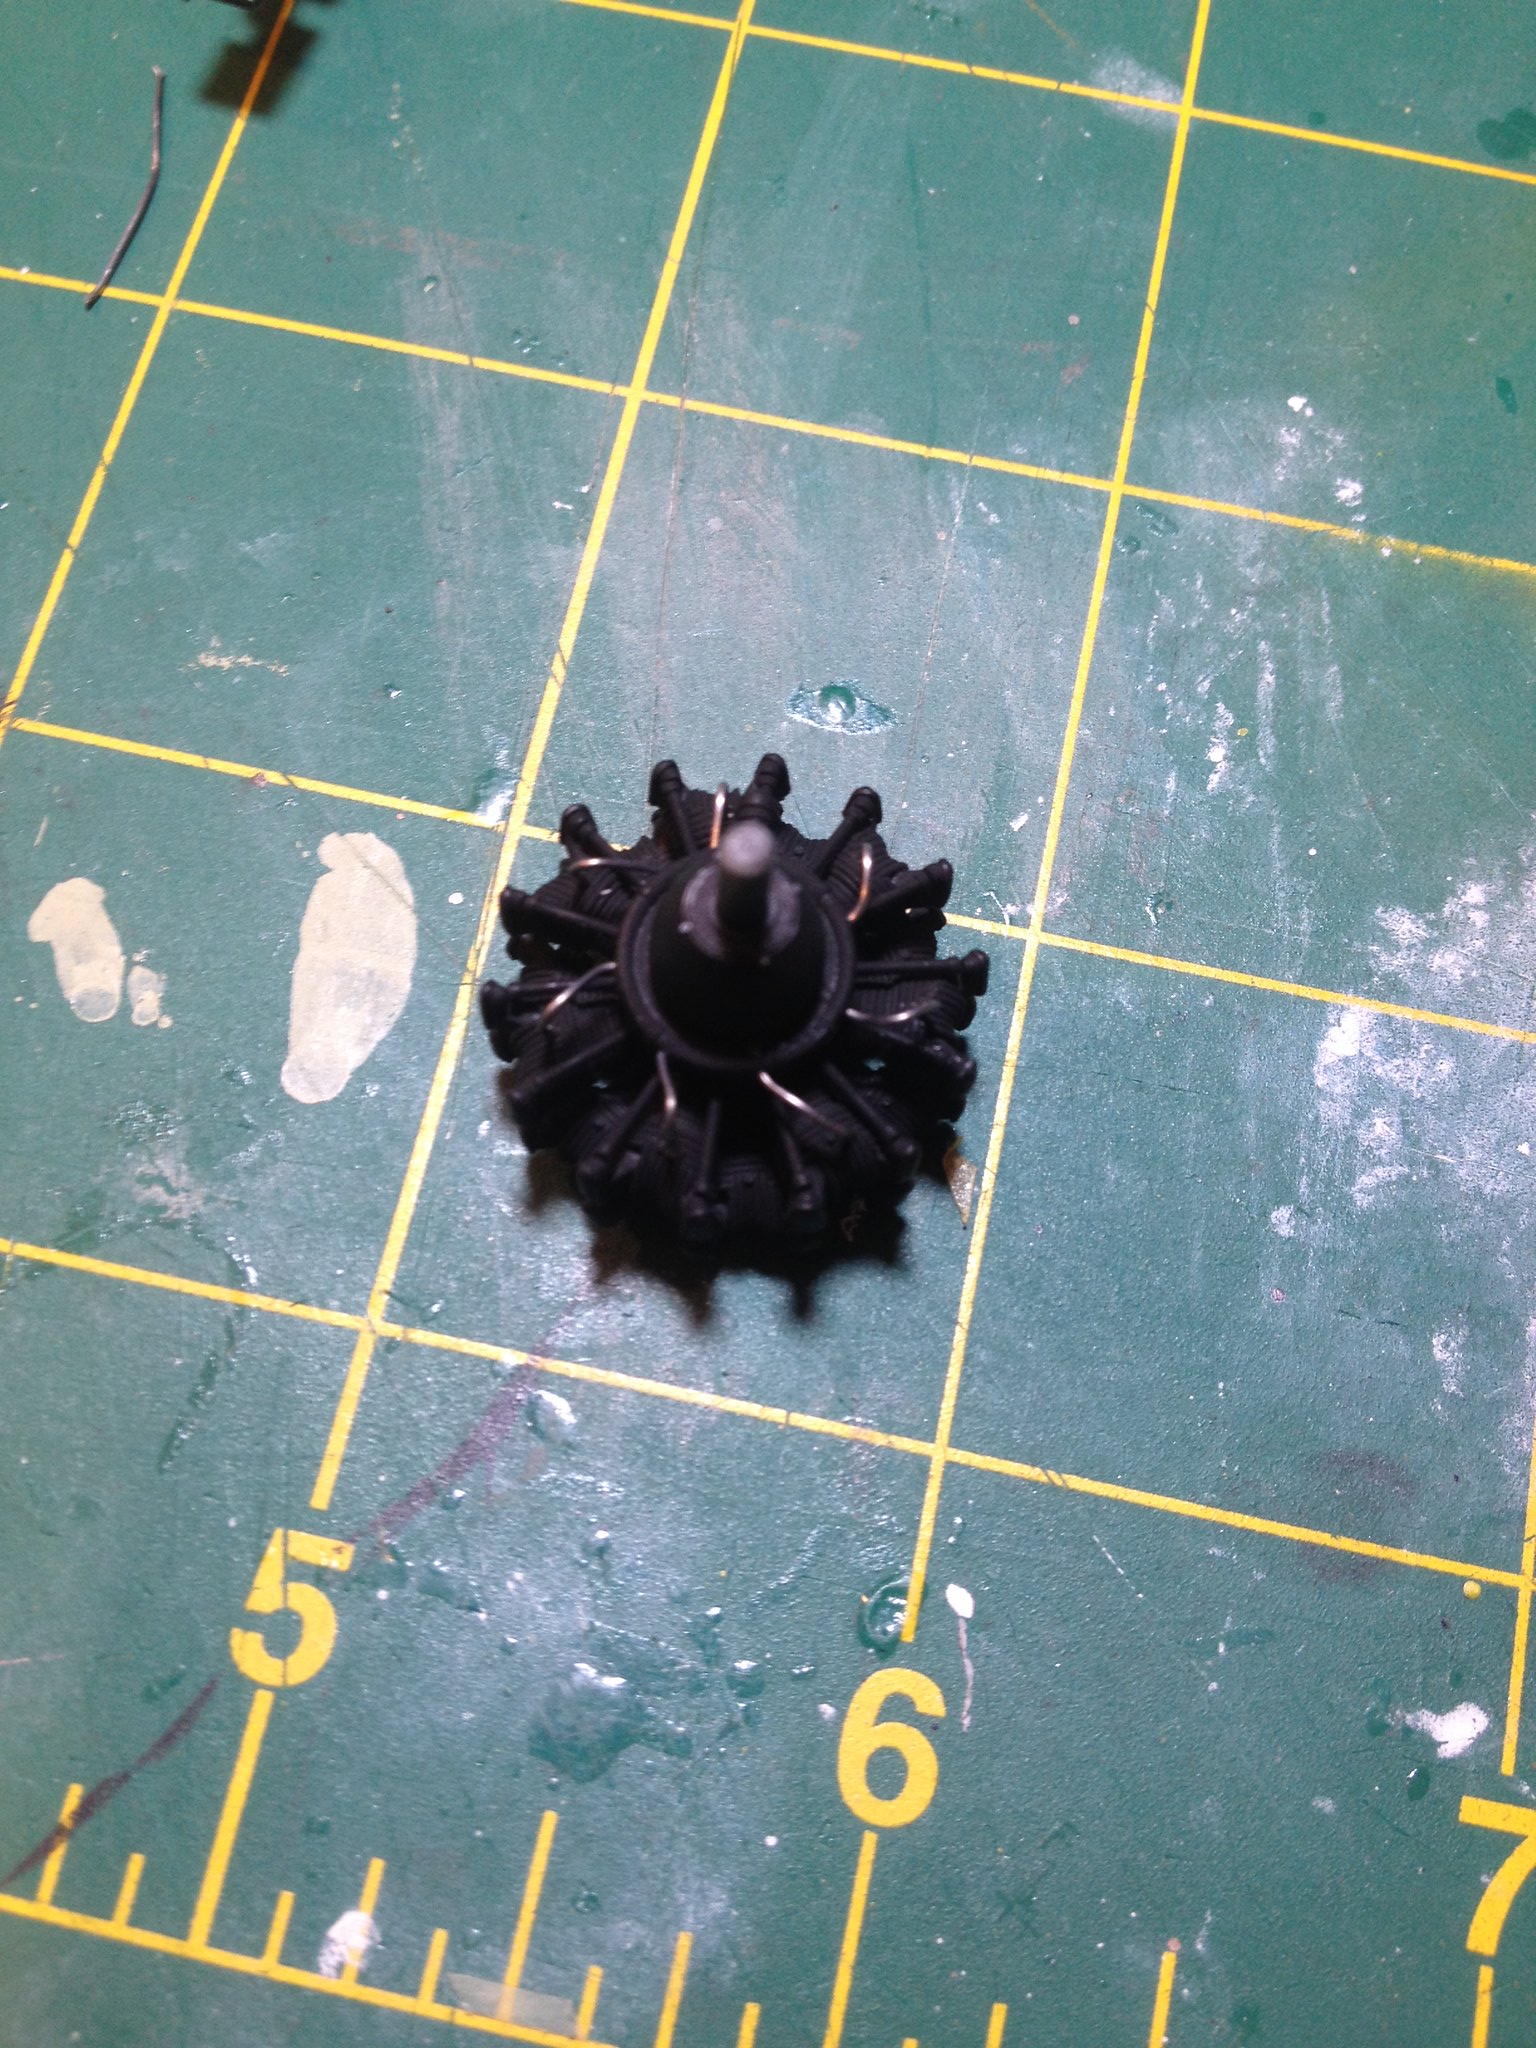 IMG_2137 by Christopher Ridle, on Flickr
Generally, I'm very happy with how the interior turned out.
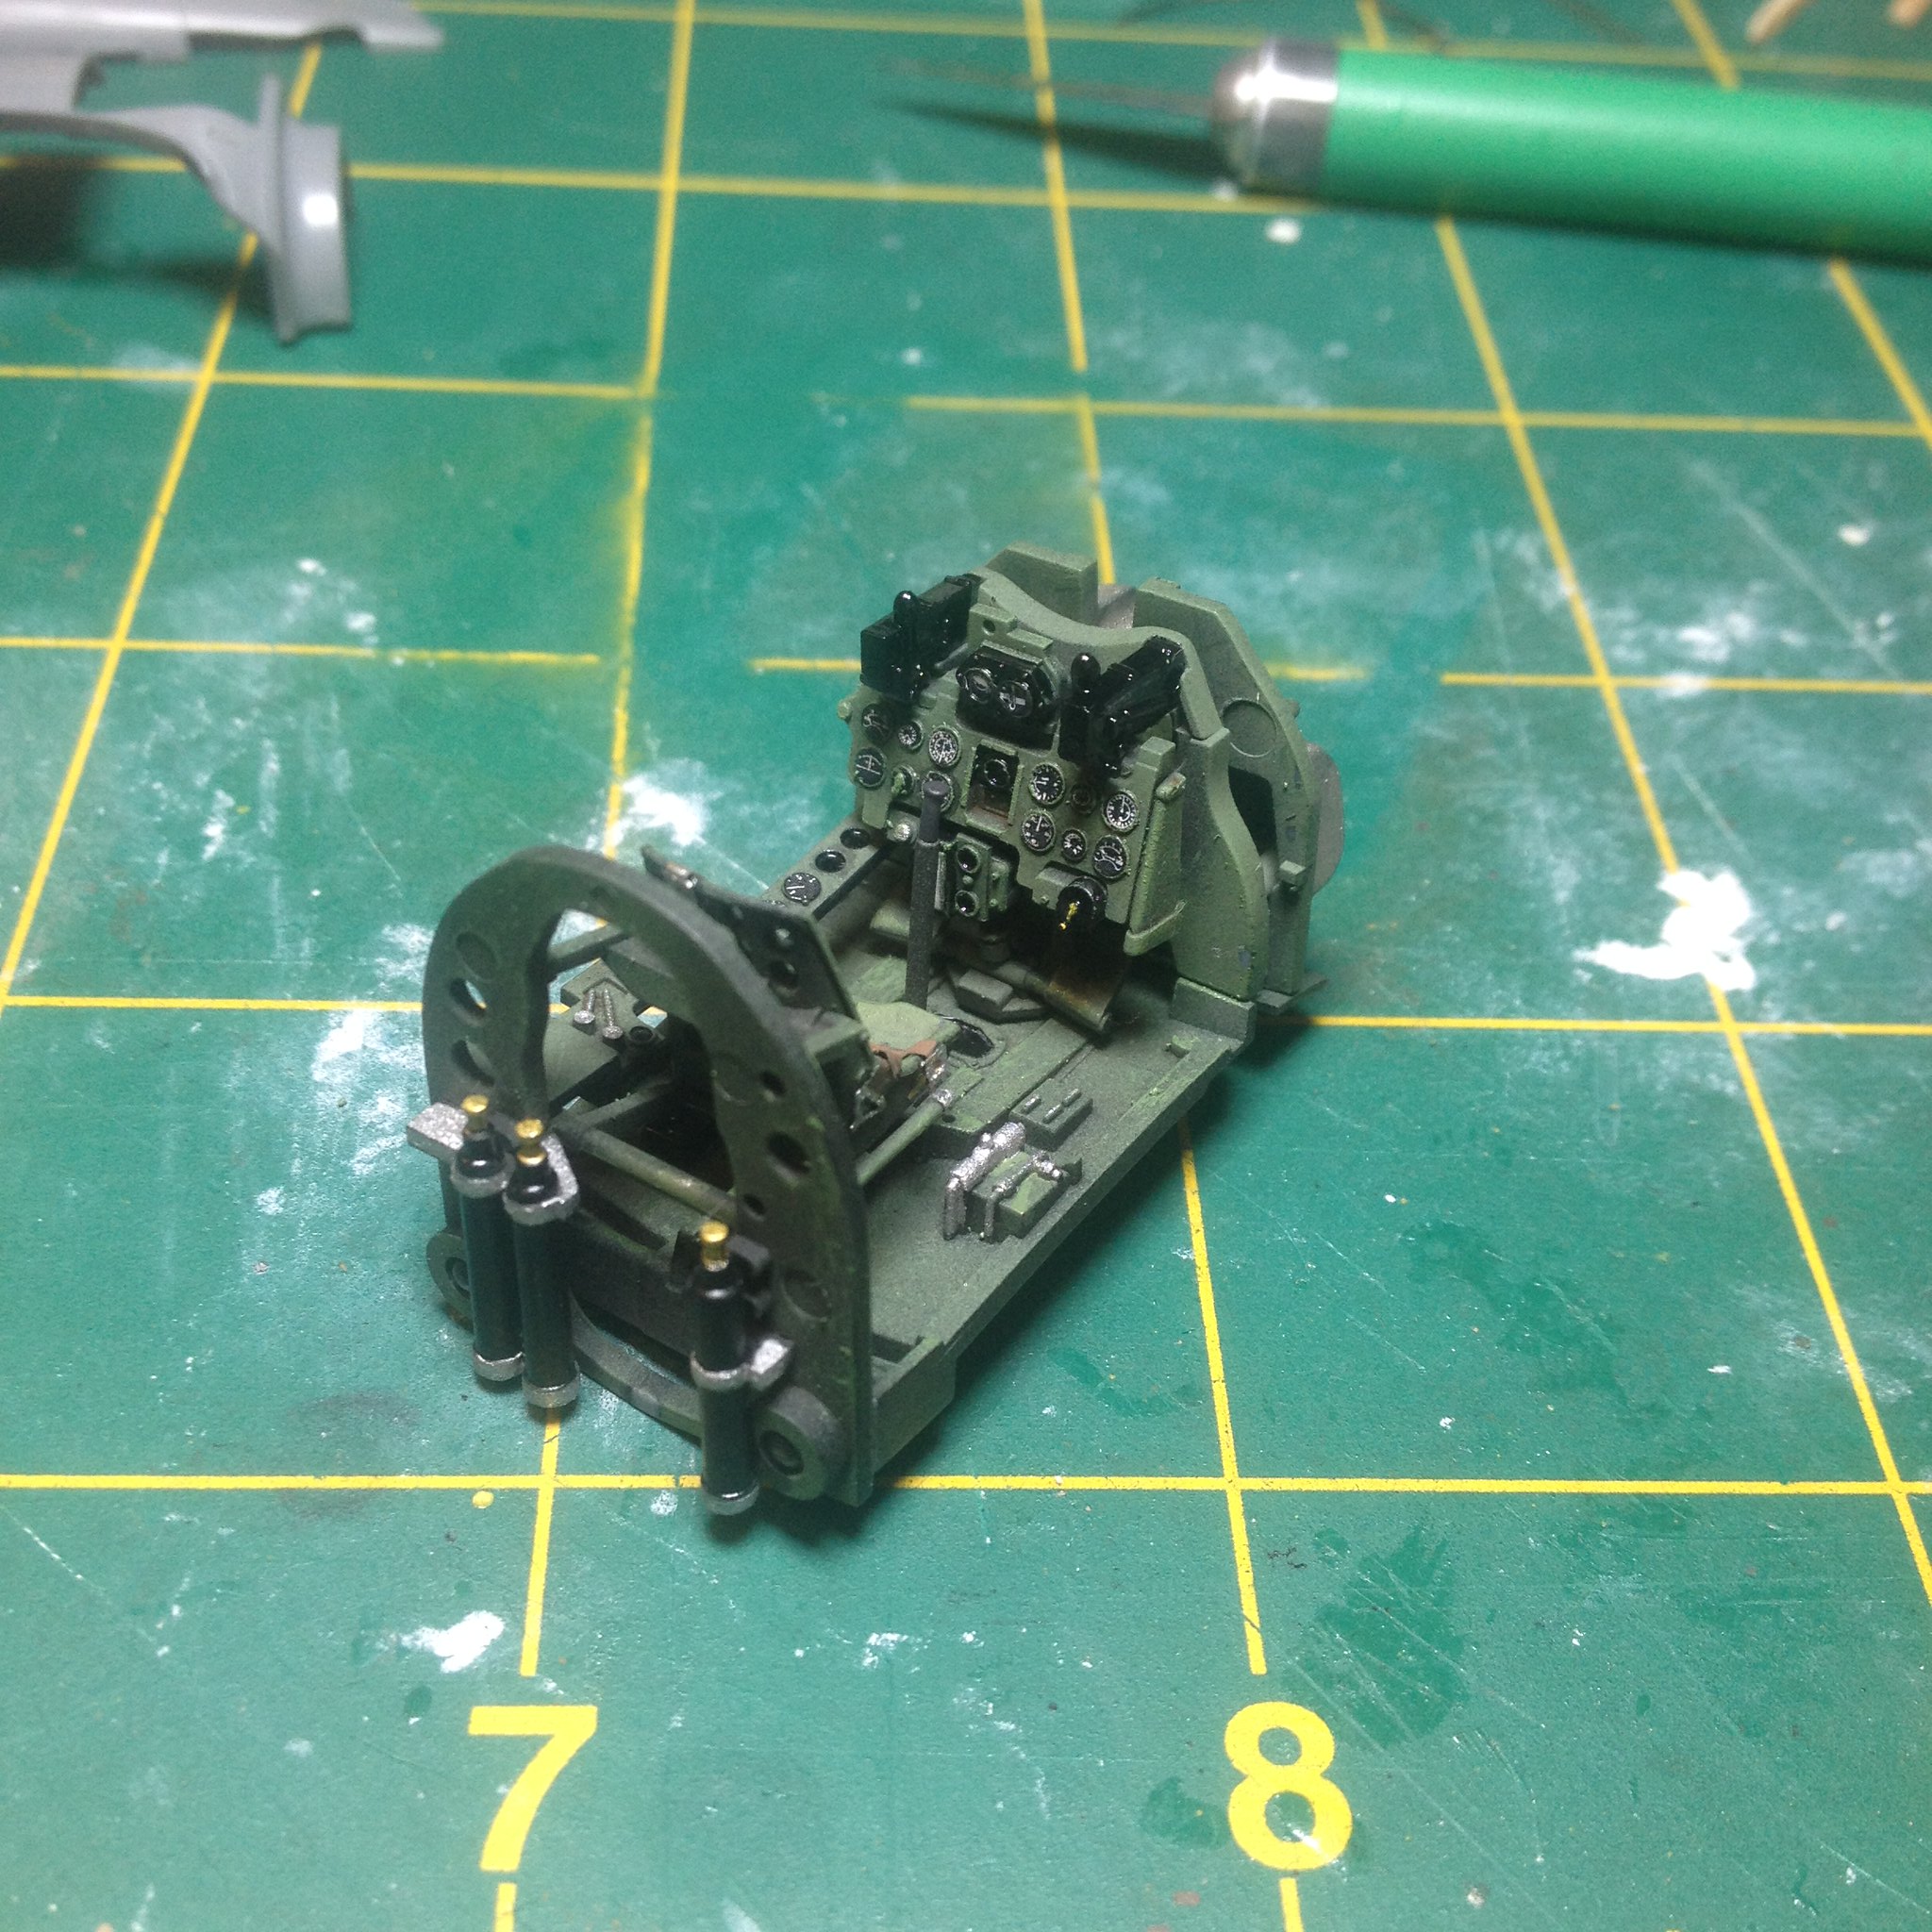 IMG_2153 by Christopher Ridle, on Flickr
 IMG_2154 by Christopher Ridle, on Flickr
 IMG_2157 by Christopher Ridle, on Flickr
The interior was weathered with a thin wash of Windsor and Newton Artist Oil Black and Burnt Umber. Then, it got a drybrush of Cockpit Green.
The Sakae 21 engine was first painted flat black. Then it got a light coat of flat aluminum (XF-16). Then it got its details painted according to instructions. The black/burnt umber wash was then used to finish the engine.
 IMG_2164 by Christopher Ridle, on Flickr
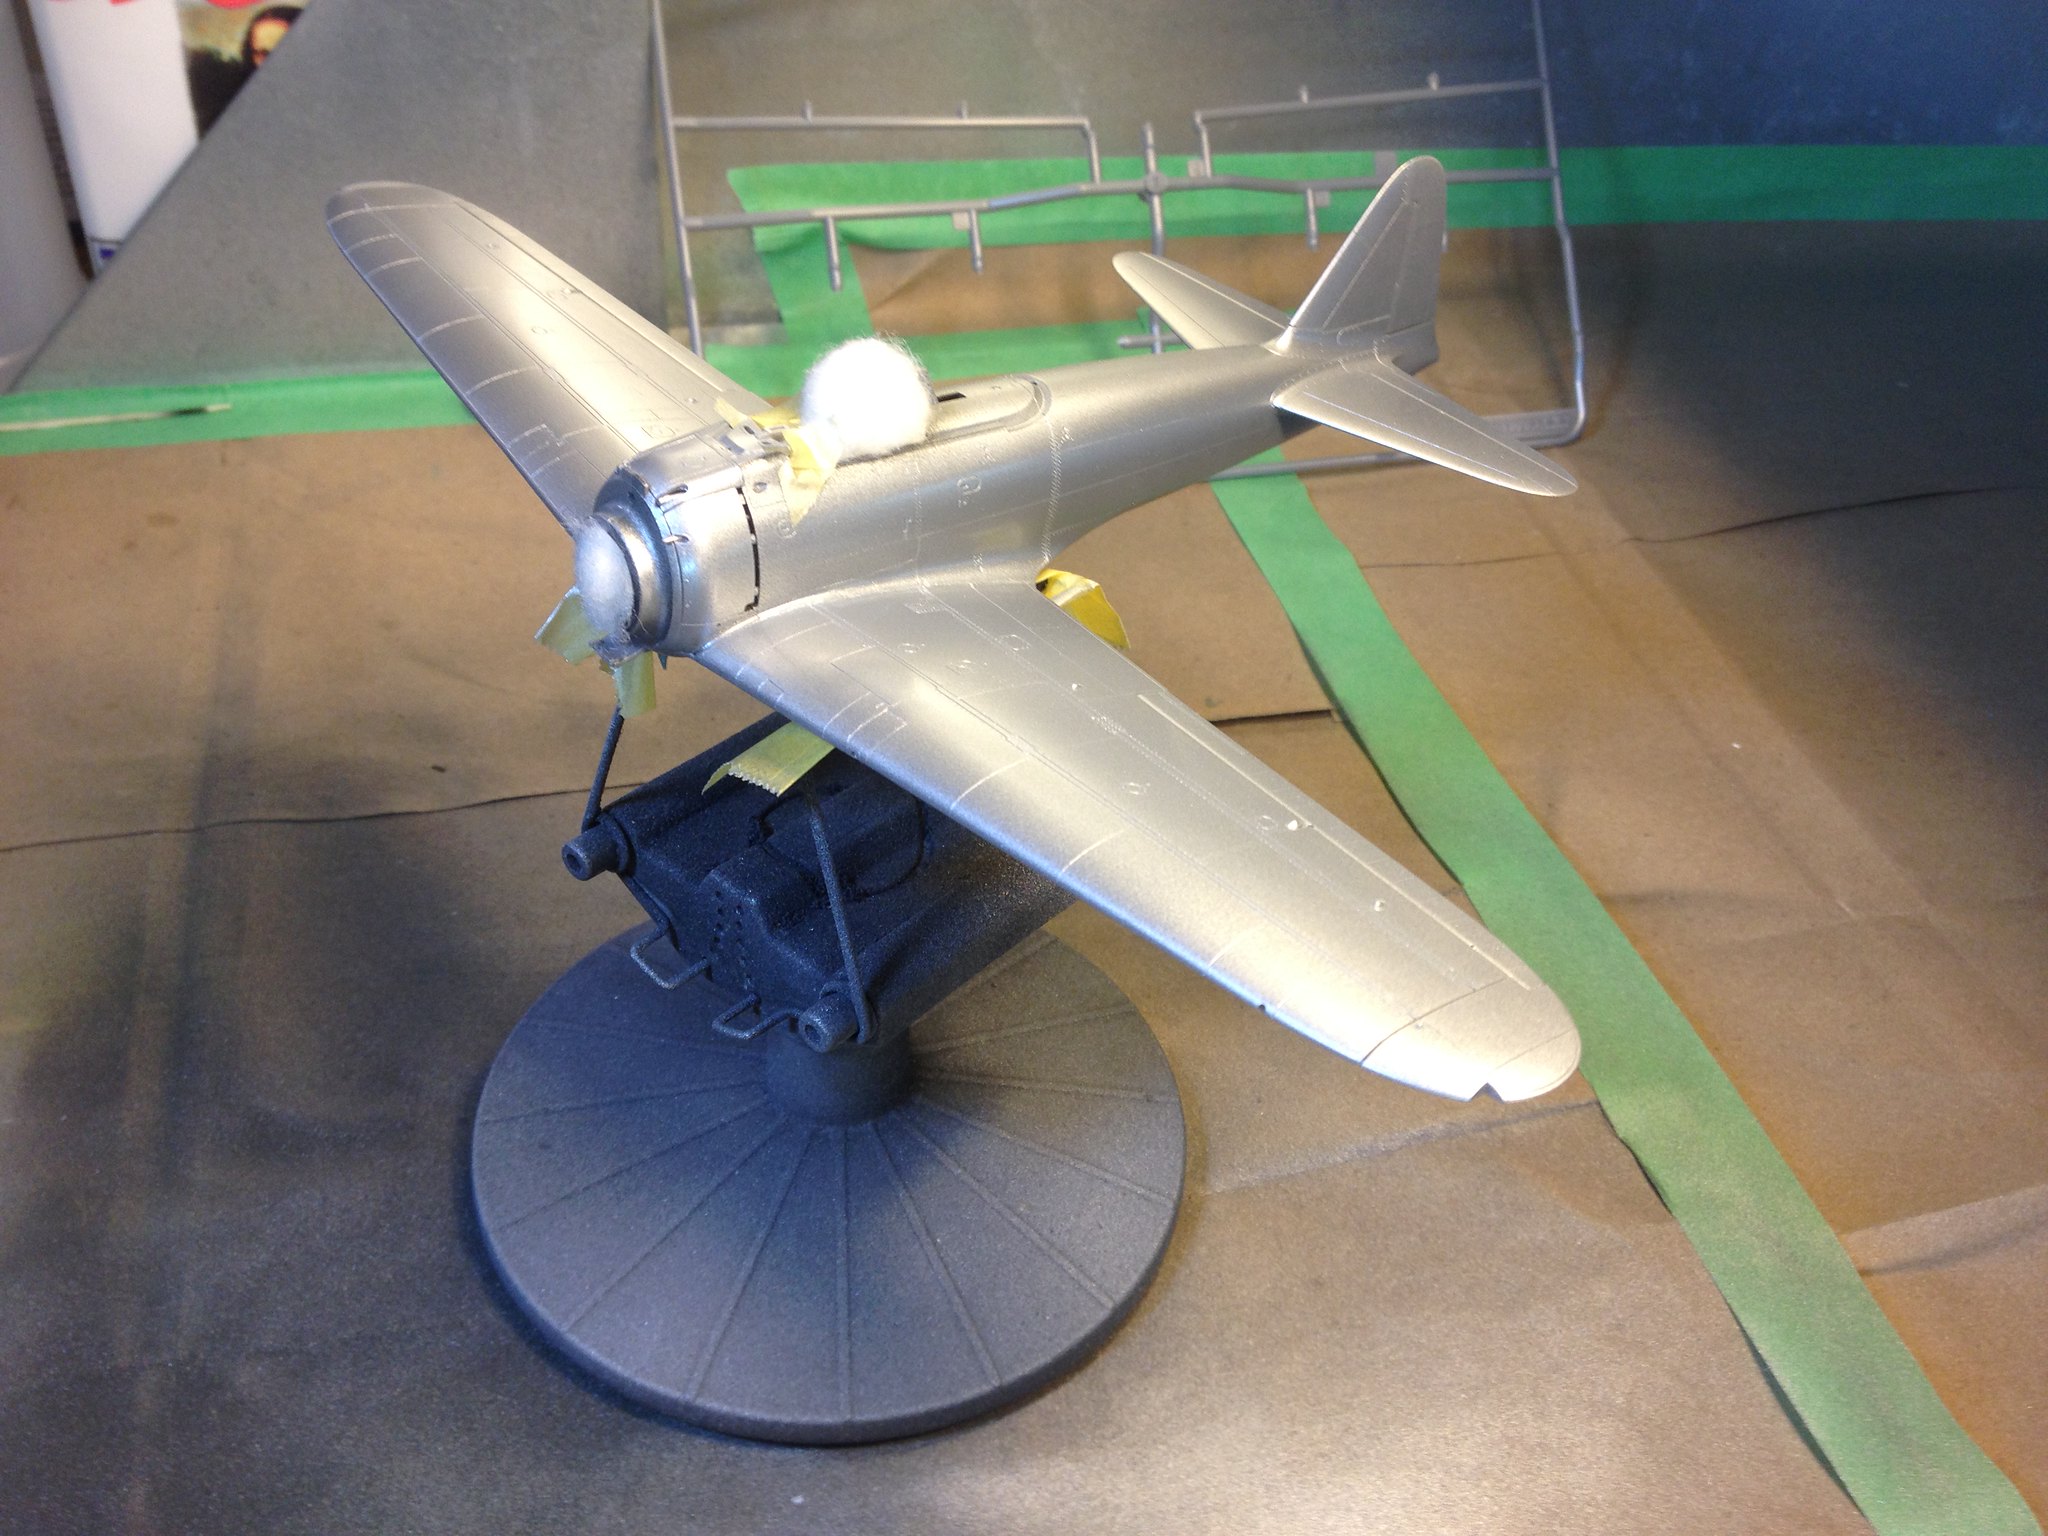
Small parts have been prepped for paint, and my "primer" has gone down. I'm using Tamiya TS-17 Gloss Aluminum spray to start the finish. I plan on applying several layers, and I'll be chipping/wearing away some of them. I'm excited to try the chipping and wear techniques that I've read about. Here's how she sits tonight.
 IMG_2177 by Christopher Ridle, on Flickr
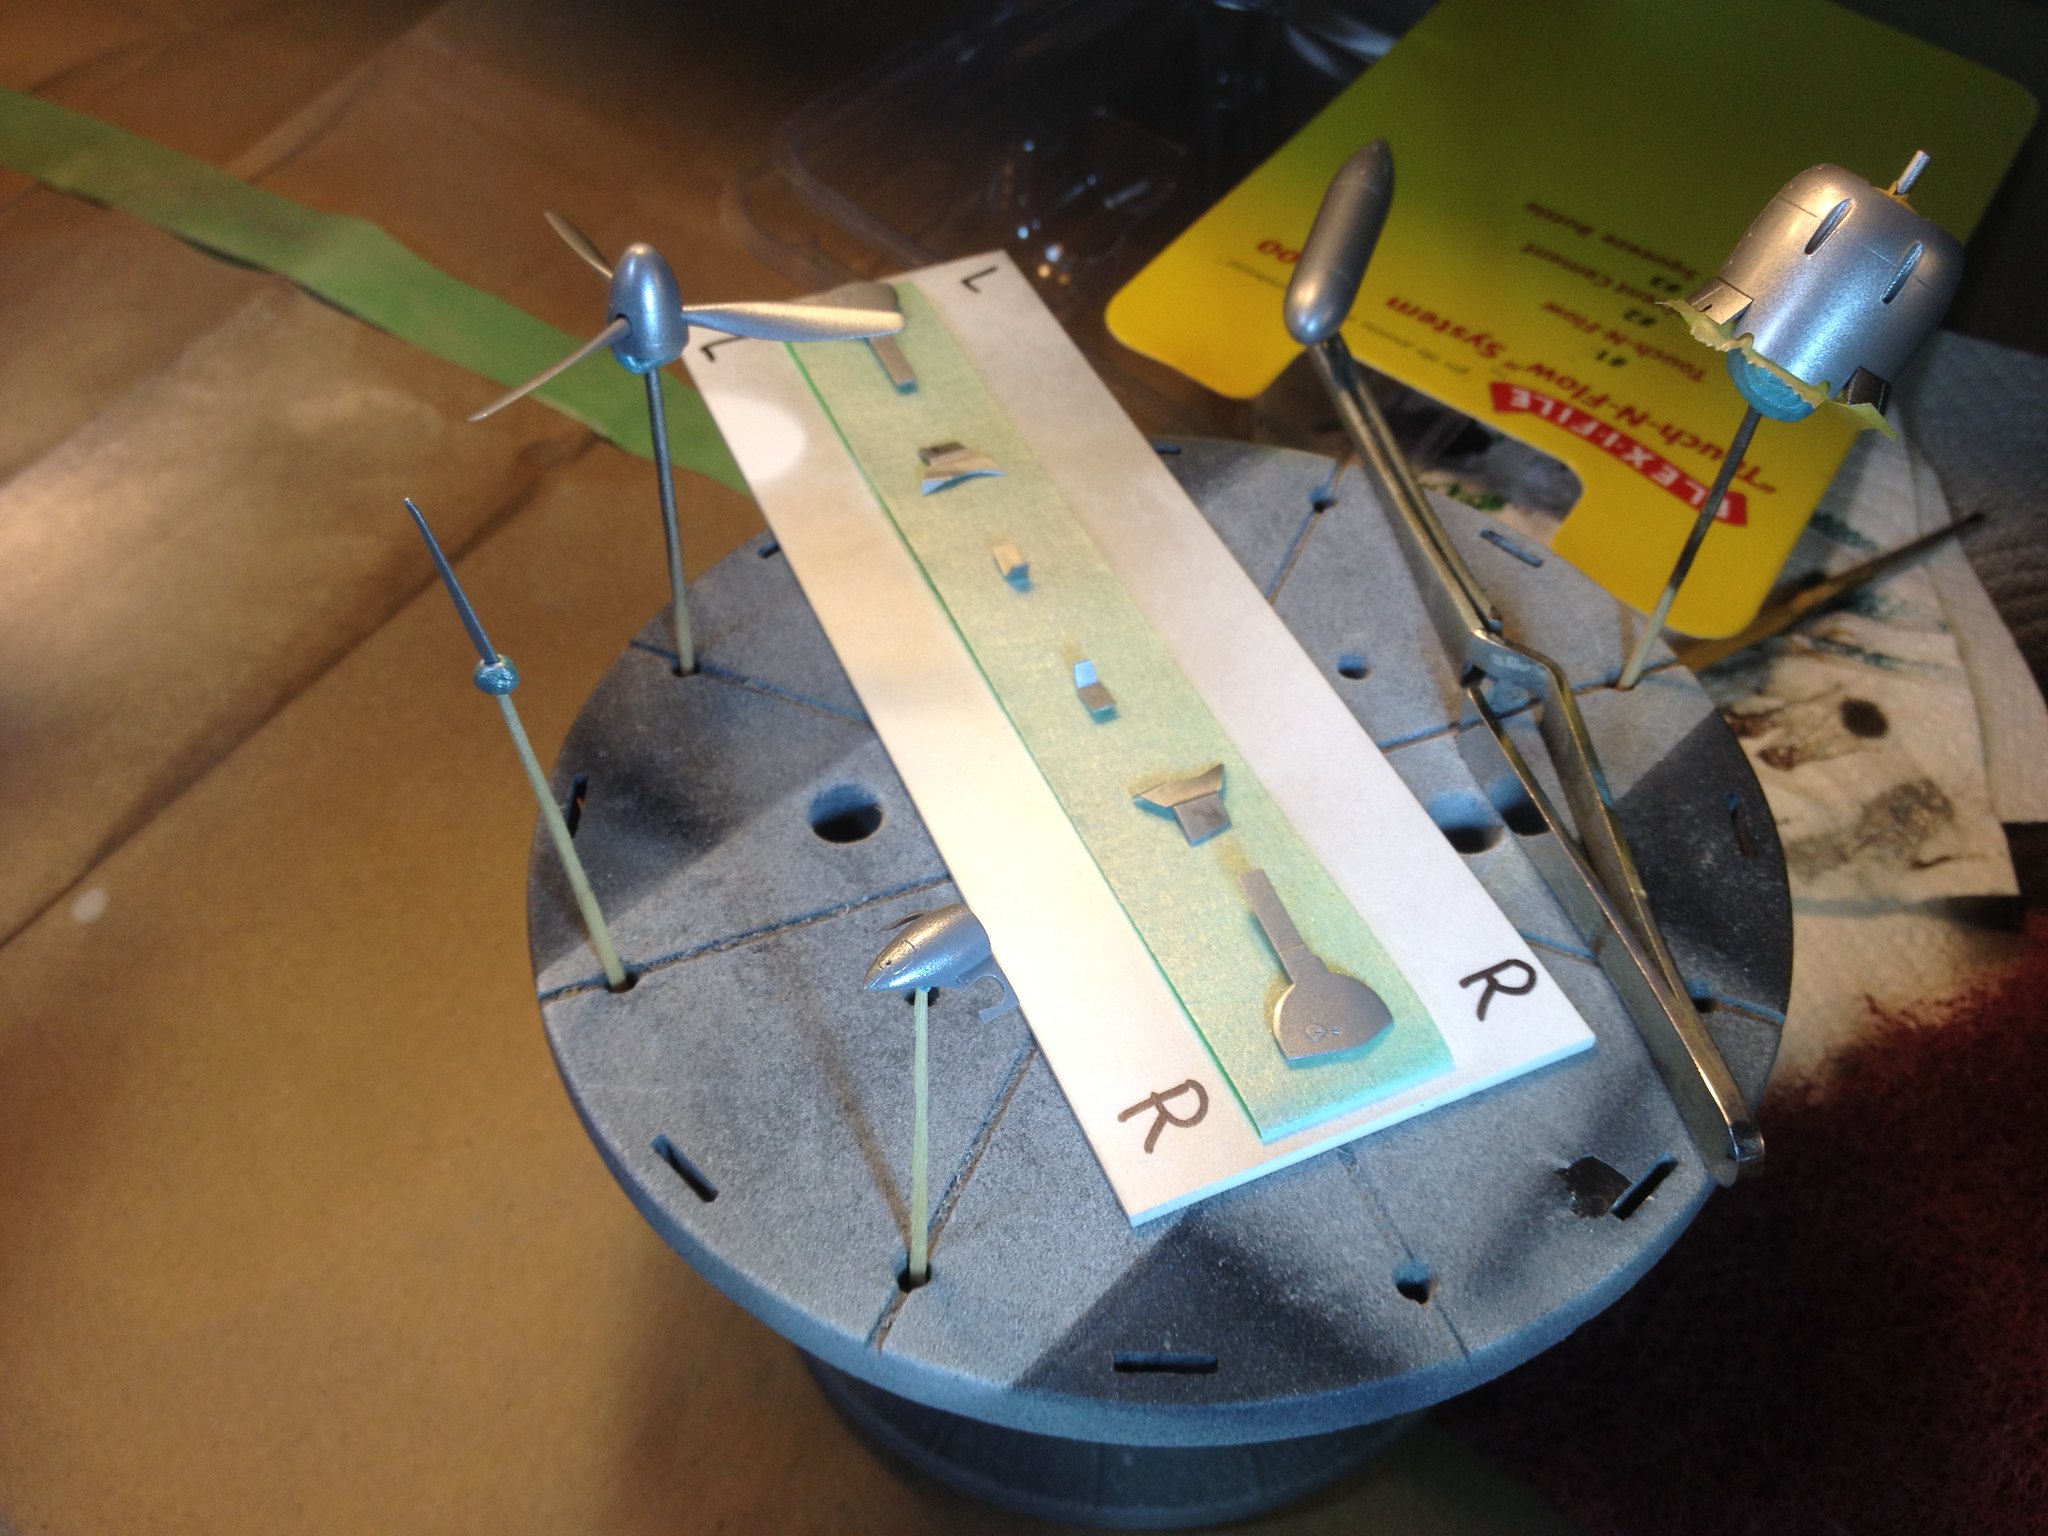 IMG_2176 by Christopher Ridle, on Flickr
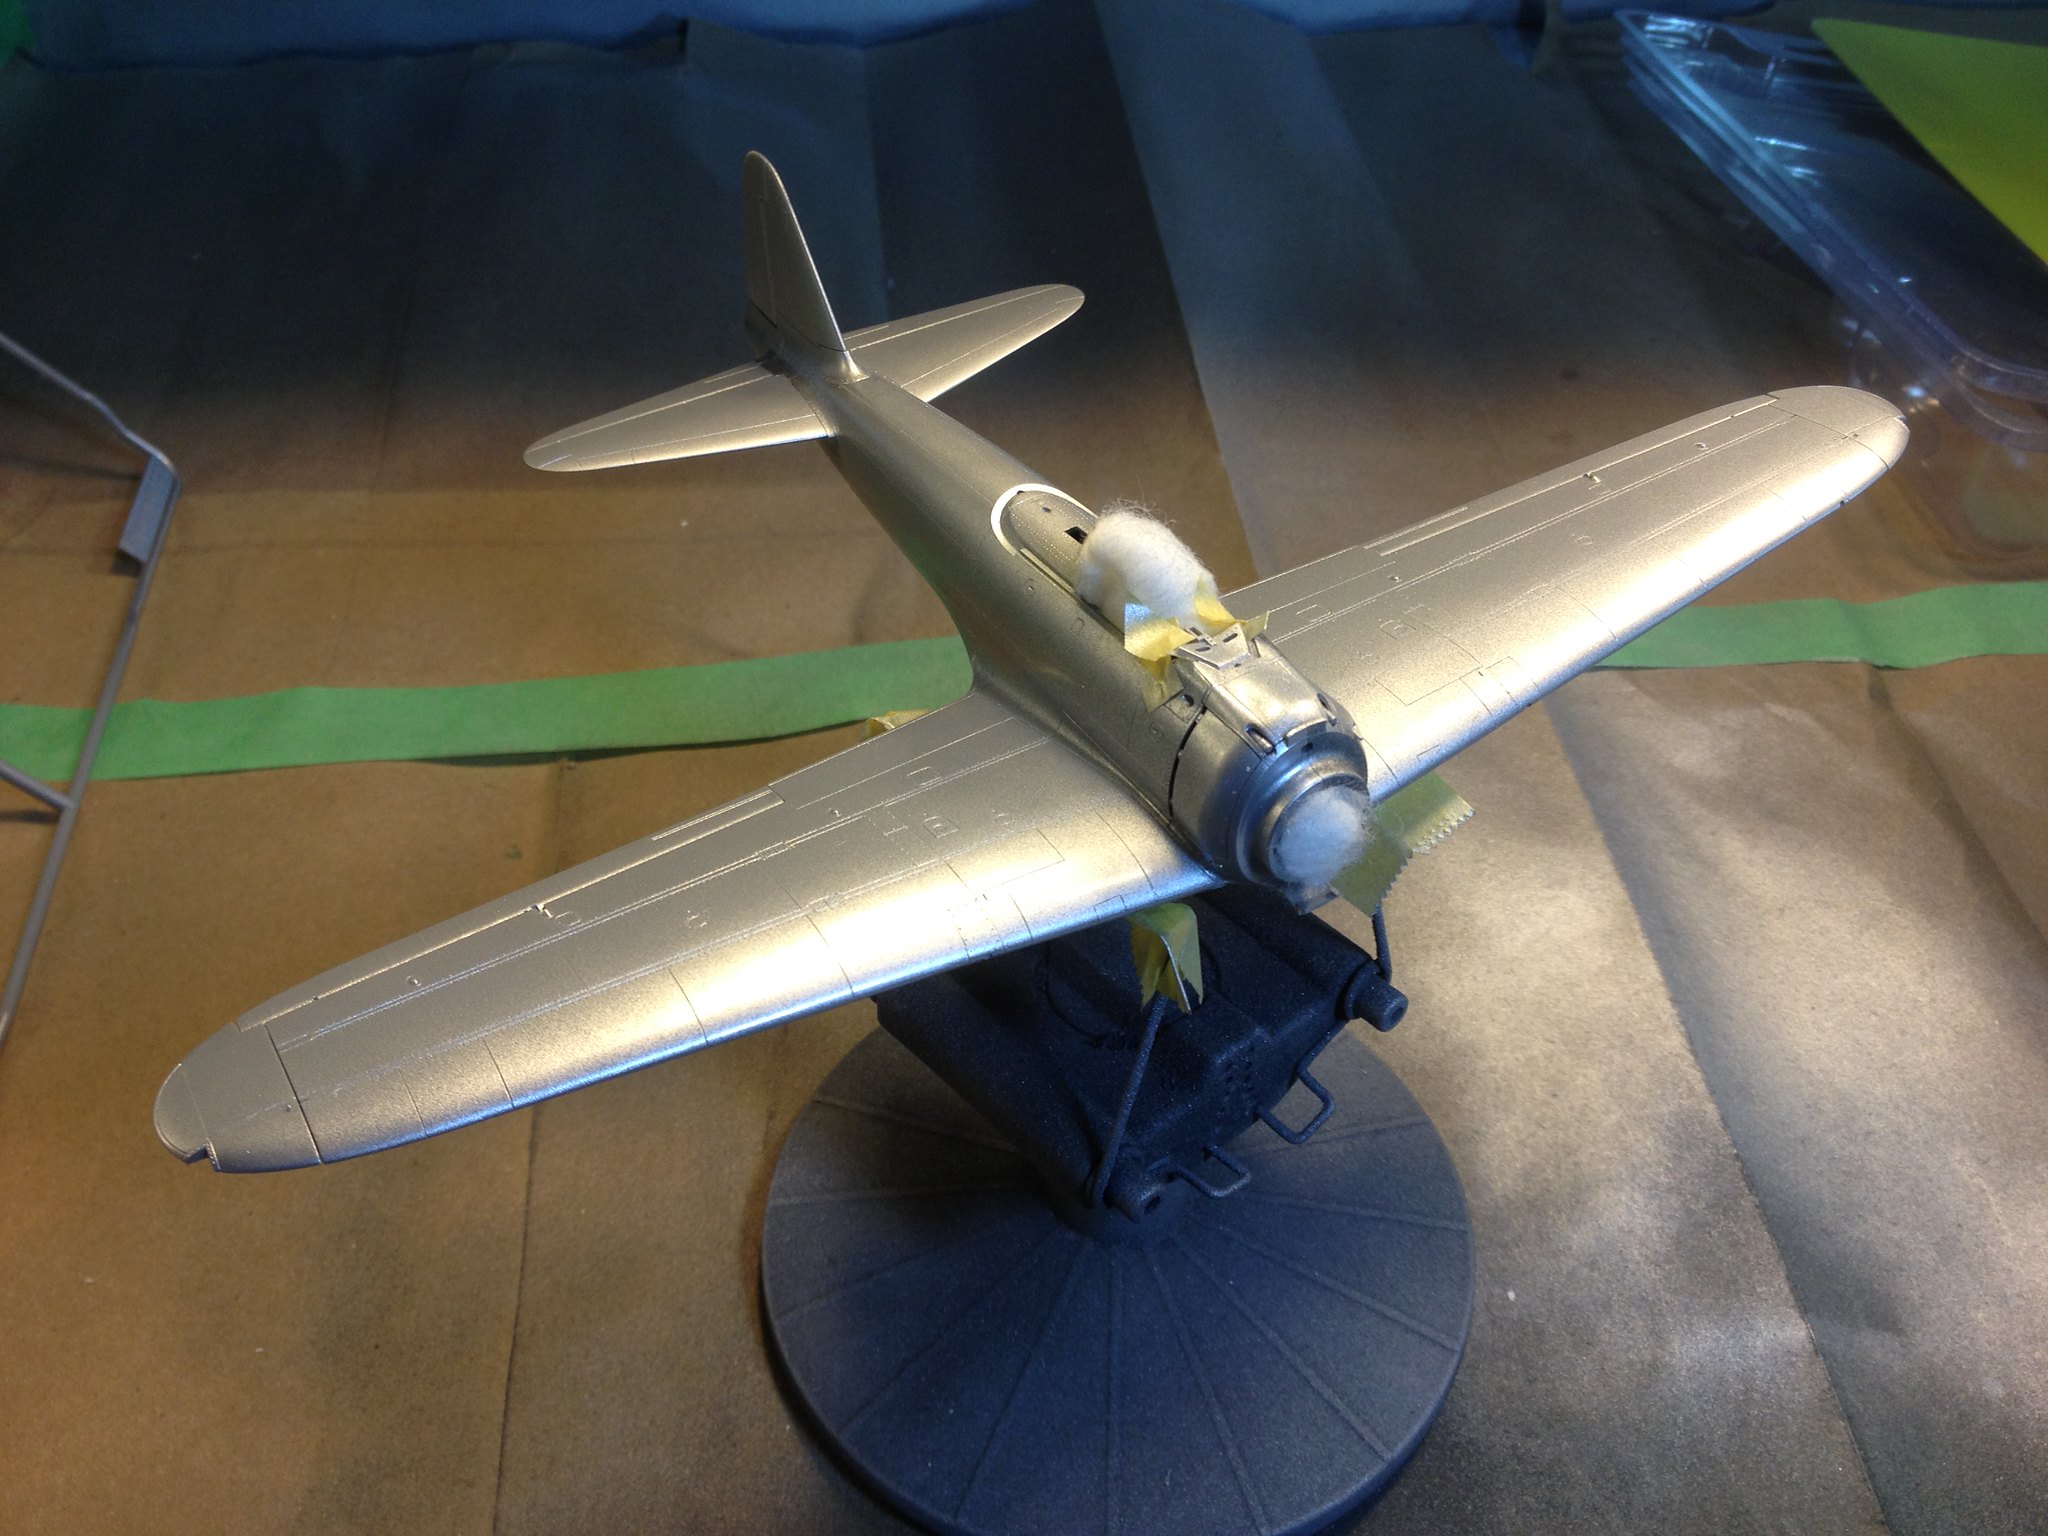 IMG_2175 by Christopher Ridle, on Flickr
And, these are my masks. I plan to use decals for the tail numbers and everything smaller.
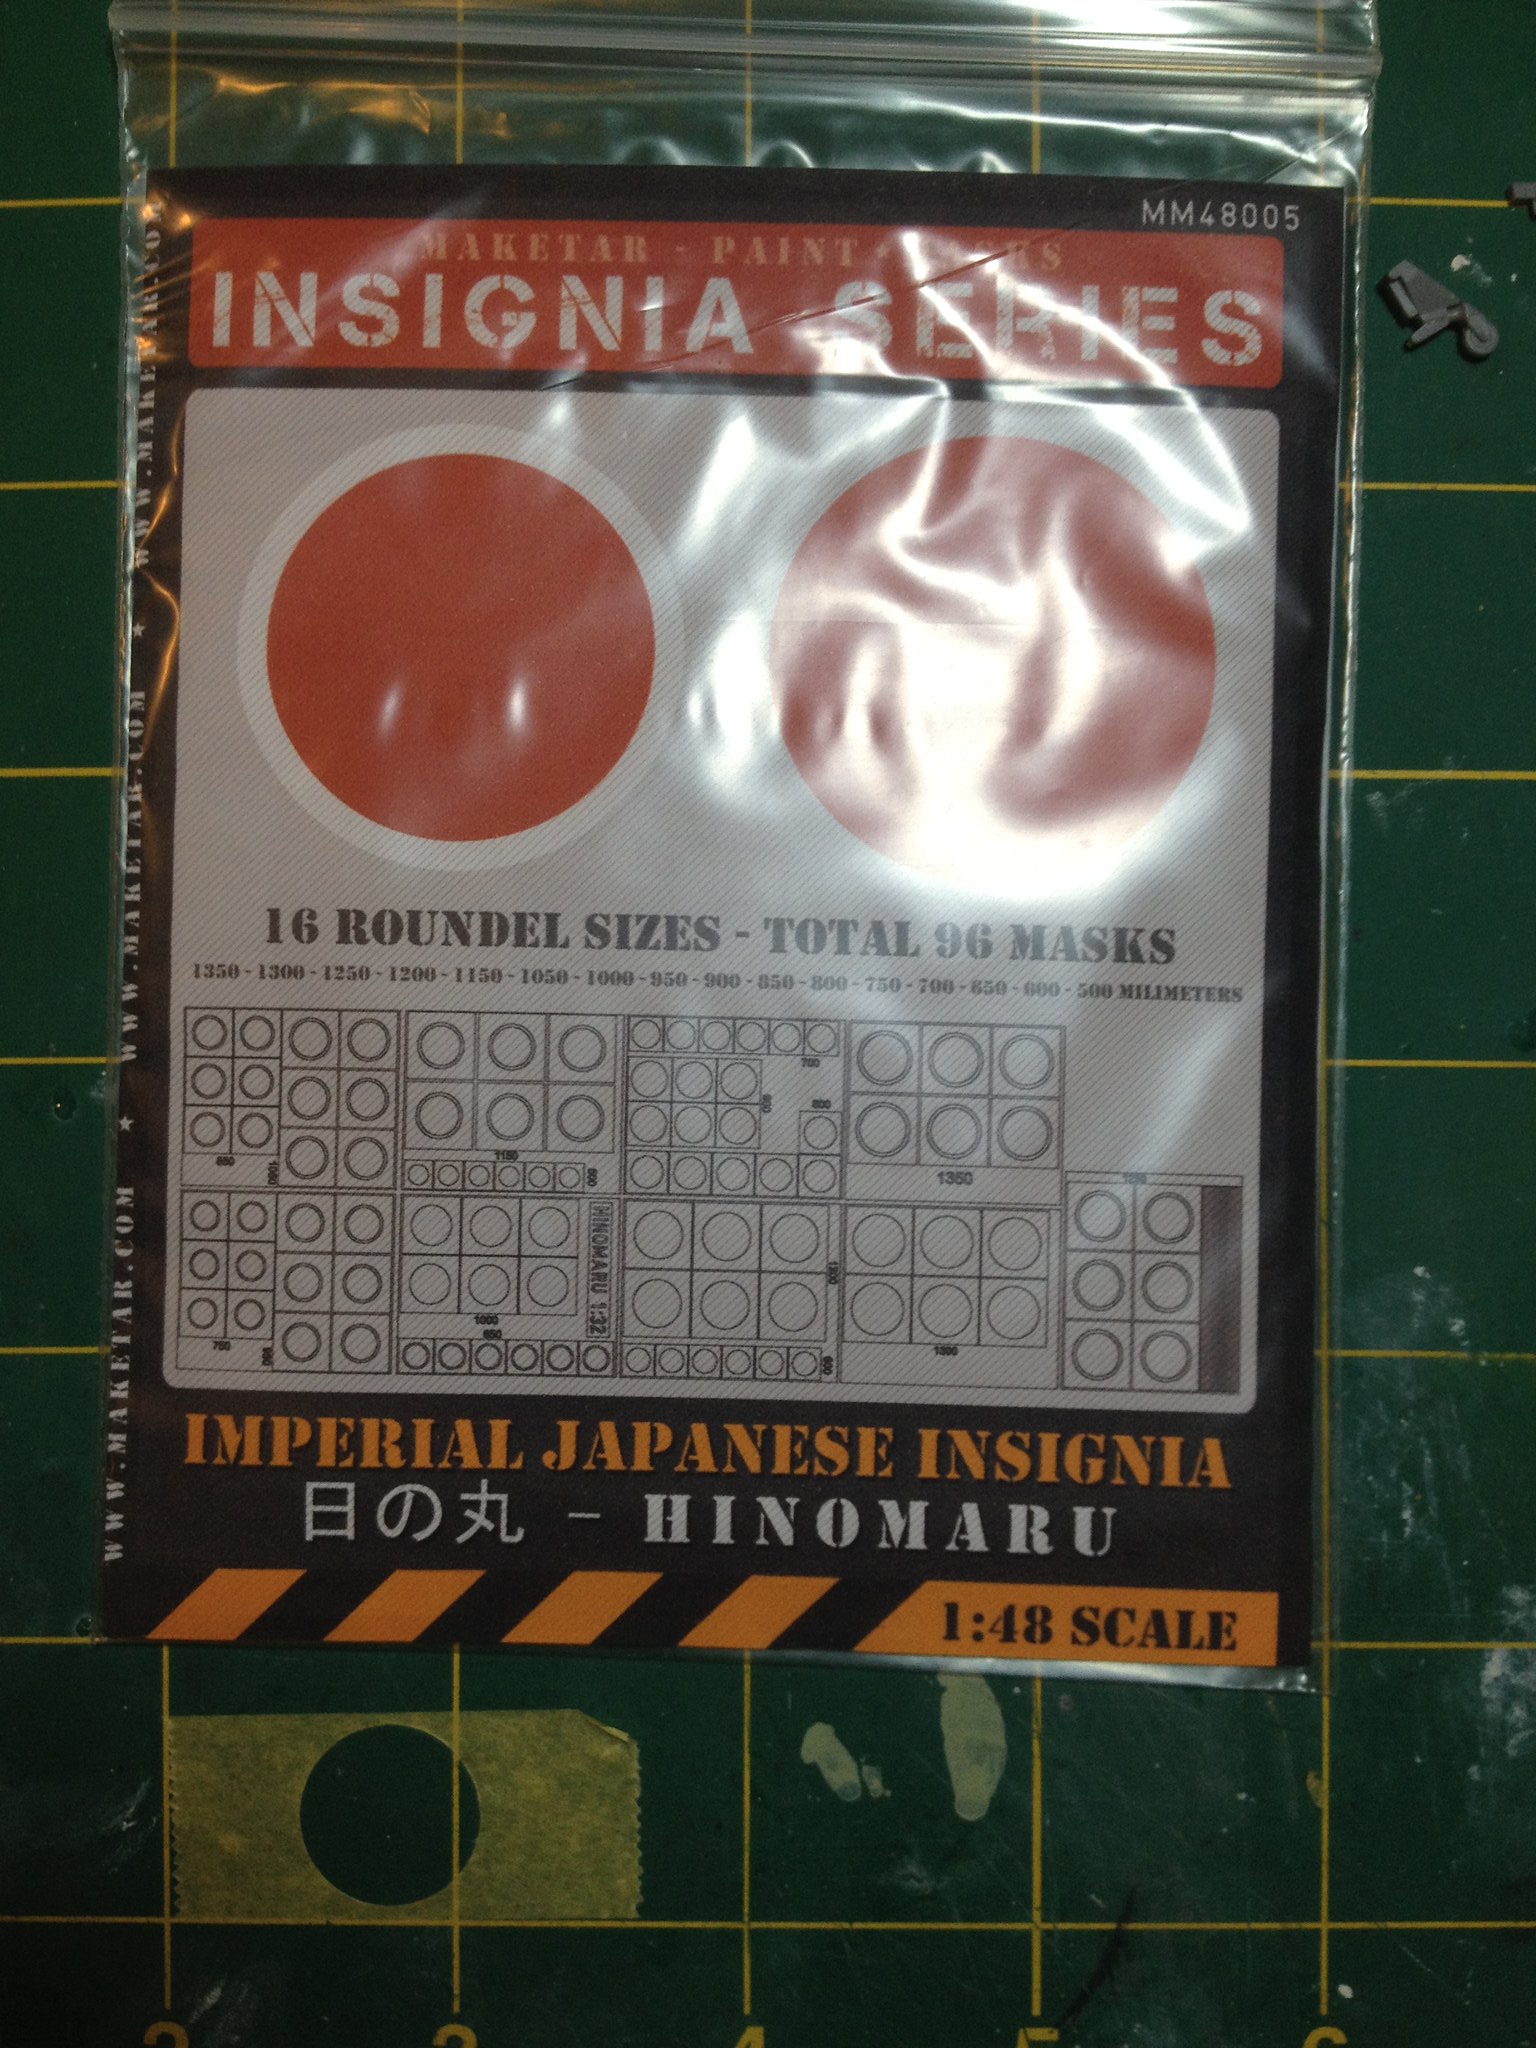 IMG_2178 by Christopher Ridle, on Flickr
The Montex masks are great!
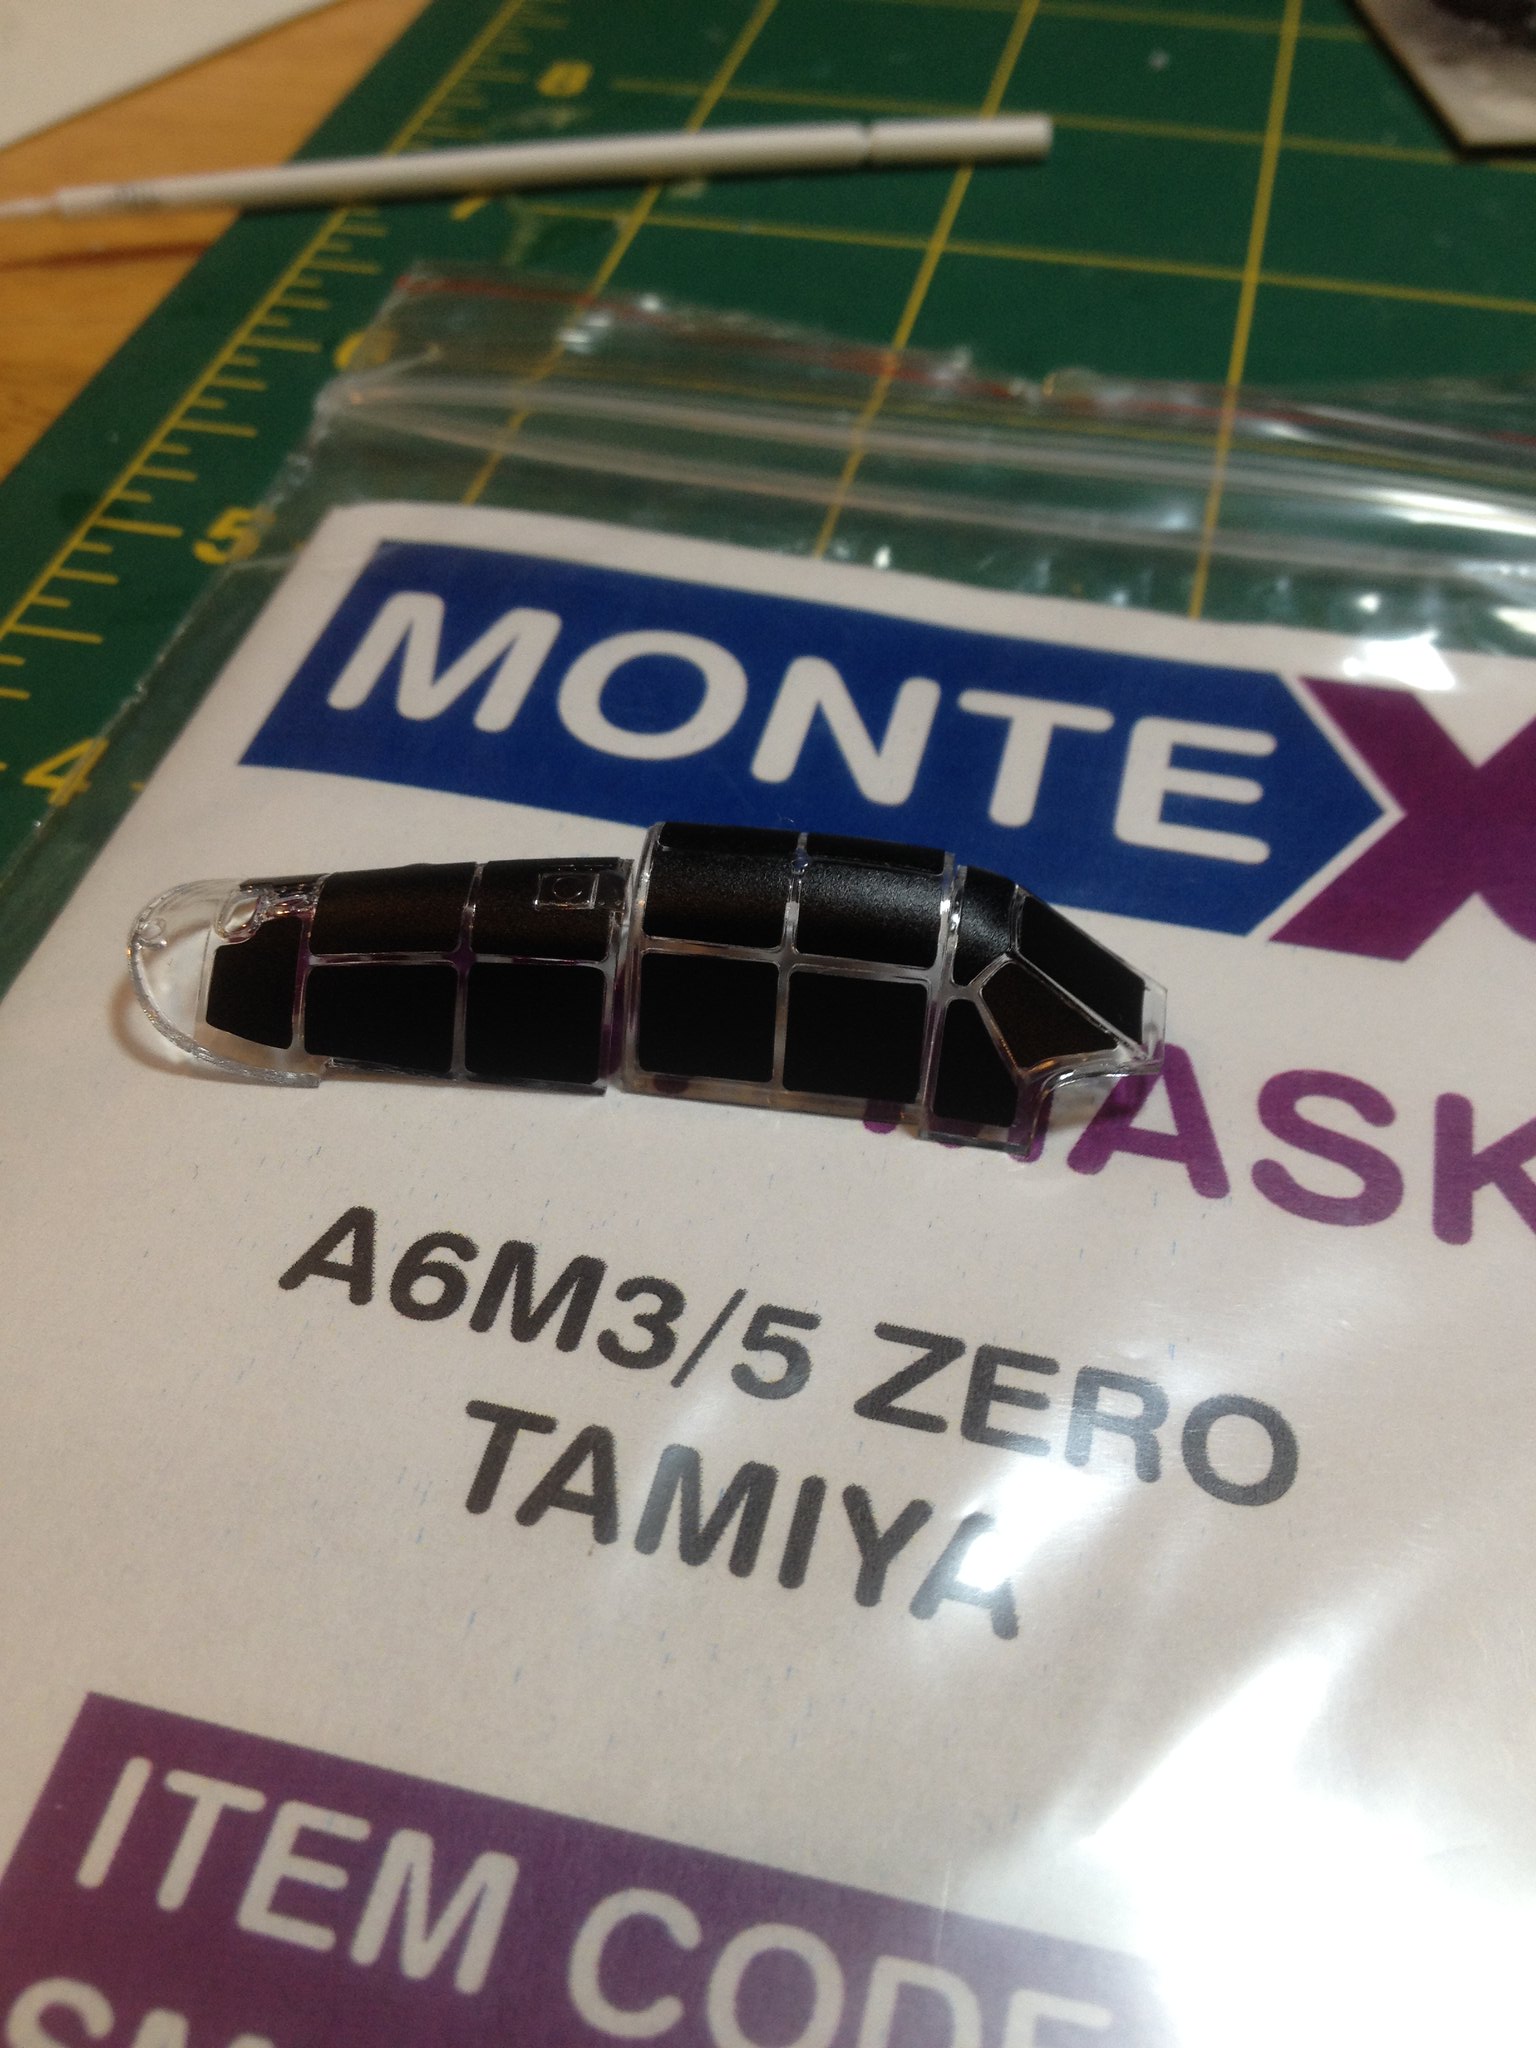 IMG_2179 by Christopher Ridle, on Flickr
Cheers all, 
Chris