It's a Candy Bomber!
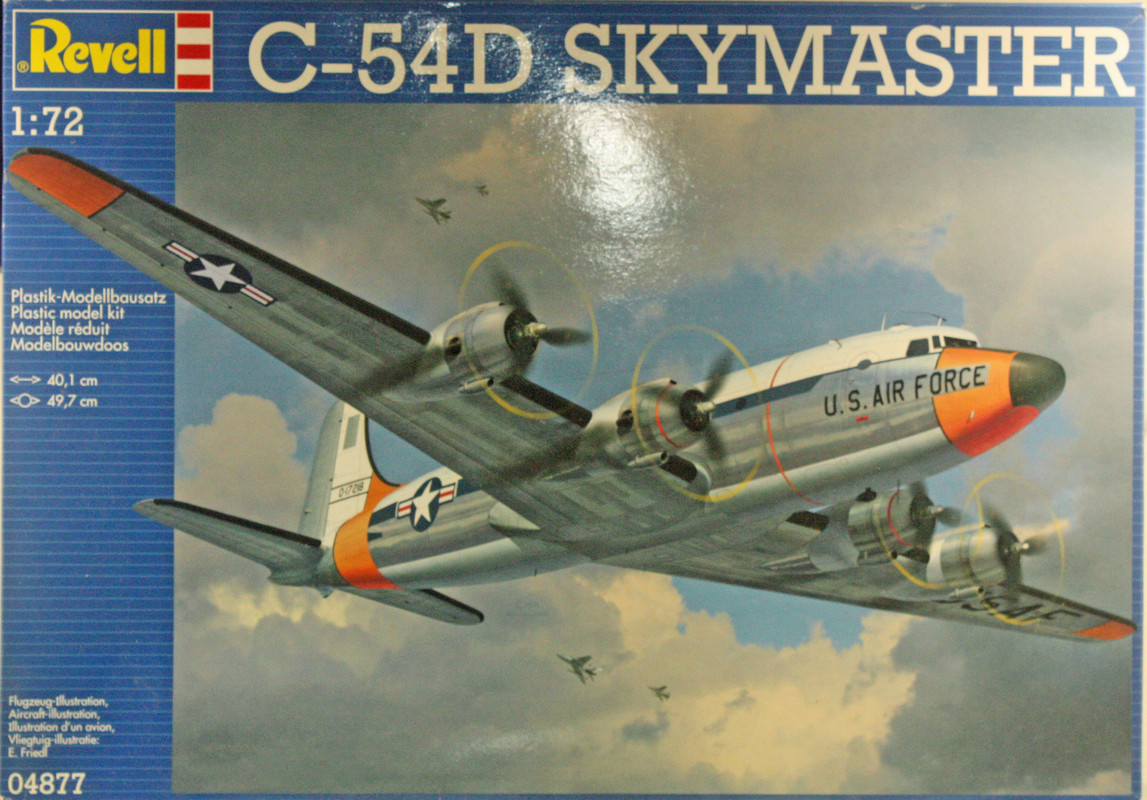
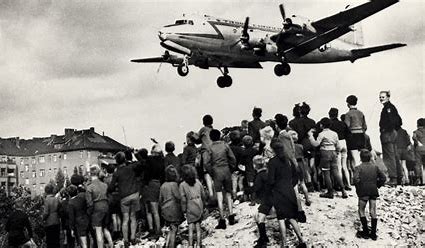
This is one of those kits that I immediately grabbed upon its release a few years ago. It has long been an interesting aircraft to me given its history in the Berlin Airlift of 1948-1949. To that end, I used this famous photograph as inspiration, and as it turned out, a reason to persevere through what turned out to be a dog kit.
Yes, it's a bad kit. At least, that was my experience with it. The instructions are awful. Parts fit is far too often even worse. Despite the overly busy decal sheet, the decals performed perfectly.
So what was wrong with the parts fit? The engines, for starters. Revell provides 4 full P&W R-2000-9 twin wasp radials. Problem was, there was too much there and absolutely no room to fit all of that into the cowlings. I ended up leaving off the rings that feed into the exhaust stacks just to be able to get the cowlings around the engines and fit properly against the separate cowl flap parts.
The landing gear were another rough spot. The gear parts in and of themselves are fine, but when the instructions are as bad as these were, location of some of the parts became a big issue. I think I got everything where it was supposed to go, but one part in particular was the forward gear door actuator. It's a triangle that has a mounting bracket to the firewall as well as one leg of the triangle intended to mount to the cowling ceiling. The instructions are not clear which leg is to go to the ceiling; lots of dry fitting revealed it to be the shorter of the three legs of the triangle.
But I'll give the kit designers major props for one impressive design feature that I don't believe I've seen employed on any other kit featuring rows of windows. There is an inner shell to the cargo section of the fuselage where you install all the detail that is absolutely invisible once you close everything up. The outer shell is the fuselage itself, with the expected window openings. You install the clear window filler piece as normal, then when you put in the inner shell component, voila, you have protection against popping any of those tiny windows out of their mount, which results in small pieces rattling around inside your build. So kudos on that.
I'm also not happy with my choice of paint. I used Alclads for the exterior, over an Alclad shiny black primer coat. But the primary paint I went with is dark aluminum, with white aluminum for the control surfaces. I think the dark aluminum is just a bit too dark, but I used what I had in sufficient quantities to cover this bird. And even in 72nd scale, this thing is big.
The decals were entirely from the kit sheet. They are very similar to the inspiration photo above, but don't appear to be an exact match.
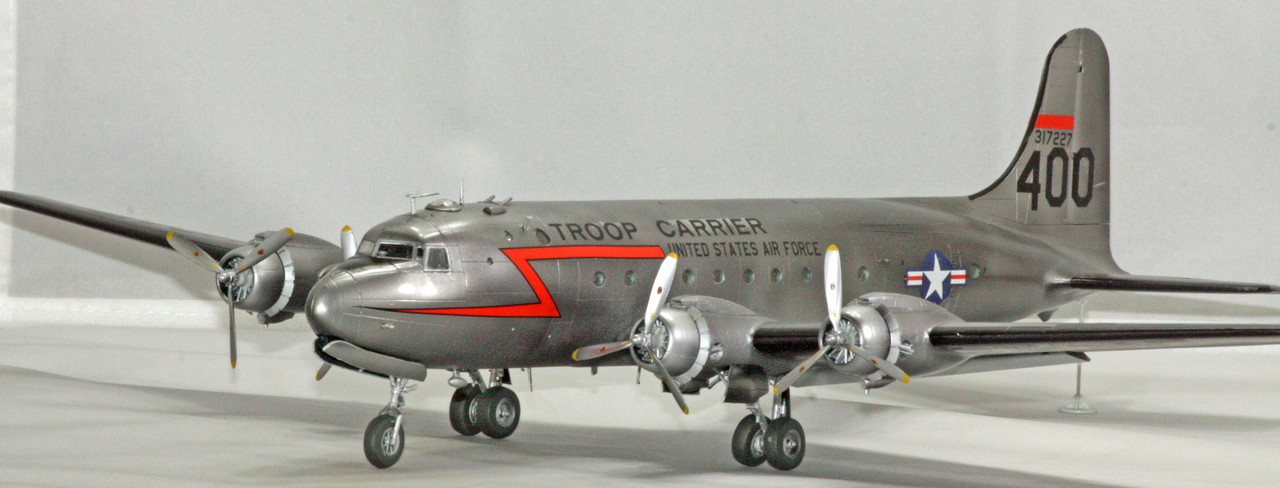

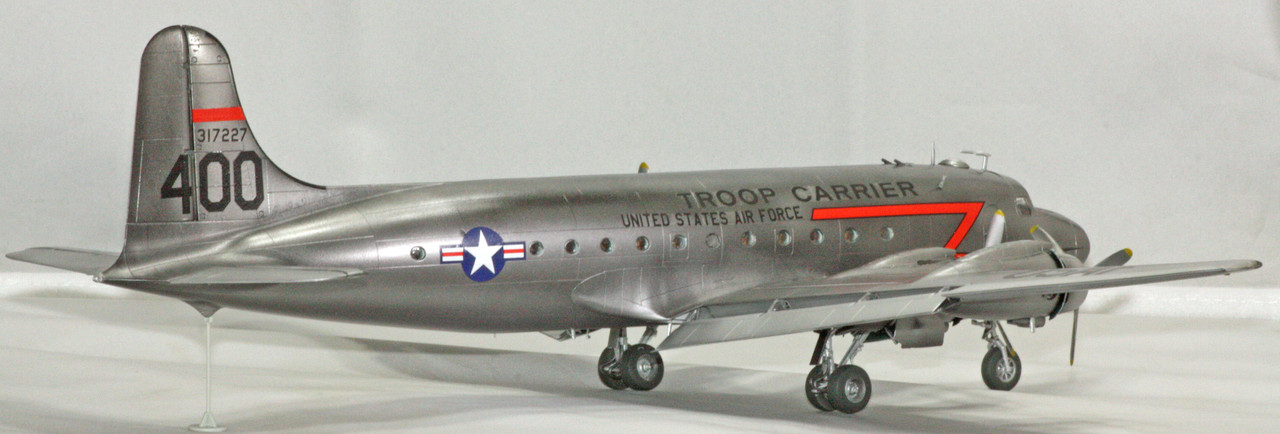
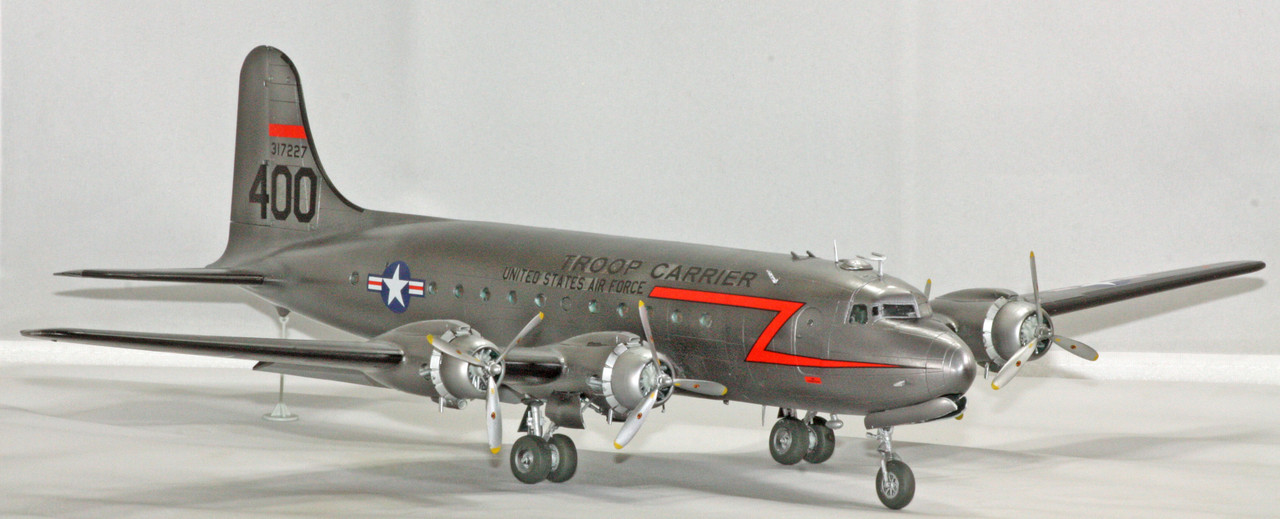
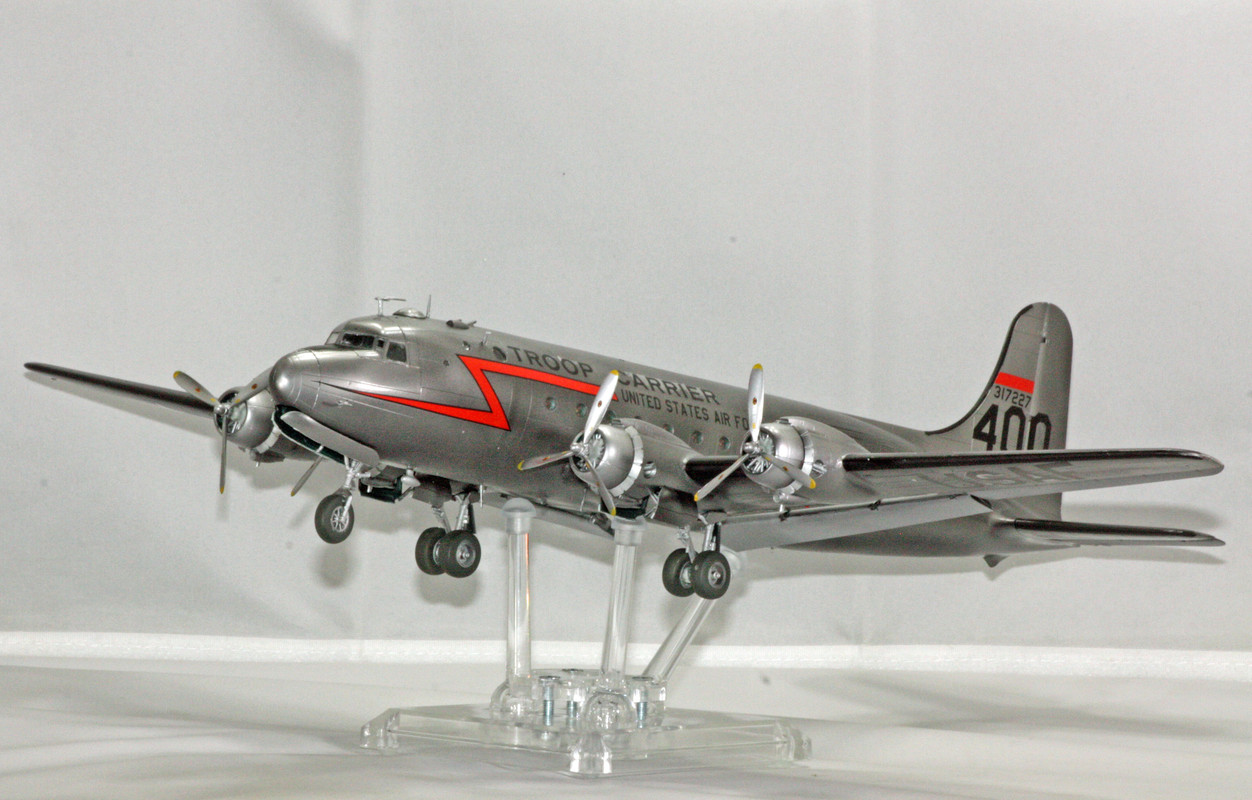
You might notice the tiny stand under the tail in the first 4 of these photos. That came with the kit. I opted not to put any weight into this, knowing full well it would be a tail sitter but also knowing that I'm hanging it from a wall in my workshop, so why bother with the additional weight?
Next up, I need a big break from NMF, especially considering that I still have 3 in my to-build stash for this year. I am therefore heading off to a galaxy far, far away to tackle the Republic Star Destroyer, first seen in Episode II - Attack of the Clones and then featured in the awesome battle that opens Episode III - Revenge of the Sith. I picked up a lighting kit for this thing from MadMan Lighting, which is a first for me, as I've typically just set up my own lighting for most of the models that I have done lighting for (not very many of those, mind you).