SEARCH FINESCALE.COM

Enter keywords or a search phrase below:

F-111 WIP (updated 8-2-07)

8418 views
27 replies
1 rating 2 rating 3 rating 4 rating 5 rating
  • Member since
    June 2006
  • From: Queensland Australia
F-111 WIP (updated 8-2-07)
Posted by Mark T Gold Coast on Monday, December 18, 2006 5:09 AM

This is the Academy 1/48th F-111c that I'm building for my Father who used to fly them with the RAAF.

In 1982 the RAAF took part in the annual SAC bombing comp and my Father and his Nav took out the trophy for best F-111 crew. I'm hoping to make this a model of the A/C he flew during that competition.

I'm really enjoying this build and am really testing my modeling skills with lots of scratch built, resin and PE parts.

These are just some of the wip photo's I have 

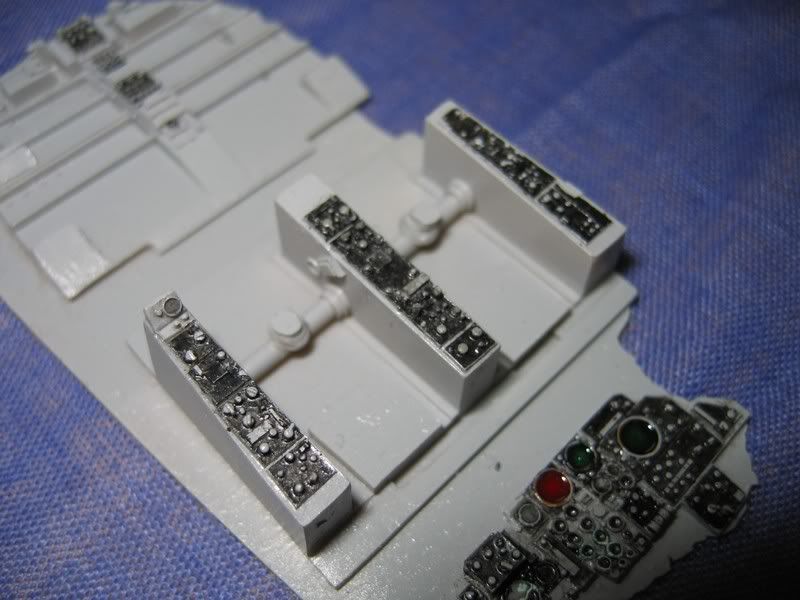
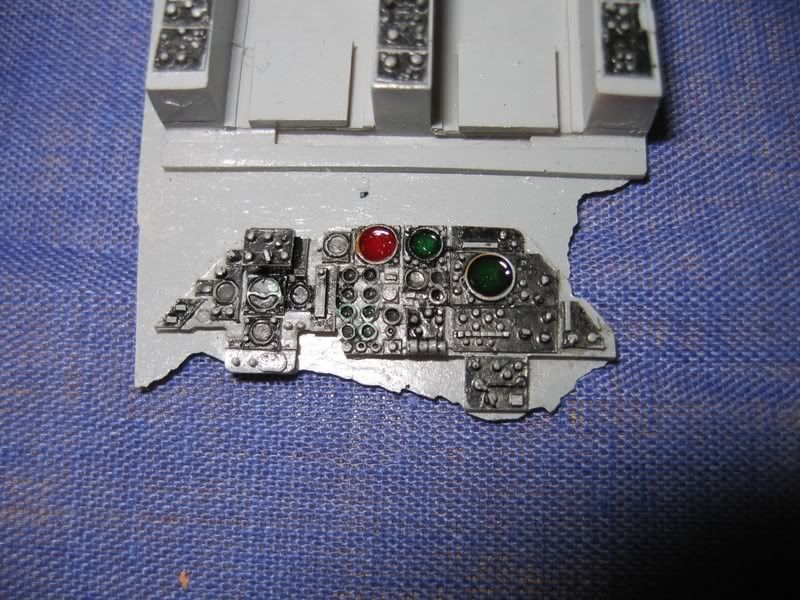
The cockpit is the Verlinden resin pit with lots of PE.
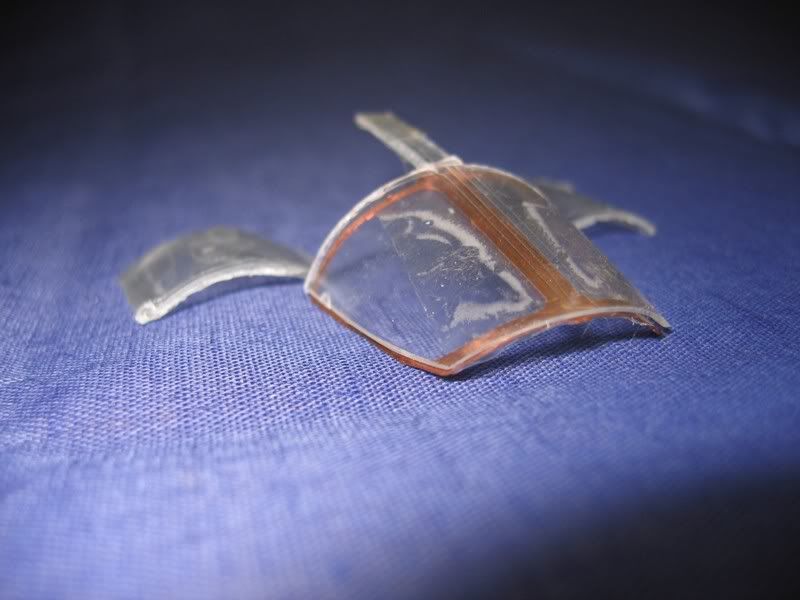
The canopy had to be cut to display it in the open position. I'll hold off fitting the frame till I've got the fuselage halfs together as I'll probably need to adjust the canopy to suit.
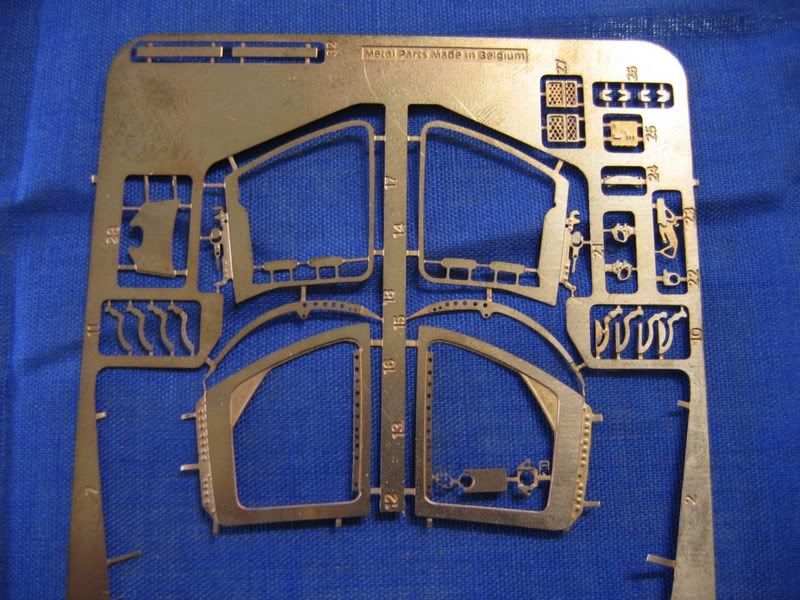
Static discharges on the controll services
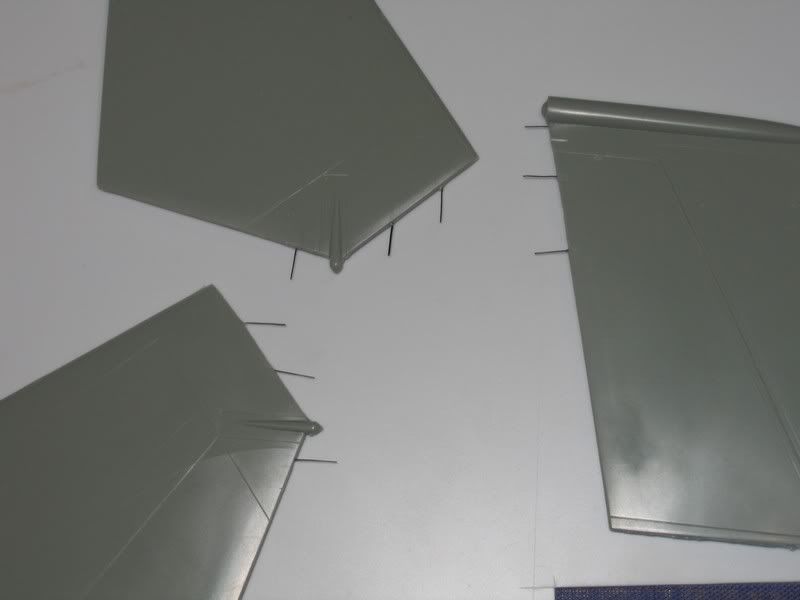
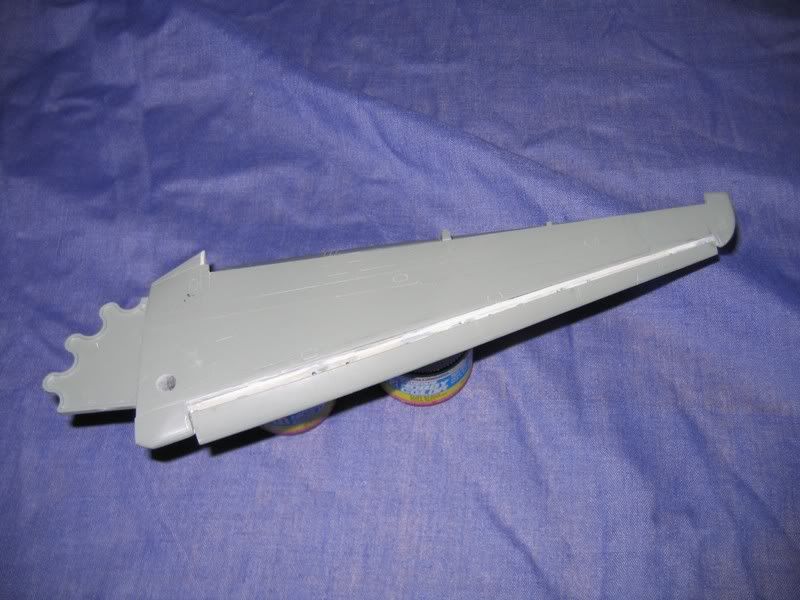
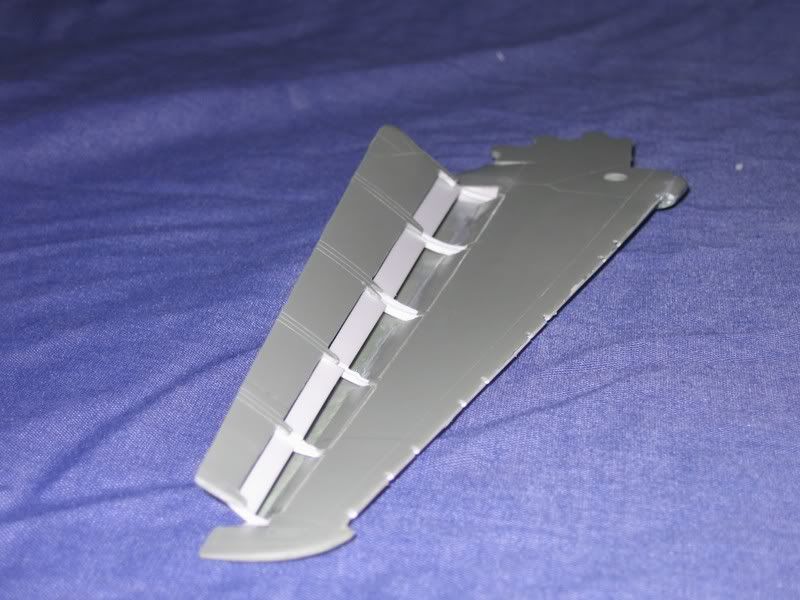
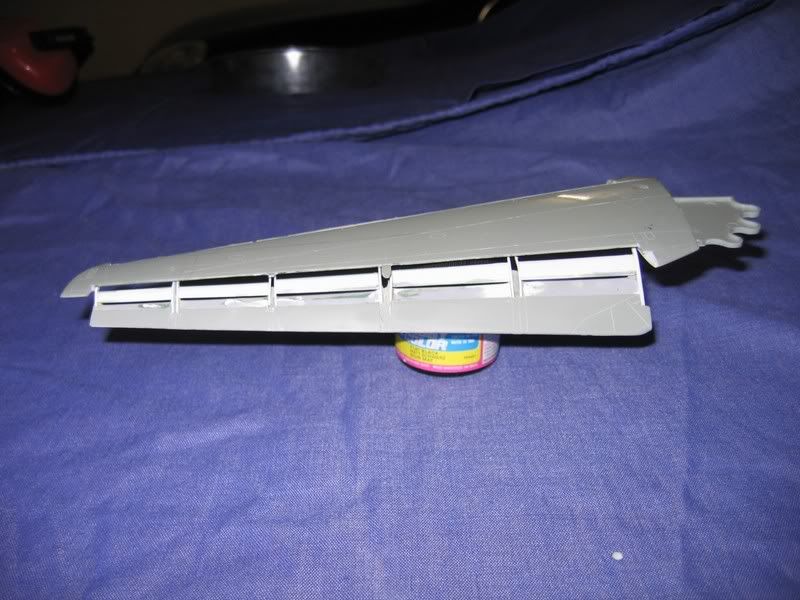
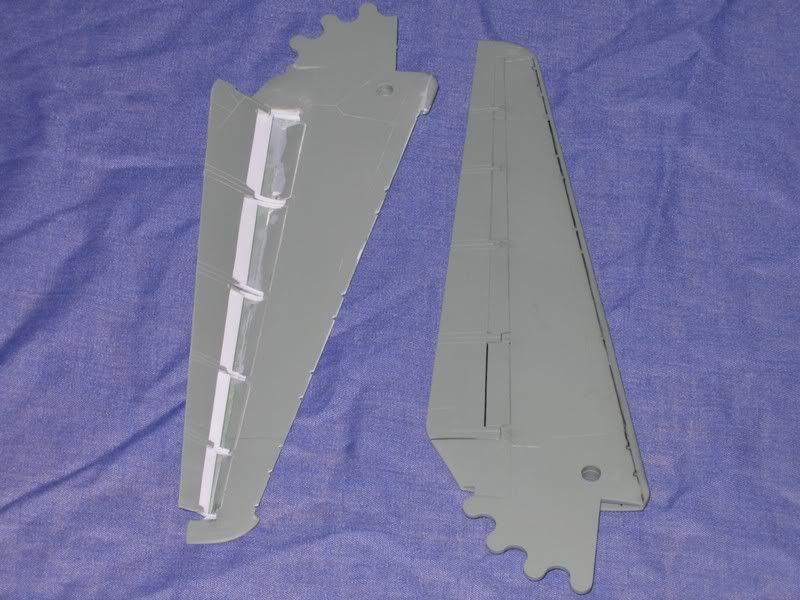
By far the hardest and most time consuming parts have been the wings.

The started as 2 seperate parts and now consist of over 50 parts per wing. The first took over 2 weeks but the second is going together much faster.
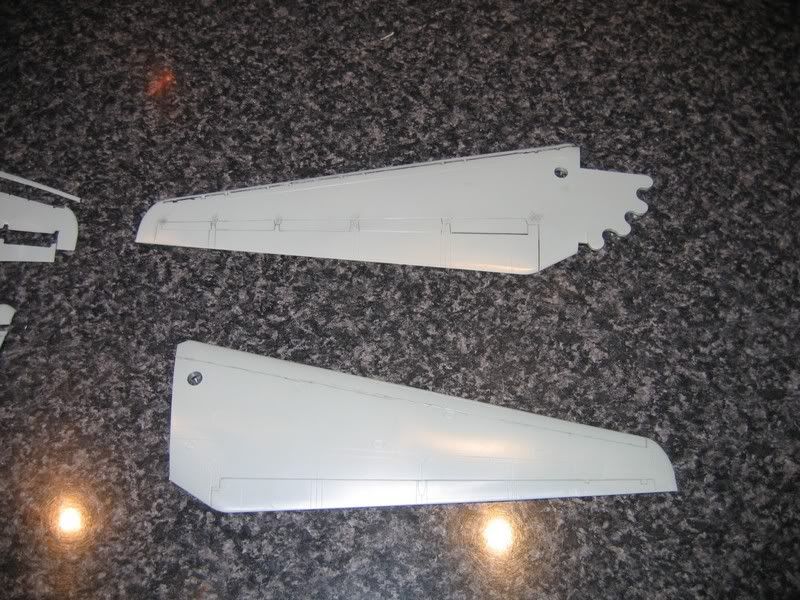
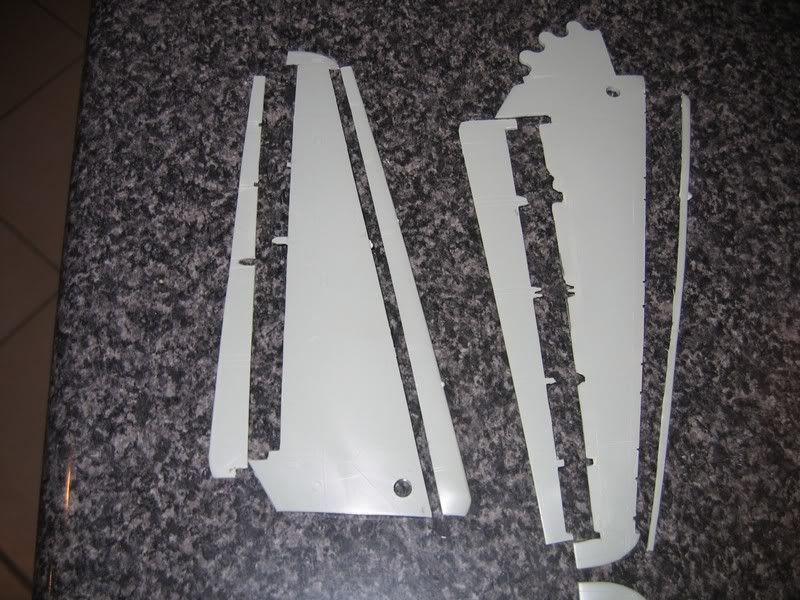
I've still got lots of work to do but having enough to post makes me feel like I've passed my first hurdle.

As usual, all comments and constructive critisms are welcome.

If anyone has built this kit before and can give me a heads up as to any problems to look out for, I'd love to know.

Cheers.

Mark

  • Member since
    April 2005
  • From: Piscataway, NJ!
Posted by wing_nut on Monday, December 18, 2006 5:15 AM
Looks good so far Mark.  Very nice work onthe wing. You dad is gonna love it.

Marc  

  • Member since
    December 2002
  • From: A secret workshop somewhere in England
Posted by TANGO 1 on Monday, December 18, 2006 5:33 AM
Thumbs Up [tup] Impressive work! Love what you done with the wings and office. I think will be a great one when its finished. Keep us posted.
Regards, Darren. C.A.G. FAA/USNFAW GB
  • Member since
    March 2006
  • From: Boyertown, PA, USA
Posted by Dubau on Monday, December 18, 2006 3:37 PM

Looking GOOD !

Want to see MORE !!!!!!!!! So get it done Whistling [:-^]

Bud 

" You've experienced a set back, and without set backs and learning how to fix them you'll never make the leap from kit builder to modeler "
  • Member since
    February 2005
  • From: Cleveland, OH
Posted by RadMax8 on Monday, December 18, 2006 9:59 PM
Mark, this is going to be one B.A. (use your imagination hehe) build. I'll be watching very closely. I may ask you for some details about the flaps as I'd love to chop the flaps on my BONE so it looks like everything's hanging out!
  • Member since
    January 2004
  • From: Westland. MI USA
Posted by mkhoot on Monday, December 18, 2006 10:12 PM
Looks great so far keep us posted.
When in doubt just build it. Mark http://www.ipmslivonia.org/ipms/
  • Member since
    June 2006
  • From: Queensland Australia
Posted by Mark T Gold Coast on Tuesday, December 19, 2006 3:58 AM

Thanks guys

It's been a lot of work till now but as long as the progress continues so does the fun.Smile [:)]

I was hoping to have it finished for Christmas but things keep getting in the way. Luckily Dad is away on a trip over the Chrissy break so we won't get to exchange gifts till well into January so the pressure eases a little.

My family is over for my birthday tomorrow night so all traces of F-111 must be removed or the cat might be out of the bag!

Best get back to the grindstone, (Bud wants progress)

Mark

  • Member since
    June 2006
  • From: Queensland Australia
Posted by Mark T Gold Coast on Tuesday, December 19, 2006 4:26 AM

 RadMax8 wrote:
Mark, this is going to be one B.A. (use your imagination hehe) build. I'll be watching very closely. I may ask you for some details about the flaps as I'd love to chop the flaps on my BONE so it looks like everything's hanging out!

Thank RadMax.

Ask away,

It's not too big a job, just lots of little jobs, like 50 of them, per wing.Banged Head [banghead]

I'll try to take some more detailed photo's so that I might be able to offer you a liitle more detailed help when the time comes.

Take a look over at this, (posted by another forum member) it's got some great close up photo's of the flaps and slats deployed on the B-1. Well worth saving. Not quite in the walk a round sense, but good all the same.

Make sure you've got as many photos as you can get as it can really mess with the head trying to get it all to work.  

All the best.

Mark

  • Member since
    February 2003
  • From: Panama City, Florida, Hurricane Alley
Posted by berny13 on Tuesday, December 19, 2006 6:39 AM
Very good looking Vark.  I like the way you dropped the flaps and slats.  Thumbs Up [tup]

Berny

 Phormer Phantom Phixer

On the bench

TF-102A Delta Dagger, 32nd FIS, 54-1370, 1/48 scale. Monogram Pro Modeler with C&H conversion.  

Revell F-4E Phantom II 33rd TFW, 58th TFS, 69-260, 1/32 scale. 

Tamiya F-4D Phantom II, 13th TFS, 66-8711, 1/32 scale.  F-4 Phantom Group Build. 


  • Member since
    June 2006
  • From: Queensland Australia
Posted by Mark T Gold Coast on Wednesday, January 10, 2007 6:20 AM

Hi everyone.

I've got a lot more done on the F-111 since my last post.

the model is together and the upper side colour has been painted.

This is the cockpit installed

I was able to get the 2 fuselage halfs together without the huge step that most people encounter when building this kit.

I've made the intake trunks from Milli Putt and the Vortex generators were made from foil.

I've tried painting and masking my walkways first as the decals supplied are very brittle.

Finally the paint.

Still lots of work ahead.

Thanks for looking.

Mark

  • Member since
    February 2003
  • From: Panama City, Florida, Hurricane Alley
Posted by berny13 on Wednesday, January 10, 2007 6:31 AM
Very nice.  Great job on the intakes. 

Berny

 Phormer Phantom Phixer

On the bench

TF-102A Delta Dagger, 32nd FIS, 54-1370, 1/48 scale. Monogram Pro Modeler with C&H conversion.  

Revell F-4E Phantom II 33rd TFW, 58th TFS, 69-260, 1/32 scale. 

Tamiya F-4D Phantom II, 13th TFS, 66-8711, 1/32 scale.  F-4 Phantom Group Build. 


  • Member since
    March 2006
  • From: Boyertown, PA, USA
Posted by Dubau on Wednesday, January 10, 2007 6:51 AM

Outstanding Build

Well Done !

Bud

" You've experienced a set back, and without set backs and learning how to fix them you'll never make the leap from kit builder to modeler "
  • Member since
    February 2006
  • From: Bedford, England
Posted by Tecs on Wednesday, January 10, 2007 8:42 AM

Great work! The mask job on the walkways is very impressive and the camo scheme looks the biz.

How did you get the milliput so smooth on those intakes? I have a Hasagawa F-16C that has me stumped on how to get a seamless intake, this may be the answer.

In Progress: Trumpeter ME262 75% Dragon M4A2 (76) DONE! Dragon Abrams AIM 25% Rob "Audere est facere"
  • Member since
    June 2005
  • From: San Tan Valley,AZ
Posted by smokinguns3 on Wednesday, January 10, 2007 10:56 AM
Looks good.
Rob I think i can I think i can
  • Member since
    June 2006
  • From: Westerville, Ohio
Posted by Air Master Modeler on Wednesday, January 10, 2007 11:22 AM

OUTSTANDING Ardvark Mark!

I may be pestering you when I get around to building mine. Big Smile [:D]

Air Master

Rand

30 years experience building plastic models.

WIP: Revell F-14B Tomcat, backdating to F-14A VF-32 1989 Gulf Of Sidra MiG-23 Killer "Gypsy 207".

  • Member since
    July 2004
  • From: Northern KY
Posted by mucker on Wednesday, January 10, 2007 6:38 PM
Holy Cow, Mark...that's looking awesome...very nicely done so far.

  • Member since
    January 2003
  • From: The Hoosier State
Posted by plasticmod992 on Wednesday, January 10, 2007 8:33 PM
Love the intake work and details! 
Greg Williams Owner/ Manager Modern Hobbies LLC Indianapolis, IN. IPMS #44084
  • Member since
    June 2006
  • From: Queensland Australia
Posted by Mark T Gold Coast on Thursday, January 11, 2007 3:08 AM

Thanks guys for the encouragement.

Tecs,

I roughly moulded the Milliput using water and then after it has dried, I used my battery powered Dremel golf club cleaner with a die grinder burr to get the rough shape and then the sanding roll to finish it off. Lasly some wet and dry, about 400 grit I think and all done.

Airmaster,

When your one- eleven kicks off, I'm more than happy to help out if I can.

Cheers everyone.

Mark

  • Member since
    June 2004
  • From: Oklahoma City
Posted by Zone V Afterburner on Thursday, January 11, 2007 10:55 AM

Mark T those are some absolutely incredible building skills you are showing us..... I am really wanting to build one of those someday and you have set a benchmark for me to try to attain!

Your Dad will no doubt be proud....

Only two defining forces have ever offered to die for you........ Jesus Christ......and the American soldier..... One died for your soul......... The other....for your Freedom!!
  • Member since
    August 2005
  • From: Greencastle, IN
Posted by eizzle on Thursday, January 11, 2007 1:34 PM
Sign - Ditto [#ditto] That is going to be a great looking build when you get done! Got any more progress pics??? Big Smile [:D]

Colin

 Homer Simpson for president!!!

  • Member since
    December 2002
  • From: A secret workshop somewhere in England
Posted by TANGO 1 on Thursday, January 11, 2007 1:51 PM

Thumbs Up [tup]Looking good!

I like the detail seeen in the cockpit-very impressive. Paint job is very good too, keep the updates coming.

Regards, Darren. C.A.G. FAA/USNFAW GB
  • Member since
    June 2006
  • From: Queensland Australia
Posted by Mark T Gold Coast on Monday, January 29, 2007 5:14 AM

More progress to report.

The one eleven is just about ready for it's future and decals.

In real life the red isn't as bright and the post shading isn't as obvious either.

My final flat coat should help tone it dawn as well.

All the refrence photo's I have, of operational birds, as opposed to those as airshows and museums, show the Aussie 111's paint pretty patchy due to the harsh environment they operate in.

Any comments are welcome.

Any advice greatly appreciated.

Cheers

Mark

  • Member since
    March 2006
  • From: Boyertown, PA, USA
Posted by Dubau on Monday, January 29, 2007 6:57 AM

Any comments welcome...... Hmmmm only thing I can think of to say is.......

                                                WOW !

Great Build

Bud

" You've experienced a set back, and without set backs and learning how to fix them you'll never make the leap from kit builder to modeler "
  • Member since
    June 2006
  • From: Queensland Australia
Posted by Mark T Gold Coast on Tuesday, January 30, 2007 3:18 AM

Thanks Bud.

The flash has washed out the photo's somewhat.

I only realised when I looked on another computer. Doh.

I should have the decals on by the weekend. I'll post some more pics then.

Cheers

Mark

  • Member since
    January 2003
  • From: Washington State
Posted by leemitcheltree on Tuesday, January 30, 2007 4:46 AM

Hey -
Nice Pig, mate.........very nice.
Can't wait to see the pics of the decals.


Cheers, LeeTree
Remember, Safety Fast!!!

  • Member since
    June 2006
  • From: Queensland Australia
Posted by Mark T Gold Coast on Thursday, February 8, 2007 6:31 AM
 leemitcheltree wrote:

Hey -
Nice Pig, mate.........very nice.
Can't wait to see the pics of the decals.


Thanks Lee.

Here are some pics with the decals on.

Almost ready for flat coating and final assembly.

I'm just waiting to conform weather this was the tail No of the A/C that dad flew in the 82

SAC bomb comp.

It's not looking too good as thi tail code is for a RF-111 not an F-111 so it was probably operated by 6 SQN not 1 SQN.

I'm hoping that is was converted after 1982 and that this is the right tail number.

Anyone know the best way to change decals that are sealed with future?

Mark

Cheers

  • Member since
    July 2004
  • From: Northern KY
Posted by mucker on Thursday, February 8, 2007 8:02 AM
Real good stuff, Mark. You really turned that kit into a winner.

  • Member since
    November 2005
Posted by Anonymous on Thursday, February 8, 2007 9:26 AM
WOOOW!!! Thats lookin very good man! keep the good work up.
JOIN OUR COMMUNITY!

Our community is FREE to join. To participate you must either login or register for an account.

SEARCH FORUMS
FREE NEWSLETTER
By signing up you may also receive reader surveys and occasional special offers. We do not sell, rent or trade our email lists. View our Privacy Policy.