Thanks Mucker, I appreciate it. I am going to give flightdecs.ca a try.
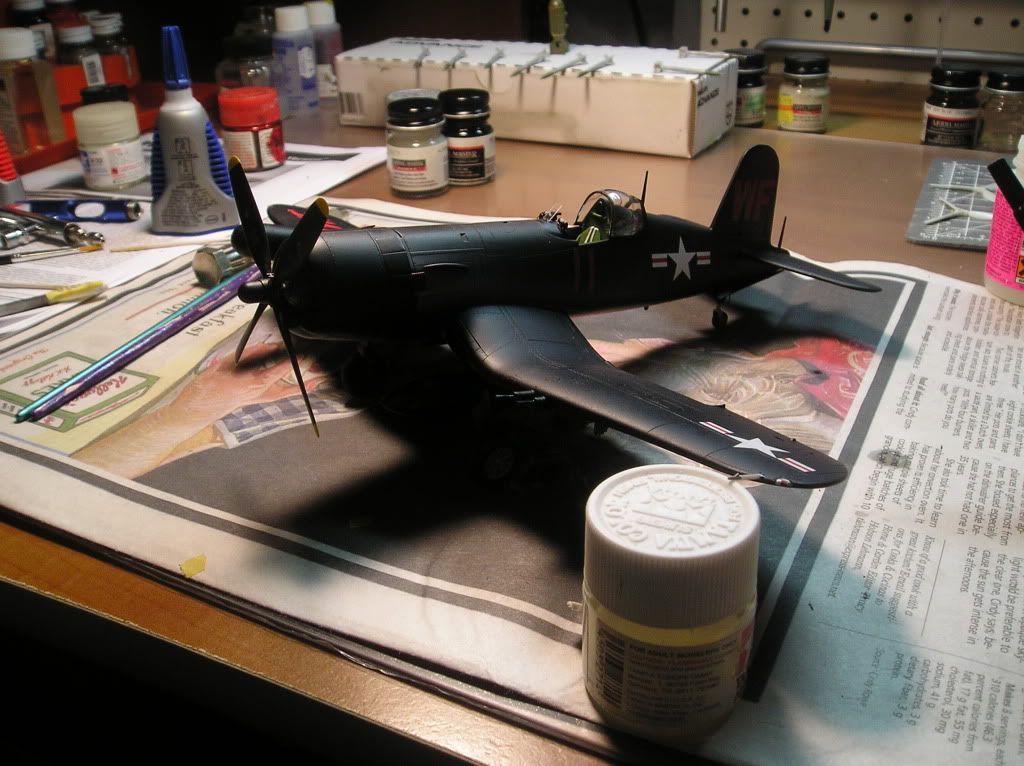
Well, I was hoping to show y'all a completed Corsair, but I ran into trouble in the end. I was using goo-gone to get some tape residue of the windscreen and it ate into it. I think it was just the future it ruined. I am soaking it in windex for now. I ran out of flat coat and so did my LHS, so I couldn't finish the bomb and rocket. I need to add aerials too. I haven't mastered the skill of sprue stretching.....
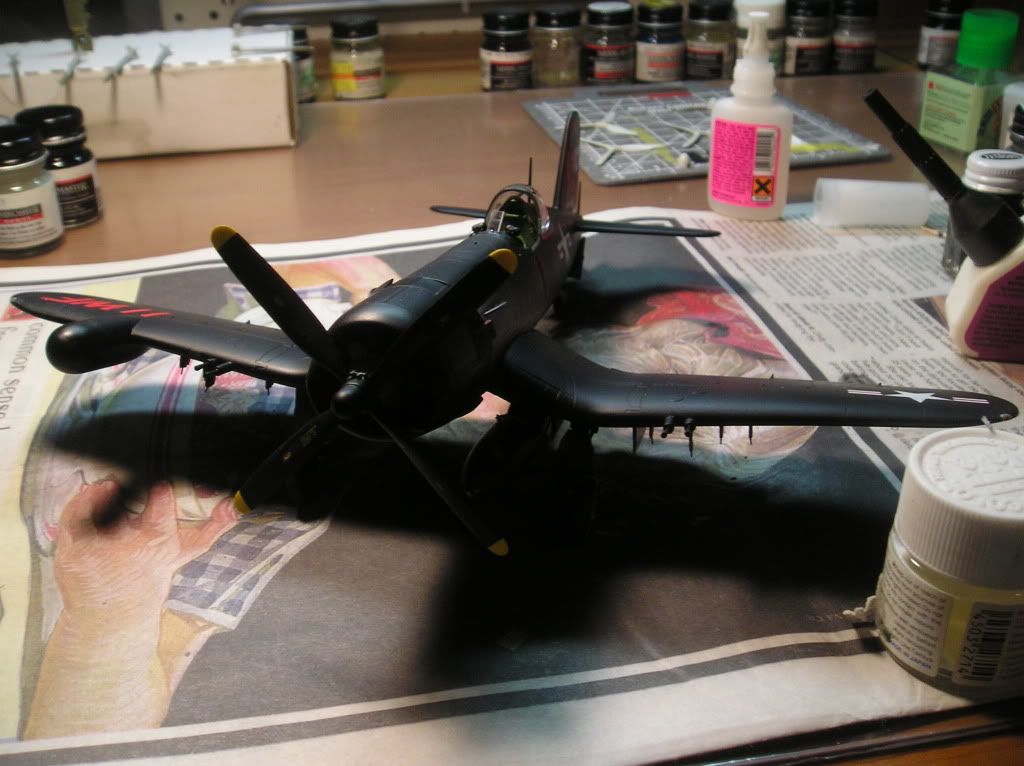
With that and a little bit of touching up, and she'll be done!
Cheers,
Greg