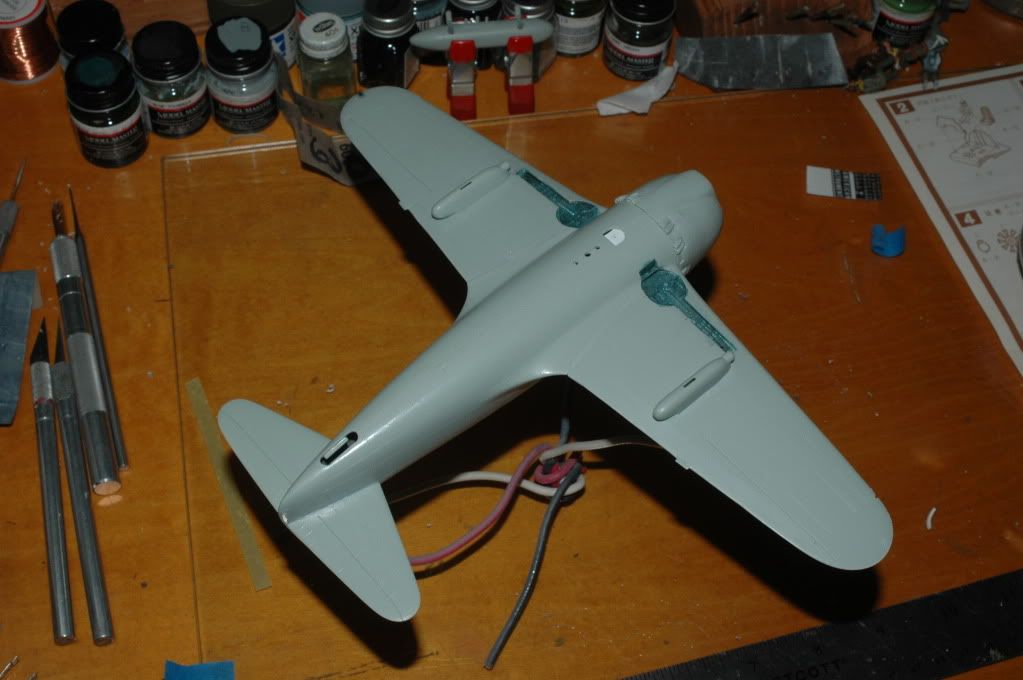
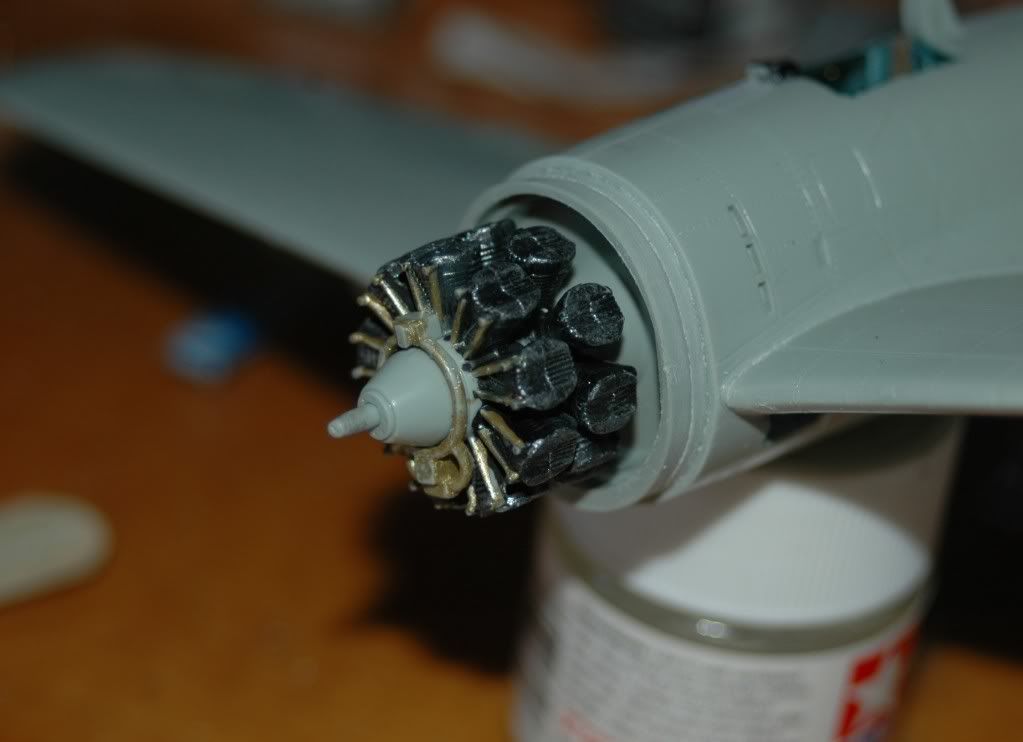
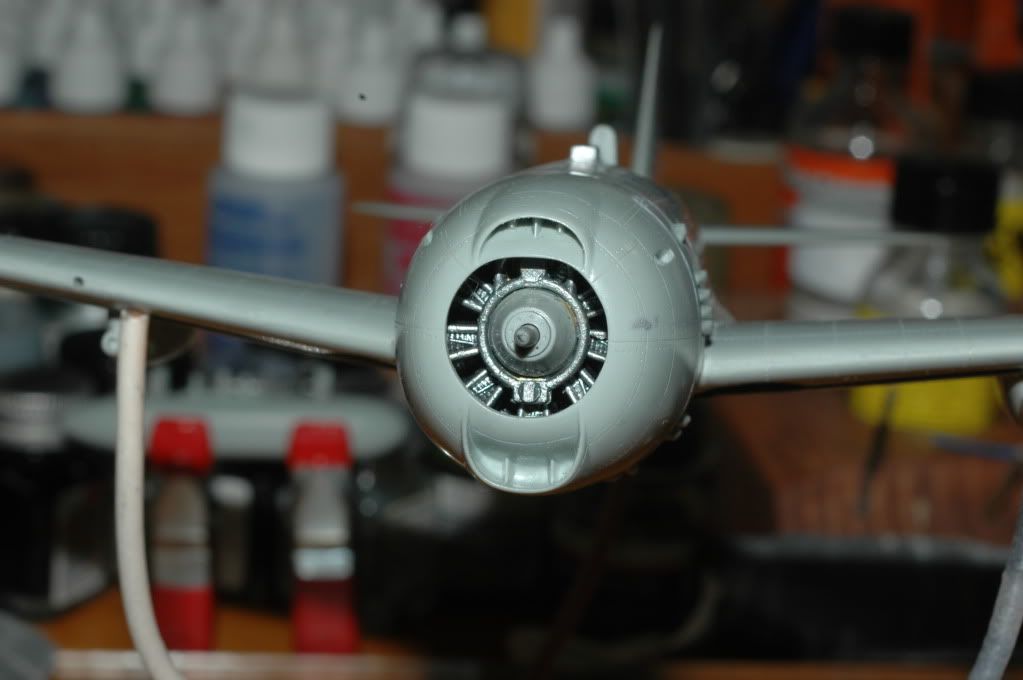
I was able to get a little more done on the Otaki "George" this week. You know, for a low priced kit the Otaki gives you some very nice detail and excellent fits. I put together the engine, painted and dry brushed on some highlights. As you can see, it is nicely molded. It's a shame that it will barely be seen in the final product. I prefer the way Otaki makes the propeller shaft/propeller connection. The shaft is locked in the engine assembly. And the propeller will slide on the shaft, fitting snugly, allowing the prop to spin easily. I think it is a better design than the Tamiya rubber washer method.
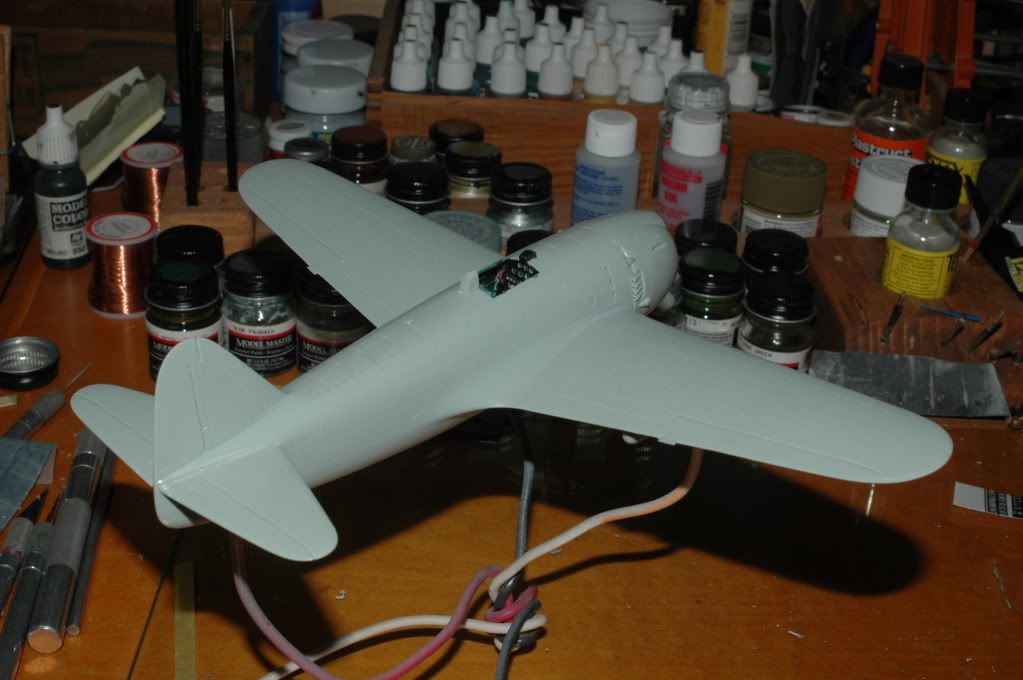
I "welded" together the fuselage with Tenax7R. I love that stuff. It simply creates a joint that will not split down the road. It turns two pieces of plastic into one. It truly is a weld. I showed last week that the way the wings joined, I preferred to attach them before joining the fuselage halves. I won't say that it makes joining the fuselage halves easier, but it does make for great control in joining each wing. With that method, I needed no filler at the wing roots. I did run a bead of Mr. Surfaced down the wing root joint to smooth the joint.
The fuselage join went equally well. I like to work the Tenax in short sections, usually working from the tail forward. I feel that with the quick drying time of the Tenax, I get a better weld working the short distances. I will work from the inside wherever possible, because it reduces the risk of a runaway glue stream during the capillary process. A sidenote with Tenax: If I accidentally run the liquid glue out onto the surface of the model, I don't touch it. If you try to wipe it up, you mar the plastic. If you let it just set and dry, it leaves a mark, but it is easily erased with a light sanding. Again, kudos to Otaki. The fuselage fit was great. No filler needed for the seams. Rear stabilizers went on with the same results.
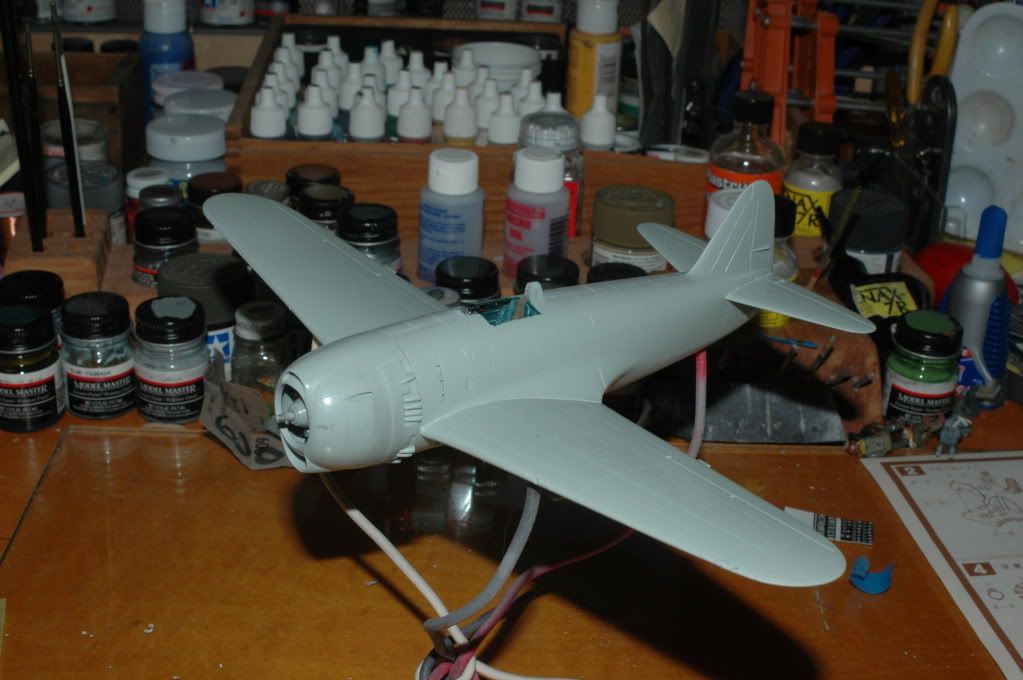
The kit directions are in Japanese, so that leaves me out in the dark. But they do have fairly good illustrations, so assembly was no real problem. Besides, I have Hasegawa and Tamiya Georges and was able to glean a lot of information on parts and colors from those kits. Seen in the pic below is a large white spot between the wheel bays. It was a hole not shown on the Otaki instructions, and was not included in my other resources. So I chose to fill it. What you see there is a strip of styrene glue to the inside of the fuselage. I'll fill up the hole and sand it smooth. I ave also attempted to revive some of the rivet holes along the fuselage seams. They appear that the riveter was drunk, and I hope that they don't show up in the finished model. Rick
