SEARCH FINESCALE.COM

Enter keywords or a search phrase below:

Imperial Japanese Group Build Part II

93233 views
746 replies
1 rating 2 rating 3 rating 4 rating 5 rating
  • Member since
    July 2004
  • From: Sonora Desert
Posted by stikpusher on Wednesday, November 13, 2013 10:41 PM

I'll be there...


F is for FIRE, That burns down the whole town!

U is for URANIUM... BOMBS!

N is for NO SURVIVORS...

       - Plankton

LSM


  • Member since
    April 2006
  • From: Denver, Colorado
Posted by waynec on Wednesday, November 13, 2013 10:56 PM

ii'll be there too JGSDF stuff

Никто не Забыт    (No one is Forgotten)
Ничто не Забыто  (Nothing is Forgotten)


  • Member since
    March 2009
  • From: brisbane australia
Posted by surfsup on Friday, November 15, 2013 3:58 AM

Hi Guys.  After not being here after the PC crashed. I am back again to say that the Mighty Yamato is now done and dusted. A very enjoyable Build indeed. So here she is in all her glory......Cheers mark


If i was your wife, i'd poison your tea! If Iwas your husband, I would drink it! WINSTON CHURCHILL

  • Member since
    October 2008
  • From: italy
Posted by bsyamato on Friday, November 15, 2013 9:49 AM

  • Member since
    April 2013
Posted by SchattenSpartan on Friday, November 15, 2013 10:02 AM

Yamato: You are showing some very impressive skill there! Your little plane looks outstanding. I'd be very happy if I was able to get my 1/48 builds to look half as good...

Surf: Great work! Models like your Yamato make me want to try building a ship model myself, but I'm kinda scared by all those tiny parts and PE stuff...

Cliff: You can count me in with some japanes flying-thingy in 1/32. Probably a Shinden or a Raiden (those Z-M kits just look way too good to not get at least one of them). I'll carry my Zero over to part 3 as well, because there is no way I'm going to finish her this year...

  • Member since
    November 2009
  • From: SW Virginia
Posted by Gamera on Friday, November 15, 2013 11:18 AM

Wow! She turned out beautiful Mark! Love the different shades of grey. I'll get you posted when I get home next weekend.

Clemons: Sounds great!

"I dream in fire but work in clay." -Arthur Machen


  • Member since
    July 2004
  • From: Sonora Desert
Posted by stikpusher on Friday, November 15, 2013 4:40 PM

Beautiful work Surf! That is one impressive ship build.


F is for FIRE, That burns down the whole town!

U is for URANIUM... BOMBS!

N is for NO SURVIVORS...

       - Plankton

LSM


  • Member since
    November 2009
  • From: United Knigdom
Posted by Alex Shaw on Friday, November 15, 2013 4:54 PM

Awesome result, I just love the size of that thing!

  • Member since
    April 2006
  • From: Denver, Colorado
Posted by waynec on Saturday, November 16, 2013 8:56 AM

mark nicely done

Никто не Забыт    (No one is Forgotten)
Ничто не Забыто  (Nothing is Forgotten)


  • Member since
    October 2008
  • From: italy
Posted by bsyamato on Saturday, November 16, 2013 9:37 AM

Strange thing .. yesterday posted the reply above with some indoor picture of finished raider but now is not visible Surprise .. boh..

Excellent build of "tHE BATTLESHIP" Surfsup Toast really well done.

Thanx for comments about the raiden guys , really apreciated Bow Down

Today outdoor pictures of finished Raiden:

More here:

http://s405.photobucket.com/user/bsyamato/library/modellismo/WW2%20aircraft/J2M3%20raiden%20hasegawa%2072/Finished?sort=3&page=1

So .. actually in mind to waith part three of Japanese GB to finish the Tenzan.. just following this one as spectator Propeller

At the next!

  • Member since
    July 2004
  • From: Sonora Desert
Posted by stikpusher on Saturday, November 16, 2013 10:17 AM

BSY, that is up your usual excellent standards of finishing work! Once again very well done. When I was a boy I used to build 1/72 kits by the oodles (especially US and Japanese WWII aircraft subjects along with jets), and I vaguely recall building one of these. But seeing this one posed on your standard ledge there, I get a real idea of how small the build is, and the scope of your work in that scale becomes even more impressive.


F is for FIRE, That burns down the whole town!

U is for URANIUM... BOMBS!

N is for NO SURVIVORS...

       - Plankton

LSM


  • Member since
    November 2009
  • From: SW Virginia
Posted by Gamera on Saturday, November 16, 2013 5:58 PM

As usual top-notch work!  I'll post you too in a week soon as I get some real internet access instead of a cell phone!

"I dream in fire but work in clay." -Arthur Machen


  • Member since
    March 2010
  • From: MN
Posted by Nathan T on Sunday, November 17, 2013 8:36 PM

Excellent work BS and Surf. I like the photography for the Raiden.


  • Member since
    January 2013
Posted by jibber on Monday, November 18, 2013 2:02 AM

 [/URL[URL=http://s1346.photobucket.com/user/kingtiger11/media/Type%2097%20Chi-Ha/IMG_0979_zps6b8f9f87.jpg.html] [/URL[URL=http://s1346.photobucket.com/user/kingtiger11/media/Type%2097%20Chi-Ha/IMG_0978_zps96ce1446.jpg.html] [/URL[URL=http://s1346.photobucket.com/user/kingtiger11/media/Type%2097%20Chi-Ha/IMG_0977_zpsf5e2f0d0.jpg.html] [/URL[URL=http://s1346.photobucket.com/user/kingtiger11/media/Type%2097%20Chi-Ha/IMG_0975_zps5d4ae9cf.jpg.html] [/URL[URL=http://s1346.photobucket.com/user/kingtiger11/media/Type%2097%20Chi-Ha/IMG_0972_zps49857665.jpg.html] [/URL[URL=http://s1346.photobucket.com/user/kingtiger11/media/Type%2097%20Chi-Ha/IMG_0971_zps0fd6418d.jpg.html] [/URL[URL=http://s1346.photobucket.com/user/kingtiger11/media/Type%2097%20Chi-Ha/IMG_0970_zps5fd5638c.jpg.html] [/URL[URL=http://s1346.photobucket.com/user/kingtiger11/media/Type%2097%20Chi-Ha/IMG_0968_zps95181685.jpg.html]

This is my Type 97 Chi-Ha. I used Army Painter black as a primer and Tamiya and Vallejo acrylics for the base coats and camo scheme.  Abteilung oils and Turpenoid for weathering and I finished with pigments from Mig and Vallejo along with Mig pigment fixer to set it. I was torn on the yellow stripes wether to spray it on for very neat lines or give it a paint brush look that may have been done in theatre, so I experimented with Tamiya flat yellow thinning it out a little and i think it turned out as planned. Finally I gave the entire tank a dusting of a combination of MIG pigments and an overspray of Vallejo matte. 

I really liked this vintage Tamiya kit, every part was used and for the most part fits were very good. This would be a candidate for the upcoming 48 hour Group Build on the 22nd, it goes together easy and you can take as little or as long as you wish to finish it.

Gamera I'm calling it done and thats for letting me in late form the build. Please feel free to choose any pic you see fit,  again thanks. I really enjoyed this build.   

  • Member since
    July 2004
  • From: Sonora Desert
Posted by stikpusher on Monday, November 18, 2013 11:27 AM

Very nicely done Jibber! I really like the effect that you achieved with the pigments. Now there is almost  a platoon of those things in here! Too bad we can't pose them all together.


F is for FIRE, That burns down the whole town!

U is for URANIUM... BOMBS!

N is for NO SURVIVORS...

       - Plankton

LSM


  • Member since
    January 2013
Posted by jibber on Monday, November 18, 2013 12:33 PM

Chi Ha GB??? Now thats funny

  • Member since
    November 2009
  • From: SW Virginia
Posted by Gamera on Monday, November 18, 2013 12:53 PM

Jibber: She does look good, love the weathering! You guys are pushing me to pull out a Japanese tank!

"I dream in fire but work in clay." -Arthur Machen


  • Member since
    November 2009
  • From: United Knigdom
Posted by Alex Shaw on Monday, November 18, 2013 1:03 PM

The Chi-Ha looks suitably filthy Jibber, nice finish!

  • Member since
    January 2013
Posted by jibber on Monday, November 18, 2013 3:04 PM

Thanks Alex, that's exactly the look I was trying for. I don't think an AFV stays very clean once deployed in a forward area especially where these were sent. I tried to dust it up a bit but not take away from the camo theme and overall kit. I'm still not exactly sure on my approach to the yellow striping because I really don't know how they were applied so I took the liberty to think that they were hand painted once deployed because as they rolled out of the factory, not all used them?

I hope you do Gamera, I'm not kidding this was a fun build and I'm looking forward to IJA GBIII in January. Theres still a coupe tanks left out there I'd like to try.  

  • Member since
    March 2009
  • From: brisbane australia
Posted by surfsup on Tuesday, November 19, 2013 4:12 AM

Tanks for all the comments about the Yamato Gents the are greatly appreciated. The Raiden and the Chi Ha(GB) look great also. Well done Guys.....Cheers mark

If i was your wife, i'd poison your tea! If Iwas your husband, I would drink it! WINSTON CHURCHILL

  • Member since
    October 2008
  • From: italy
Posted by bsyamato on Tuesday, November 19, 2013 4:27 AM

Thanx for comments guys about the Raiden Toast

Great build Jibber Yes the Chi-ha looks great!

  • Member since
    January 2004
  • From: VARNA, BULARIA
Posted by congo79 on Tuesday, November 19, 2013 4:43 AM

Better late than never! First i`ll post what i`ve  done with the Revell /Hasegawa/ Aichi D3A1 Val. As I previously had issues with the cockpit of Hase`s Zero I`ve decided to deviate from the kit instructions. Instead of building the entire cockpit as a subassembly I glued the sidewalls to the fuselage halves not only for bigger strength but also for ease of painting. After a coat of Alclad black primer I painted everything with MM European green enamel. Than I postshaded the high points with the same paint but lightened and modulated with different amounts of bright yellow and light grey. I was very pleased with the result, different shades are almost invisible to the naked eye but give a nice feeling of depth /in some of the pictures, taken with a flash it still can be seen/. After that I decided to try a different method with applying a wash – actually it`s not a wash but the plain old Tamiya Smoke applied with a fine brush /i`ve recently read about that in a magazine and it sounded good so I gave it a try/. The chips are applied with three different shades of silver pencil. The breech-blocks and the magazines for the machine guns were painted with Agama metal pastes gunmetal. As i`m short of references for the Val I still naven`t decided should I make only waist harnesses or ad shoulder harnesses as well. The other thing is that i don`t know did the seats had lightening holes on them? Now almost all the little bits for the pit are done except the seats and the stand for the rear gun but that’s just a couple of hours of work and i`ll be ready to close the fuselage halves. Now for some awfull pics:


I`ve just remembered that I have one more question to those who have built that model. The IP has two long locating pins on the back with which it connects to the forward bulk, but they are with different lengths which puts the IP at an angle. Is this right or a mistake in the moulding?


That’s it for now with the Val. I`ll  try to post where I am with the Dinah later today.


Have fun!!!

  • Member since
    March 2010
  • From: MN
Posted by Nathan T on Tuesday, November 19, 2013 8:33 AM

Nice work Congo. I like the weathered look in the cockpit. The shading and drybrushing really add some depth. I'm not a big Val expert, but I'd imagine the kit seat looks a bit off. I'll try and page through the Japanese cockpit interiors book in a bit.


  • Member since
    November 2009
  • From: SW Virginia
Posted by Gamera on Tuesday, November 19, 2013 7:20 PM

Congo: Really nice work there! Some if not most seats did have lightning holes but I have no idea if a Val did or not. I'd try to look it up but I don't have any references here with me.

"I dream in fire but work in clay." -Arthur Machen


  • Member since
    March 2010
  • From: MN
Posted by Nathan T on Wednesday, November 20, 2013 8:34 AM

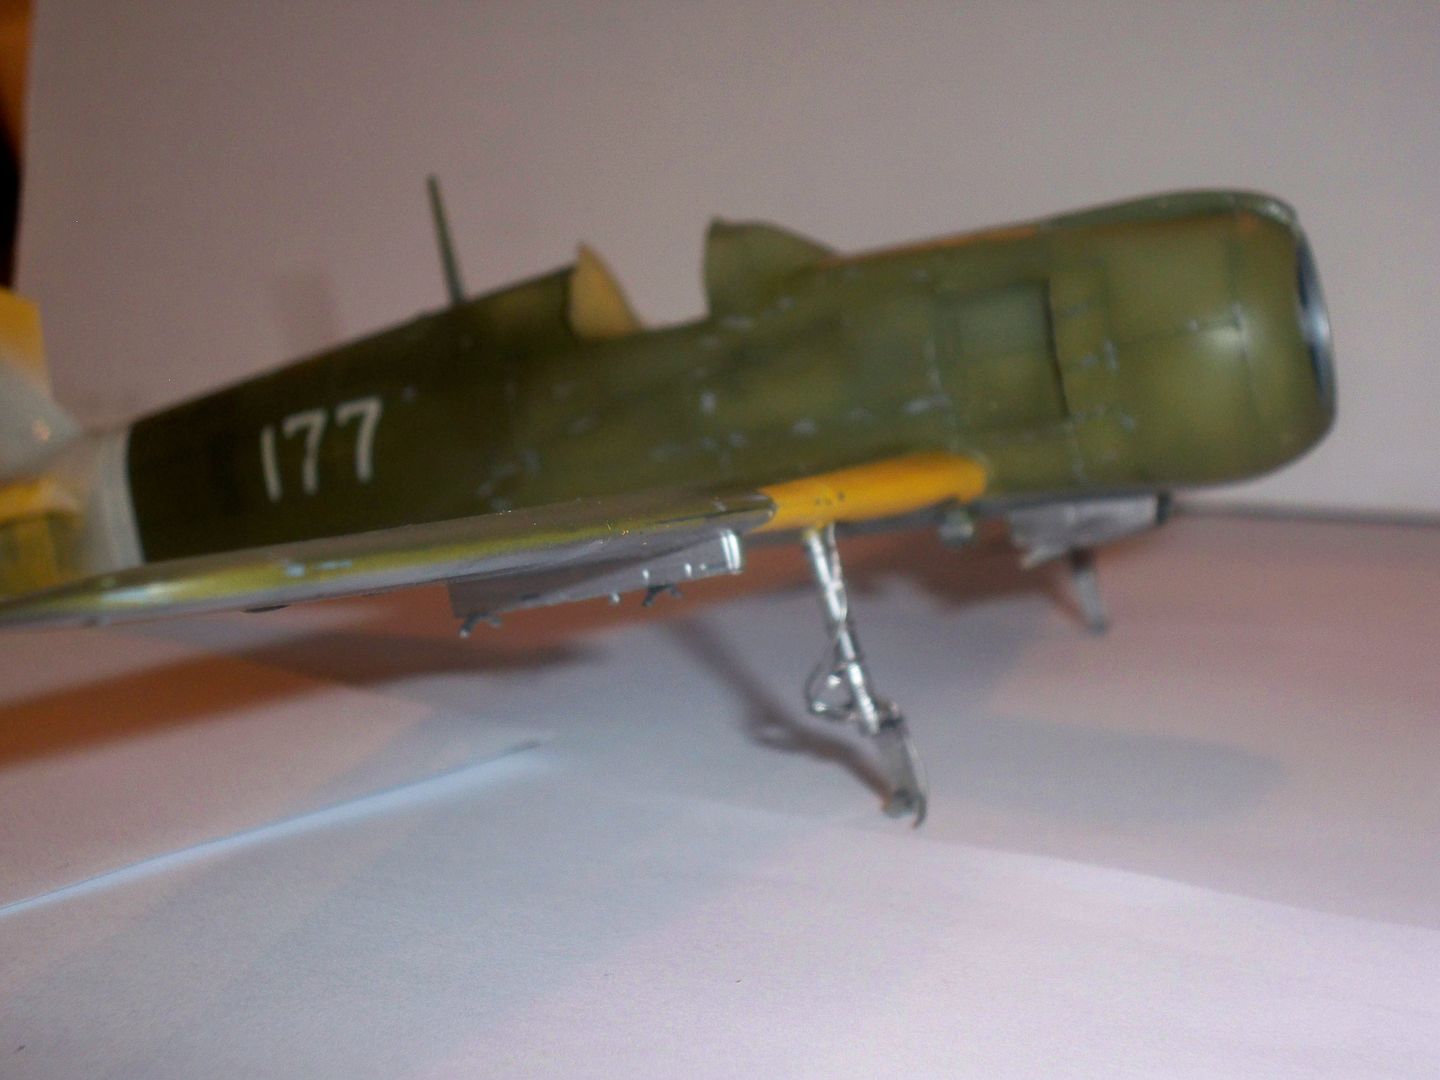
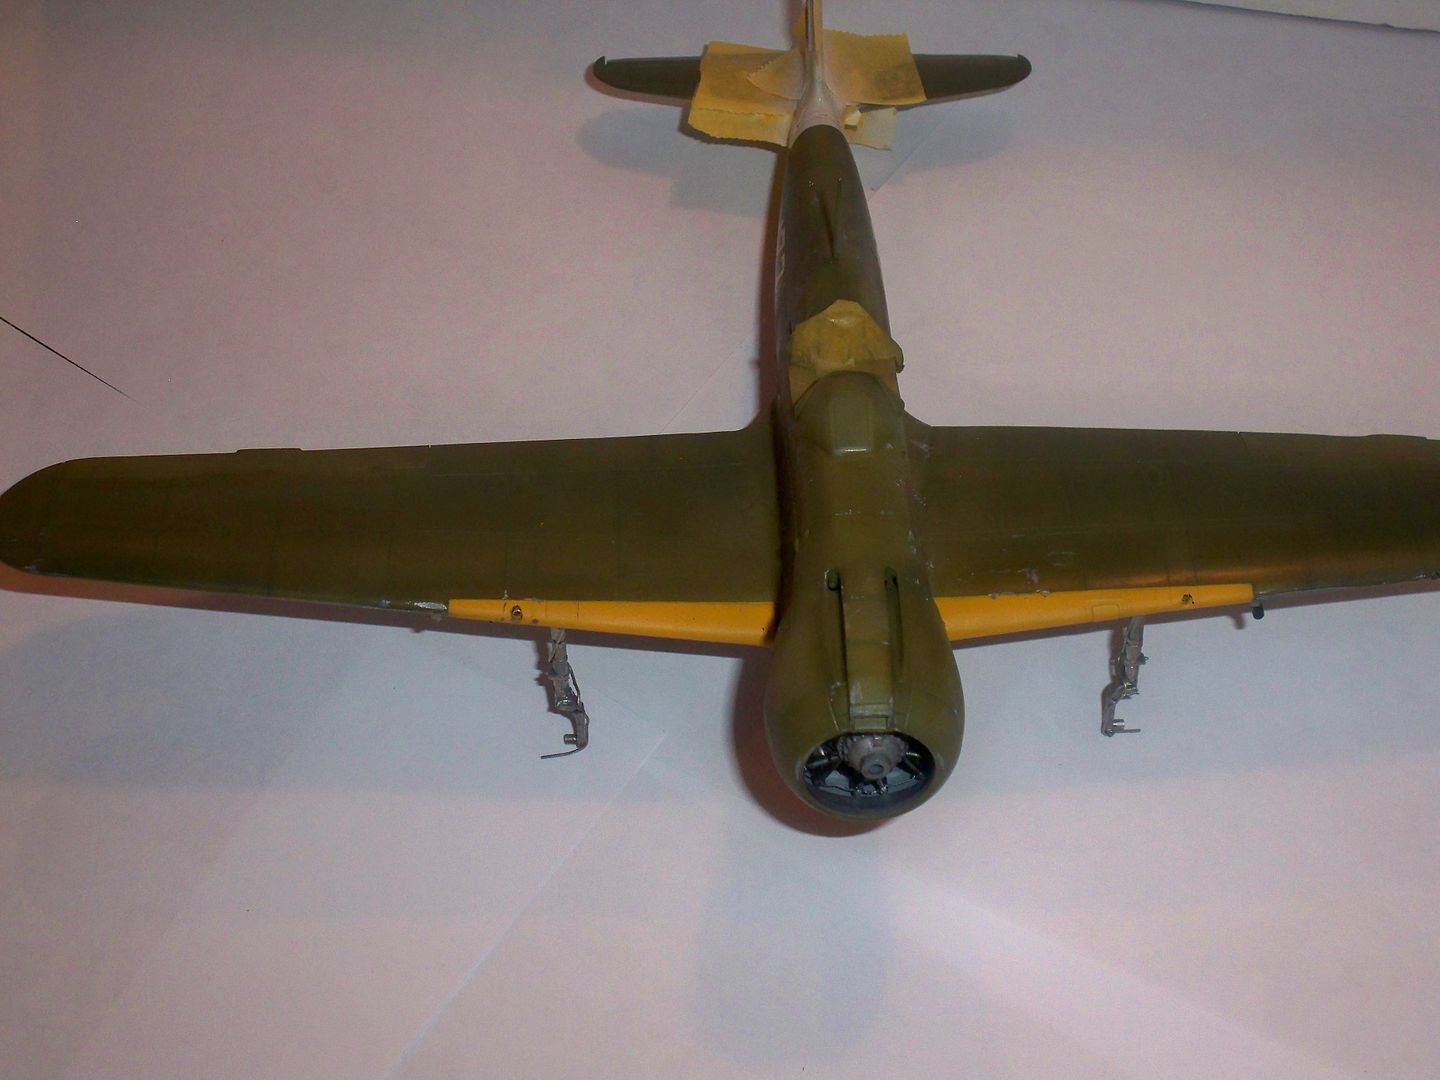
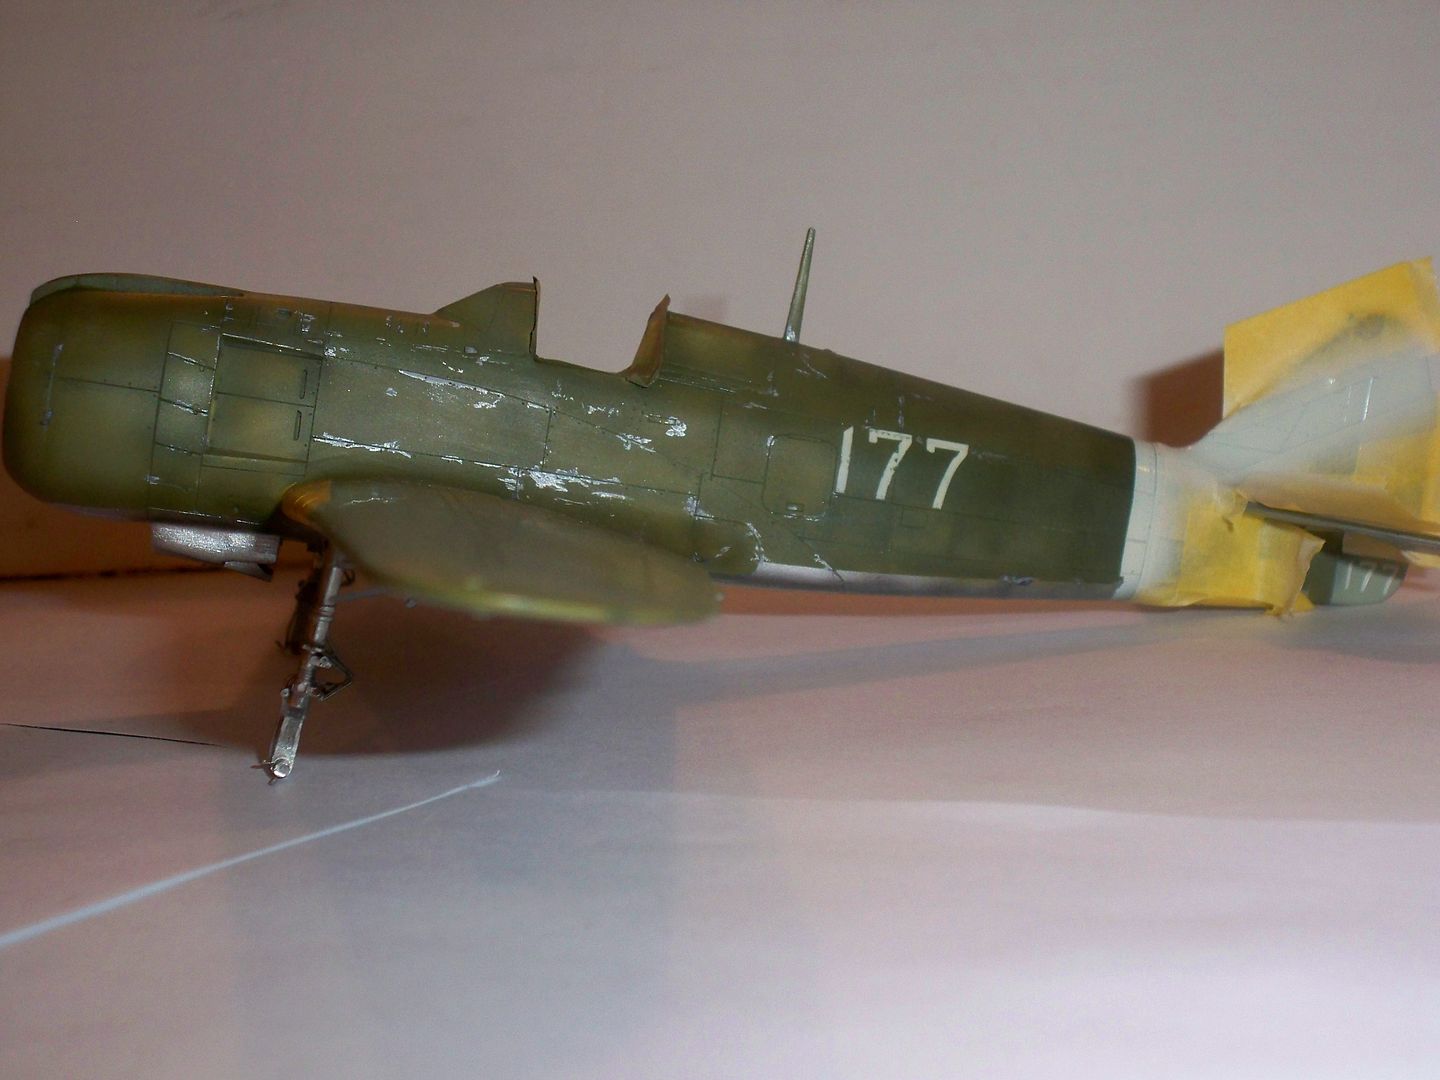
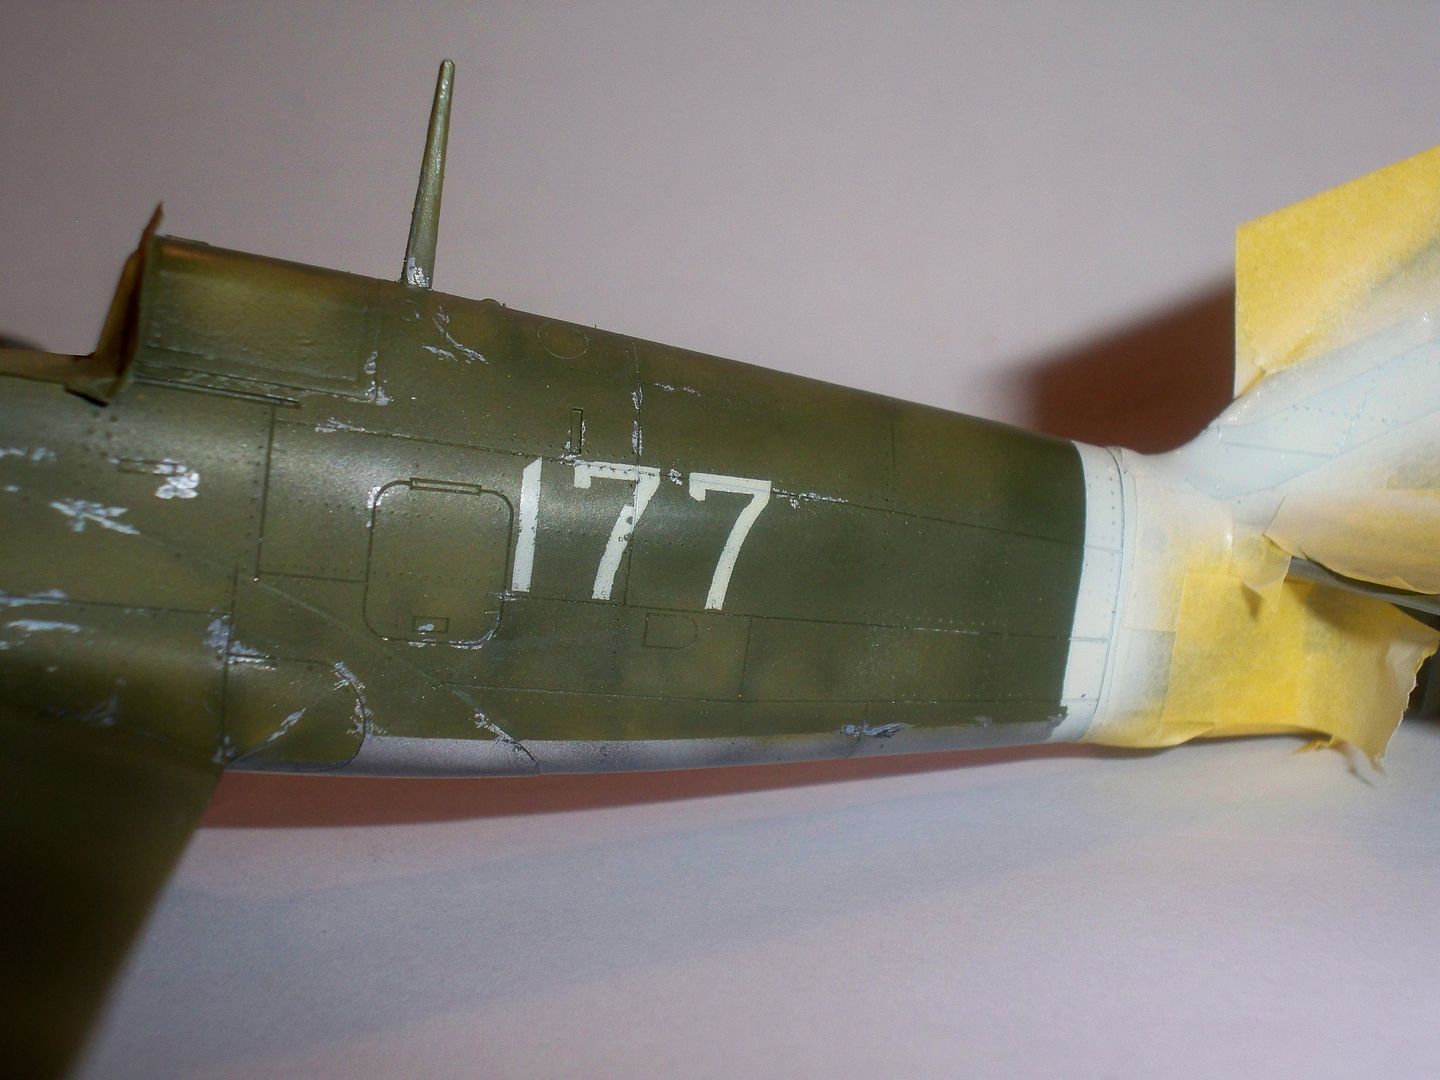
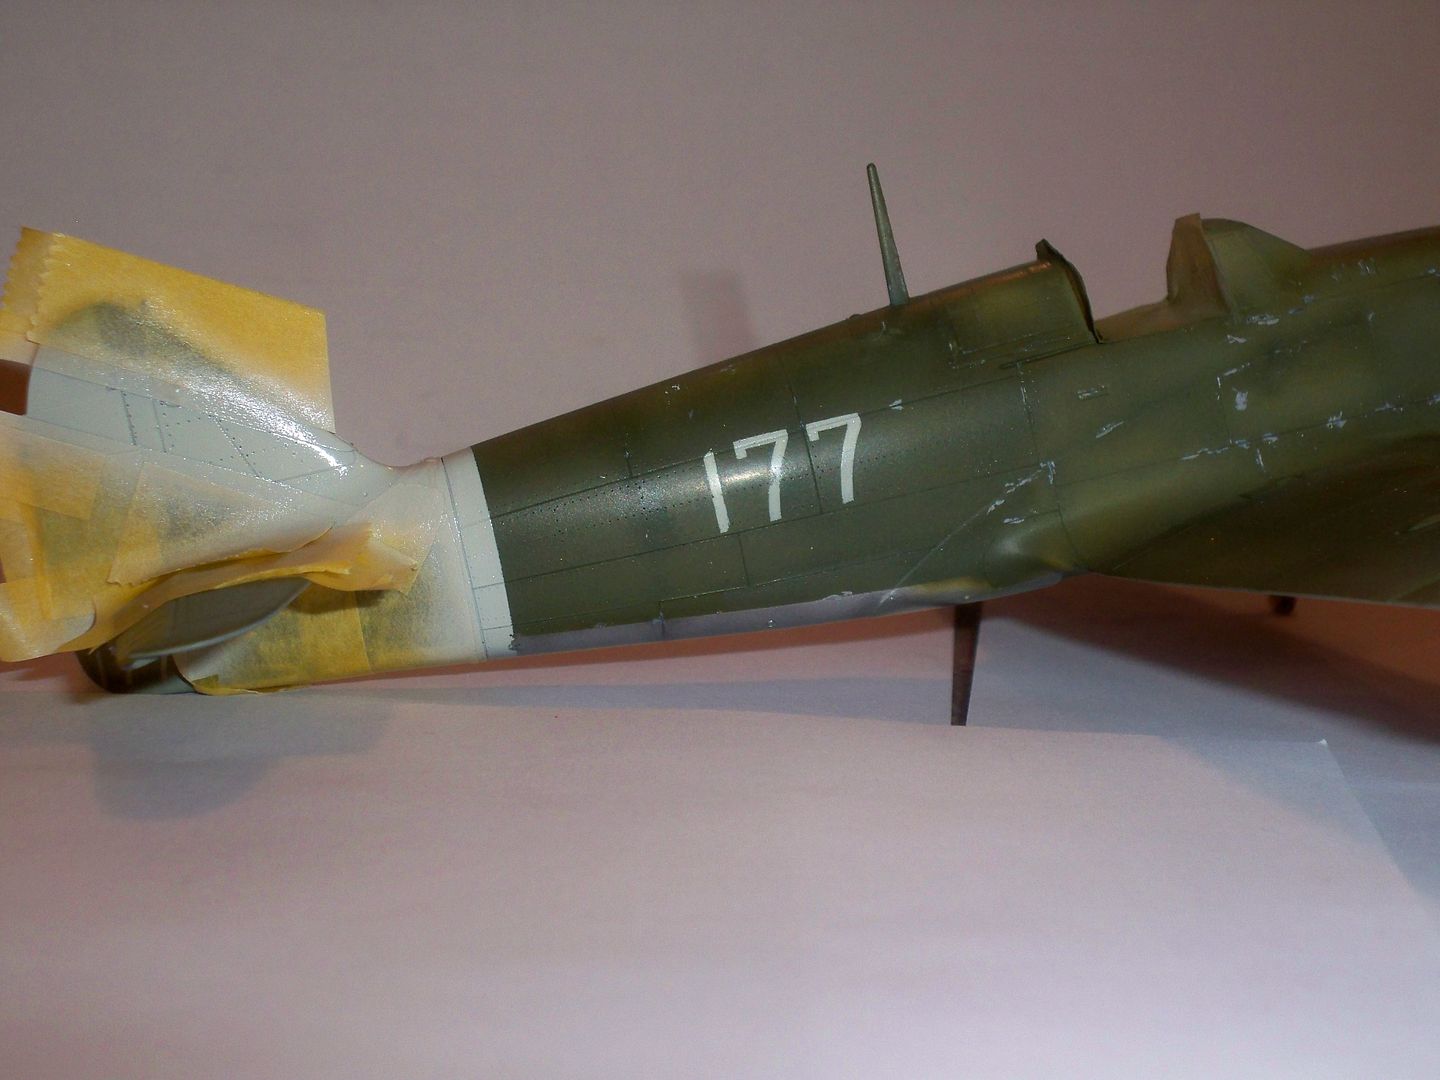
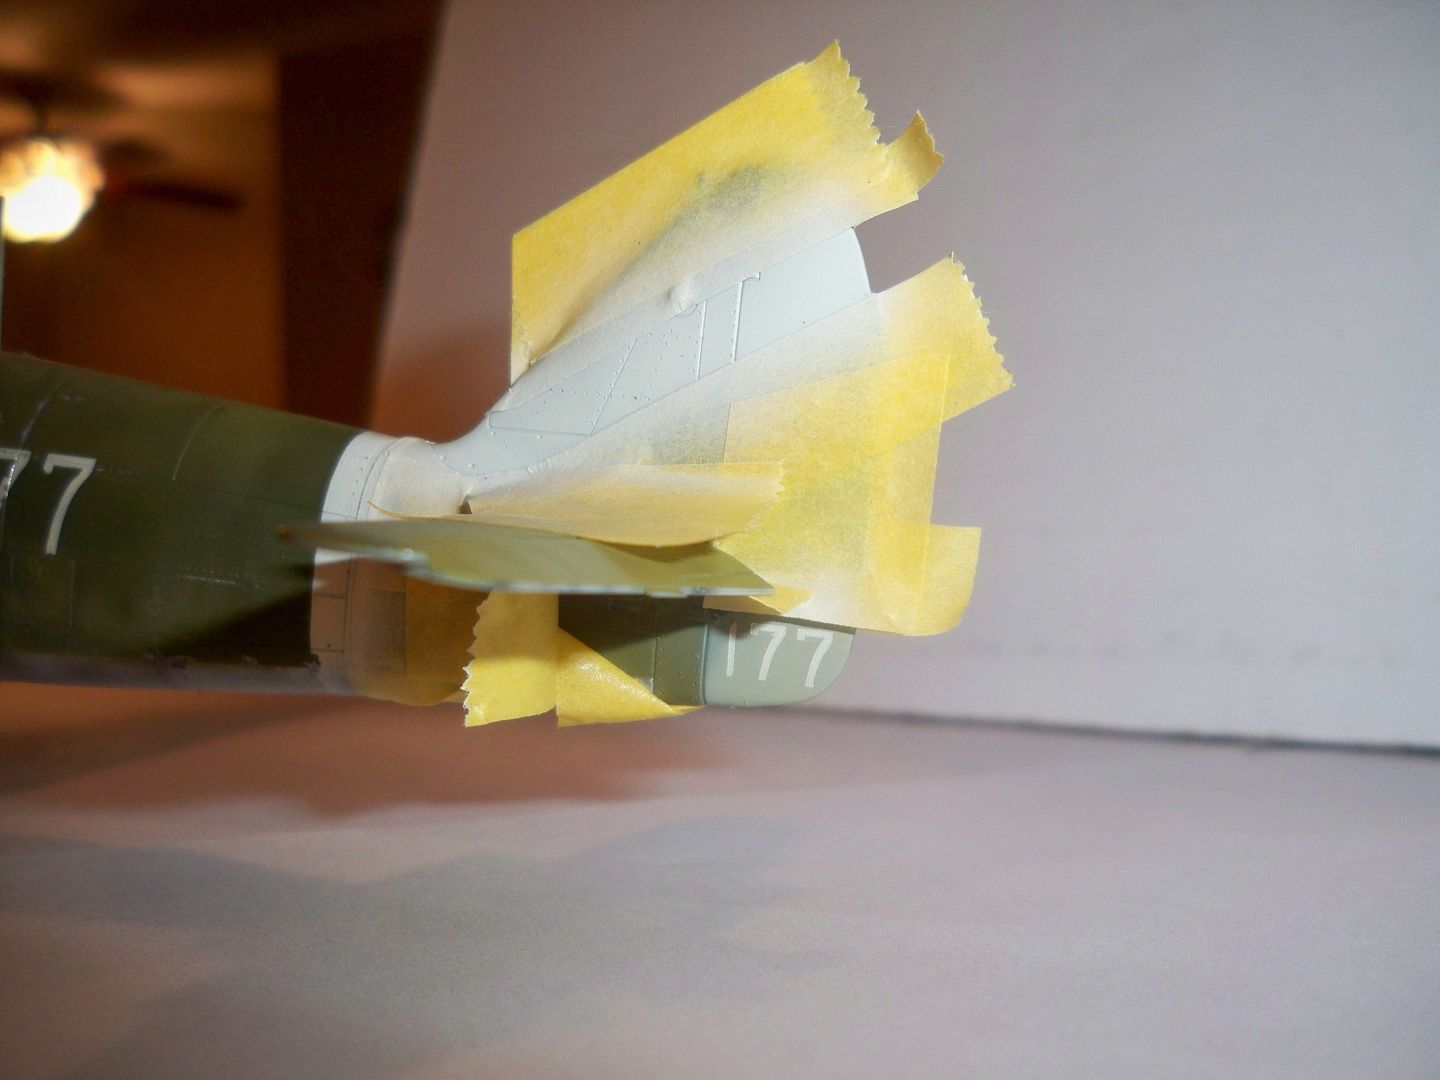
I finally have some progress to show. I used Montex masks to paint the fuselage numbers. Unfortunately, Montex doesn't include anything for the tail stripe, so I masked and painted myself, using the kit decals as a guide. So far I've only done the white. When thats dry I'll mask it off and spray red on the tail along with the Himonarus. 
Montex at least included the small numbers for the tail:
The chipping was done by sraping the paint away with a dull exacto blade. I'm trying to use restraint here because the real bird wasn't chipped so bad, just had some badly faded/stained paint. Hopefully I can get the red on tonight.


  • Member since
    January 2013
Posted by jibber on Wednesday, November 20, 2013 11:27 AM

Gamera, I think maybe the 6th photo may be the best for the GB Wall of Fame. If anybody thinks otherwise, it's fine with me. I'm loving whats being done on the planes, the detail and finishes look awesome.

Thanks

  • Member since
    November 2009
  • From: SW Virginia
Posted by Gamera on Wednesday, November 20, 2013 1:07 PM

Nathan: Those masks look great, very sharp clean edge. And the chipping looks just right.

Jibber: I should be home Saterday night, I'll get you posted either then or Sunday.

"I dream in fire but work in clay." -Arthur Machen


  • Member since
    January 2013
Posted by jibber on Wednesday, November 20, 2013 2:16 PM

Thanks. Gamera are you the sponsor for the IJA 3rd build?

  • Member since
    November 2009
  • From: SW Virginia
Posted by Gamera on Wednesday, November 20, 2013 5:39 PM

Yeap! Will be posting part 3 either this weekend or sometime next week.

"I dream in fire but work in clay." -Arthur Machen


  • Member since
    August 2009
  • From: Netherlands
Posted by duiker2106 on Thursday, November 21, 2013 4:23 PM

Gamera, can i enlist allready?

On the bench: 1:350 Yamato + I-400, 1:48 F15 strike eagle...

JOIN OUR COMMUNITY!

Our community is FREE to join. To participate you must either login or register for an account.

SEARCH FORUMS
FREE NEWSLETTER
By signing up you may also receive reader surveys and occasional special offers. We do not sell, rent or trade our email lists. View our Privacy Policy.