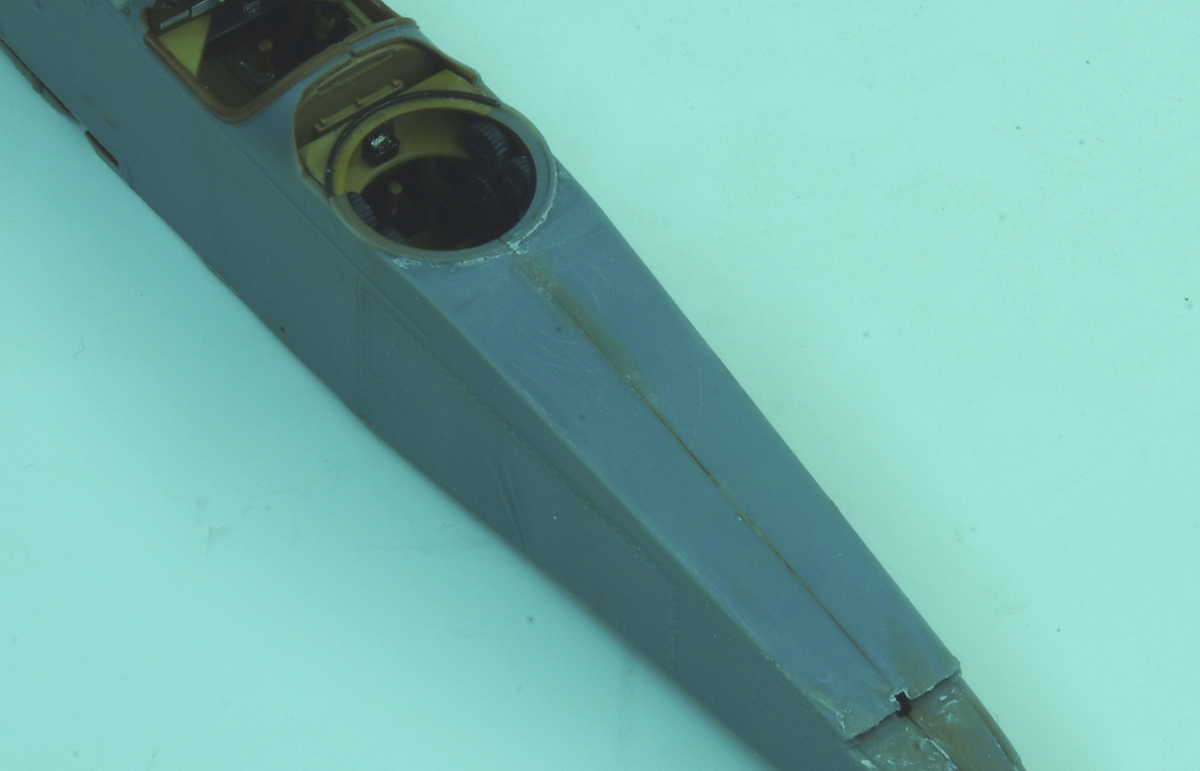
I've been able to find my way to the bench a little this week, so here is a progress report. I have put the fuselage skin on the interior details, and it is a tight fit as you might expect. I was unable to get the bottom skin to fit tightly to the sides although it is flush in the horizontal plane, probably because of the bracing wires being on the outside of the interior framing. I made up the difference with Aves Epoxysculpt and the gaps won't be bad to make disappear since it is a hard corner along that area. What is going to take more time is getting rid of the seams on the middle of the aft top fuselage, and the bottom behind that bottom insert. I always have trouble with seams in the middle of flat surfaces, and in the past have found them to be the most likely seams to show up or crack after painting, so they are going to get lots of attention.
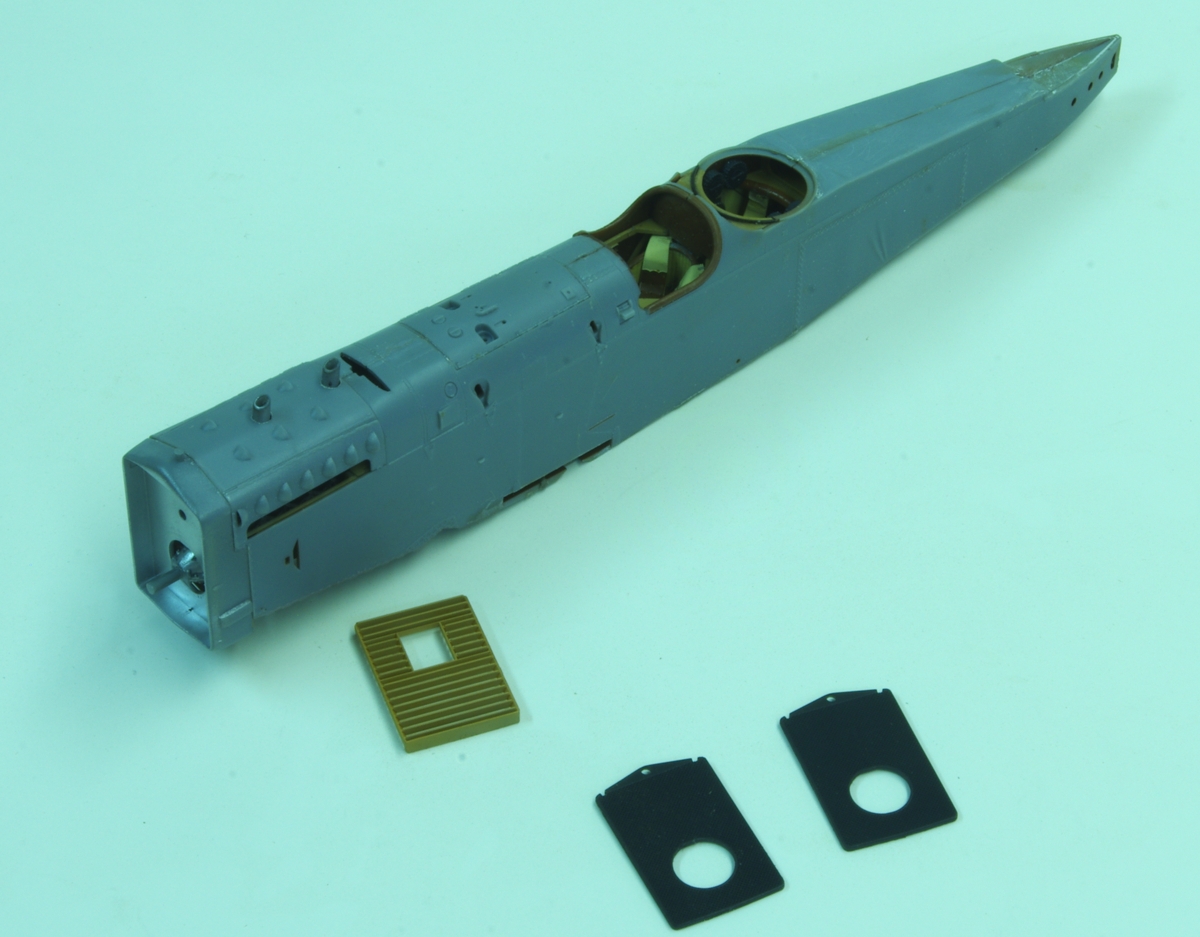
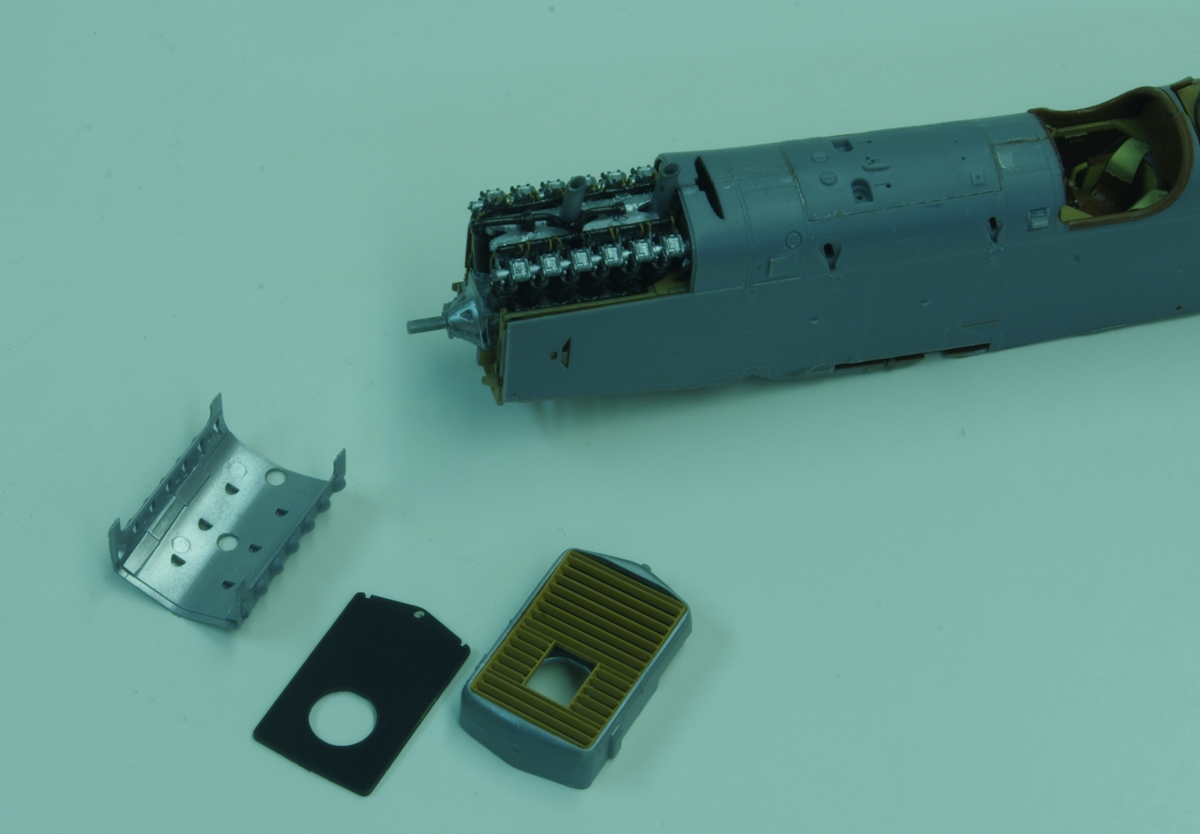
The radiator cowl and the top cowling (removable to show the Liberty) fit perfectly. In order to get everything painted neatly I am not quite following the order of the instructions. As you can see the shutters and front and back radiator faces are separate parts from the radiator cowl, and the radiator cowl is aluminum on the inside and exterior color on the outside, so I am painting the radiator cowl inside and out before installing the radiator faces and the shutters. The shutters were wood according to WNW, so I painted them the same as the fuselage interior framing, with an overcoat of thinned Tamiya Clear Orange.
First off some excerpts from the instructions to make more clear how the parts fit together:
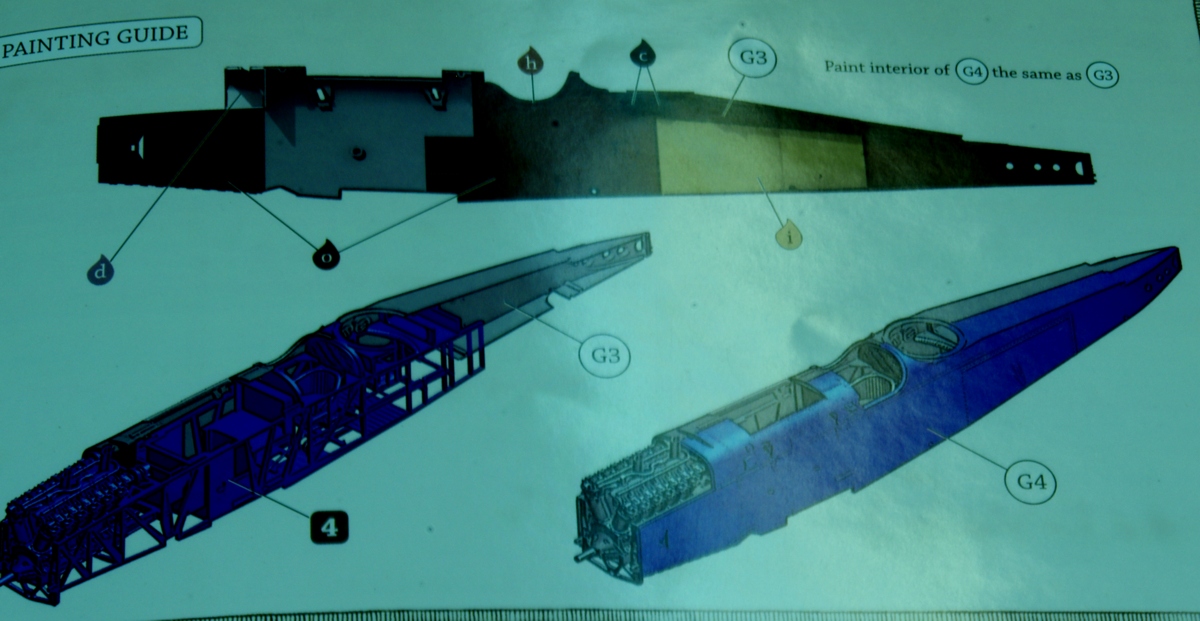
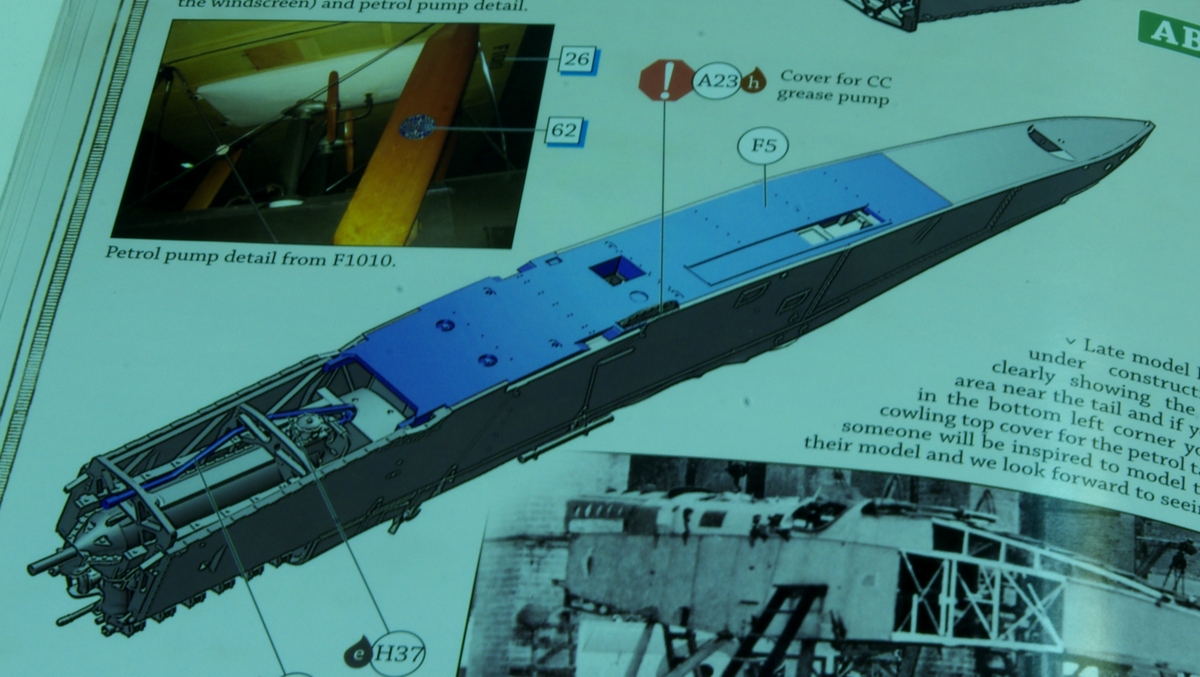
Then the parts as they are now. Still some work to do to bring out the detail on the radiator faces. The bottom seams.
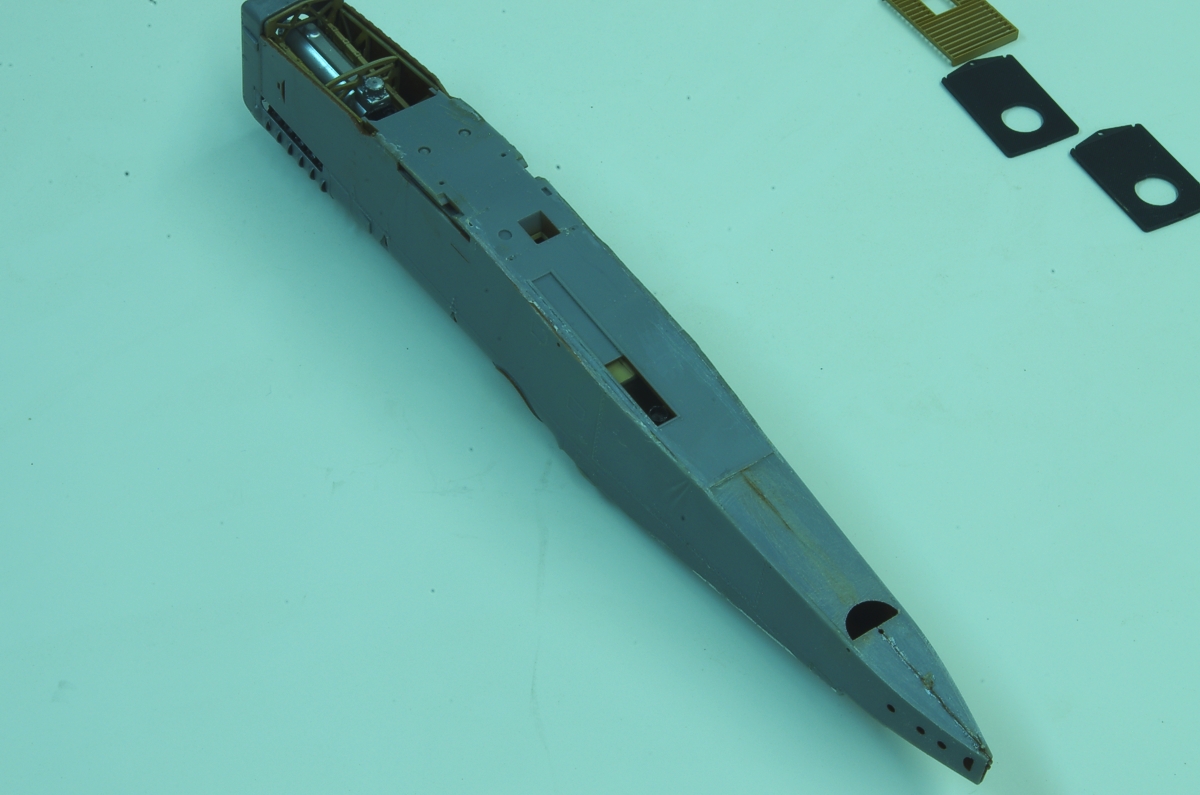
The top seams. My main strategy on getting the sides on was to use the gun ring as a first focus. It looked like a miss-fit there would be a real spoiler. Next time I might wait to install the front part of the gun ring base until after the sides are assembled to the interior framing.
The fuselage with the radiator and upper cowl setting in place, and the radiator and shutters. I had to file the holes for the intake pipes just slightly to get a perfect fit. A 1941 Peterbilt I worked on and drove as a lad of fourteen had shutters like that, except no hole for the prop shaft.
Apart and together:
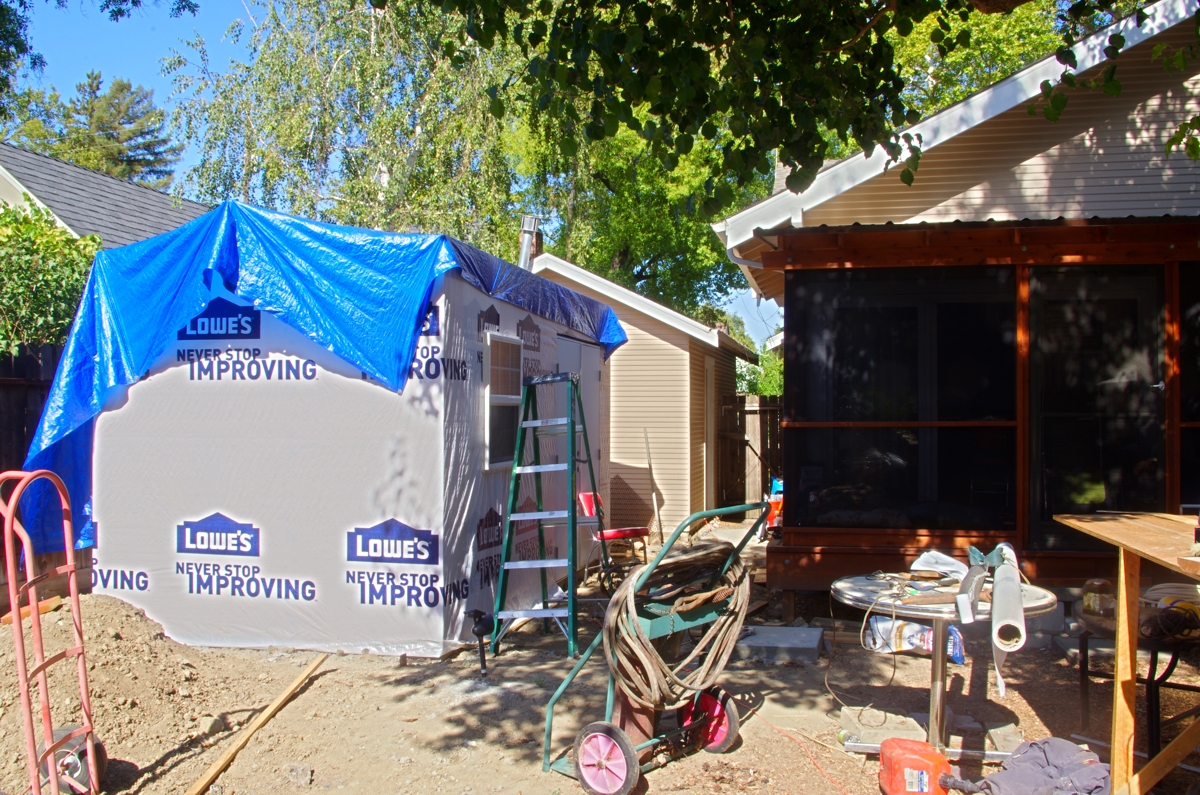
And the current state of the workshop project. I am seriously thinking about putting my plastic model bench in here. And the deck is not only done, but the granddaughters have claimed it for their personal sleeping porch.
