SEARCH FINESCALE.COM

Enter keywords or a search phrase below:

Reich Defenders IV Group Build: Strike From Above

54581 views
513 replies
1 rating 2 rating 3 rating 4 rating 5 rating
  • Member since
    December 2002
  • From: Bury St Edmunds, Suffolk, England
Posted by Bish on Monday, April 15, 2013 4:54 PM

I didn't think the Typhoons were used in the desert, but i wasn't that certain. But makes sense that they were looking into it.

I am pretty certain, without looking at my referances, that the F's had the same armament as the A's, so yes, the 151's should be present. Its always nice to get that sort of mail.

I am thinking of the 262 as a low level strike aircraft, comng in at tree top level. So i am going to assign it to a ground attack unit and do it in a wrap around scheme, so no blue undersides. Should be fun.

I am a Norfolk man and i glory in being so


On the bench: Airfix 1/72nd Harrier GR.3/Fujimi 1/72nd Ju 87D-3

  • Member since
    August 2012
Posted by AndrewW on Tuesday, April 16, 2013 1:41 PM

Well, one package in the mail today, and that was seatbelts.  Wow, an three hours, a lot of patience, and a pair of cross action tweezers later and I have two belts to show for my efforts.  I can see why they're not making them in 1:72nd so far.

Life is hard, it's even harder when you're stupid - John Wayne.


  • Member since
    March 2010
  • From: MN
Posted by Nathan T on Tuesday, April 16, 2013 2:01 PM

Pics man! Where'd you score those HGW belts from?


  • Member since
    August 2012
Posted by AndrewW on Tuesday, April 16, 2013 4:42 PM

Well, as requested, a photo of the cockpit tub with the lower belts installed.  I'm waiting to install the upper belts, as I want to drape one of them through the open canopy and over the fuselage side.  I'm not sure why the photo shows the tub so 'dusty', it's still got a high gloss on it and doesn't look 'dusty' at all in person.

Nathan, the HGW belts are a new offering from Eduard, found here : http://www.eduard.com/store/Eduard/Seatbelts-Luftwaffe-WWII-Fighters-FABRIC-1-48.html.  They're also doing a US set.

A lot of work for the belts, but well worth it, I think.  I've never been able to achieve this relaxed look with etch.

Life is hard, it's even harder when you're stupid - John Wayne.


  • Member since
    August 2012
Posted by AndrewW on Monday, April 22, 2013 1:05 PM

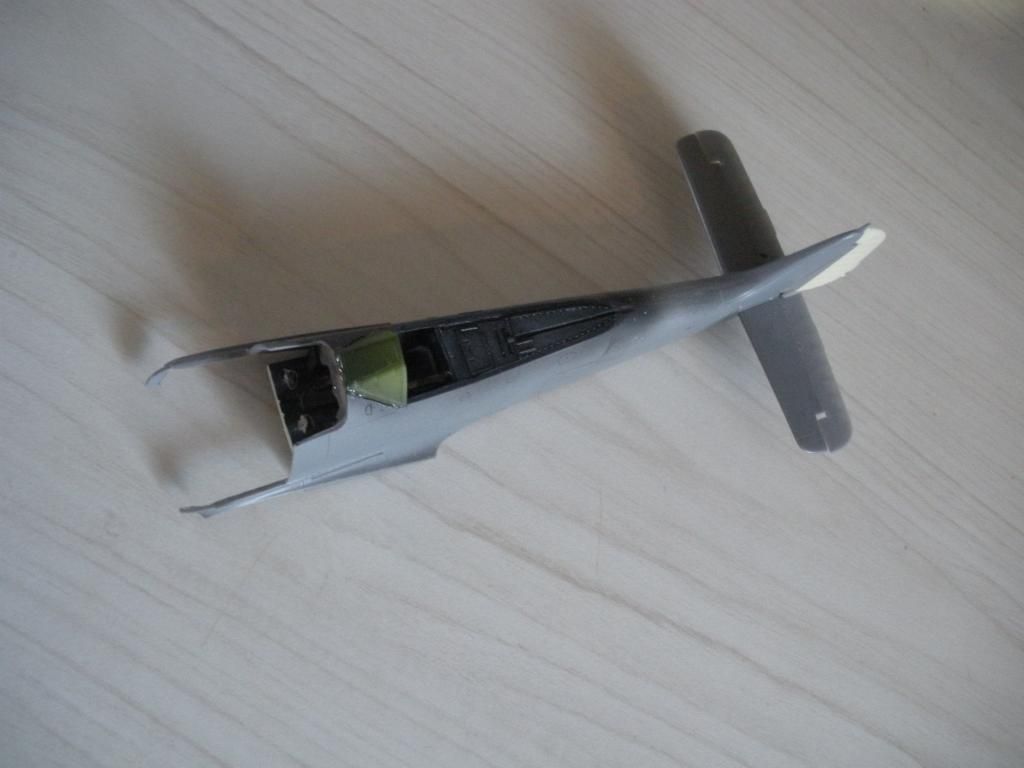
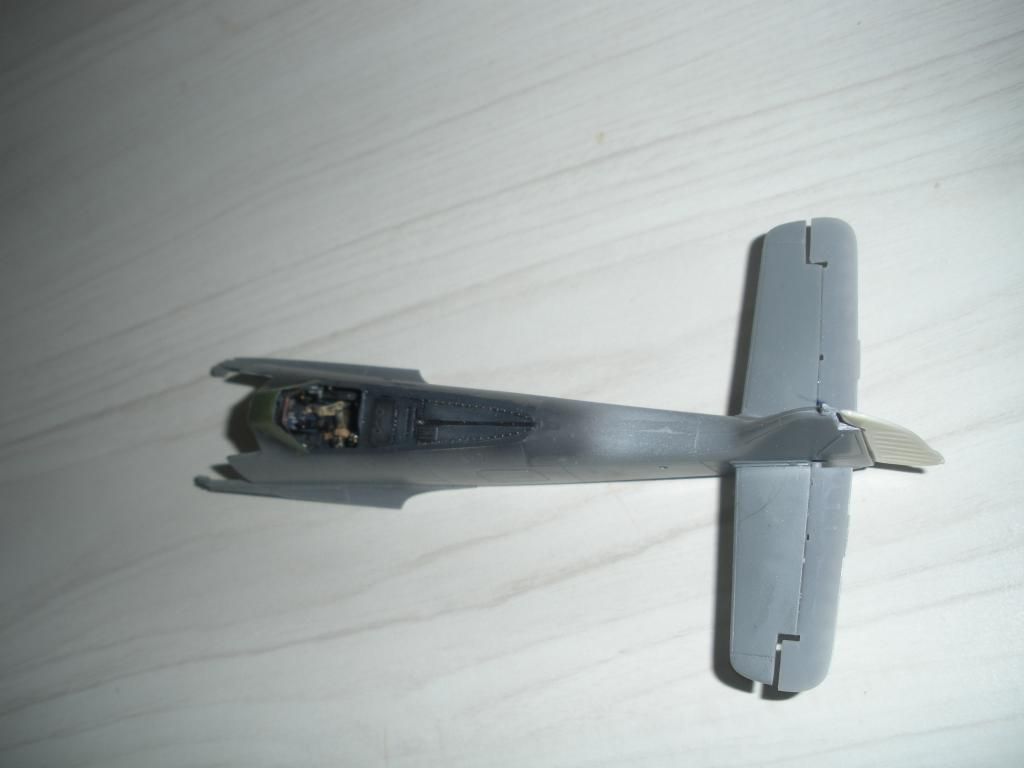
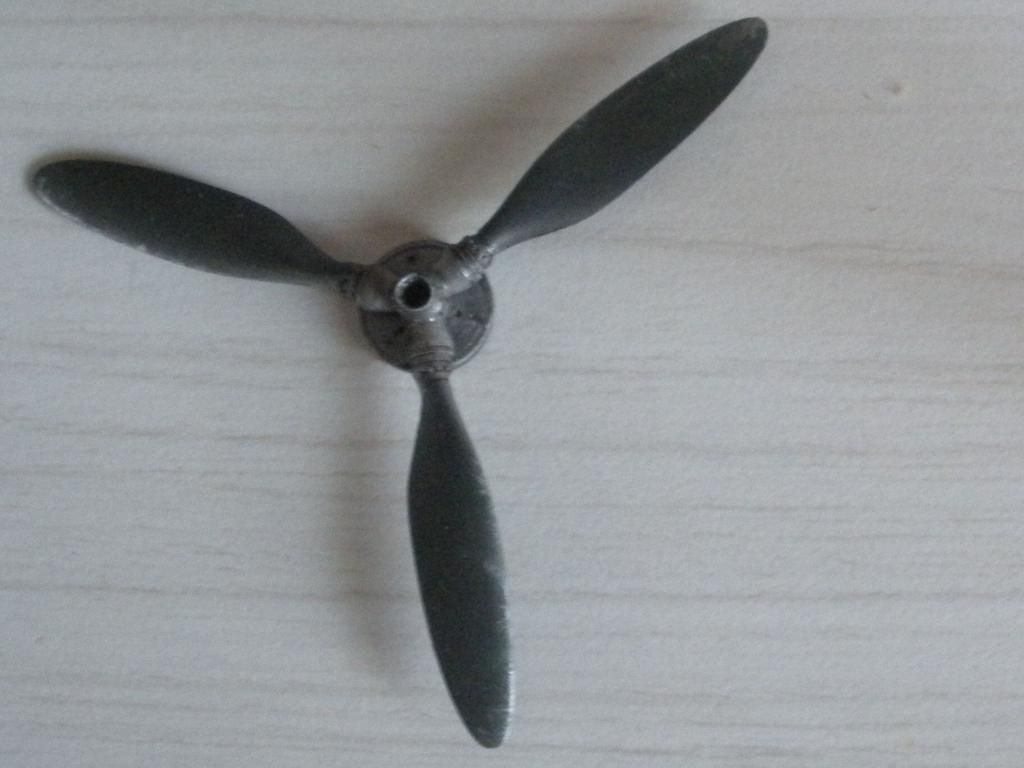
 I realize I missed posting up yesterday (I've been aiming for every Sunday), but it was a busy day with dogs.  It was a slow week, overall, as I was hung up on my wheel bay.  That got sorted this morning as I received a couple of sets of Aires machine guns (151's and 131's) which will allow me to place them in the wheel bay and paint and prime the wheel bay.  Then, with the wheel bay mounted in the lower wing, I should be able to begin mounting wings.  This week, I joined my fuselage halves, mounted stabilizers and elevators, and the rudder.  I'm using a mix of Aires and CMK control surfaces (the CMK rudder was a little 'fatter' and fit better).  I got the windscreen masked, painted and mounted, ensuring I had the gun sight fit and mounted first.  I also got a bit of work done on the propeller hub (again, a CMK offering) and started work on Scale Model Conversions' main landing gear.  I did not like their 'scissor spring' (not sure what it's actually called, but that's how I think of it) so I carefully removed the white metal and added in Eduard's etched parts.  
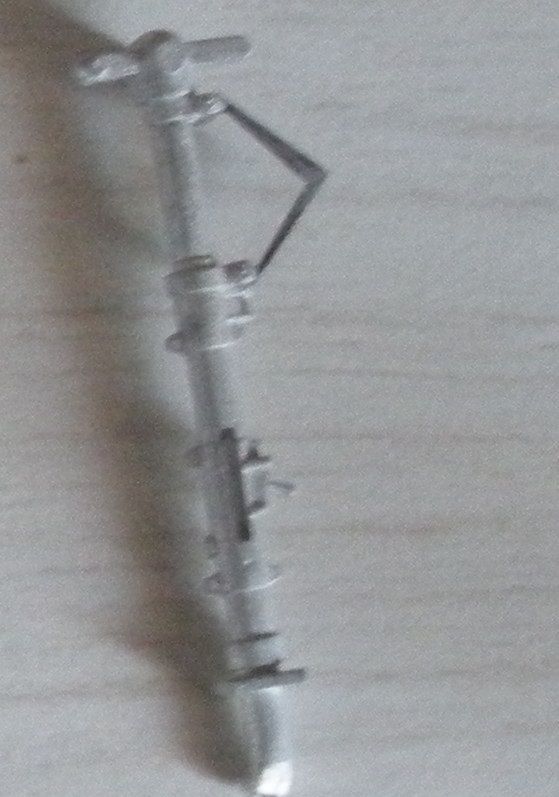
I'd also started painting around the wheel bay on the lower wing, this way I can put the pre - painted resin insert in, just do a rough mask around the area, and not have to worry about doing a tight mask on those akward curves.  I tried this recently on my Typhoon (which is just about done, just working on a display base and surround) and it worked out beatifuly.  I'm hoping to have the same success here.  I had a big stumbling block when I tried painting Vallejo's 'RLM 76', which is no where near the right color to my eye.  It's a very pale grey, with almost none of the blue to it.  One evening of patiently mixing paints in a few mixing bottles, trying a dab against my color chart, and I found I had a blue that looked quite passable, and even more so when weathered.  Luckily, I was smart enough to write down my mix ratios as I went, so I can reproduce it.  As much as I hate mixing my own colors, I knew I couldn't put that light grey down and call it good enough.  A few attempts (and in between, stripping and re-priming) at the lower wing and I had what I was happy with.
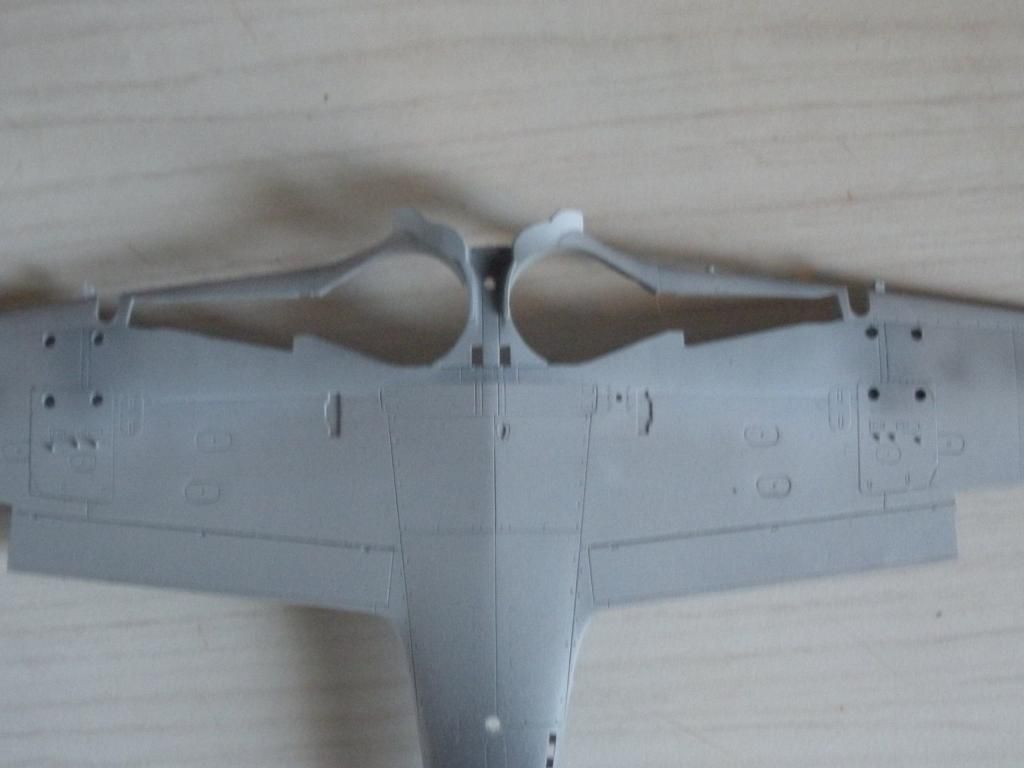
And that's my progress so far.

Life is hard, it's even harder when you're stupid - John Wayne.


  • Member since
    December 2002
  • From: Bury St Edmunds, Suffolk, England
Posted by Bish on Monday, April 22, 2013 1:07 PM

Thats looking good Andrew, nice progress.

I am a Norfolk man and i glory in being so


On the bench: Airfix 1/72nd Harrier GR.3/Fujimi 1/72nd Ju 87D-3

  • Member since
    August 2012
Posted by AndrewW on Monday, April 22, 2013 1:08 PM

A little follow up, I forgot to mention, while the pit fit like a charm, I decided to use Eduard's etched instrument panel.  What an awkward piece to mount after having the halves joined.  I placed my pit tub in first, as I wanted that to go in without an issue.  I figured I could reach in from the forward end and mount the panel.  (that gap over the foot pedals).  Wow, what a tough job.  I wound up (for those of you familiar with the Eduard panel) splitting the top from the bottom and mounting them as two separate pieces, the only way I could get it in.

Life is hard, it's even harder when you're stupid - John Wayne.


  • Member since
    August 2012
Posted by AndrewW on Monday, April 22, 2013 1:09 PM

Thanks Bish.

Life is hard, it's even harder when you're stupid - John Wayne.


  • Member since
    March 2010
  • From: MN
Posted by Nathan T on Monday, April 22, 2013 1:22 PM

Nice work Andrew. Your detail painting and drybrushing is really making stuff pop out nice. Good mix on the 76. Unfortunately you'll come to find Vallejo sucks at most RLM colors, but this is somewhat an opinion too.


  • Member since
    April 2005
Posted by Thunderbolt379 on Monday, April 22, 2013 7:23 PM

Andrew, marvelous work, you have a very methodical and quite ambitious approach. Prepainting is often a stumbling block for me as I have to mentally switch gears between building and painting and sometimes my shifter gets stuck! Looking forward to seeing this bird come together!

Cheers, Mike/TB379 (still waiting on the mask set for the Fujimi Stuka...)

http://worldinminiature.blogspot.com/

  • Member since
    December 2003
  • From: Charleston, SC
Posted by sanderson_91 on Monday, April 22, 2013 7:34 PM

Nice looking work on the 190! 


  • Member since
    August 2012
Posted by AndrewW on Monday, April 22, 2013 7:58 PM

Mike,

Thank you.  The pre-painting approach worked for me on my Tiffy, and I'm hoping that momentum will stay with me.  I swing back and forth with the build and the airbrush so often that I don't really hit a block, my difficulty is ensuring I keep that level of weathering consistent, though I am getting better at this.  I'm trying a new technique in using business cards as soft masks for my pre shading.  

The real trick will be leaving for work Friday and coming back one month later and picking up again smoothly.  Not easy.  I've tried taking a few pieces and an airbrush with me to work, but it's just too difficult, and I never get the quality of workmanship out of myself at work as I do at home.

Sanderson,

Thank you.  I'm just hoping in the end I can do the bird justice.

Life is hard, it's even harder when you're stupid - John Wayne.


  • Member since
    August 2012
Posted by AndrewW on Wednesday, April 24, 2013 1:18 PM

That's a nice looking cockpit tub, Bish.  Not too much of a seam there either, that looks like a nice kit.

Life is hard, it's even harder when you're stupid - John Wayne.


  • Member since
    December 2002
  • From: Bury St Edmunds, Suffolk, England
Posted by Bish on Wednesday, April 24, 2013 4:27 PM

Ye, its not to bad a kit. Working on the seam now, and theres only one small bit underneath that needed filler, the rest just need some sanding down. I have had to thin the platic around the wheel wells a bit to fit the wing halves together over the PE wheel bay, but nothing to major.

So far so good.

I am a Norfolk man and i glory in being so


On the bench: Airfix 1/72nd Harrier GR.3/Fujimi 1/72nd Ju 87D-3

  • Member since
    December 2002
  • From: Bury St Edmunds, Suffolk, England
Posted by Bish on Monday, April 29, 2013 3:48 PM

After the nice easy start, things got a little complicated with the wings. The instructions have you trimming some off each end of the centre section. 3mm off the front and 10 at the back. I did this but it still didn't fit, more had to be trimmed off the front. Either i messed up or the instructions were wrong. This meant a large gap at the rear. I also had to file back some of the top wing so it would fit. The meant the leading edge of the wings don't line up with the mounts on the fuselage. So i still have some more filling and sanding to do.


On the plus side, the cockpit fitted in very nicely, and despite the problems, its not looking to bad.


If all goes well, i hope to have soem paint on by the end of the week. 

I am a Norfolk man and i glory in being so


On the bench: Airfix 1/72nd Harrier GR.3/Fujimi 1/72nd Ju 87D-3

  • Member since
    December 2011
Posted by stalkerfish on Monday, April 29, 2013 5:48 PM

I'd be interested in adding my Cyber-Hobby 1/48 Bf110D-3 fighter-bomber to this GB once it arrives in the mail. I've heard many great things about this kit and can't wait to start it!

In Progress: Dragon 1/35 Flakpanzer IV Ausf.G, HobbyBoss 1/48 Me 262

  • Member since
    April 2005
Posted by Thunderbolt379 on Monday, April 29, 2013 6:29 PM

Hi Stalkerfish -- welcome aboard, Jabos are the theme indeed, especially post-Normandy.

I'll add you to the build list in p1, feel free to slit the shrinkwrap and dive right in!

Cheers, Mike/Thunderbolt379

http://worldinminiature.blogspot.com/

  • Member since
    April 2013
Posted by SchattenSpartan on Tuesday, April 30, 2013 6:54 PM

Can I build a Thunderbolt?

This one, to be exact:

I'll put some bombs on too (maybe even the rocket tubes)

Clemens

  • Member since
    April 2005
Posted by Thunderbolt379 on Tuesday, April 30, 2013 7:05 PM

Clemans -- what the hey, why not? It's a most interesting subject, so we can stretch the point -- go for it!

M/TB379

http://worldinminiature.blogspot.com/

  • Member since
    April 2013
Posted by SchattenSpartan on Wednesday, May 1, 2013 5:31 AM

YAY!

Thank you Mike!

now I have to find some german bombs and a way to put them on there....

Maybe some new Bomb mounts on the pylons (a field modification to carry  german bombs)

I can't really use Allied bombs, as the Germans got them in great numbers, but only falling on their heads with a big boom following Wink

I'll start on the cockpit asap and post some pics.

Cheers, Clemens

  • Member since
    April 2005
Posted by Thunderbolt379 on Saturday, May 4, 2013 12:36 AM

Hi all, the eduard masks i've been waiting for for months have finally arrived so i can get back to Rudel's bird in the Fujimi idiom... here's where the project stands right now:

That's the gun pods and radio boxed from the Academy kit (thanks, Bish!), the Eduard masks and MM Acryl RLM 04 and RLM 71.

My first step will be to paint and install the radio boxes behind the seat, install the canopy, apply the masks, paint the wheel hubs, mask them and paint the typres, then I can assemble the landing gear. I'm thinking of leaving the gear off until after painting to ease masking around the roots -- does anyone else do that on Stukas?

For the record, I LOATHE the new Photobucket interface. I thought I'd retro'd to the old one which made sense, but this new one is very unfriendly indeed.

Okay, hoping to get to grips with this project again shortly,

Mike/TB379

http://worldinminiature.blogspot.com/

  • Member since
    December 2002
  • From: Bury St Edmunds, Suffolk, England
Posted by Bish on Saturday, May 4, 2013 12:01 PM

MMMMMMMMMMMMMMMMM, Stuka. She is looking nice. And you more than welcome.

Clemens, defiantly looking forward to seeing that one.

I am a Norfolk man and i glory in being so


On the bench: Airfix 1/72nd Harrier GR.3/Fujimi 1/72nd Ju 87D-3

  • Member since
    April 2013
Posted by SchattenSpartan on Saturday, May 4, 2013 3:27 PM

That's indeed a nice looking Stuka, Mike!

I hope I can start the cockpit of my Jug tomorrow after priming my Airacobra

Cheers, Clemens

  • Member since
    October 2008
  • From: Georgia
Posted by Rigidrider on Sunday, May 5, 2013 10:39 AM

OK ... I've caught up and can now start my build...

Let me please introduce my subject, This will be one of the craft piloted by Heinz-Wolfgang "The Spook" Schnaufer. Heinz Schnaufer piloted the Bf110 and had 121 aerial victories to his credit. Most were 4 engine British night bombers. He was nd still is the highest scoring night fighter ace in aviation history.  Heinz survived the war,and after seperation from his Luftwaffe duties took over the family winery and ran it until 1950 when he was tragically killed in a car accident at the age of 28. As the Reich shrunk around them he was pressed into other missions including this aircraft which provided ground support and dive bombing duties. It was equiped with rockets, bombs (  220kilo) and 20mm cannons along with self protection. Hope you like and most of all I hope to honor the pilot and crew with my efforts.

Thanks...

Doug (RR)


When Life Hands You A Bucket Of Lemons...

Make Lemonade!

Then Sell It Back At $2 Bucks A Glass...

  • Member since
    March 2010
  • From: MN
Posted by Nathan T on Monday, May 6, 2013 9:12 AM

Nice work Doug. Can't wait to see what you do with this classic kit. Is that True Details Resin?

Mike, thats a clean looking build so far. Good call on waiting for those masks, lol!


  • Member since
    October 2008
  • From: Georgia
Posted by Rigidrider on Monday, May 6, 2013 4:18 PM

Hey Nathan... Yes it a tru-detail set. I'm only using about half on this build and The other half on another I want to do.This one wont have detailed engines but will be more of a OOB build with just a few additions. I have another in mind to do here if I have the time. I fear the 1/48 scale kit is fast becoming too small(ha) Getting older is a b***h. LOL

Doug (RR)

By the way, I love the older kits, I'm in talks with a vendor right now who has a Lindbergh 1/48 Ju88 kit that was molded in the early 60s (61 or 62 ) and I want it very badly, I built this kit when I was a boy. I dont know what happened to Lindbergh over time, but they used to produce some amazingly well detailed kits. Now they are no better then snap fit kits. Oh well ...Take care !

When Life Hands You A Bucket Of Lemons...

Make Lemonade!

Then Sell It Back At $2 Bucks A Glass...

  • Member since
    April 2013
Posted by SchattenSpartan on Monday, May 6, 2013 4:29 PM

That's one sweet looking cockpit, Doug!

I'll have to wait for a while untill I can start on my Jug though. I still need some stuff for the build.

To be exact, I ordered the following:

  • Eduard paint masks
  • HGW seatbelts
  • Master gun barrels
  • Quickboost engine

I have to get me some decals for the German markings printed, but the guy who makes them is ill atm, so I'll have to wait...

Maybe I'll this one to the GB:

Does anyone know how that kit is? I just had a brief look at the sprues at my hobby shop two days ago and the parts look quite nice.

Cheers, Clemens

  • Member since
    October 2008
  • From: Georgia
Posted by Rigidrider on Monday, May 6, 2013 4:46 PM

Thats a sweet kit and very high on my to get list! Meng (If I,m not to badly mistaken) is kinda sorta new as a company but I think has been around for a while doing things for others. Every thing I've seen and read about them is impressive. Go For It!

Doug

When Life Hands You A Bucket Of Lemons...

Make Lemonade!

Then Sell It Back At $2 Bucks A Glass...

  • Member since
    March 2010
  • From: MN
Posted by Nathan T on Monday, May 6, 2013 8:19 PM

Thats a nice kit Clemens. There are a few wip over on britmodeller. They mention the canopy fits kind of tough but the detail in and out is amazing. It includes a few photo etch items in the box. Looking forward to you building this! I like the look of the captured soviet markings.


JOIN OUR COMMUNITY!

Our community is FREE to join. To participate you must either login or register for an account.

SEARCH FORUMS
FREE NEWSLETTER
By signing up you may also receive reader surveys and occasional special offers. We do not sell, rent or trade our email lists. View our Privacy Policy.