I was at day 2 and day 3 too LA. They were long, slow, hot days ,but that was a magnificent innings by Cook. I'm glad I saw it, you don't see every ball of a test match deuce too often. BTW, your helo is looking great. I use PPP for around the canopiues too, in fact I just did that on Dragon 1/72 HE 162 that I've finally gotten around to this morning before work.
I seem to have lost some of the photos I took earlier in the build. I'll try to find them and post them later if i can, because there is a lot of work that goes on inside the fuselage of this kit. This kit is unique in my experience, there is no positive fit for ANY of the parts, at all. Makes it hard work, but there aren't too many He 162s out there in 1/72. As far as I know, there is this kit, also released by Revell, an earlier Revell release that looks like it's early, and the Hobby Boss easy build, which has less detail.
Anyway, on with the show, I'm going to aint this thing like grey and use some decals from Berna Decals to depict a French one in post war service. As I understand it, the Allies captured 27 of these at one airfield, and the French were allocated five. Interesting.
It will also complete my atempt to use decals for every aircraft on a decal sheet, I've never done that before. Two FW190s, a Do 335, a Bf108 and this He 162, all in French markings.
Before closing the fuselage, I packed as much lead as I could into the nose. However once I added the tailplane assembly, it sat down on it's tail.

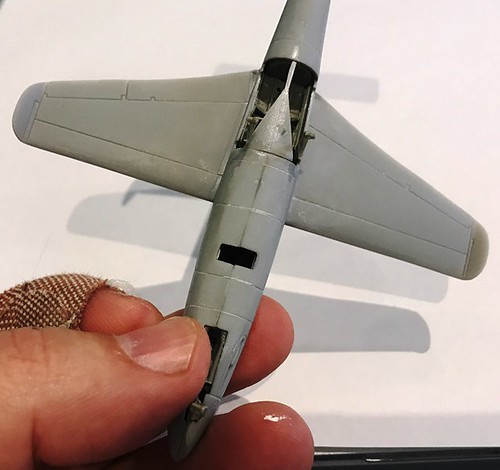
Luckily for me, I still have this opening behind the cockpit, my plan is to jam so more lead through it, with a gob of CA gel to fix it in place. It should work, as it's still in front of the main undercarriage. Also, that triangular piece between the wheel bays is a nightmare. They give you the undercarriage doors and this bit all molded in one piece. You have to cut it into three then locate this piece with no positive attachment points. I got it done, but it's hopelessly fragile, and I've already broken it twice whilst just holdng the model lightly. Yippee...
There is some nice detail inside the wheel bay, but the insert is 3 or 4 mm too narrow for the fuselage, so you have to work with that. I've managed to make it look acceptable...just.

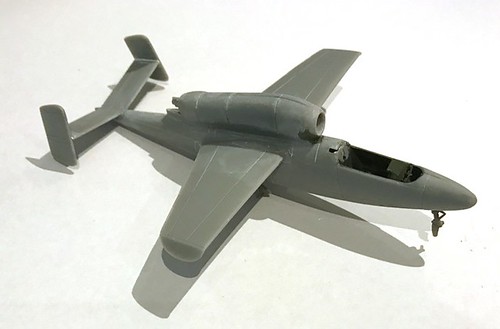
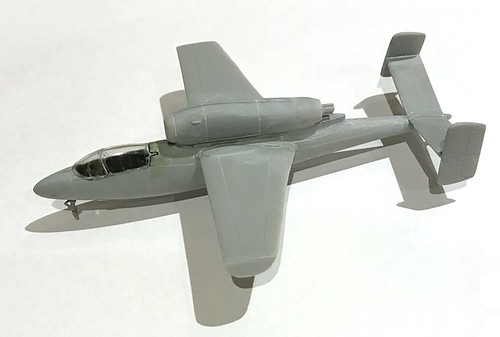
Here it is sitting on it's undercarriage correctly, the additional weights worked :) I also added the canopy, and took this photo before using PPP around the canopy frame. The kit has those slots behind the canopy that allow for a movable canopy, but they didn't exist on the real plane, so they've gotta go. It seems like I've used more CA gel and putty on this thing than I have in a very long time, but its hard to see the CA gel in these photos. I'm not complaining though, we take on these challenges as modellers :)

Cheers
Tony