Since last update, have worked on both ends of the fuselage and got her up on her legs somewhat. I tell ya it was a bit tricky setting the main landing gear, as all three pieces had to be positioned before the glue set:
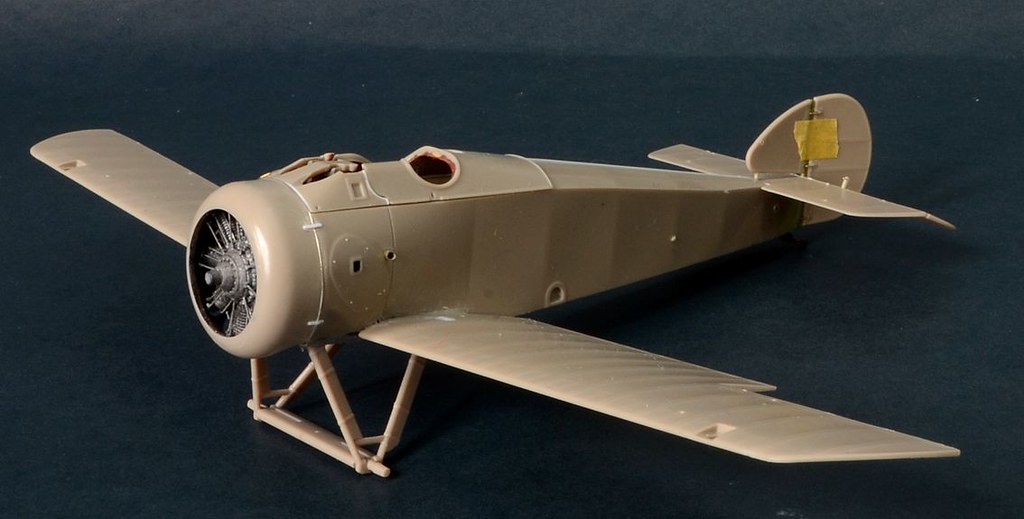
Wheels won't be added until after everything is painted up, same with the rudder (taped for photo).
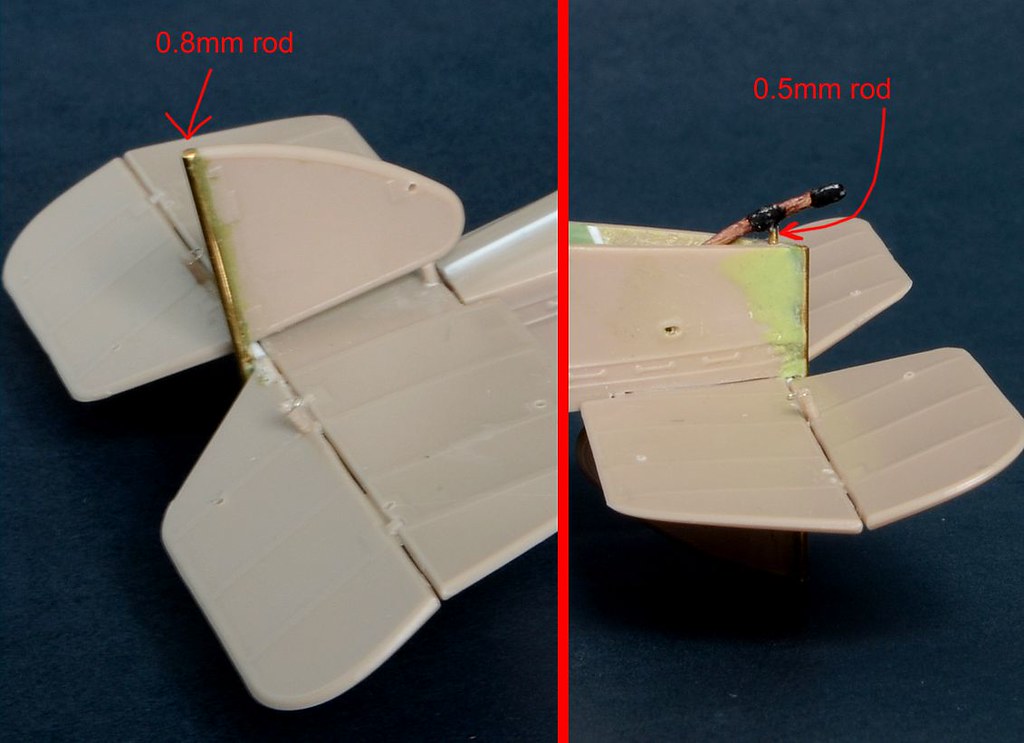
Tail assembly needed some reinforcement, as the fin was only held in place by a single point forward. So added a 0.8mm brass rod, which also acts as the hinge attachment point for the rudder. Tail skid also fixed, just barely visible is the support rod made of brass.
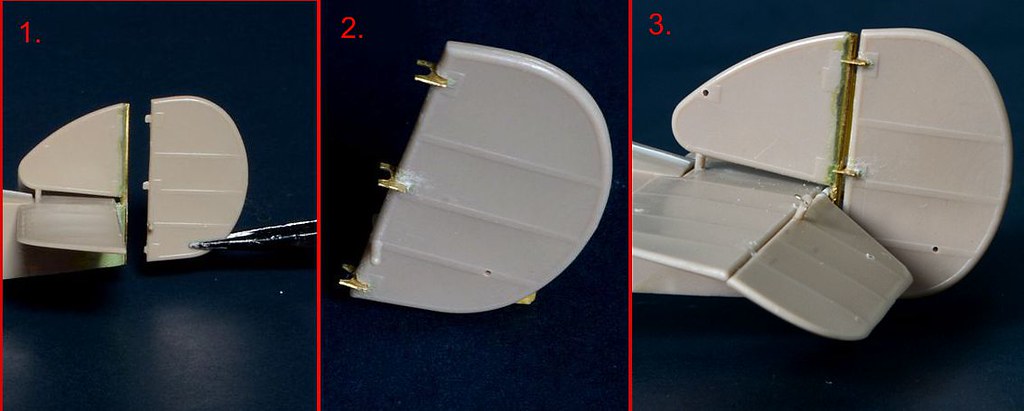
1. - original rudder attachment has three thick hinges, these were trimmed off. The added brass rod also makes this area more accurate detail wise.
2. - detail view. Note the hinges were placed into notches sawed into the spine of the rudder.
3. - test fit of rudder.
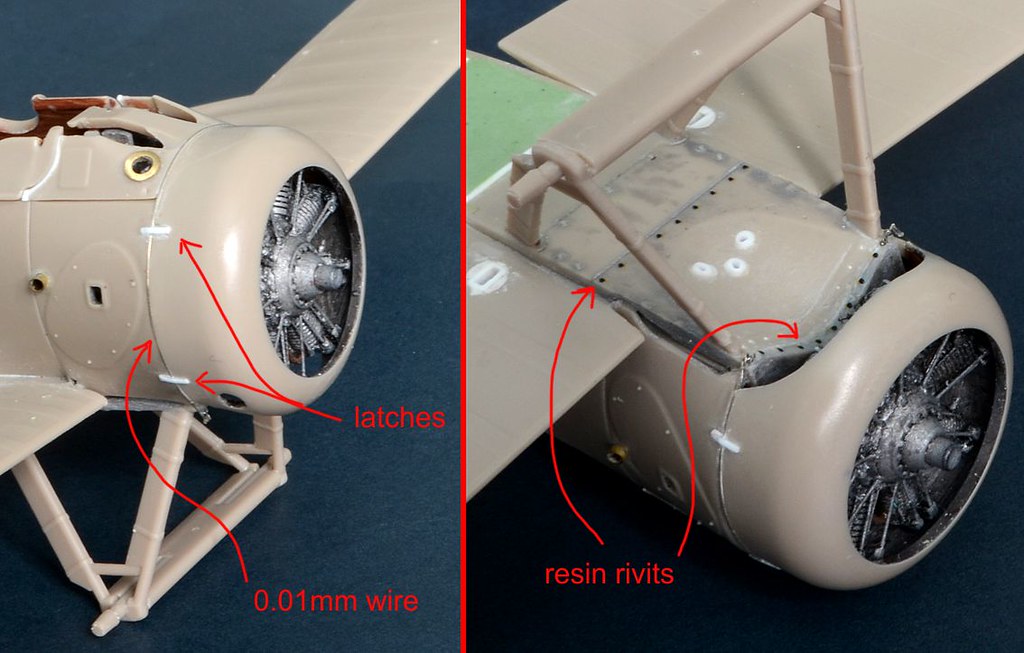
At the forward end, latches made from sheet plastic. A thin wire added around the circumference of the cowl as well as some further details on the underside - based on photos.
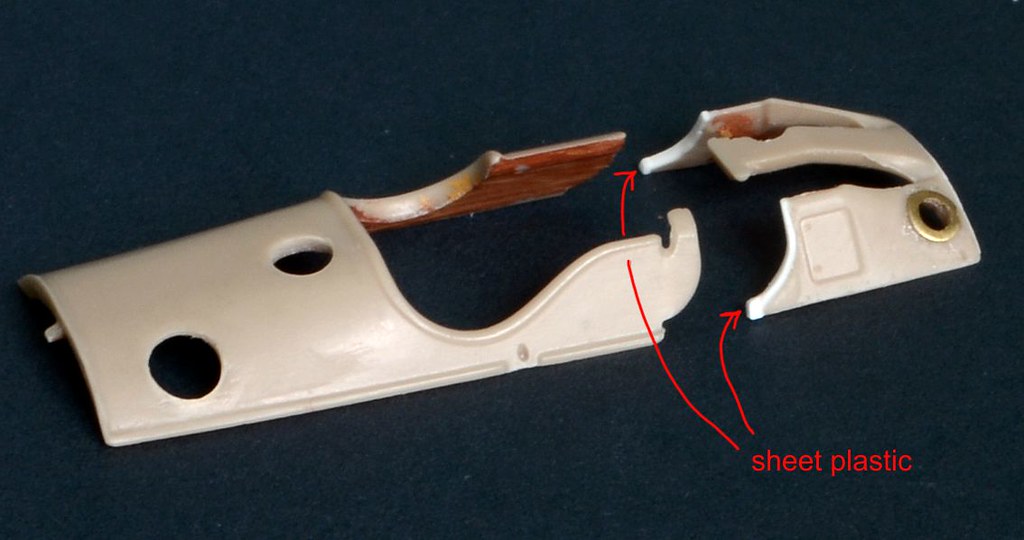
To facilitate the painting stage, decided to separate the cockpit decking into it's wood and metal sections. Sawing exercise causes some plastic loss, so had to replace that with sheet plastic.
A side note, Eduard provides two styles of cockpit decking - the one above is the cut open style. This was a field modification to facilitate access to the gun breeches. I couldn't find any info as to when this was carried out on this particular airframe (or even as a general practice for the Camel units), but really not much choice in the matter when fitting the aftermarket machine guns.
regards,
Jack