SEARCH FINESCALE.COM

Enter keywords or a search phrase below:

Japanese Group Build VIII

23706 views
479 replies
1 rating 2 rating 3 rating 4 rating 5 rating
  • Member since
    February 2010
  • From: Berkeley CA/St. Paul MN
Posted by EBergerud on Monday, August 26, 2019 4:09 AM

Nice looking builds here. I see Edwin has let the Zero bring out the itch to chip. I did an old Tamiya A6M2 in full Kamikaze mode (even tracked down 250KG bomb with release - one of my rare after market forays) and based it on the plane that starred in "Eternal Zero" - chipping paradise. A lot of fun and it looks good. But you've got the new kit - lovely build. If I didn't need to try Vallejo NMF I would have built it too. (This one is also going in the 1944 GB).

As threatened I'm building the new Tamiya 1/48 Ki-61d. This is a 1944 rendition of the Tony with twin canon - one of the few planes that had some success against B-29s (until Mustangs started flying from Iwo anyway). It's new Tamiya - Tamiya makes the world's best models - I like it. It's not a simple build though and I've found you have to watch what you're doing and not expect everything to build itself. (Andy at Andy's Hobby Shop on YouTube got his mits on the spanking new Tamiya 1/48 P-38F/G: he says he often wouldn't need glue. About time someone made a good P-38 - a real challenge for a model maker.)

This proves that I bought the kit - doubt that's needed although I've been on GBs that required it.
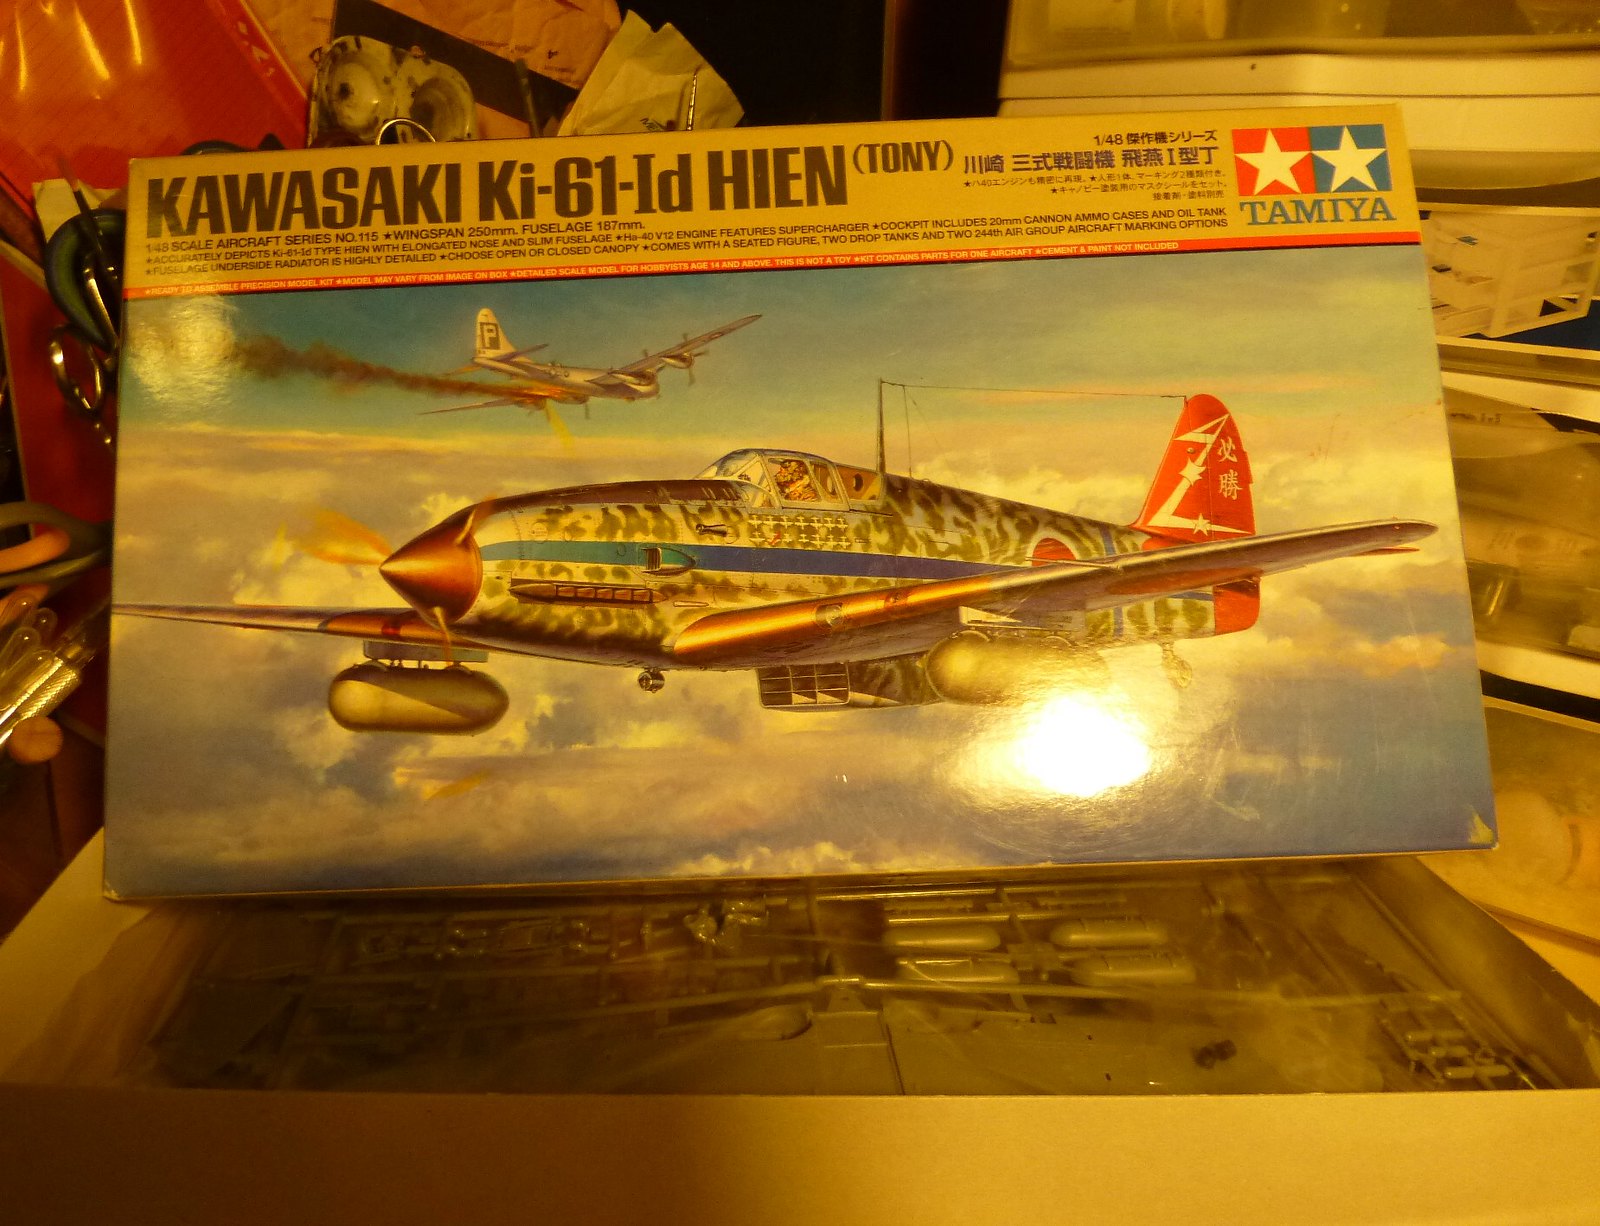
 kit by Eric Bergerud, on Flickr

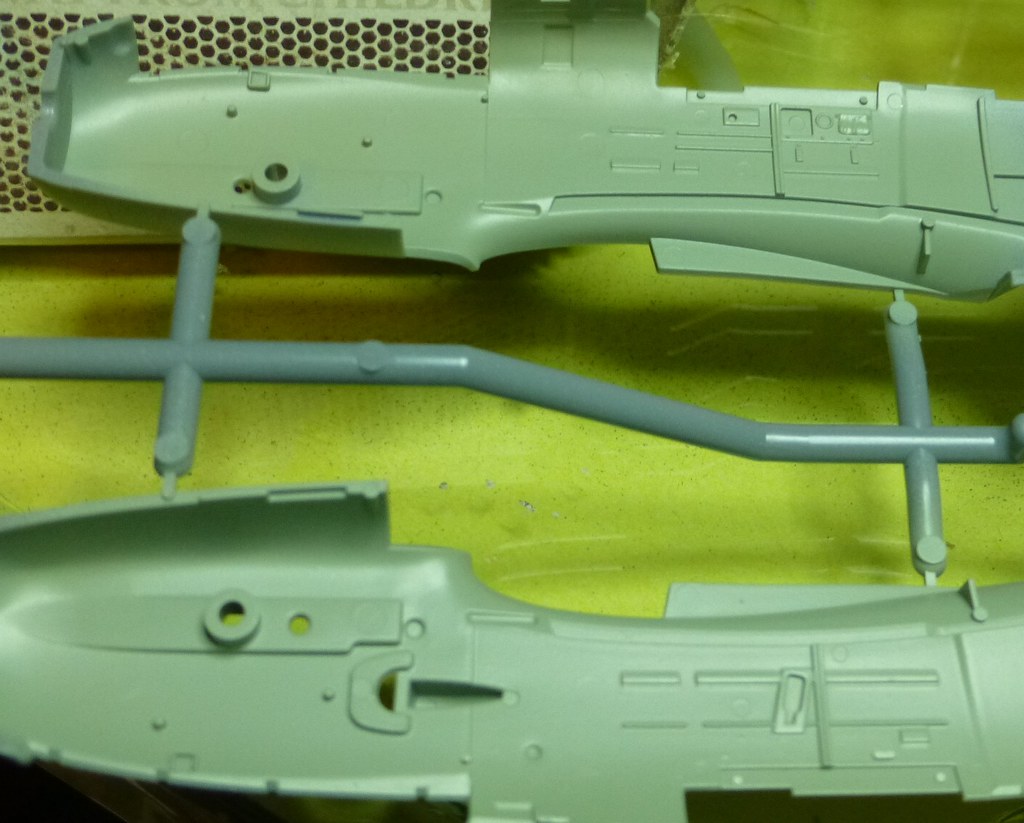
I've spent a week or so building the cockpit - it wouldn't take that long but there's a lot of small parts and a lot of painting to do. Should note that I obsessed over the interior color and leaned on uber-meister Japanese color guru Nick Millman who runs the terrific web site "Aviation of Japan." Tamiya calls for an interior of "Desert Yellow" - Millman say that's out. He forwarded color chips of the three candidates (all would have been used in 1944). One looks a lot like Olive Drab. A second is kind of a dark green/yellow: I'm sure this was the color Tamiya hinted at. I had what Millman thought was a perfect match - Vallejo Dark Yellow: okay, but it's a dorky color. The third choice is a kind of light green gray with just a hint of blue. Nick was an advisor to the AK Real Color project and claims their paint Hairyokushoku (Grey-Green) Real Color RC238 is "spot on." (Look up this color or any of the other AK Real Color line on Scale Hobbyist - the best online site in the US. The colors are very good) The problem is that AK Real Color are lacquers and I don't use lacquers. However I was able to use Vallejo's rendition (they call it Interior Grey Green) and cut it with Vallejo Model Color Green Gray (much darker and less blue/green) and some Golden High Flow White. My brew will do just nicely, and I do like the color.

Interiors bore me: this pic is the done deal (minus a wash) under strong light.

 cockpit by Eric Bergerud, on Flickr

I took another couple of pics under a lesser but cool light and got a much better rendition of the color - although not perfect. I'll do better when the kit nears completion. The other pic shows the interior color sprayed onto the fuselage halves:

 cockpit2 by Eric Bergerud, on Flickr

 color by Eric Bergerud, on Flickr

More later

Eric


A model boat is much cheaper than a real one and won't sink with you in it.

  • Member since
    November 2009
  • From: SW Virginia
Posted by Gamera on Monday, August 26, 2019 11:41 AM

AA: Looks good! So close to the finish line now! 

Eric: Wow, I'd always read from several sources that Kawasaki cockpit interior colour was a sandy tan. Interesting to find out otherwise. Course you still see stuff from the '70s- early '80s telling you to paint the cockpit of all Japanese aircraft aotaki. Looks great so far, looking forward to more photos.  

"I dream in fire but work in clay." -Arthur Machen


  • Member since
    February 2010
  • From: Berkeley CA/St. Paul MN
Posted by EBergerud on Monday, August 26, 2019 4:38 PM

Getting involved in the world of Japanese aircraft colors can be a real challenge. If you want to check Nick Millman's site for some partial answers for JAAF interiors go to aviationofjapan.com and search Useful Colours - Army Interiors Part One (for early war Claudes, Oscars etc) or Useful Colours - Army Interiors Part Two (mid-late war aircraft, not including everything on the Ki-61.) Nick told me that the following colors were used on JAAF late war Ki-61s and many other planes. First is Olive Green (which sure looks olive drab) roughly FS 33070 (AK Real Color RC330): second is a yellow brown called "dry grass" by the JAAF - FS 33440 or RC334: last Gray Green (I used it) FS 26496 or RC328. You can interpret FS through the Federal Standard 595 Color Server http://www.colorserver.net - just type the FS number and presto - very useful. If you want to see WWII colors do what I suggested. Log onto Scale Hobbyist (scalehobbyist.com) and search (exactly) AK Interactive Paints and you'll get samples of the entire range of 200+ colors: if you click on one of the colors you get a very good sized sample. Notice the excellent search mechanism Scale Hobbyist has: on the left side of the page you can chose time period (WWII, Postwar) or country (in our case pick Japan) and you've got samples of just about everything. I know Flory gave the range a good review: I believe that they are lacquers more in line with Gunze or the new Tamiya lacquers than the very pungent Alclad but I don't know. I've bought a few colors but will only use them as color samples and trust my Golden High Flow mixing colors to get me pretty close to about anything. Obviously people that don't mind using lacquers or have a spray booth could just use the paint. BTW: the relatively new Mission Model paints claim a high color accuracy (not sure I agree) and they are a very good water based acrylic. However, if you try them definitely get their resin additive - if that's used they do lay down a really smooth coat. I'd guess you could use Vallejo thinner (made for Model Air), but I also got Mission thinner. But nothing tops Golden in the water acrylic world - the stuff is perfect for the airbrush. Of course nobody else uses it because they don't have military colors and you have to make your own (their gray, black, buff and white work without alteration - amazing pigment load in all colors especially black. The mixing colors like platho blue - green shade will transform a mix with a single drop - great fun for me.)

Eric 


A model boat is much cheaper than a real one and won't sink with you in it.

  • Member since
    November 2009
  • From: SW Virginia
Posted by Gamera on Thursday, August 29, 2019 11:15 AM

Thanks Eric, I'll try to get a change to look into that website over the weekend. I have Robert Mikesh's book on Japanese aircraft interiors, it's over a decade old- guess it's obsolete now. I'll have to double-check most of the stuff when I get around to building another Japanese aircraft.  

"I dream in fire but work in clay." -Arthur Machen


  • Member since
    February 2010
  • From: Berkeley CA/St. Paul MN
Posted by EBergerud on Thursday, August 29, 2019 7:39 PM
Don't throw Mikesh away. Millman is a fan. The problem is that there are a lot of disagreements over sources inside Japan. Millman just benefits from the kind of research into subjects that are interesting, but, let's face it, aren't really very important. It's the armor guys that can argue about rivets - in the airplane world, we can quibble about colors. It means very little I'd say. BTW: I forgot to mention that the "olive drab" like IJAAF color was also commonly used in late war as an exterior color on the top, with probably NMF underneath. Those finishes weren't perfect and beg for serious chipping and weathering. That would make a very neat late war Tony, George, or Frank. Of course next week the information might be proven wrong. Sigh. Eric


A model boat is much cheaper than a real one and won't sink with you in it.

  • Member since
    November 2009
  • From: SW Virginia
Posted by Gamera on Friday, August 30, 2019 8:45 AM

Thanks Eric, I'll hold on the book. It wasn't cheap in any case. 

It all gives me a headache... Dead

"I dream in fire but work in clay." -Arthur Machen


  • Member since
    March 2017
Posted by Armor_Aficionado on Saturday, August 31, 2019 2:01 PM

Well, I finally crossed the finish line, calling this one DONE.  Built this one straight out of the box; the only after-market material I used was the EZ-Line for the antennae.  Gamera, you can use either the first or last picture here as the front-page photo; thanks!

GAF
  • Member since
    June 2012
  • From: Anniston, AL
Posted by GAF on Saturday, August 31, 2019 8:57 PM

AA,

That turned out great!  I hope mine looks that good, but it won't be green.  Smile

Gary

  • Member since
    January 2019
Posted by Edwin on Sunday, September 1, 2019 6:37 AM

Wow, AA. Very nicely done. Did you use the Tamiya decals for the yellow stretch along the leading edge of the wings? I struggled with mine and eventually just painted them on. 

The Tamiya decals with this kit were really thick and not easy to work with. Otherwise a truly awesome kit. 

  • Member since
    March 2017
Posted by Armor_Aficionado on Sunday, September 1, 2019 6:55 AM
Edwin, yeah, Ihad to paint those yellow leading edges by hand. There was no way those Tamiya decals were going to bend around the wing edges, no matter how much Micro-Set/Sol I tried using!

  • Member since
    December 2002
  • From: NYC, USA
Posted by waikong on Sunday, September 1, 2019 9:03 AM
Nice looking Zero Edwin!
  • Member since
    January 2019
Posted by Edwin on Sunday, September 1, 2019 11:15 AM

Thanks, Waikong. I learnt about working with acrylic rods from your tutorial that’s on the FSM site Yes

  • Member since
    December 2002
  • From: NYC, USA
Posted by waikong on Sunday, September 1, 2019 6:42 PM
Wow, really? Great that I was actually able to help out. Sometimes you write stuff, but never know if people actually read them or find it useful. :)
  • Member since
    November 2009
  • From: SW Virginia
Posted by Gamera on Monday, September 2, 2019 8:21 AM

Hey AA, great job there! Just got you posted to the front page!!! 

And yeah, I paint the leading edge stripes too, I've tried the decals and ended up with a big honkin' mess. You can patch them a little with paint, but in the end I painted so much that it's easier just to paint whole friggin' thing...  

"I dream in fire but work in clay." -Arthur Machen


  • Member since
    January 2019
Posted by Edwin on Tuesday, September 3, 2019 8:24 AM

Managed to get a shot with props spinning with the right shutter speed!

  • Member since
    December 2002
  • From: NYC, USA
Posted by waikong on Tuesday, September 3, 2019 11:07 AM
Nice in-flight pic ! Inspired me to do a dive bomber in mid-dive.
  • Member since
    November 2009
  • From: SW Virginia
Posted by Gamera on Tuesday, September 3, 2019 11:42 AM

Edwin

Managed to get a shot with props spinning with the right shutter speed!


WOW!!! That looks awesome!! 

Would you like me to change out your front page photo for that one!?!? 

"I dream in fire but work in clay." -Arthur Machen


  • Member since
    January 2019
Posted by Edwin on Tuesday, September 3, 2019 1:04 PM

waikong
Nice in-flight pic ! Inspired me to do a dive bomber in mid-dive.
 

I say go for it, Waikong! Just a thought, maybe you can try a forced perspective set up, with a much smaller scale ship below the dive bomber. 

  • Member since
    January 2019
Posted by Edwin on Tuesday, September 3, 2019 1:07 PM

Gamera


Edwin

Managed to get a shot with props spinning with the right shutter speed!


WOW!!! That looks awesome!! 

Would you like me to change out your front page photo for that one!?!? 


Thanks Gamera! Wouldn’t mind it at all. 

Much better than non spinning props that look like the plane stalled Smile

  • Member since
    December 2002
  • From: NYC, USA
Posted by waikong on Tuesday, September 3, 2019 1:32 PM

"I say go for it, Waikong! Just a thought, maybe you can try a forced perspective set up, with a much smaller scale ship below the dive bomber. "

That's a great idea. Stop! Stop!  This is how a simple OOB build turns into a multi-months project.  Big Smile

  • Member since
    February 2010
  • From: Berkeley CA/St. Paul MN
Posted by EBergerud on Tuesday, September 3, 2019 4:01 PM

Very nice Zero AA. Zero is a lovely plane - almost perfect lines, especially the A6M2 and M3. It looks great from every direction. There was a saying in WWII aviation - "if it looks good, it flies good." Zero proves that proverb. The plane had remarkable performance given its basically lame engine. And the fact that the A6M5 should not have flown in combat says nothing about the plane's design but the inability of Japan's industry to build reliable second generation fighters - they could design them, they just couldn't build them - their machine tool industry simply didn't allow for the tolerances required. So both the Raiden and the very aggressive A7M were on the drawing board before Pearl Harbor, but industry simply couldn't put Hirokoshi's brilliant designs into fliable aircraft, and the Jack didn't come out until late summer 1944 (it was always a hangar queen like all second generation IJ fighters) and the A7M never deployed. The Ki-61 was based on the engine and plans for the BF-109E. Instead of simply copying the 109 the Japanese completed work on their own airframe. The plane was deployed in late 42 but was always hampered by it's dicey build quality, especially of the engine. The IJAAF wanted to build a much more powerful version (the Ki-61-II) but it was a design debacle. Ironically the best of the breed were a small number of Ki-61s that were fitted with a functional radial engine and redesignated the Ki-100. BTW: Japan's obsession with build quality in all things after WWII was very much a "lesson learned" from being taught the problems of a second rate manufacturing base during WWII: in 1945 Oscars were fighting Mustangs - ouch.

Speaking of Japanese quality, I've finished the basic assembly of the Tamiya Ki-61-Id. If anyone doubts the superiority of Tamiya in the plastic modeling world, they have to build this kit. It's not simple - the part count is too high. But the fit is simply excellent. You install the cockpit by pushing it up through the bottom of the fuselage: sounds like trouble but "click" and it's in perfectly. The entire wing assembly is one piece and it is also kind of maneuvered into the right angle for - another click and zero gaps anywhere. I've only used a tiny bit of filler on one small error on the wing, and a couple of really small seams underneath. I think I'll be able to have a very clean model to apply NMF on.

 Assembled by Eric Bergerud, on Flickr

Obviously there are some pieces missing - not sure what I'll leave off during priming and painting. Also, as this is the first crack at Vallejo's newish Metal Color paints, I'm going to be assaulting a paint mule (get this - an ancient 1/72 model of the A7M - a neat plane not modeled today at all) with primers, clear coats and the paints. I don't want a bright and shinny fighter - I doubt those existed in WWII. So figuring out how to paint and weather this project will take some time.

Eric


A model boat is much cheaper than a real one and won't sink with you in it.

  • Member since
    November 2009
  • From: SW Virginia
Posted by Gamera on Wednesday, September 4, 2019 7:34 PM

Edwin: Gotcha! Just replaced it!!!

Waikong: Ohhhhhhhh, now that sounds cool! I hope you go with this, love the idea.

Eric: Looks nice! And interesting write-up- does sound like what the Japanese went though from the war to the years after.


Sorry I did take a little to get around. My birthday was today- turned the big five - oh. So I took off work and took a drive.

"I dream in fire but work in clay." -Arthur Machen


  • Member since
    January 2019
Posted by Edwin on Wednesday, September 4, 2019 9:40 PM

Happy birthday Gamera! Have a good one. 50 is a great age to be Wink

  • Member since
    December 2002
  • From: NYC, USA
Posted by waikong on Wednesday, September 4, 2019 10:26 PM
Happy Birthday Gamera!
  • Member since
    November 2009
  • From: SW Virginia
Posted by Gamera on Thursday, September 5, 2019 7:43 AM

Thanks guys!!! 

I went by the local Korean resturant and got a plate of the squid with hot sauce. Talking to the waitress she lost her husband at 47- so I guess being 50 doesn't sound that bad now... Embarrassed

"I dream in fire but work in clay." -Arthur Machen


  • Member since
    December 2018
Posted by Ted4321 on Thursday, September 5, 2019 11:25 AM

Happy Birthday Gamera!  Mine is coming up tomorrow!  Cake


(Sorry, I just lurk here in the back) 

T e d

  • Member since
    September 2011
  • From: Milaca, Minnesota
Posted by falconmod on Thursday, September 5, 2019 12:32 PM

Here's the Claude I'm working on.   forgot to take pictures from the start until just now.  Sad This is Academy's easy assembly kit, the fuselage and tail feathers are one piece as is the wing.   Sprayed it in Alclad polished aluminium,  taping off the flying surfaces to spray them a different shade.  had to make a instrument panel and added seat belts and drilled out the bombing sight.

John

On the Bench: 1/72 Ki-67, 1/48 T-38

1/144 AC-130, 1/72 AV-8A Harrier

  • Member since
    November 2009
  • From: SW Virginia
Posted by Gamera on Friday, September 6, 2019 8:38 AM

Ted: Happy birthday!!! Hope you've got a little less mileage on you than I have!!! 


John: Now that's some fine looking NM!!! Very sharp work! 

"I dream in fire but work in clay." -Arthur Machen


GAF
  • Member since
    June 2012
  • From: Anniston, AL
Posted by GAF on Friday, September 6, 2019 7:03 PM

Falconmod>  Great looking Claude with such a nice metal finish.

Eric> That Tony looks good.  Happy to hear she's not giving you any headaches!

I'm progressing on my own build at glacial speed.  As I mentioned before, I haven't been feeling very swift lately, and it will probably force me to actually go see a doctor next week.

Meanwhile, like Eric's Tony, this Hasegawa kit has gone together without any major hitches.  I did spray the cockpit flat black, then painted the cockpit with Interior Green to hopefully give a slightly darker shade.  I think it got close.  Fuselage is together and cockpit installed by inserting it from beneath.  Decals were applied to the IP and cockpit, with some minor paint work on the handles and switches.  The wings are together, but not yet glued on the fuselage as there are a couple of lines that need to be removed on this version.  Easier to handle this way.  I must admit the wings fit extremely well without any gaps.  This one is a pleasure to work on.  The cowl, wings and canopy are merely stuck on for these photos.

Guess the engine will be next to assemble.

Thanks for looking!

And belated birthday wishes to Gamera and Ted!

Gary

  • Member since
    January 2019
Posted by Edwin on Sunday, September 8, 2019 2:05 AM

Hi John

That aluminium finish looks great! Heard so much about Alclad, got to try it one of these days. Does the finish hold up when masking tape is applied to it? Or does it need to be clear coated first?

JOIN OUR COMMUNITY!

Our community is FREE to join. To participate you must either login or register for an account.

SEARCH FORUMS
FREE NEWSLETTER
By signing up you may also receive reader surveys and occasional special offers. We do not sell, rent or trade our email lists. View our Privacy Policy.