Tony: Thanks man and good start on the 263.
Thank you Joe, Cliff and Eaglecash for your comments as well. Eaglecash, hey ...I gotta stop somewhere dude. 
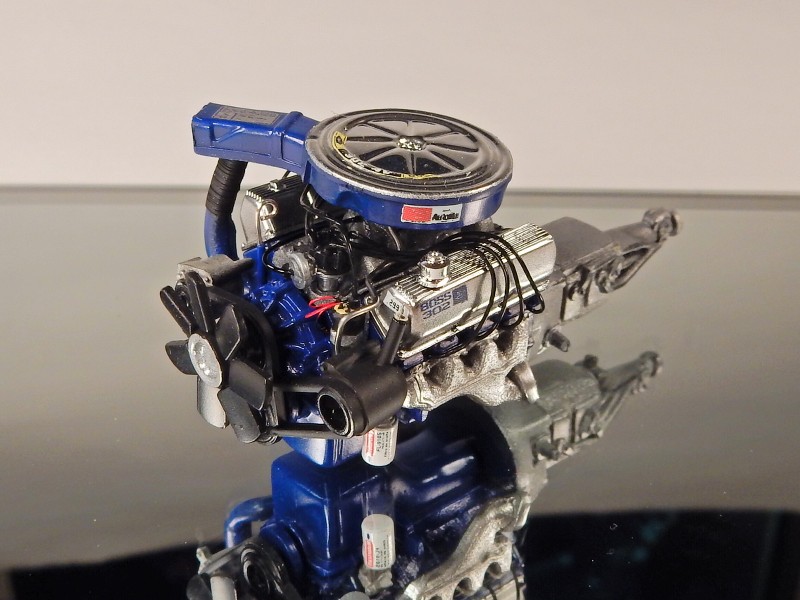
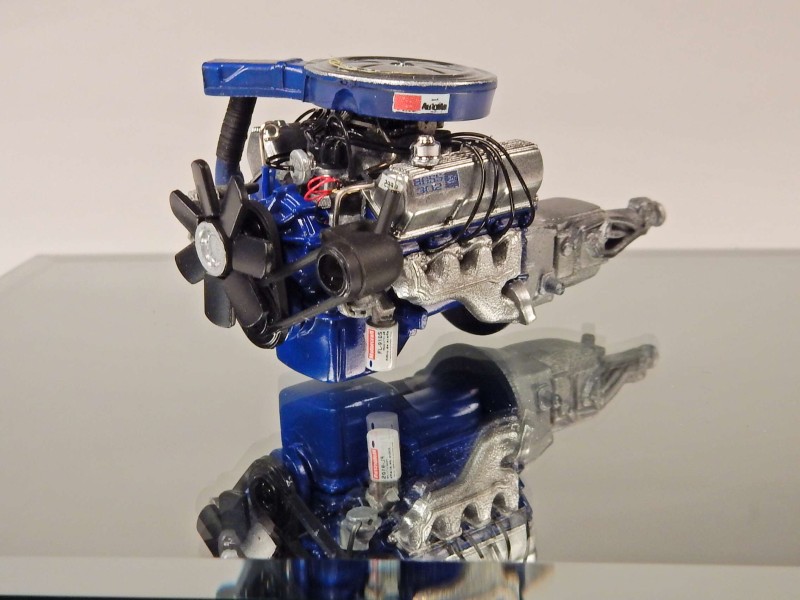
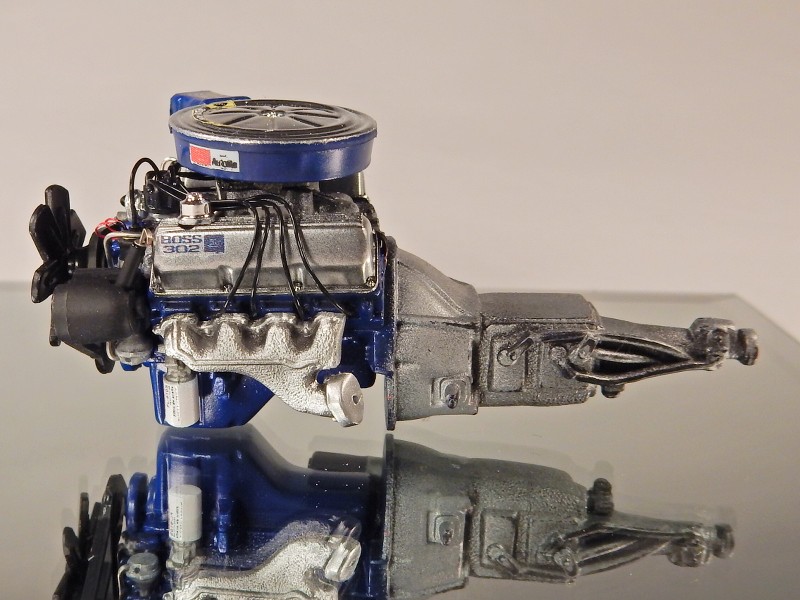
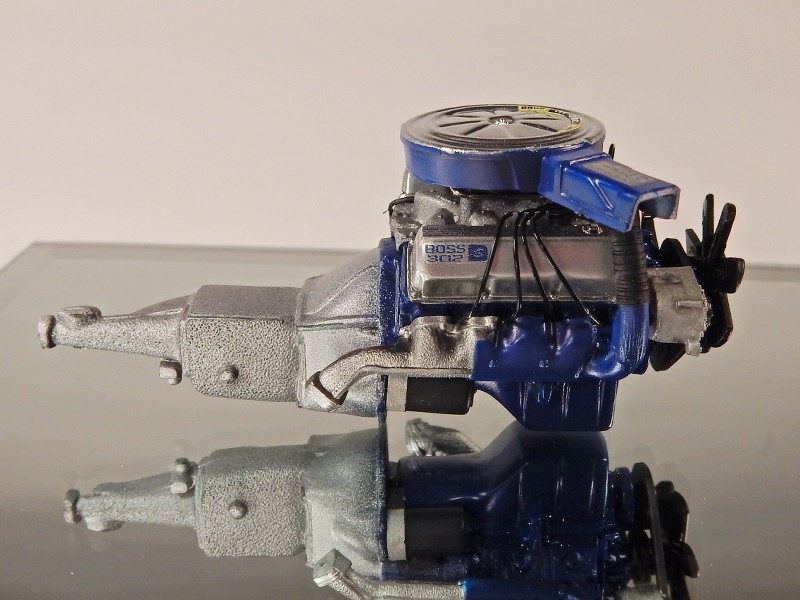
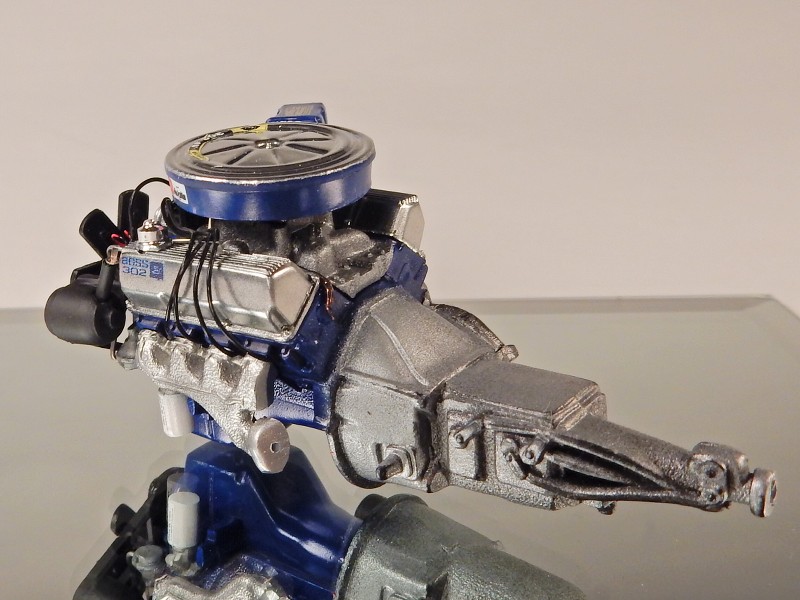
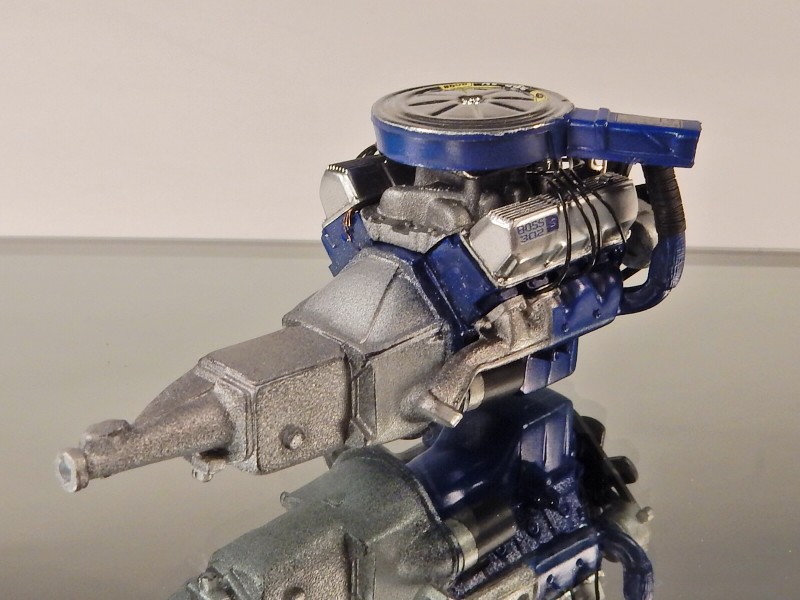
Completed pictures as of this morning. I did manage to get an engine oil dipstick tube and indicator handle handle added.