Thanks JB!
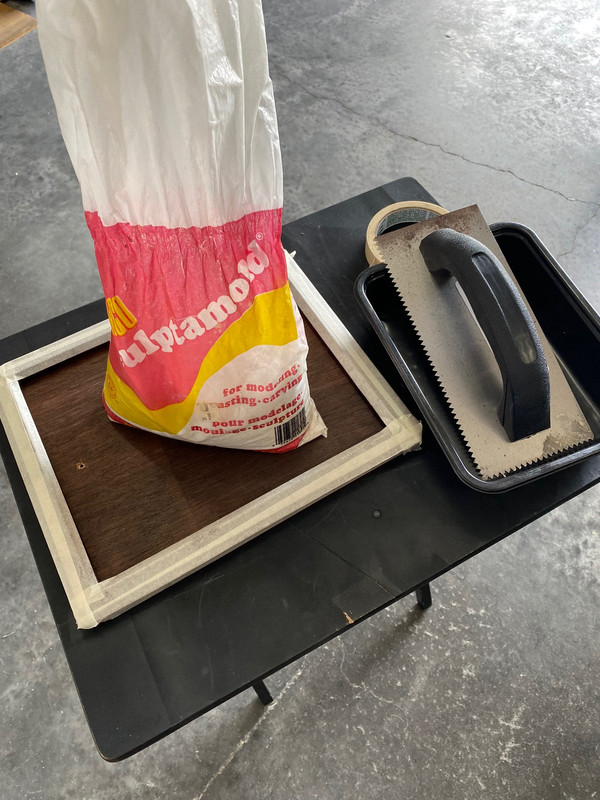
So the kit has extra tanks and some nice 500 lb. bombs that would look good in a vignette setting so I had an old picture frame to use for the base, some Sculptamold and water to make a tarmac. Taped up the edges to protect the wood.
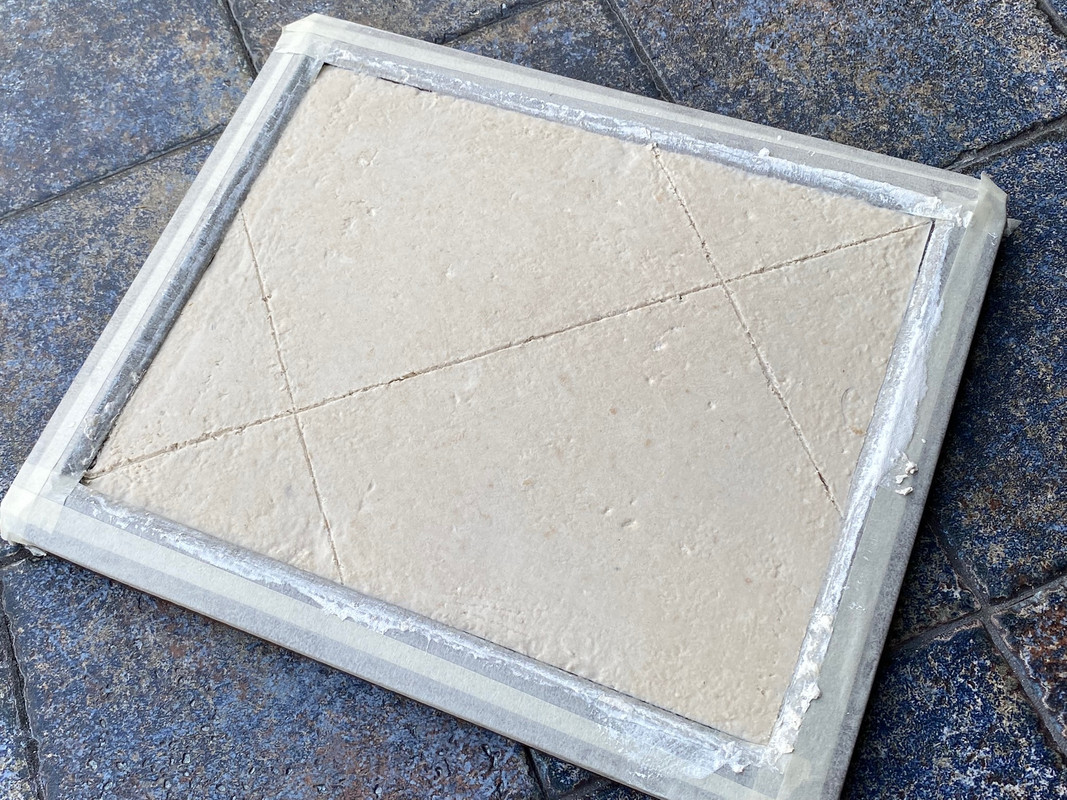
The Sculptamold was mixed and poured, smoothed out and expansion joints added.
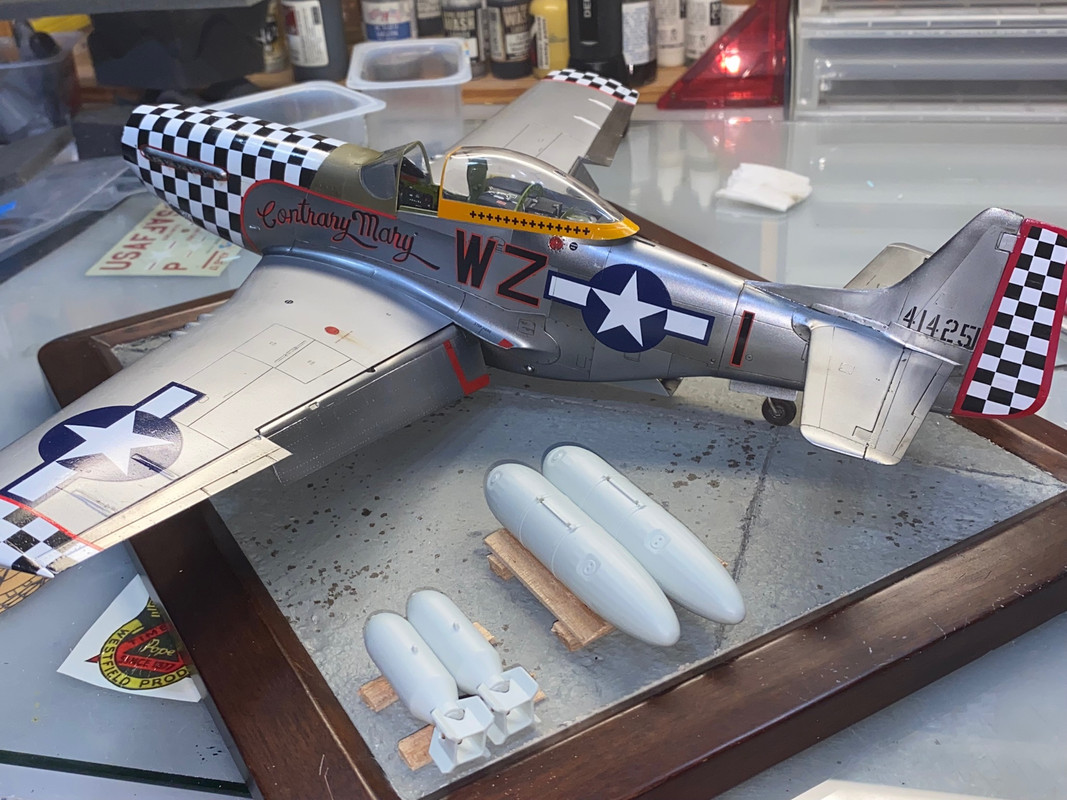
Then craft acrylics were used to paint and drybrush the tarmac. Oil stains were added.

Figuring out positioning things. The disposible paper tanks and bombs need paint and decals.
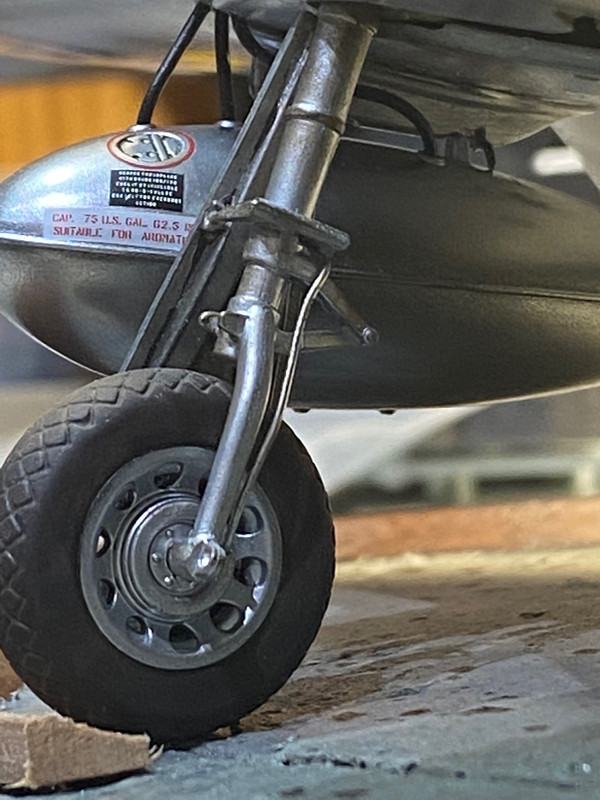
Brake lines were also added to the main landing gear.