Thanks, Cliff.
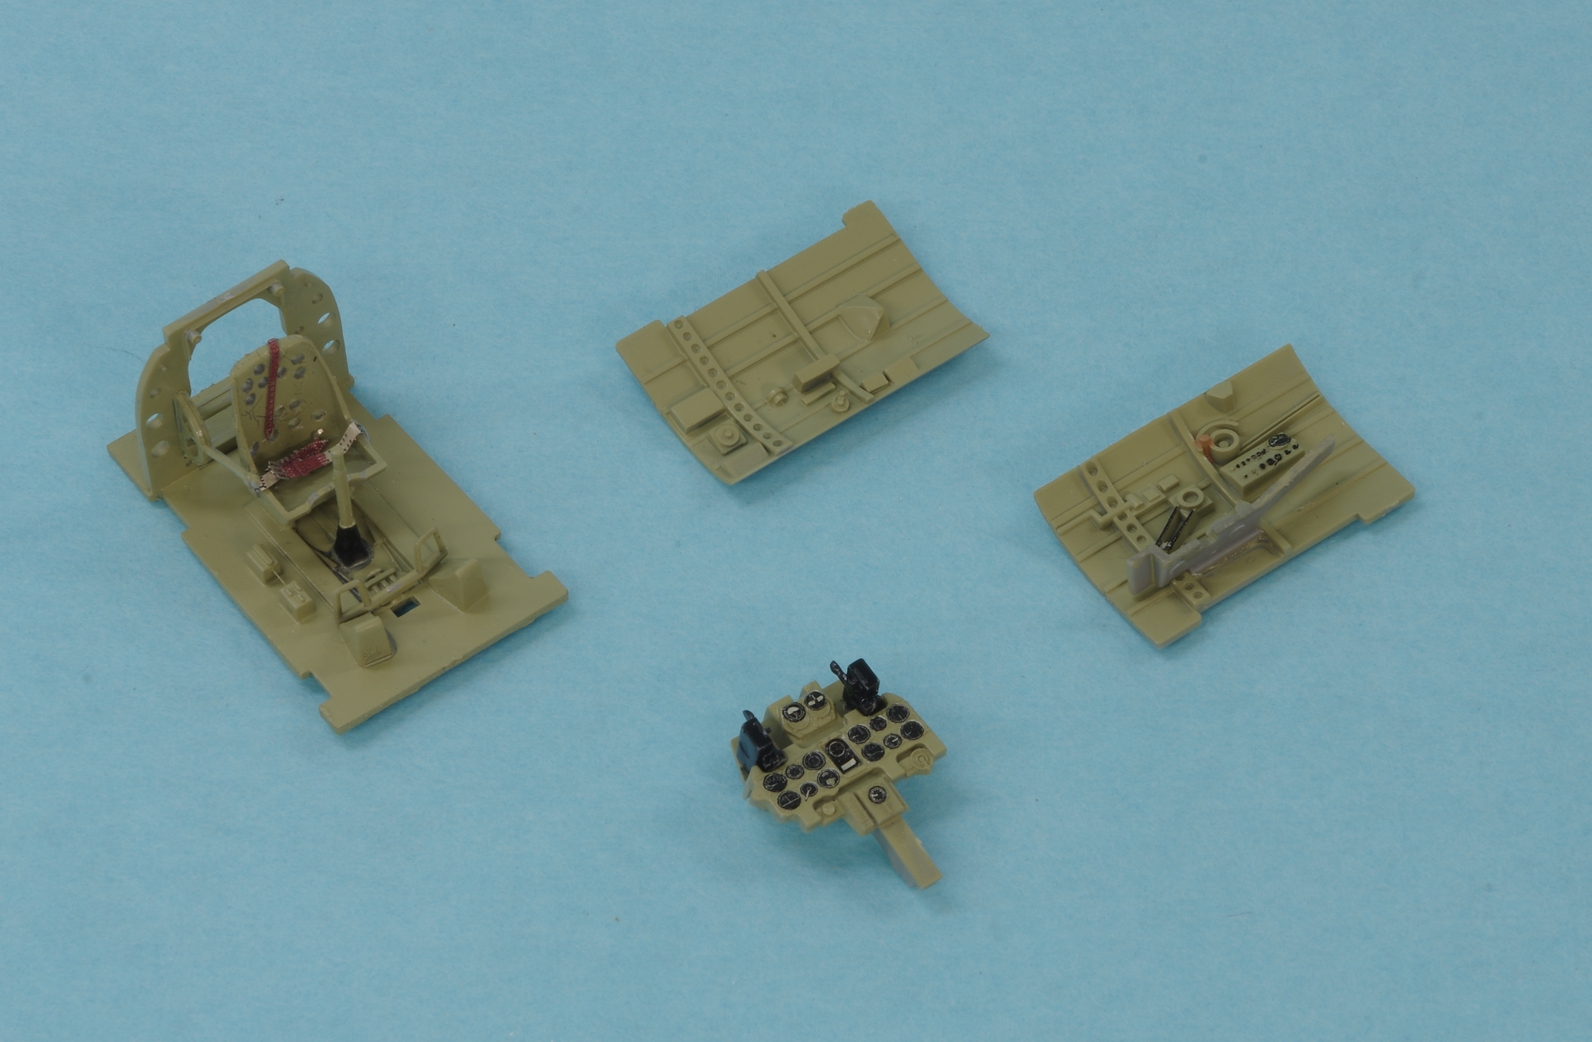
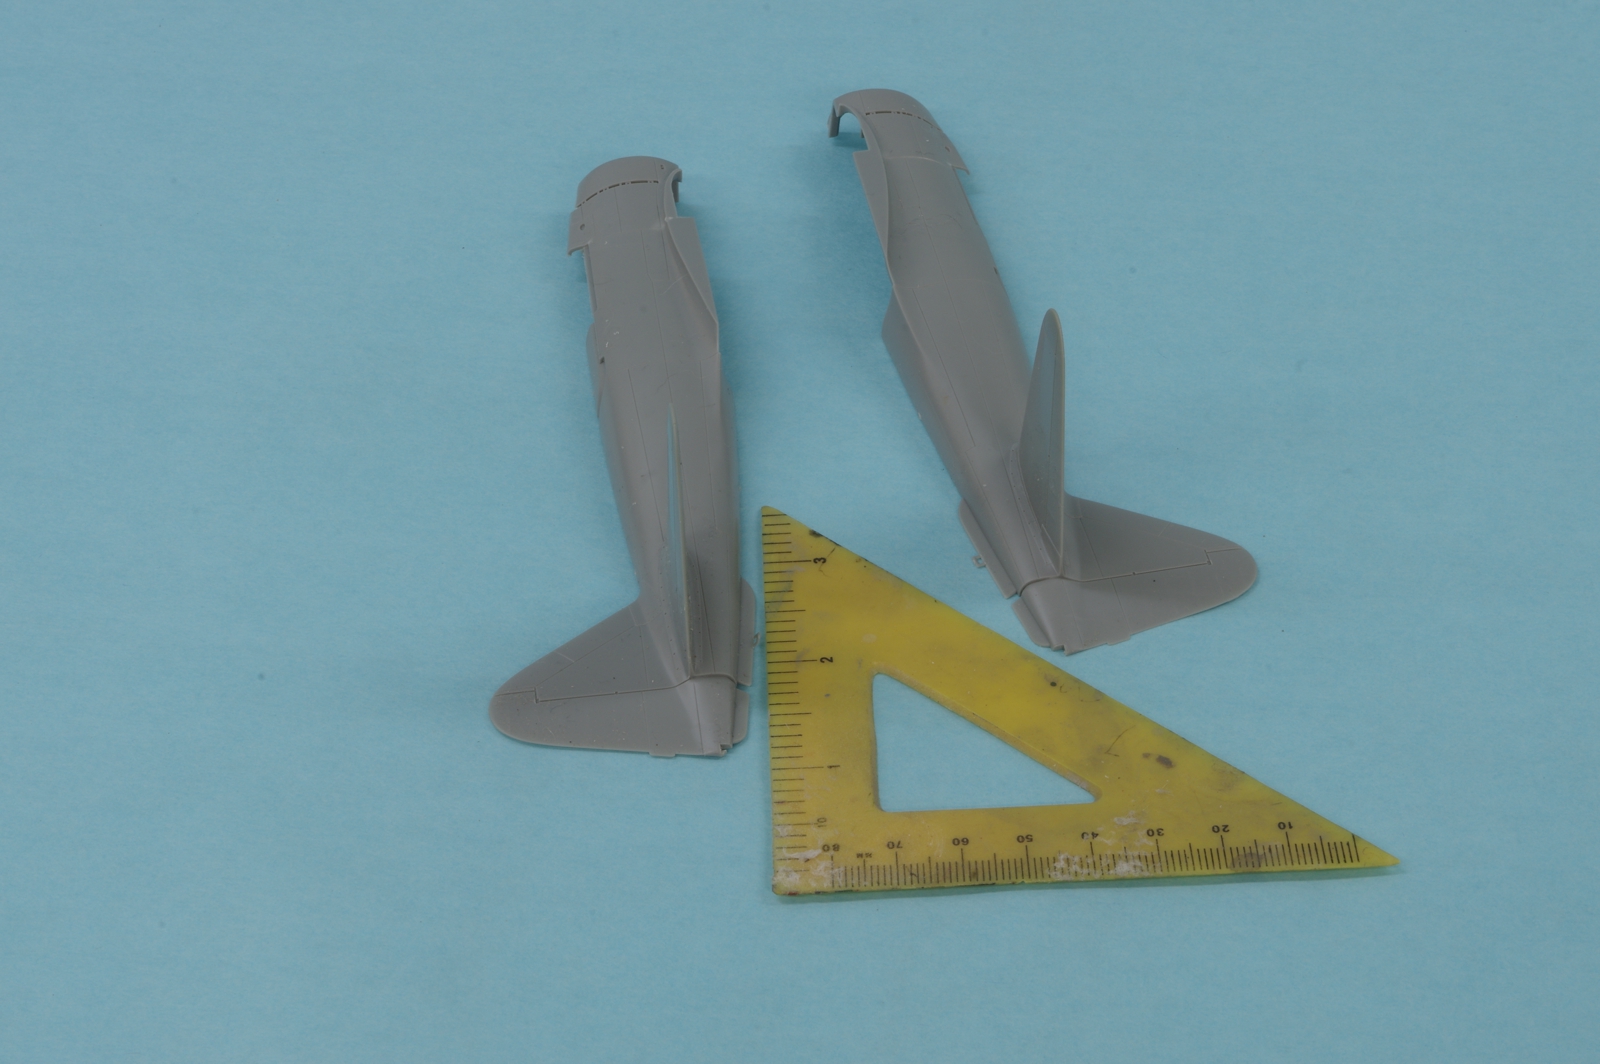
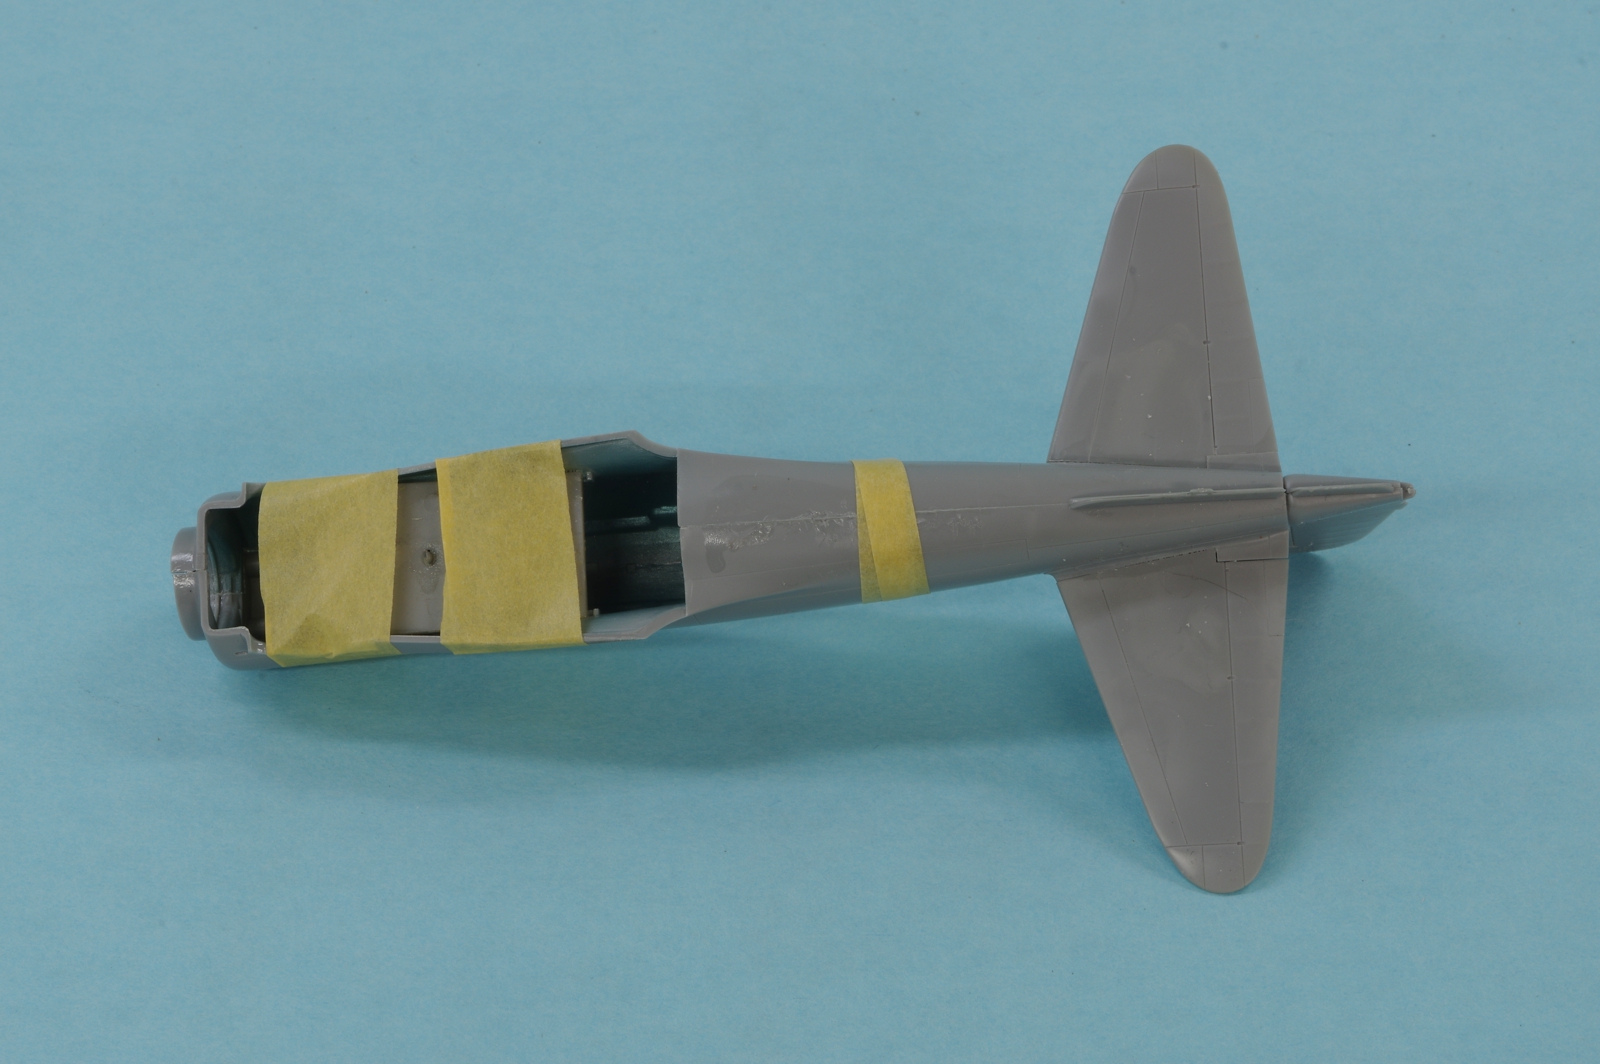
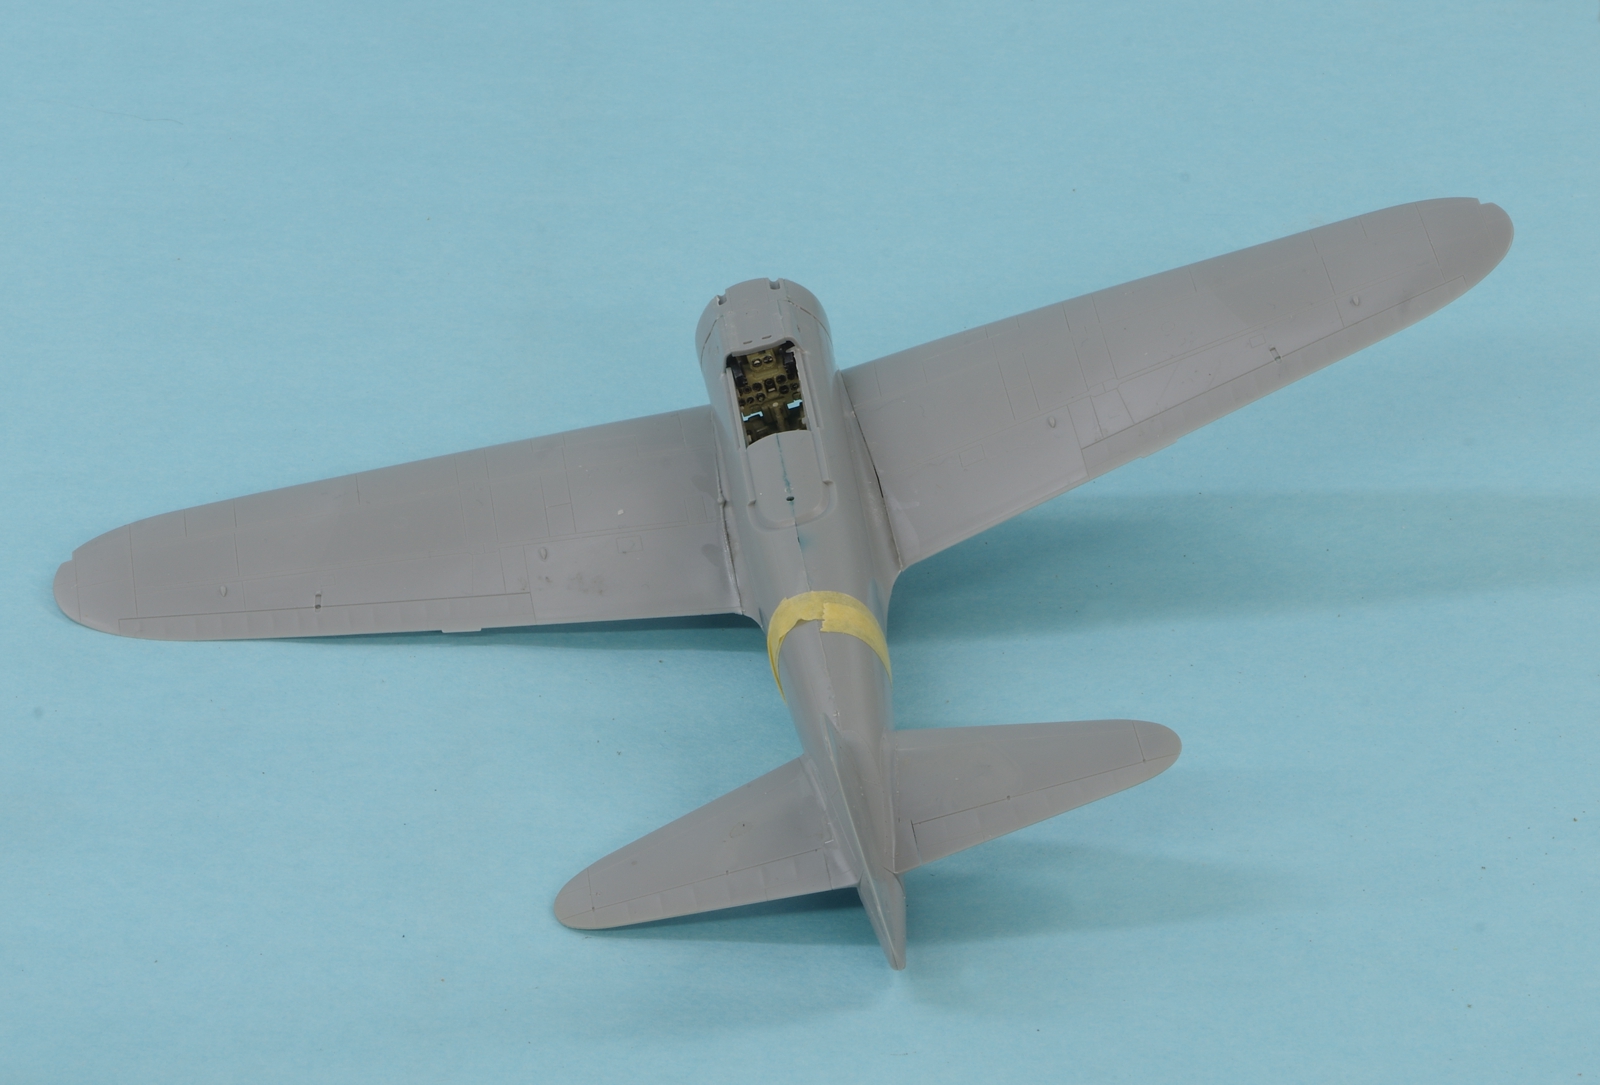
I've been having issues with my main computer but I have now a report on the Rufe, it is well underway. I have built 3 of these Hasegawa kits before and this one will be fine when it's done but it has been more trouble than the others to get good fits. The Rufe fuselage halves are different to accommodate a ventral strake and bigger fin/rudder and the lower wing is also a new part as there are no wheel wells, but there are spots to add the central float pylon and struts. When I first started fitting things together there was a furrowed brow for awhile, but with various nudges and squeezes everything eventually fit as well as any of the others, almost. I had to force the cockpit module in to the fuselage, which I have never had to do before, and let it cure up good before more work. The lower aft fuselage wanted to argue about coming together so I wrapped it real tight with tape while it cured. The wing fit looked like a mess everywhere, so I glued the upper wings to the fuselage first and clamped them with some flanges on the bottom and let them cure. There was a little sliver of a gap on the right wing root but a bit of Tamiya putty fixed that. When I fit the lower wing half to the uppers they had to be glued in small spots, averaging out the fits, but to my surprise when I was done there was goodness in the land, and all were joyous.
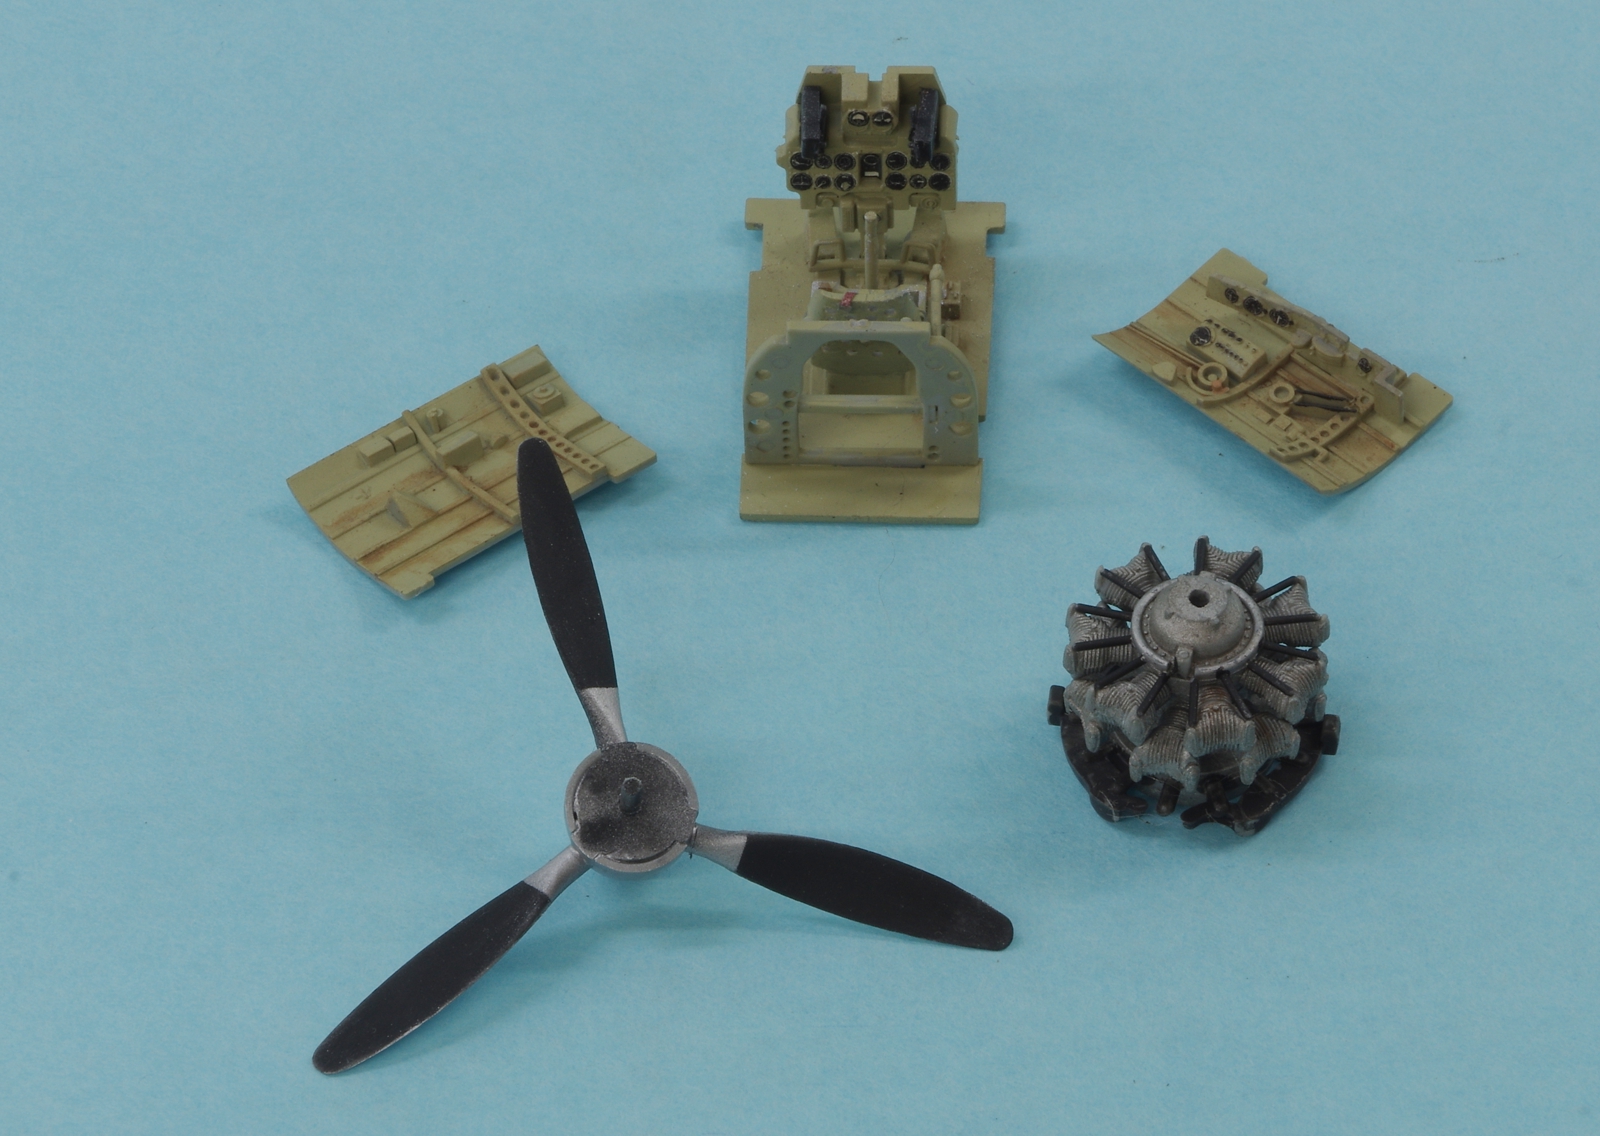
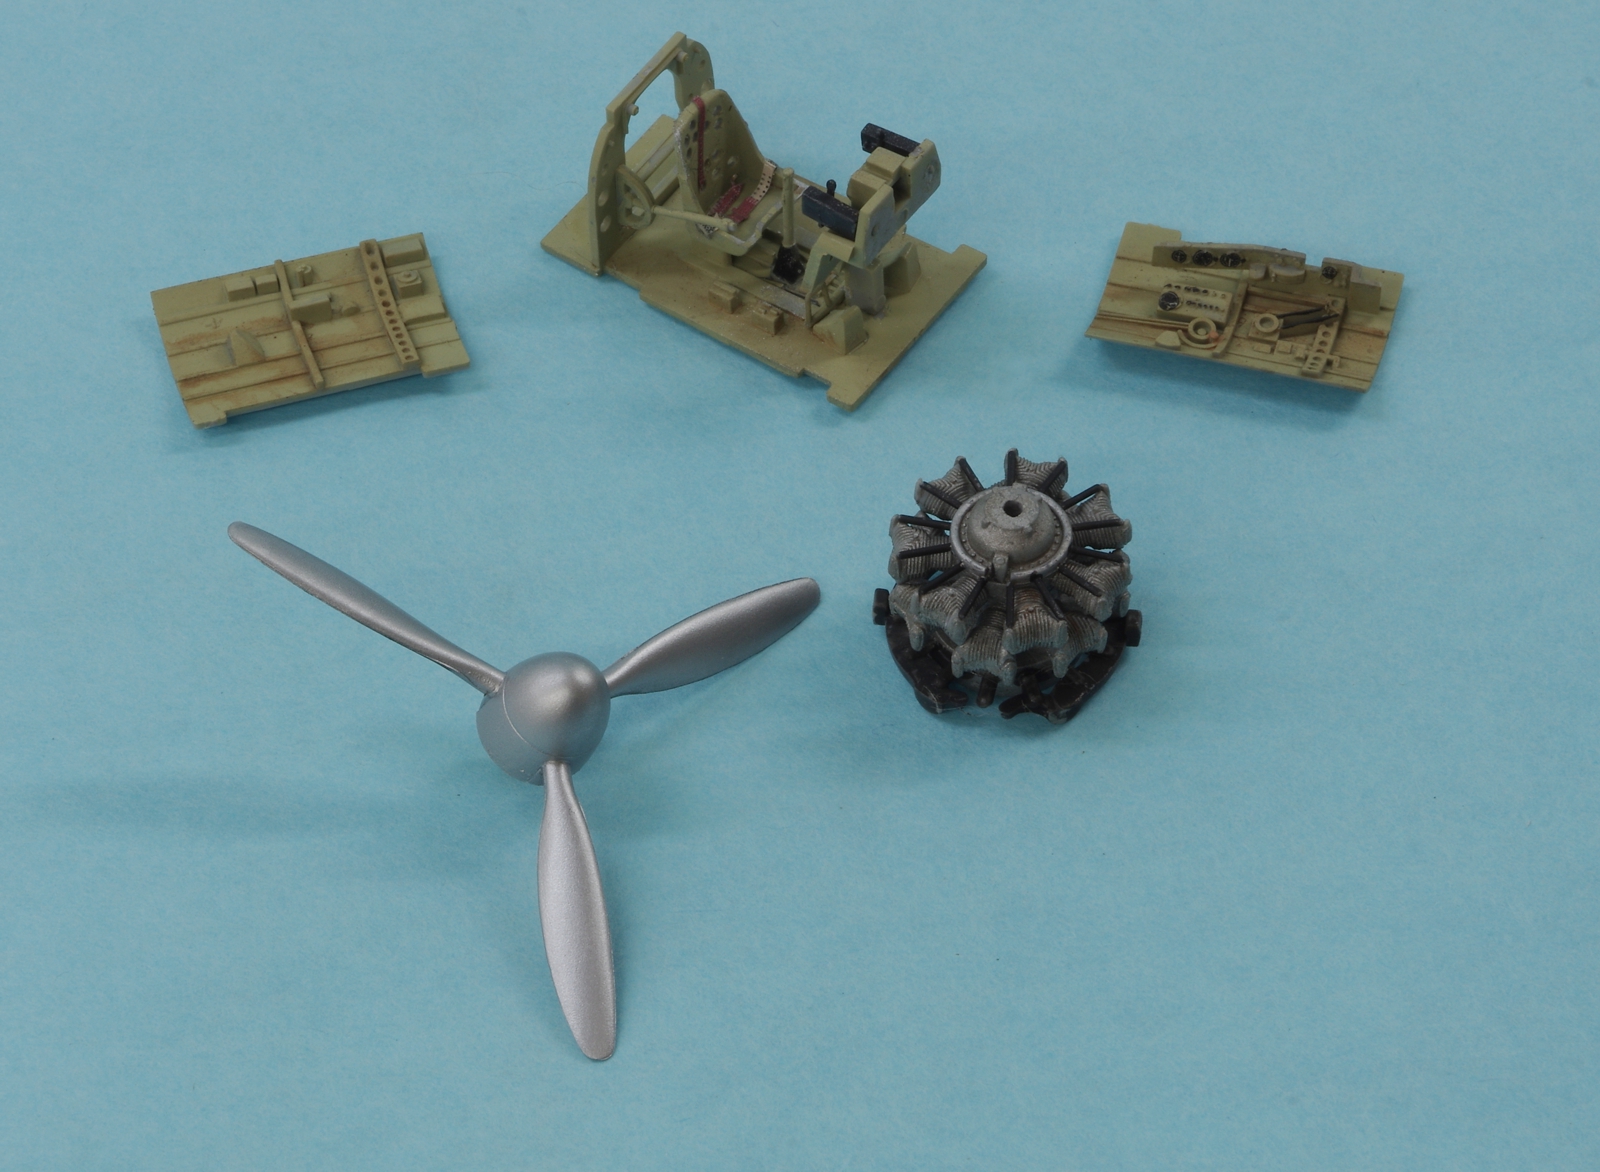
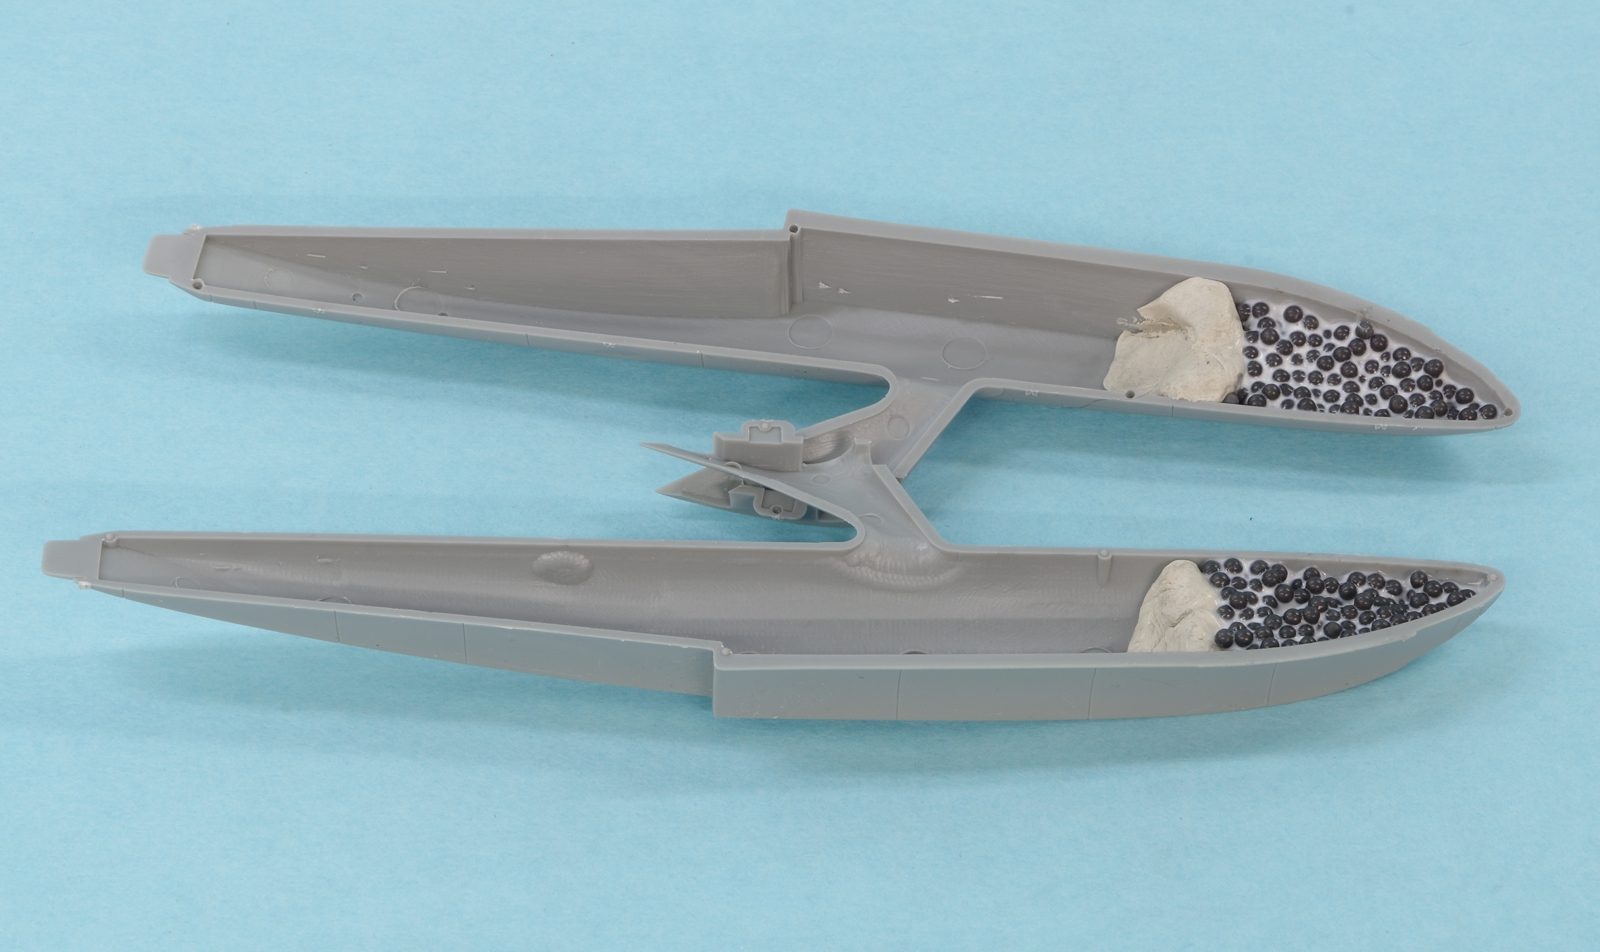
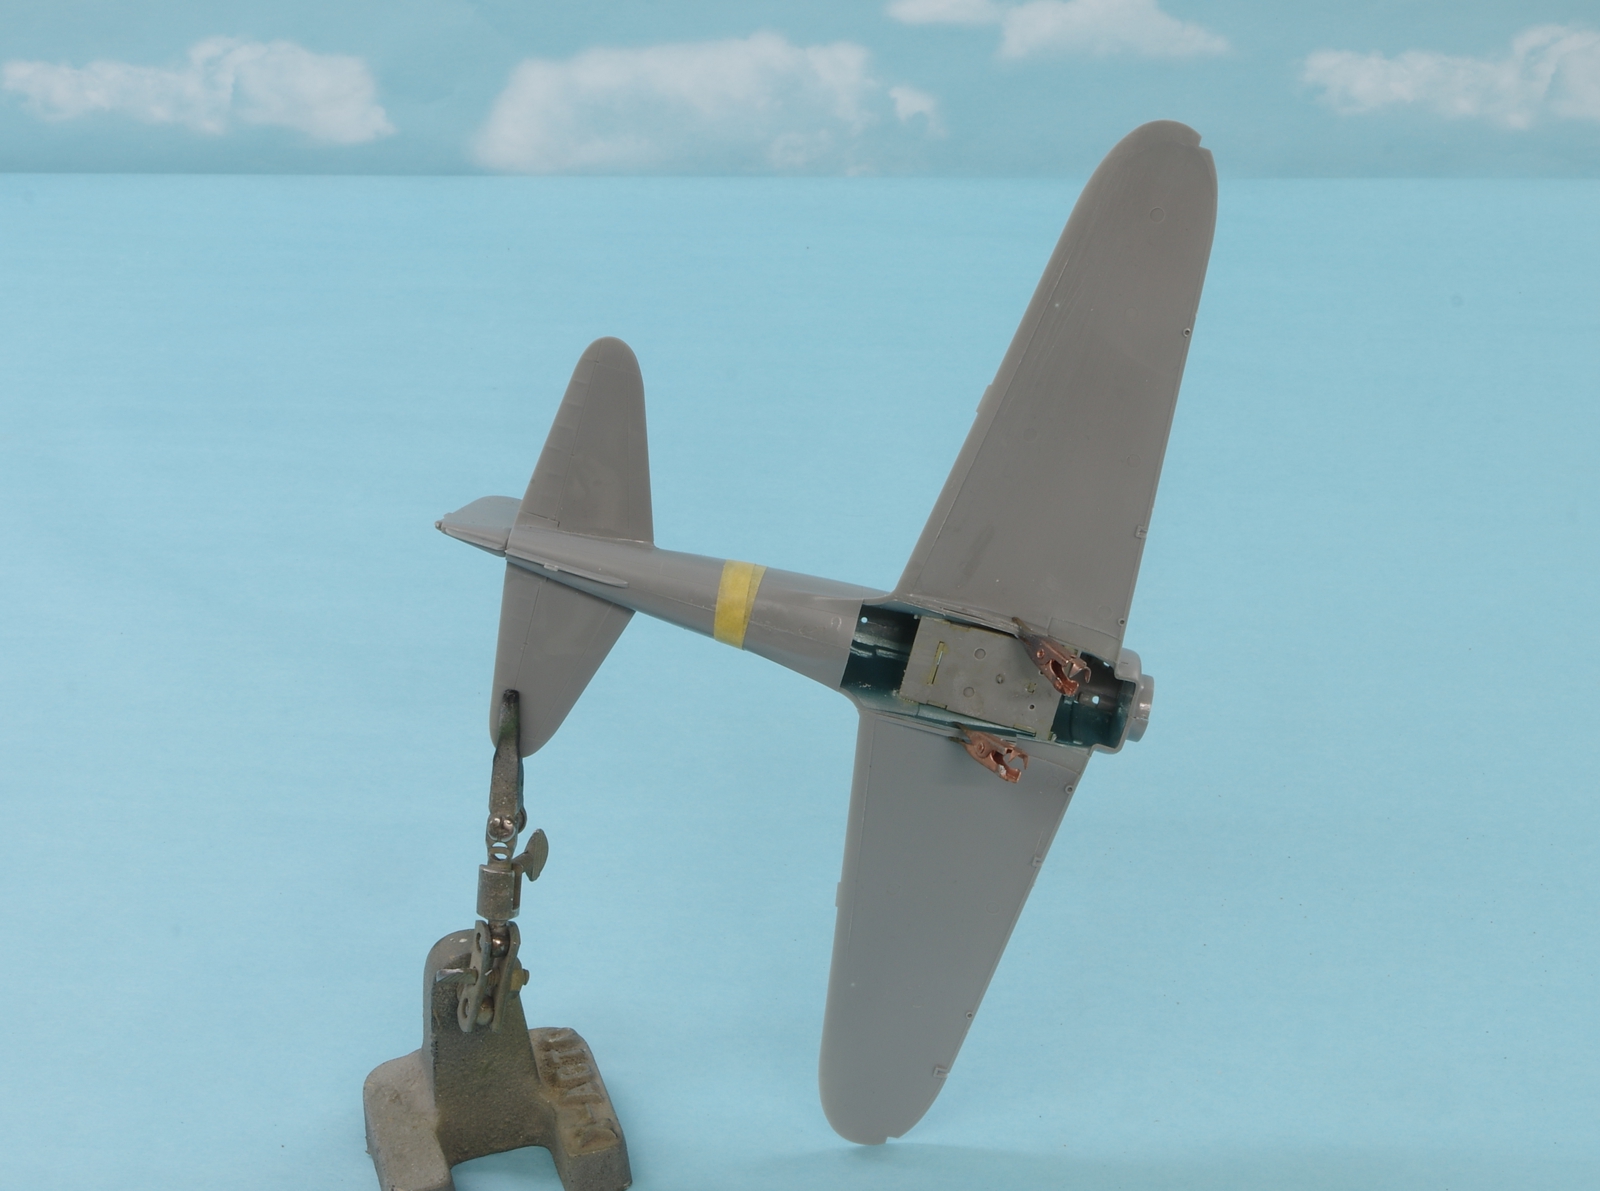
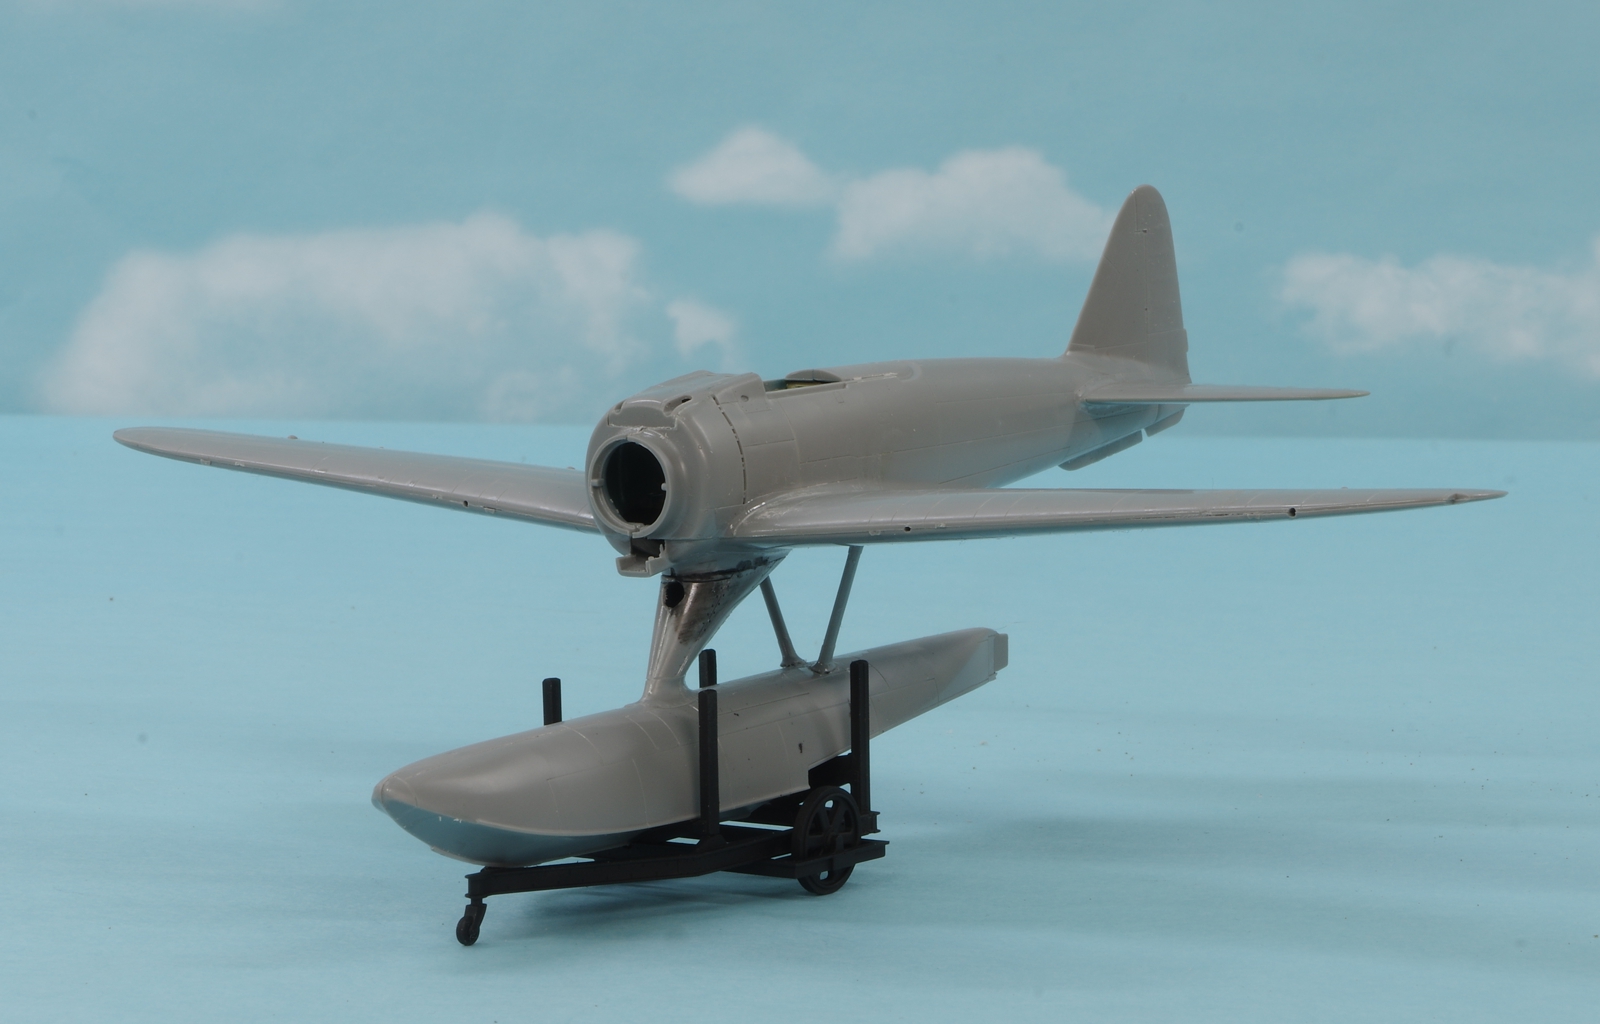
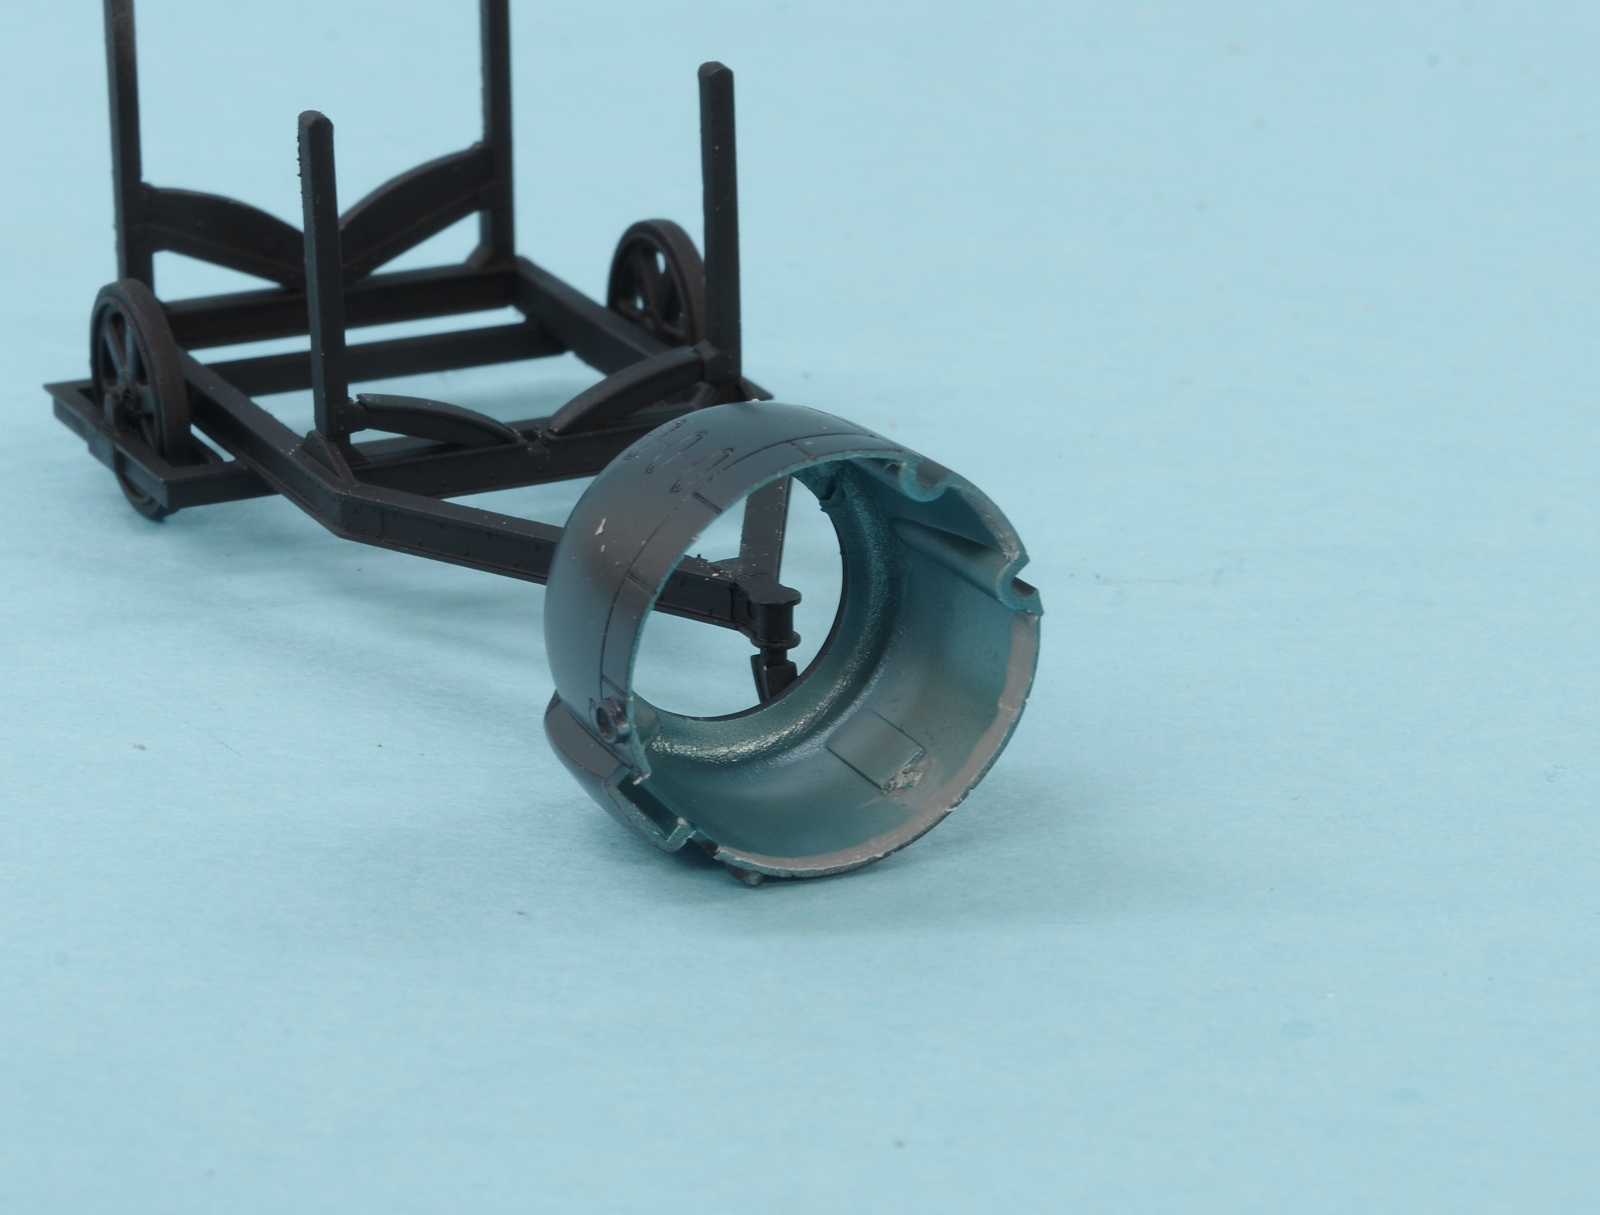
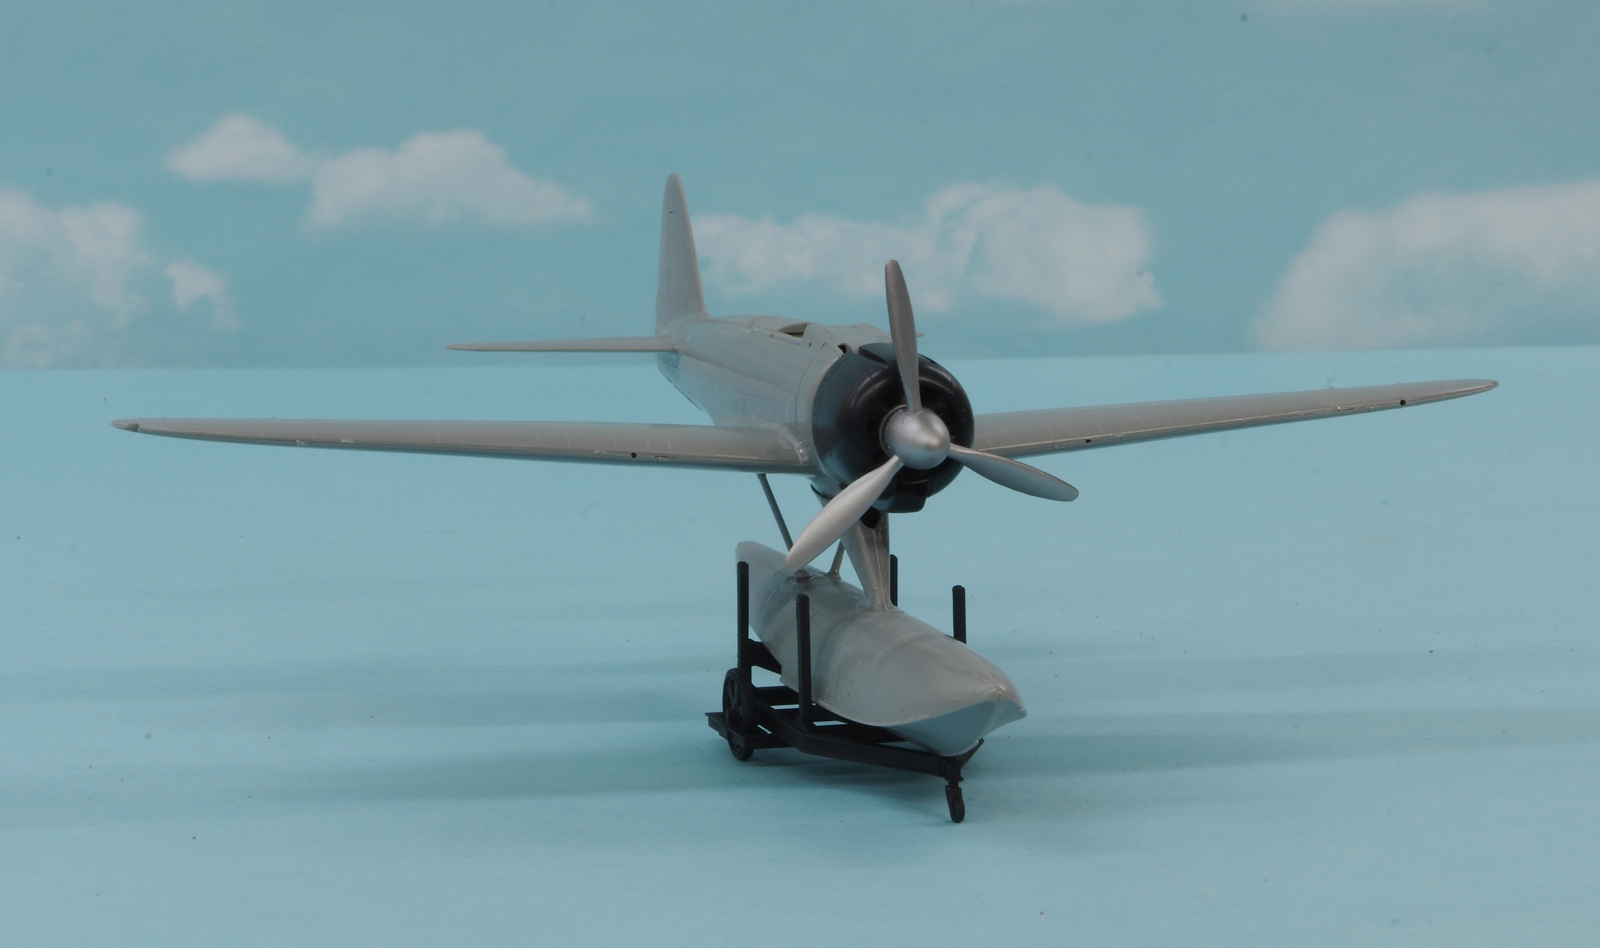
However, there was still some questions about the fit of the float gear, as the fit of the pylon to the fuselage was loose and not at all even on top. Careful gluing and nudging before the glue set got it straight, I think, but the little struts in the back had an approximate fit and needed a little filler. Quite likely a little more care when fitting the main pylon to the wing might make that better, and next time I will attach those struts to the float first as the depression where those struts fit on the bottom of the wing are much deeper than those on the floats and might hide some fit issues, if there are any after the float pylon issue is addressed better. There is no separate part for the carburetor intake on this kit as there is on the others, it is molded as part of the lower wing. By minimizing the gap at the aft wing to fuselage join there was a slight mismatch on the front which I fixed with a little sanding, and also by not trying to get a good tight fit on the ring the engine mounts on. Spreading it open on the bottom improved the sideways fit on the forward wing root around the oil cooler area. As you will see I did not neglect to put 16 grams of shot in the nose of the float, held in by dams of Aves Epoxyclay and a thorough soaking with RC 560 canopy glue. The kit comes with a nice dolly to display the model, but I think I also see one of those Tamiya Kubota crawler tractors to go with it. The cowl is attached to the engine, and it is the back of the engine that holds the assembly to the fuselage. That makes it possible to thin the back edges of the cowl flaps to a nice edge.
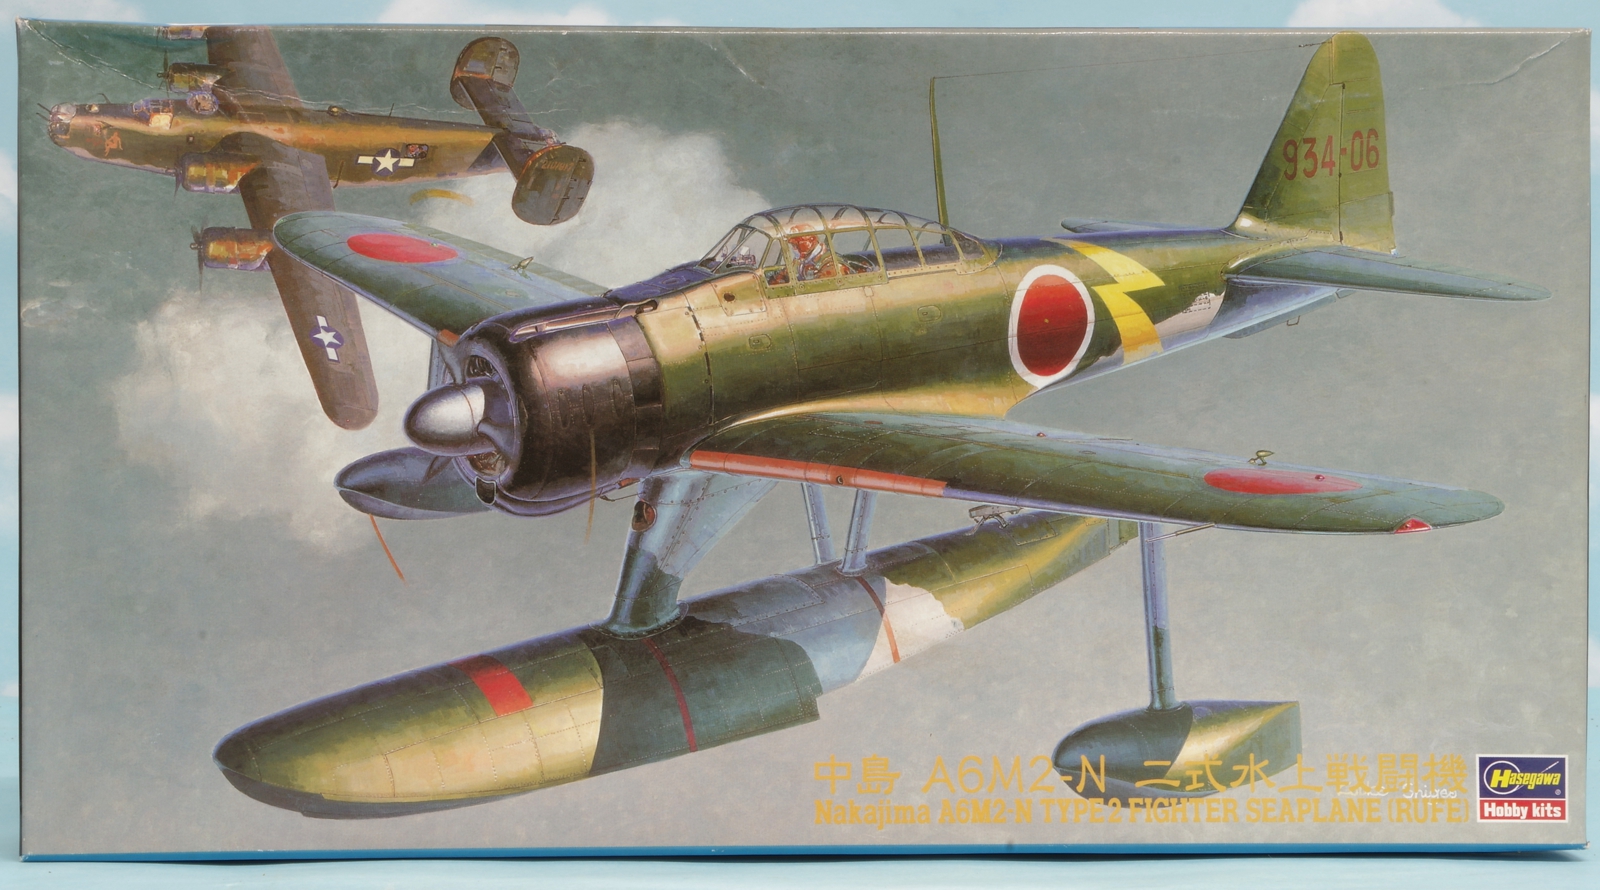
Every time I look at this box art I wonder why all those B-24 gunners are asleep!
