Hey Chester! Nice looking pit in 1/72? Looks bigger! Hope you find your other pics! ![Thumbs Up [tup]](/emoticons/icon_smile_thumbsup.gif)
Stikpusher! You didn't hit your head it is the rum fumes! Really! You should only worry when you begin to understand .... ![Tongue [:P]](/emoticons/icon_smile_tongue.gif)
Well cleaned up my work today. Thought I would show a little about how I like to do it. Problem is it is a lot of pics so I made them smaller. I don't want to overtax anyones internet so let me know If I am getting carried away.
Well Got the Special Hobby 1/48 Roc and Skua twin build on an even keel once again. ![Party [party]](/emoticons/icon_smile_party.gif)
I know everyone is tired of my complaining about the fit issues so Here is how I fixed them.
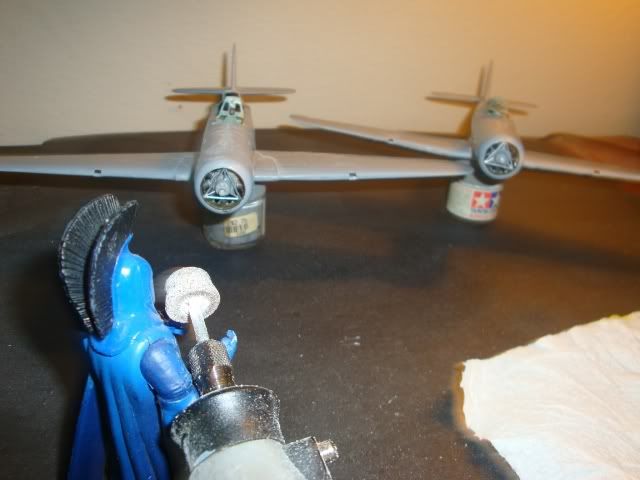
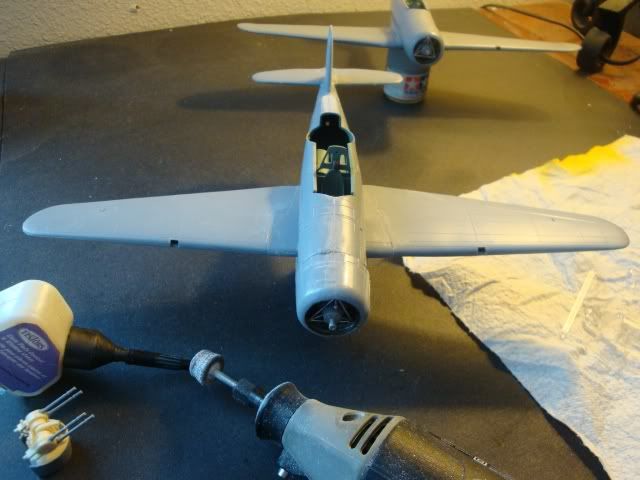
This is a dremel tool bit (well used) for sharpening blades extc. Grinding steel. I like to use it on my models as I can turn it on a slower speed and grind super glue and Plastic pretty efficentially and with practice actually have almost learned to sculpt with it.
A couple before pics of the Skua showing the misfit after I put it together as best I could. ![Banged Head [banghead]](/emoticons/icon_smile_banghead.gif)
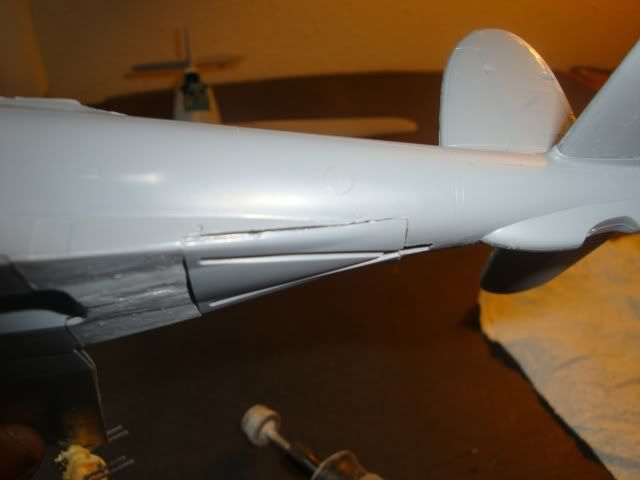
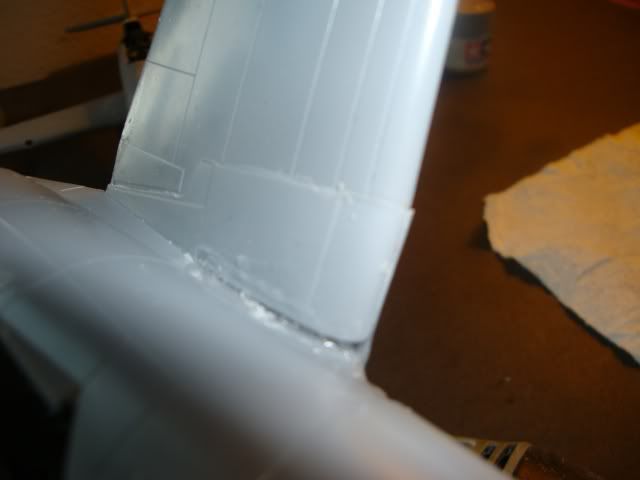
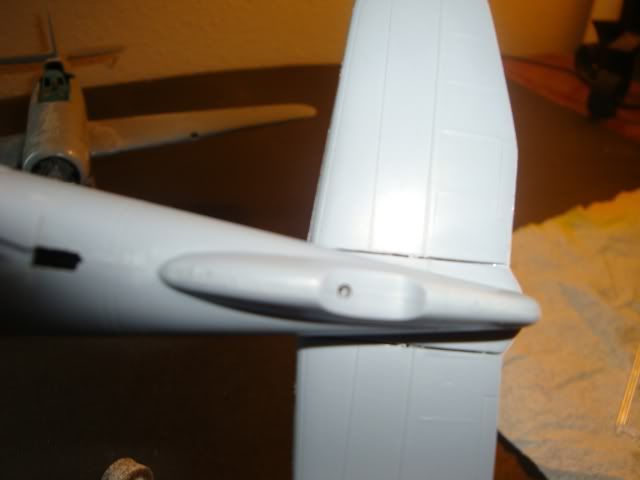
Oooo-wee nasty! ![Yuck [yuck]](/emoticons/icon_smile_yuck.gif) Time to hit it with the lawn mower sharpener! Takes a bit of finess!
Time to hit it with the lawn mower sharpener! Takes a bit of finess! ![Cool [8D]](/emoticons/icon_smile_cool.gif)
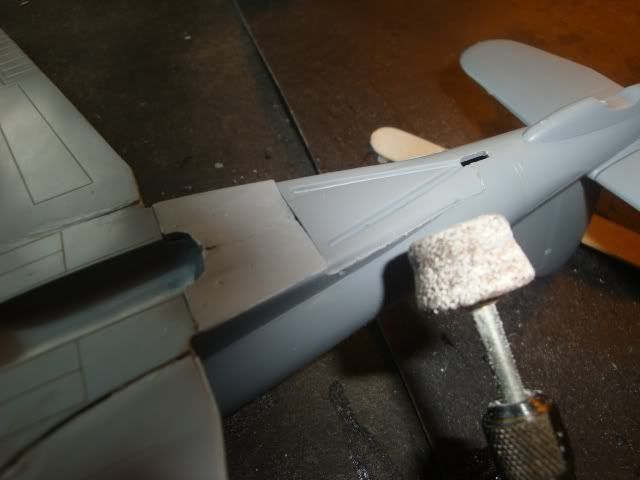
Grind and bur and let er rip! Not too fast as it will melt and tear clean through all to easy! A good light touch is needed and you eventually can get pretty smooth results even with the rough bit!
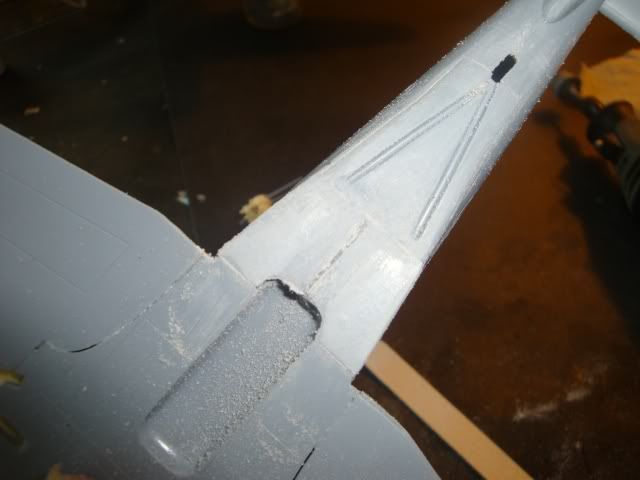
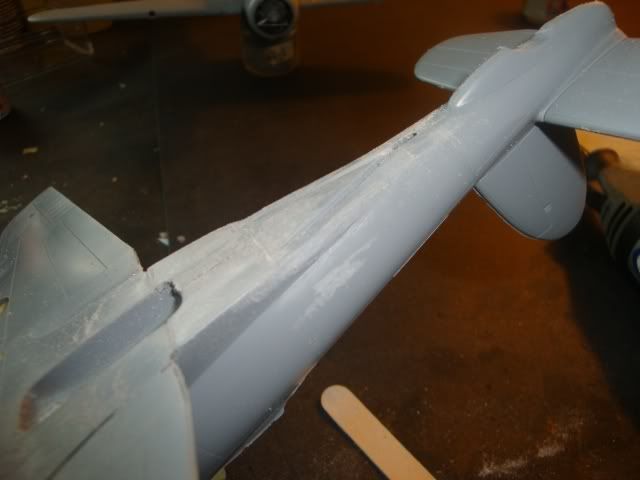
There are some real advantages to this method ( besides time and sanded fingers) You can really contol where you want to hit pretty pecisely and save a lot of that finely scribed and raised detail minimizing the colateral damage! ![Wink [;)]](/emoticons/icon_smile_wink.gif)
Here is a look at the Roc which was even worse after getting the works. I do finish it with an emory board fine side and you can go as far to repolish it if you like.
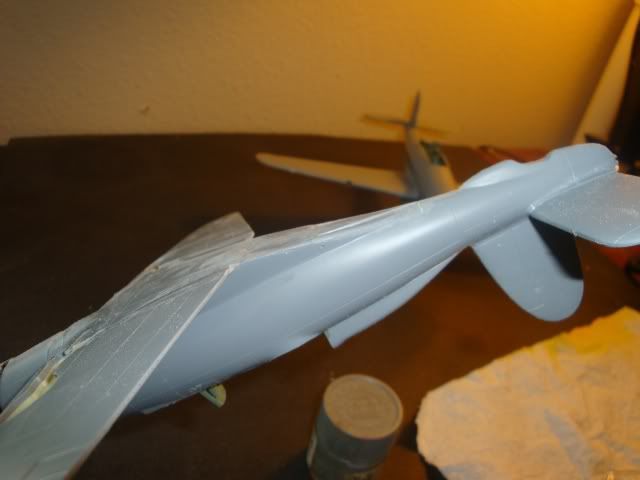
Doesn't fill the gaps though. For that I use a couple different methods depending on the size and location of the gap.
I start out by putting as much of the dust in the crack as I can. Sometimes I use thin liquid cement to make a mushy plastic filler and sand smooth. Didin't opt for that this time as sanding would really wipe out the details.
I used Testers Window Maker cement which is also a fav of mine when positioning PE parts.
It is a white glue but bridges gaps well and levels out to make a clear window over the hole or gap in this case. Doesn't run out and make a mess like school glue. Takes a while to dry but when it is you can cut it and shape it to your needs. I have even used thin CA over it with some accelerator to add strength to the larger filed areas.
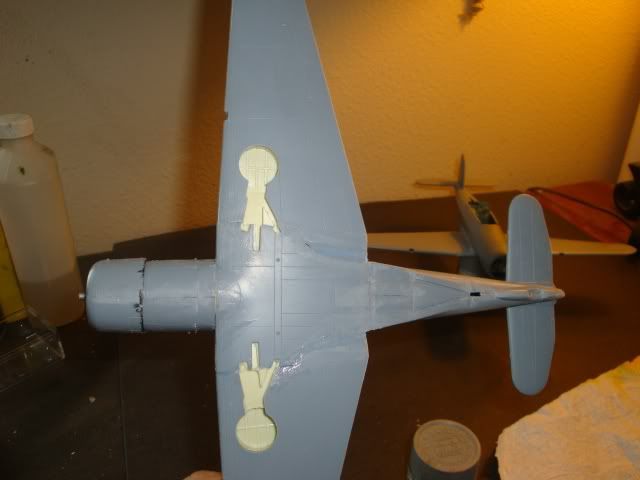
Once dry and smoothed to my liking I then used Mr Surfacer 1000 to seal, hide scratches and prime my work for inspection. Mr Surfacer doesn't work miracles unfortunately. It acts like fast drying thick gooey paint to me. Got to get it pretty smooth and close as you can before paintng on. Also I always paint the entire panel or really feather it out as it will look like runs in the final paint job. If you have to sand it don't be fooled by it's fast drying time. Let it sit overnight to really set up otherwise it can come off in clots! ![Whistling [:-^]](/emoticons/icon_smile_whistling.gif) Of course I have never had a mishap like that.....
Of course I have never had a mishap like that..... ![Dead [xx(]](/emoticons/icon_smile_dead.gif)
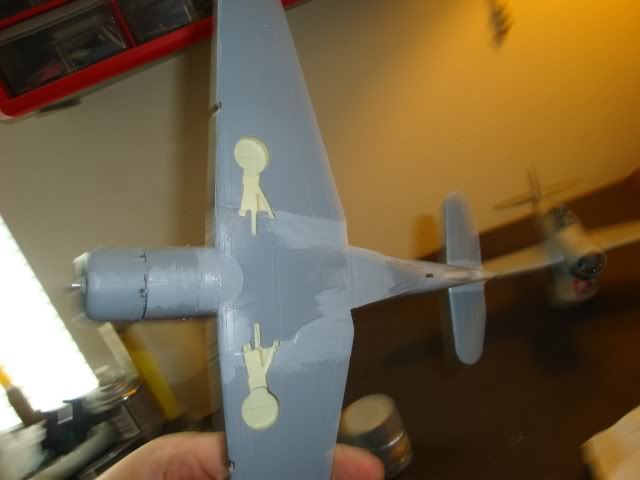
Looks a whole lot better! ![Thumbs Up [tup]](/emoticons/icon_smile_thumbsup.gif)
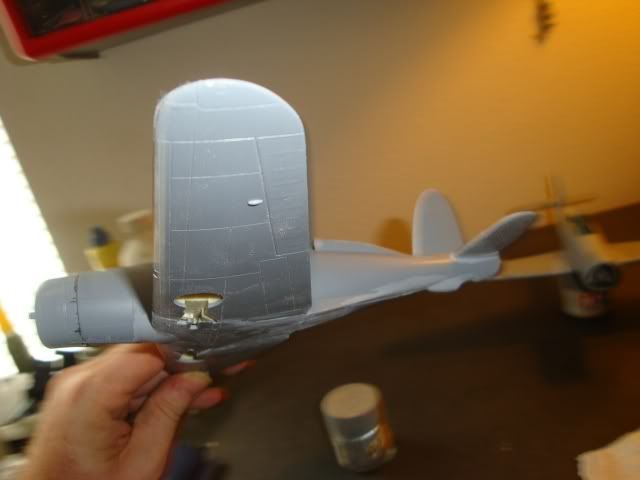
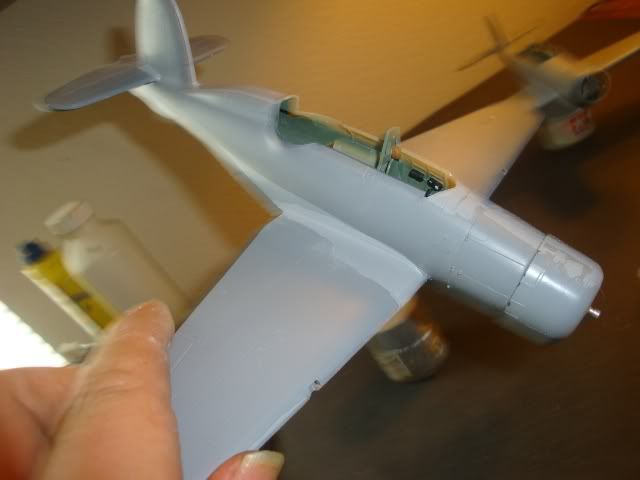
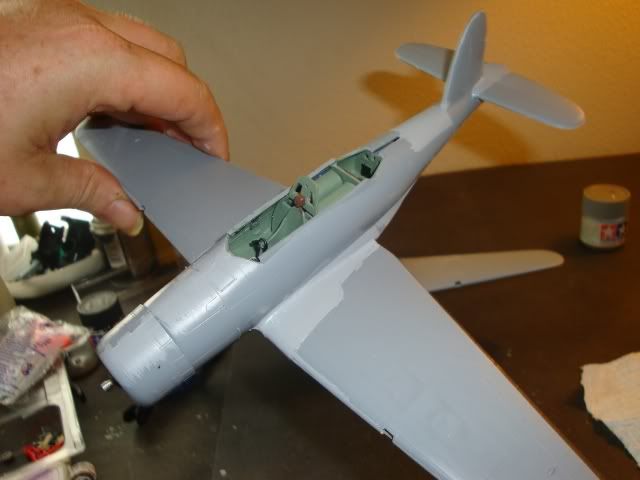
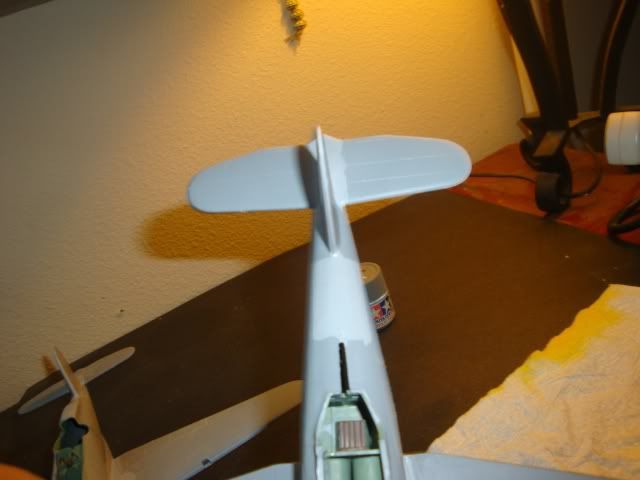
Now for the last step I used this stuff. Stuffed the pit and engine holes with ripped up paint paper towels.
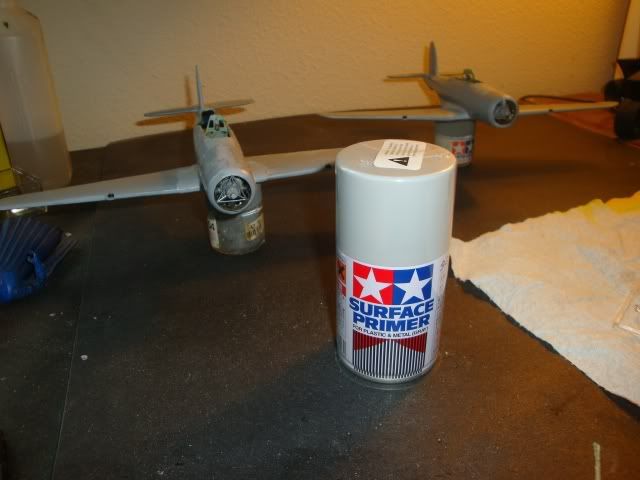
A Spray of the Excellent Tamiya primer and Presto they look like Tamigawa kits! .. almost!
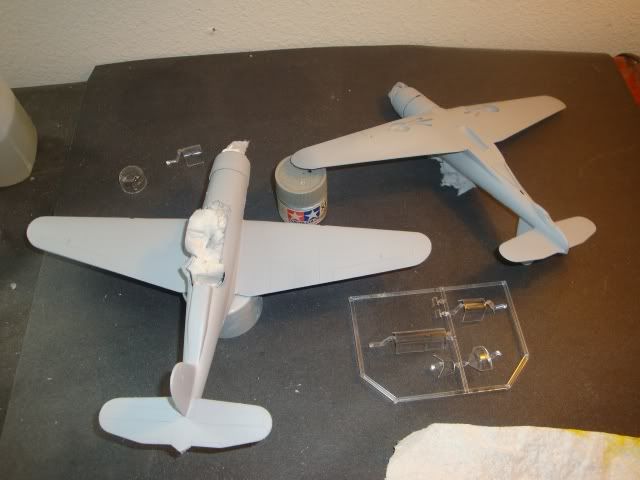
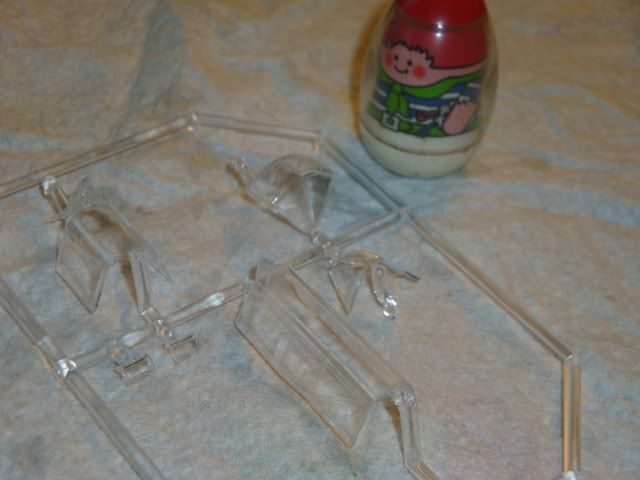
In between all the work and breaks I had Little Nammy dip the clear parts in future! He is pleased with his results! ![Thumbs Up [tup]](/emoticons/icon_smile_thumbsup.gif)
Hope I didn't over burden or bore anyone! Thanks for reading it all! ![Bow [bow]](/emoticons/icon_smile_bow.gif)