SEARCH FINESCALE.COM

Enter keywords or a search phrase below:

The P-51"mustang" Group Build. 2008

90752 views
760 replies
1 rating 2 rating 3 rating 4 rating 5 rating
  • Member since
    September 2006
  • From: From Vernal UT OH YEA!!
Posted by raptordriver on Sunday, February 10, 2008 9:11 PM
KBuzz great progress I think the Revell kit is good though although I've never built the Tamiya kit.Laugh [(-D]

Andrew


  • Member since
    July 2013
Posted by IL2windhawk on Sunday, February 10, 2008 11:03 PM

I built that Revell kit a while back.  It was the first kit that I'd built
for years prior.  I had alot of fun with it, have learned alot since then.   
The only modification I did was cutting the flaps off so I could position
them down.  The pilot figure is molded nicely.  I saved him and and he's
actually sitting in my P-51A for this build.  This kit features a sliding
canopy.  I thought that was a nice touch.  Wish more kits were like that.


Invertman, you will be very pleased with the Tamiya MkIII kit. 
It's essentially the same kit as ICM.  There is alot of suspicion that
ICM just blatantly made their molds from Tamiya parts, because the
kits are identical (except Tamiya is better quality plastic and decals).

Keep the good work rolling in!

  1/32 Revell Duo Discus
  1/32 Revell ASK-21
  1/48 Ardpol SZD-51 Junior
  1/48 Czech Models Grumman Goose
  1/144 FineMolds Millennium Falcon

  • Member since
    July 2007
  • From: Sweden
Posted by Azgaron on Monday, February 11, 2008 12:40 AM

Nice work, Ken! Love to see more!

Cheers,

Azgaron


  • Member since
    December 2006
  • From: Kennewick, WA
Posted by kbuzz01 on Monday, February 11, 2008 12:48 AM

Thanks, guys.

Windhawk - nice looking Revell.  My main problems have been the fit in the nose and underside fuselage.  I'm trying to decide if I want to tackle cutting off the flaps.  I know that they should be dropped if the gear doors are open.  Can you describe what you did and also do you happen to have additional pics of that area?

Thanks, Ken 

animation6.gif image by kbuzz_photos
  • Member since
    January 2007
  • From: Cherry valley il.
Posted by invertman on Monday, February 11, 2008 6:47 AM

hey guys,

picked up the tamiya mkIII kit yesterday,and wow what a difference

in quality.

i've built a couple tamiya a/c kits in the past and wasn't dissapointed.

i'm done trial fitting parts and gave them a bath.

started painting the cockpit parts last night.

will start posting pics tonight.


jason

  if you want permission for a test flight.... the answer is "no".

  • Member since
    July 2013
Posted by IL2windhawk on Monday, February 11, 2008 11:25 AM

 kbuzz01 wrote:
Windhawk - nice looking Revell.  My main problems have been the fit in the nose and underside fuselage.  I'm trying to decide if I want to tackle cutting off the flaps.  I know that they should be dropped if the gear doors are open.  Can you describe what you did and also do you happen to have additional pics of that area?

So are the flaps hydralically operated like the inner gear doors? 
They come down when the engine is turned off?  I've wondered
for years why all parked mustangs have their flaps down.

Here are some photos per your request.  I think the best way to
cut out control surfaces is to use the backside of an exacto blade
(the standard triangular ones) to litely scribe the panel line.  Just
apply enough pressure to keep the blade in the slot and drag it
accross about 10-20 times, then the control surface will easily
come off.  I do this on almost every kit now.  Really makes the
model look more dynamic (especially rudder/ailerons/elevators).
Let me know if you still have questions.


Terrible silvering Yuck [yuck] (this was before I learned the clear-gloss trick) 

  1/32 Revell Duo Discus
  1/32 Revell ASK-21
  1/48 Ardpol SZD-51 Junior
  1/48 Czech Models Grumman Goose
  1/144 FineMolds Millennium Falcon

  • Member since
    March 2007
  • From: NJ
Posted by JMart on Monday, February 11, 2008 11:49 AM

kbuzz01 - nice progress so far! I just built that kit, I know how much of a pain it is ;) Lots of dry fitting and re-painting, but I learned a TON from that kit. I know about the fitting, I ended up cutting off the "guides", dry fit a lot, and Tenax the fuselage, followed by 2 rounds of putty/sanding.


  • Member since
    November 2003
  • From: Virginia
Posted by JoeRugby on Monday, February 11, 2008 12:19 PM

Nice work fellas!

Here are a pair from my collection...


Tamiya 1/72 on the left in Yeager's OD livery with Eagle Strike decals and a RNZAF Otago Squadron Hasegawa 1/72 with Ventura Decals.  No AM parts on these

This is part of a wider personal project, the "Mustang Ranch".  I am attempting as many models of the "Stang as possible...P51A, F6 (A or later mark), A36, P51B, Foreign Service D/K (done) ETO bird (done) PTO bird, Twin Mustang, Racer Mustang, P51H and perhaps an attempt at the Cavilier/C.O.I.N. (all in 1/72 scale) version which should be a kit bash/scratchbuild.


Check out the WW I Special Interest Group @ http://swannysmodels.com/yabb/YaBB.pl?board=WW1SIG
  • Member since
    December 2006
  • From: Kennewick, WA
Posted by kbuzz01 on Monday, February 11, 2008 4:05 PM

Windhawk, thanks much for the reply and pictures.  I might give the flaps a try, although I already have the wing halves glued together.  Or maybe I'll just leave them incorrectly up and do it the right way on my next Hasegawa build.  The Tamiya kit comes with a choice to go either way.  (Yup, the flaps drop when the hydraulic pressure drops.)

Here's my Tamiya 1:48

Thanks, again

Ken 

animation6.gif image by kbuzz_photos
  • Member since
    September 2006
  • From: From Vernal UT OH YEA!!
Posted by raptordriver on Monday, February 11, 2008 7:38 PM
NiceThumbs Up [tup]

Andrew


  • Member since
    February 2003
  • From: Niagara Falls NY
Posted by Butz on Tuesday, February 12, 2008 3:22 AM

Hey Fred,

 Ah very cool.. Thank you for the feed back my friend..!!

Howdy dupes,

 Your too funny..!!! Na this kit is so far a breeze... Knockin on woodBanged Head [banghead]

Hi Drew,

 Thank you, glad you like it thus far..!!! By the way, I am going to send you a PM..!!

  If you would listen to everybody about the inaccuracies, most of the kits on your shelf would not have been built Too Close For Guns, Switching To Finger

  • Member since
    February 2003
  • From: Niagara Falls NY
Posted by Butz on Tuesday, February 12, 2008 3:29 AM

 Wow, I like what I see so far w/ the WIP's especailly the built ups.. Very sweet in deed guys..!!

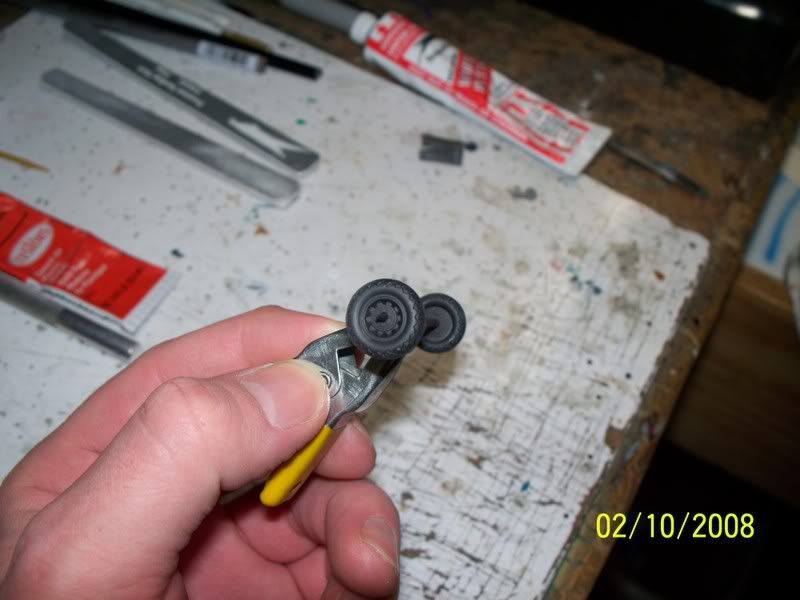
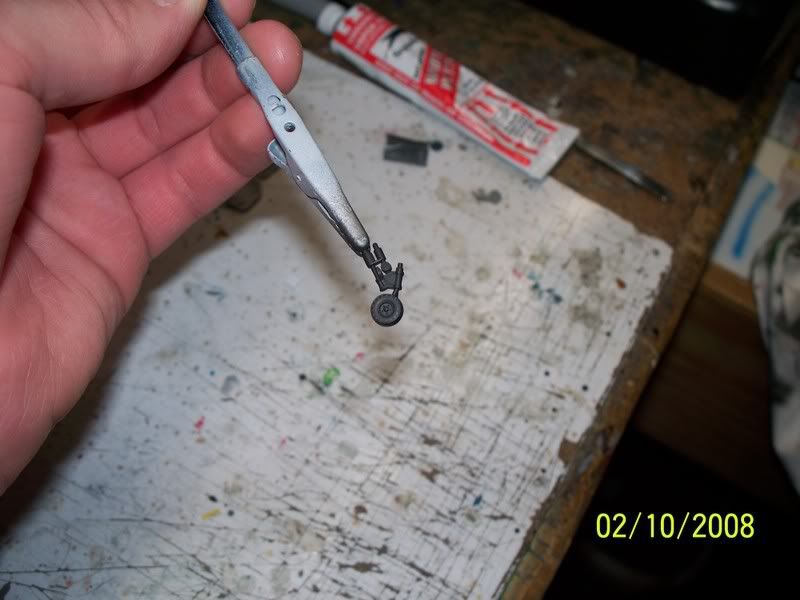
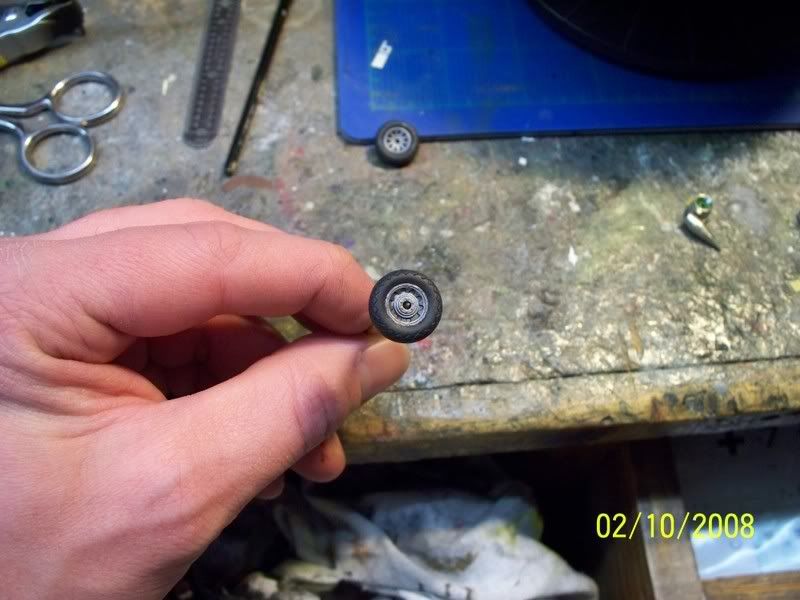
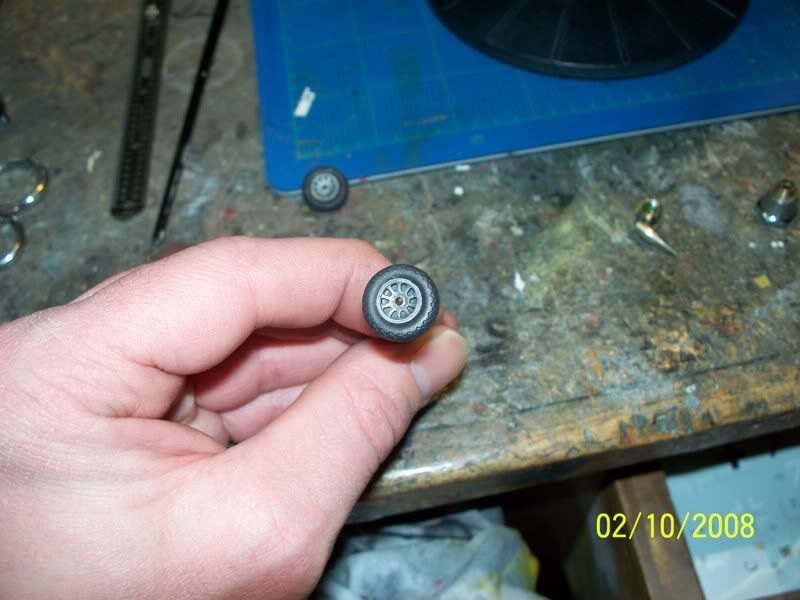
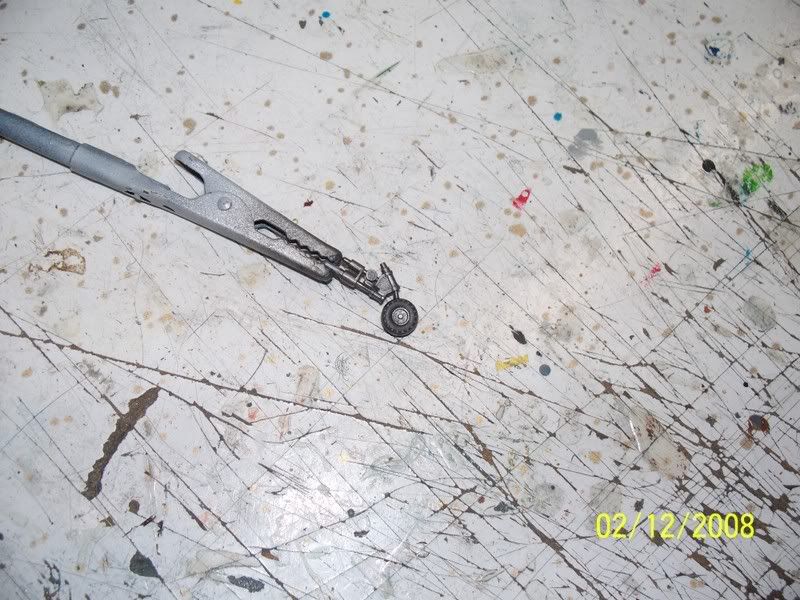
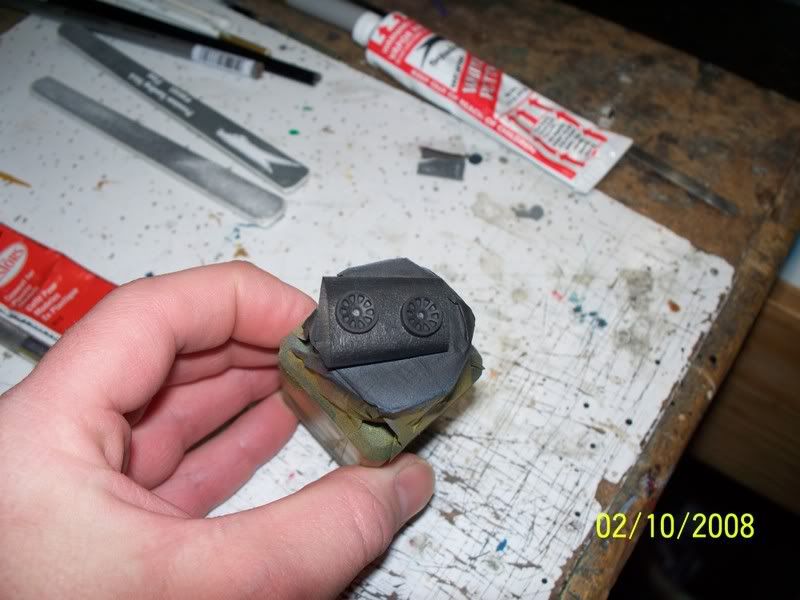
Well here is what I have thus far... I put some black on my tires, tail wheel and wheel wells as my base coat.

 Used buffing Magesium for a secondary base coat for the tires & tail wheel... From there I dry brushed a light coat of buffing Aluminum.. Not too shabby me thinks.

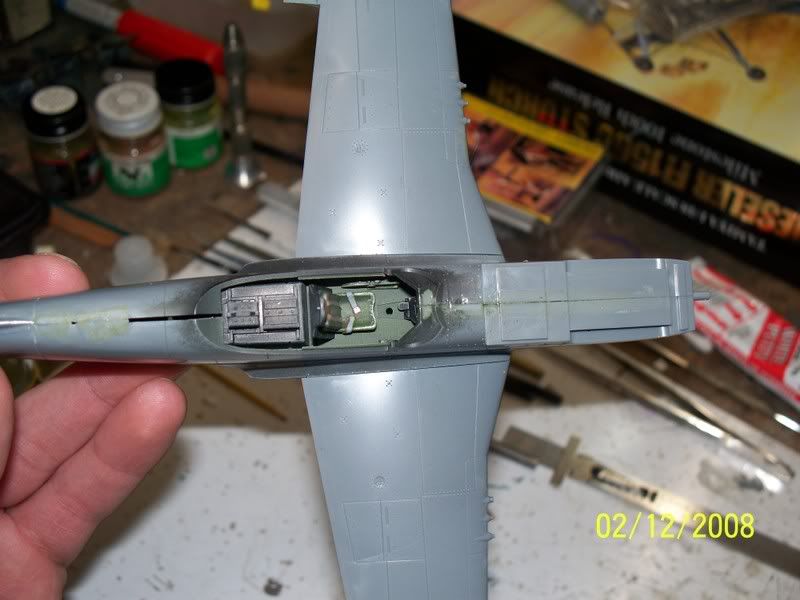
 As for the wheel wells, I used the same method that I used on the interior!! Hope you all like the slow process so far..!!

 I also glued the fuselage together and dry fitted the wings to see what needs to be done before I glue them as well.. 

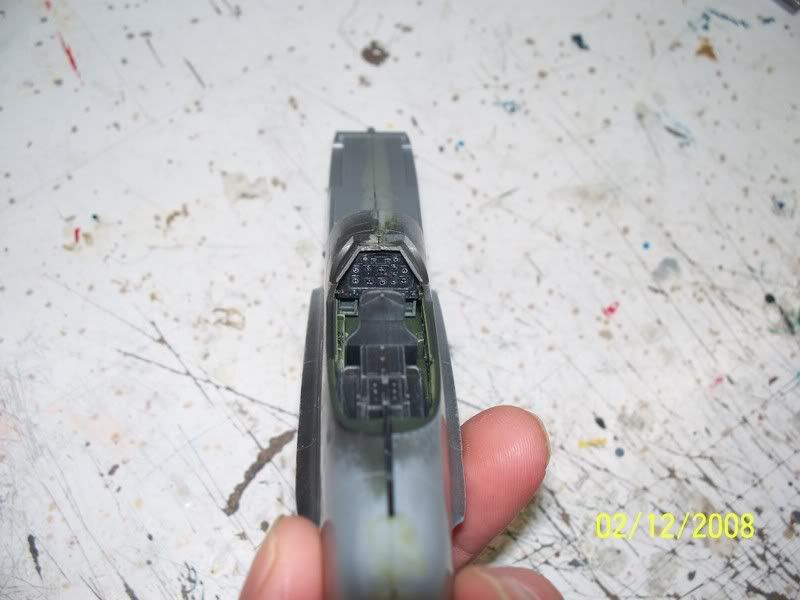
 O before I forget, I installed my IP and as you can see, I used the instrument decal. I placed a few drops of futire to represent the glass.. So far so good..... crossing fingers n toes..!! 
Thanks fer takin a peek..
Flaps up,

Mike

Rangers Lead The Way 



  If you would listen to everybody about the inaccuracies, most of the kits on your shelf would not have been built Too Close For Guns, Switching To Finger

gzt
  • Member since
    May 2007
  • From: Massachusetts
Posted by gzt on Tuesday, February 12, 2008 6:29 AM

Moce cockpit and UC Mike 1!

Keep those pictures coming. I have to finish my Thunderbolts frist and Me 109 before I start P-51 for this GB.What also is holding me back it a problem I have with my aztek airbrush. I just purchased Badher 360 last night and hopefuly it will help me get on track quickly Smile [:)]


Flying is a thrill #2 known to mankind. Landing is #1.

http://www.rwd-6.org

  • Member since
    November 2006
  • From: Coastal Maine
Posted by dupes on Tuesday, February 12, 2008 7:41 AM
 Butz wrote:

Howdy dupes,

 Your too funny..!!! Na this kit is so far a breeze... Knockin on woodBanged Head [banghead]

Hahahhaha...wondering if you were going to see that one!

Angry [:(!] HULK SMASH! Angry [:(!]

Progress is looking really good, btw. Wink [;)]

  • Member since
    September 2006
  • From: From Vernal UT OH YEA!!
Posted by raptordriver on Tuesday, February 12, 2008 8:07 AM
Butz great job the interior looks great from what I can see. The wheels are also perfectly painted. Can't wait to see it doneBig Smile [:D]

Andrew


  • Member since
    July 2007
  • From: Sweden
Posted by Azgaron on Tuesday, February 12, 2008 12:37 PM

Looking very nice so far, Mike!

Cheers,

Azgaron


  • Member since
    February 2003
  • From: Niagara Falls NY
Posted by Butz on Tuesday, February 12, 2008 1:02 PM
 dupes wrote:
 Butz wrote:

Howdy dupes,

 Your too funny..!!! Na this kit is so far a breeze... Knockin on woodBanged Head [banghead]

Hahahhaha...wondering if you were going to see that one!

Angry [:(!] HULK SMASH! Angry [:(!]

Progress is looking really good, btw. Wink [;)]

 Hiya dupes,

 LOL... thats great...!!! I actually over looked it then went back foo what ever reason and saw it.. Good one thats fer sure..!!

 Thank you for the kind words.. 

Hey Drew & Azgaron,

 I too am pleased w/ the progress so far... Still up in the air on what scheme to put her in..!!

 Hello Greg,

 Yes in deed my good man, the WIP's will be updated every chance I can get..!! Really looking forward to seeing your Jug by the way..

 Hopefully your purchase arrives shortly so you can get a move on with your Stangs..!! Thanks again Greg for the comments... 

Flaps up,

 Mike

Rangers Lead The Way 
  If you would listen to everybody about the inaccuracies, most of the kits on your shelf would not have been built Too Close For Guns, Switching To Finger

  • Member since
    January 2007
  • From: Cherry valley il.
Posted by invertman on Tuesday, February 12, 2008 10:11 PM

hey guys,

nice work going on here.

here are a few pics on the mkIII cockpit.

still have to do the seat harness,radio and paint a few other details.


jason


  if you want permission for a test flight.... the answer is "no".

  • Member since
    February 2003
  • From: Niagara Falls NY
Posted by Butz on Wednesday, February 13, 2008 12:08 AM

Hey Jason,

 Great lookin pit..!!!  Is this the Accurate Mini kit by chance?? What markings will she be wearing?

 Looking forward to the completed build..!!

Flaps up,

Mike

Rangers Lead The Way 

  If you would listen to everybody about the inaccuracies, most of the kits on your shelf would not have been built Too Close For Guns, Switching To Finger

  • Member since
    January 2007
  • From: Cherry valley il.
Posted by invertman on Wednesday, February 13, 2008 7:02 AM

hey mike,

no its the tamiya mkIII kit.

haven't made up my mind on the markings yet.

going to make my choice this weekend.


jason

  if you want permission for a test flight.... the answer is "no".

  • Member since
    September 2006
  • From: From Vernal UT OH YEA!!
Posted by raptordriver on Wednesday, February 13, 2008 8:05 AM
Nice progress Jason

Andrew


  • Member since
    February 2003
  • From: Niagara Falls NY
Posted by Butz on Wednesday, February 13, 2008 12:55 PM

Hey Jason,

 Ah very cool... I have not built one in a while so I kind of forgot how the inards looked..!! Your going to love how the Tamiya Stang goes together. Just as a cation, be careful when you install the canopy.. The fit is a little iffy..!!

So your going to make the decision this weekend huh?? No matter what you chose, she'll be tops..!!

 Flaps up,

Mike

Rangers Lead The Way 

  If you would listen to everybody about the inaccuracies, most of the kits on your shelf would not have been built Too Close For Guns, Switching To Finger

  • Member since
    January 2007
  • From: Cherry valley il.
Posted by invertman on Wednesday, February 13, 2008 4:54 PM

thanks for the kind words.

i think i'm going to order the squadron canopy set for it.

after the work i put into the cockpit i want to display the

canopy open,but that means i will have to scratch build the

canopy rails.

does anyone have any close up pics of these rails by chance?


thanks much.

jason

  if you want permission for a test flight.... the answer is "no".

  • Member since
    March 2007
  • From: NJ
Posted by JMart on Wednesday, February 13, 2008 7:05 PM

Butz - Looks goods! Interesting combination on the tires... pardon the (yet again) newbie question but, what is the advantage over flat black? I mean, tires looks REAL good, I may try it on mine

Invertman - great looking pit! I keep saving pics from this WIP for reference :)


  • Member since
    January 2007
  • From: Cherry valley il.
Posted by invertman on Wednesday, February 13, 2008 11:11 PM

ok guys dont laugh,but this is my

first real attempt at making seat harnesses.

but anyway........

the pit still needs the radio put in but my hands are killing

me after the harness escapade.

should have it done and ready to close up tomorrow.


jason

  if you want permission for a test flight.... the answer is "no".

  • Member since
    January 2007
Posted by Gigatron on Thursday, February 14, 2008 9:18 AM

Beautiful looking pit, invertman Thumbs Up [tup].  All the effort was definitely worth it.

Here's a small update on mine; she's been buttoned up and given her first round of filling and sanding.  Next up, priming and then more filling and sanding

You might be able to make out the drilled out gunports.  I'm installing the steel barrels last so I don't have to worry about masking them.

-Fred


  • Member since
    September 2006
  • From: From Vernal UT OH YEA!!
Posted by raptordriver on Thursday, February 14, 2008 4:22 PM
Jason and Fred great progress coming alongSmile [:)]

Andrew


  • Member since
    February 2004
  • From: Second City
Posted by arki30 on Thursday, February 14, 2008 5:20 PM
invertman, the harnesses look fine to me. Thumbs Up [tup]

Building Now:

1/48 Academy Bf-109G6 - 100%

1/48 Tamiya F4U-1A - 5%

Upcoming:

1/48 Revell F-14D

  • Member since
    July 2007
  • From: Sweden
Posted by Azgaron on Friday, February 15, 2008 12:29 AM

Looking good, nice progress, Jason and Fred!

Cheers,

Azgaron


  • Member since
    December 2002
  • From: Vallejo, CA
Posted by didfaI on Saturday, February 16, 2008 8:49 AM

My P-51C is just about complete except for one thing!Whistling [:-^]

This build is part of a collection of Tuskegee Airmen a/c and I want to depict this particular a/c as Co. Davis', "By Request" but can't find decals!Banged Head [banghead]

Any suggestions other than 'DIY'!Banged Head [banghead]

JOIN OUR COMMUNITY!

Our community is FREE to join. To participate you must either login or register for an account.

SEARCH FORUMS
FREE NEWSLETTER
By signing up you may also receive reader surveys and occasional special offers. We do not sell, rent or trade our email lists. View our Privacy Policy.