Since Italian tanks don't seem to get that much attention on this forum, I thought I would document my work with the Italian M40/75-18 Semovente tank throught bunch of wip pics. Since this is my fist wip-thread, I'm a bit of an amateur (both with the camera and the description of the process). Anyway, I hope that someone will find it interesting.
When I first decided to build the Semovente I found out that I had two alternatives, at least in the 1/35 scale.
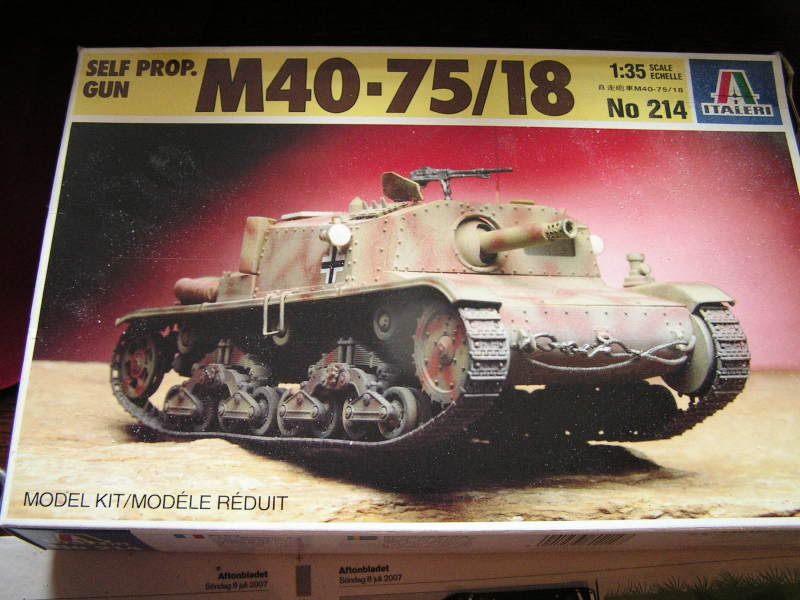
First there is the old Italeri kit, which is not that expensive ($ 17-21 in e-bay stores), but with not that high quality of the moulding. The details are ok, but the kit has some sink marks. This kit is also molded in a plastic hard to work with and, since it's black-green, it's difficult to see all the finer details.
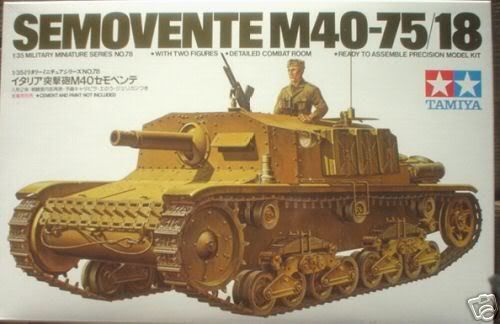
The second is the Tamiya kit ($14-25 in e-bay stores). The molding is far better. The plastic is in Tamiyas yellow color and more easily worked.
In both these kits interior details are included. This is important since the top hatches are quite large on the Semovente, and if these are going to be open, one can see almost the entire interior of the tank. The problems with both kits are that the interior details are very basic. They include only: the gun, transmission, gearbox, three seats. Only one of the walls - the rear end of the fighting compartment - have some finer details molded. (In the Tamiya kit, you also get the ammo rack). So I decided that some extra set of details was needed. I found two of choices:
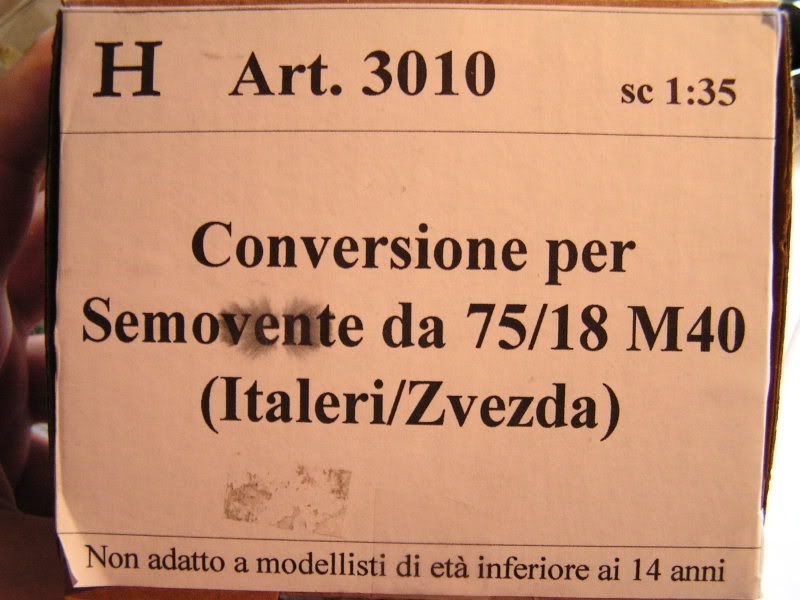
First an old resin set from the Italian company Historica production (Set no.3010), in which a whole new interior is provided. I think this one has been out of production for quite a while. I was fortunate to find one on e-bay, but it cost me $ 40.
The second - resin and PE - update set is from another Italian company, Model Victoria. This set is not cheap, approx. $ 60-70, according to the home page.
http://www.modelvictoria.it/vehicles/italian_semovente_m40_75_18.htm
By this time, I was getting pretty angry. ![Angry [:(!]](/emoticons/icon_smile_angry.gif) I imagined that it would cost me between $ 60-90 just to get a kit with a decent interior. If I was going to pay that much, I'd probably wanted to get some new tracks - either white metal (Friulmodel) or resin ones (Model Victoria) - and a new aluminum barrel. That would bring up the total cost to $ 100-130, which is a lot of money!
I imagined that it would cost me between $ 60-90 just to get a kit with a decent interior. If I was going to pay that much, I'd probably wanted to get some new tracks - either white metal (Friulmodel) or resin ones (Model Victoria) - and a new aluminum barrel. That would bring up the total cost to $ 100-130, which is a lot of money!
But then I thought: if "time is money", as the saying goes, it must also be true the other way around: "money is time". ![Wink [;)]](/emoticons/icon_smile_wink.gif) So I decided that I would get the cheapest kit, and invest a huge amount of time (and patience) to build it - just to save money! So, I bought myself the cheapest Italeri kit (I got it for $ 11 on a e-bay auction), took out my scrap box, and started harvesting nuts and bolts and other stuff for scratch-building the interior.
So I decided that I would get the cheapest kit, and invest a huge amount of time (and patience) to build it - just to save money! So, I bought myself the cheapest Italeri kit (I got it for $ 11 on a e-bay auction), took out my scrap box, and started harvesting nuts and bolts and other stuff for scratch-building the interior.
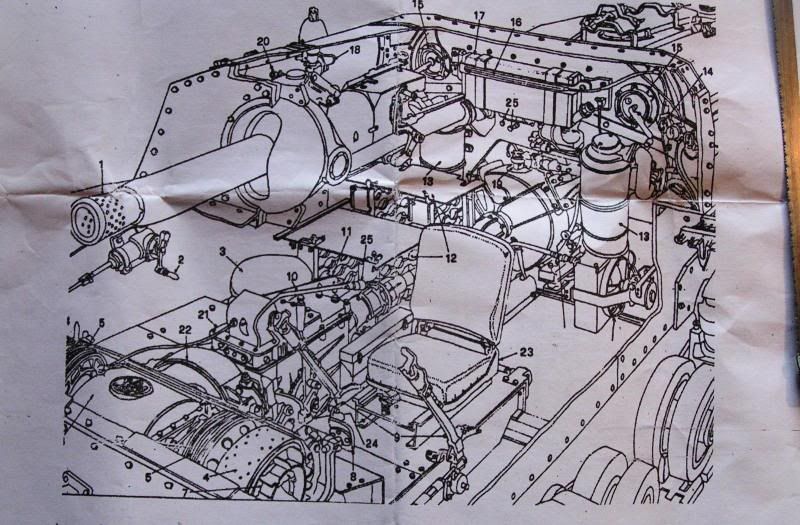
Here I encountered the next problem - how to get some credible descriptions of the interior of the Semovente. The Signal/Squadron "Italian medium tanks" was of no use, since it doesn't contain any interior pics. So I browsed the net, collected a few modern photos that were available and some pics from other modelers. Together with the basic instruction sheet from the Historica update set I got some ideas of what the interior looked like.
For example:
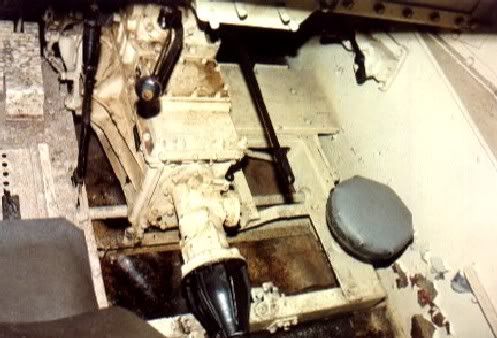
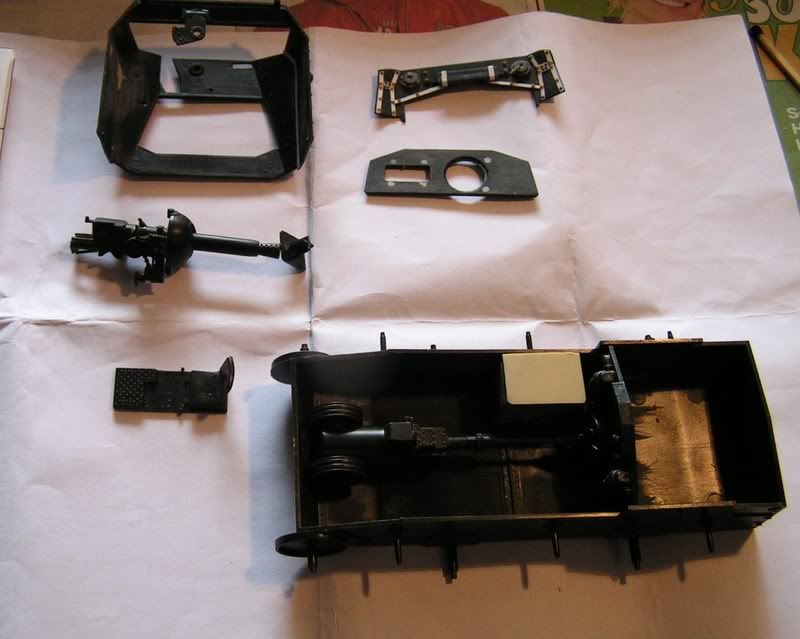
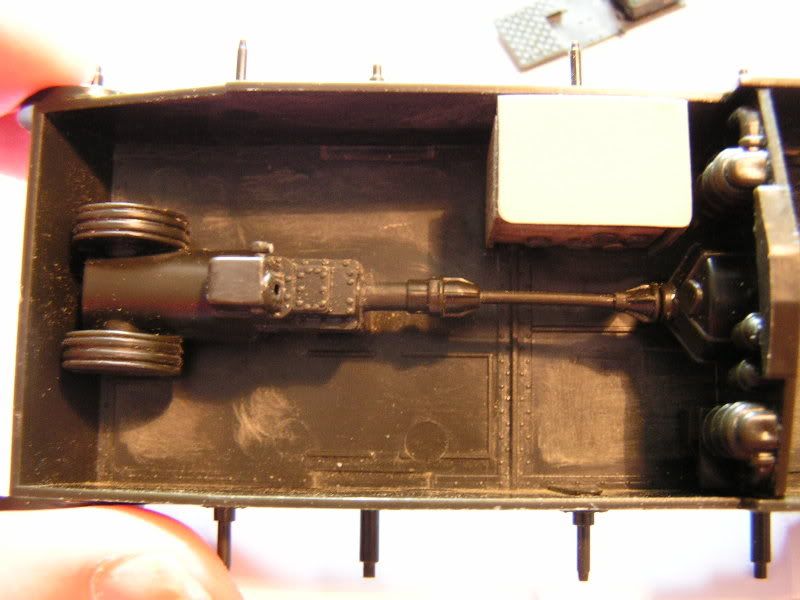
Here's the drivers seat and transmission/gearbox:
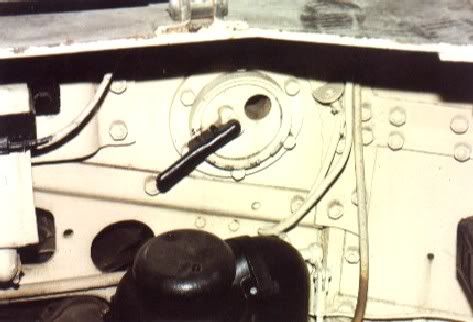
Heres some details of the pistol port:
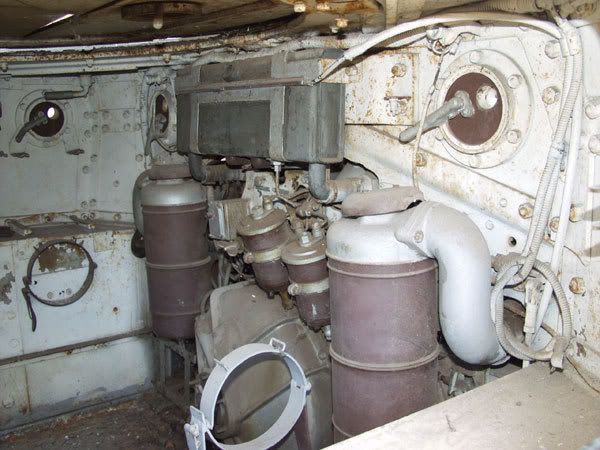
Here's the rear end of the fighting compartment of an italian m13/40 tank (same chassi as the Semovente):
Two modelers work with update sets:
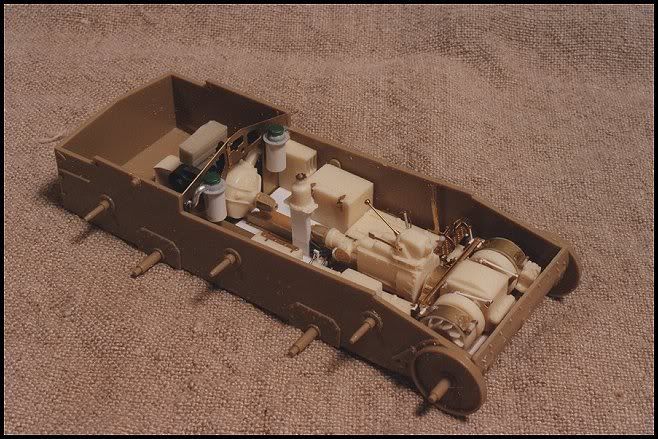
View from above:
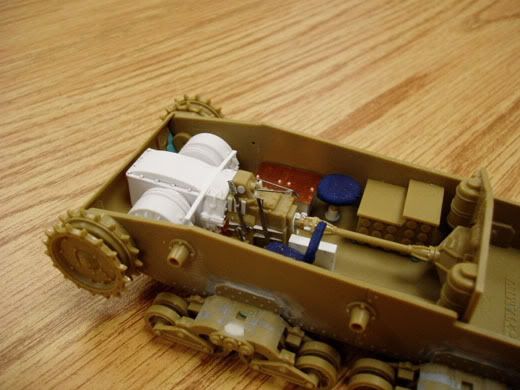
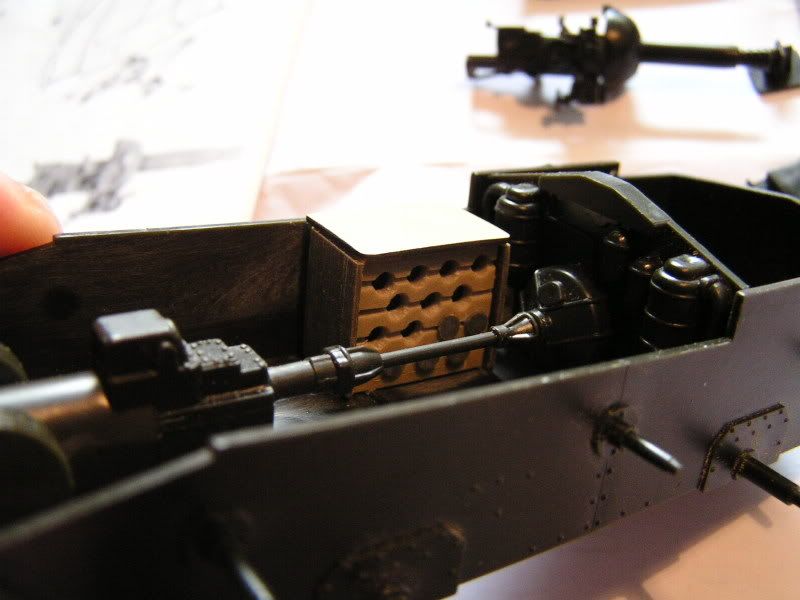
Then it was time to start. I decided that I would build and paint the interior completely before I started on the outside of the tank. Here are the first shots from the work process. It includes removing the annoying sink marks in the hull, scratch building an ammo rack and detailing the rear end of the fighting compartment with thin led foil straps and applying nuts and bolts (harvested from some other kits).
Here's the inside, with the new ammo rack:
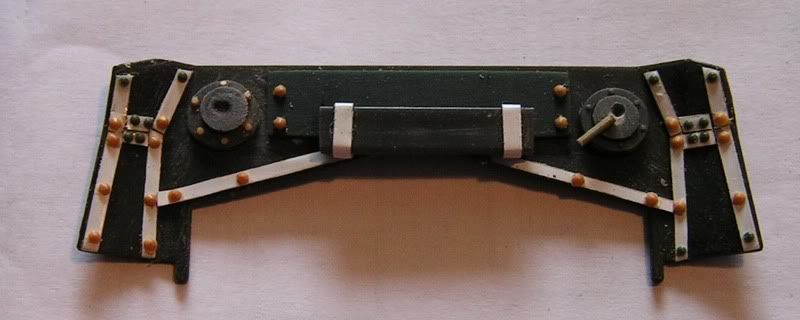
Then it was time for the rear end of the compatment, which is highly visible through the hatches and need a lot of detailing.
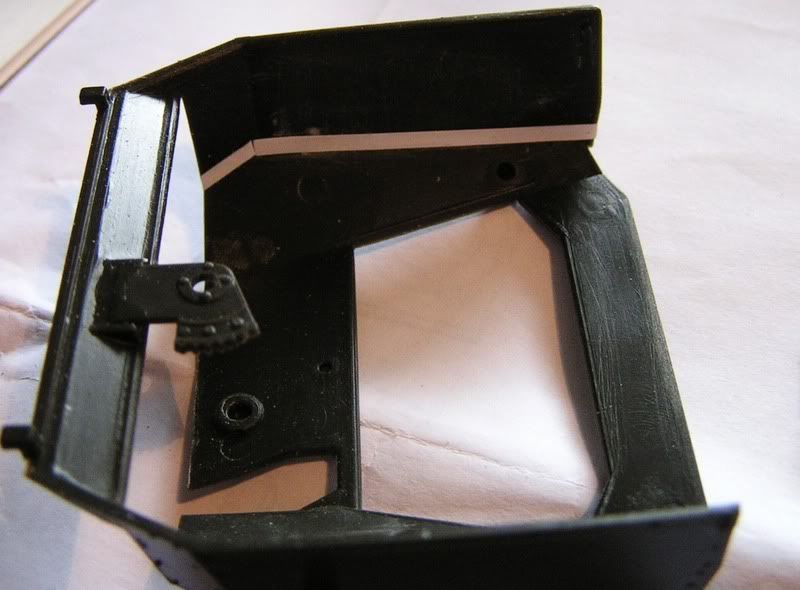
Currently I'm working on the upper hulls walls and ceiling. Quite boring actually.
By now, I think the whole kit looks like SH-T! But hopefully some more work and getting the thing painted in the same color will make it look a lot better. And, if it would not turn out to my expectations, at least I haven't spent $100+ on the kit.
Til next time,
/Tony aka bultenibo